Create a map
This article shows you ways to create a map and animate a map.
Loading a map
To load a map, create a new instance of the Map class. When initializing the map, pass a DIV element ID to render the map and pass a set of options to use when loading the map. If default authentication information isn't specified on the atlas namespace, this information needs to be specified in the map options when loading the map. The map loads several resources asynchronously for performance. As such, after creating the map instance, attach a ready or load event to the map and then add more code that interacts with the map to the event handler. The ready event fires as soon as the map has enough resources loaded to be interacted with programmatically. The load event fires after the initial map view has finished loading completely.
You can also load multiple maps on the same page, for sample code that demonstrates loading multiple maps on the same page, see Multiple Maps in the Azure Maps Samples. For the source code for this sample, see Multiple Maps source code.
Tip
You can use the same or different authentication and language settings when using multiple maps on the same page.
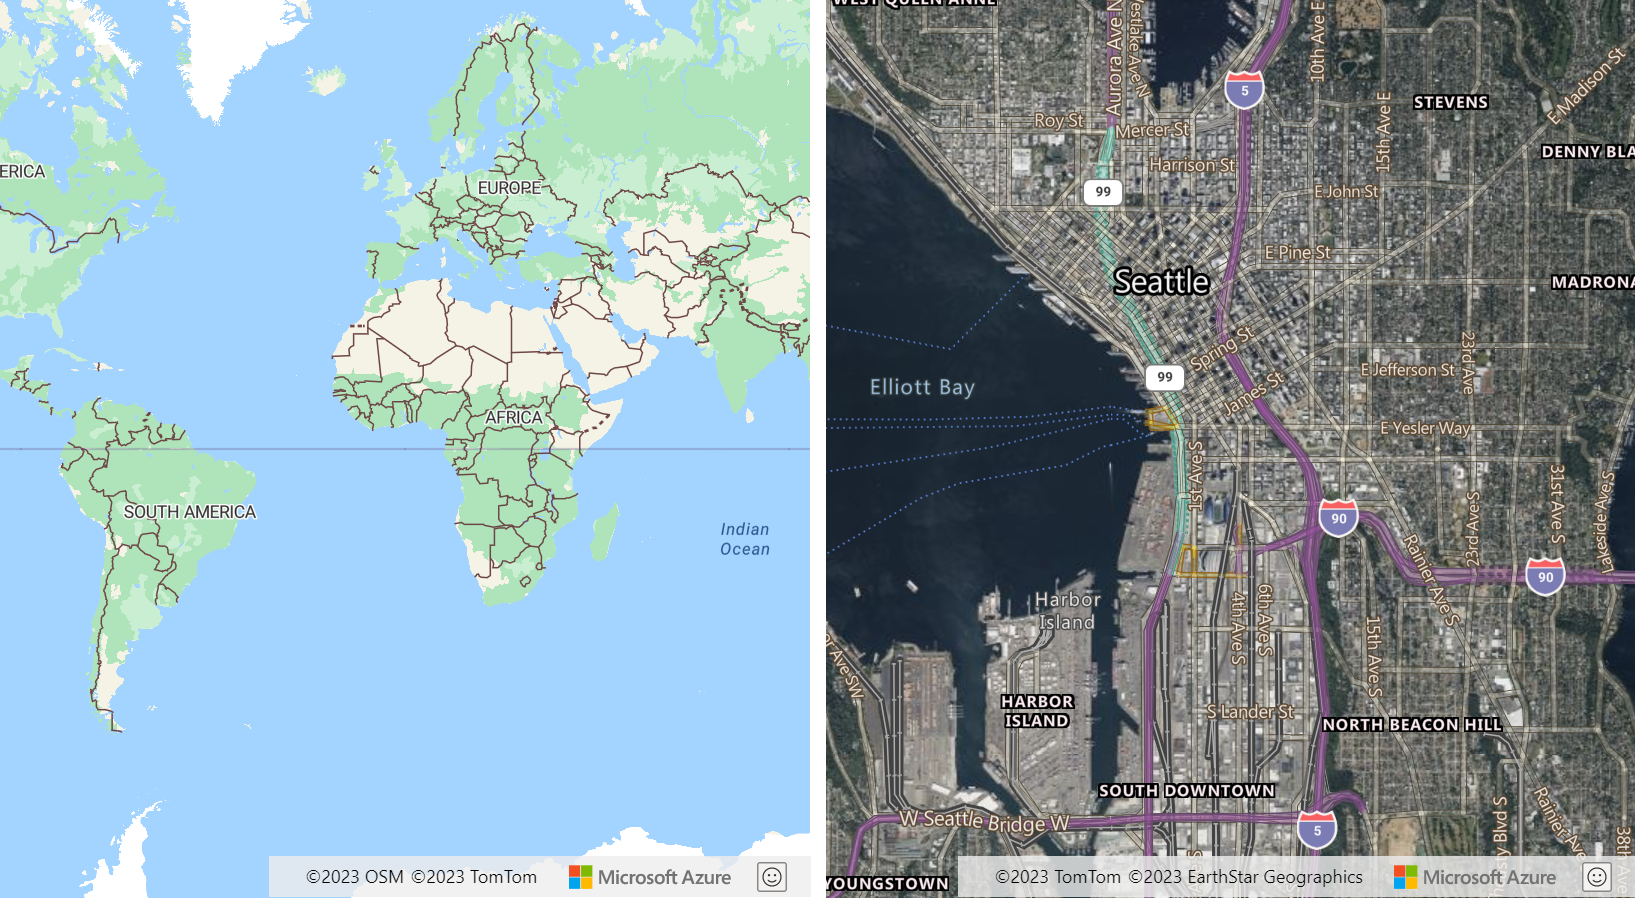
Show a single copy of the world
When the map is zoomed out on a wide screen, multiple copies of the world appear horizontally. This option is great for some scenarios, but for other applications it's desirable to see a single copy of the world. This behavior is implemented by setting the maps renderWorldCopies option to false.
//Only allow one copy of the world be rendered when zoomed out.
renderWorldCopies: false
Map options
When creating a map there, are several different types of options that can be passed in to customize how the map functions:
- CameraOptions and CameraBoundOptions are used to specify the area the map should display.
- ServiceOptions are used to specify how the map should interact with services that power the map.
- StyleOptions are used to specify the map should be styled and rendered.
- UserInteractionOptions are used to specify how the map should reach when the user is interacting with the map.
These options can also be updated after the map has been loaded using the setCamera, setServiceOptions, setStyle, and setUserInteraction functions.
Controlling the map camera
There are two ways to set the displayed area of the map using the camera of a map. You can set the camera options when loading the map. Or, you can call the setCamera option anytime after the map has loaded to programmatically update the map view.
Set the camera
The map camera controls what is displayed in the viewport of the map canvas. Camera options can be passed into the map options when being initialized or passed into the maps setCamera function.
// Set the camera options when creating the map.
// Map properties, such as center and zoom level, are part of the CameraOptions
var map = new atlas.Map('map', {
    center: [-122.33, 47.6],
    zoom: 12

    //Additional map options.
};

//Update the map camera at anytime using setCamera function.
map.setCamera({
    center: [-110, 45],
    zoom: 5
});
Map properties, such as center and zoom level, are part of the CameraOptions properties.
Set the camera bounds
A bounding box can be used to update the map camera. If the bounding box was calculated from point data, it's often useful to specify a pixel padding value in the camera options to account for the icon size. This pixel padding helps ensure that points don't fall off the edge of the map viewport.
map.setCamera({
    bounds: [-122.4, 47.6, -122.3, 47.7],
    padding: 10
});
In the following code, a Map object is constructed via new atlas.Map(). Map properties such as CameraBoundsOptions can be defined via setCamera function of the Map class. Bounds and padding properties are set using setCamera.
Animate map view
When setting the camera options of the map, animation options can also be set. These options specify the type of animation and duration it should take to move the camera.
map.setCamera({
    center: [-122.33, 47.6],
    zoom: 12,
    duration: 1000,
    type: 'fly'
});
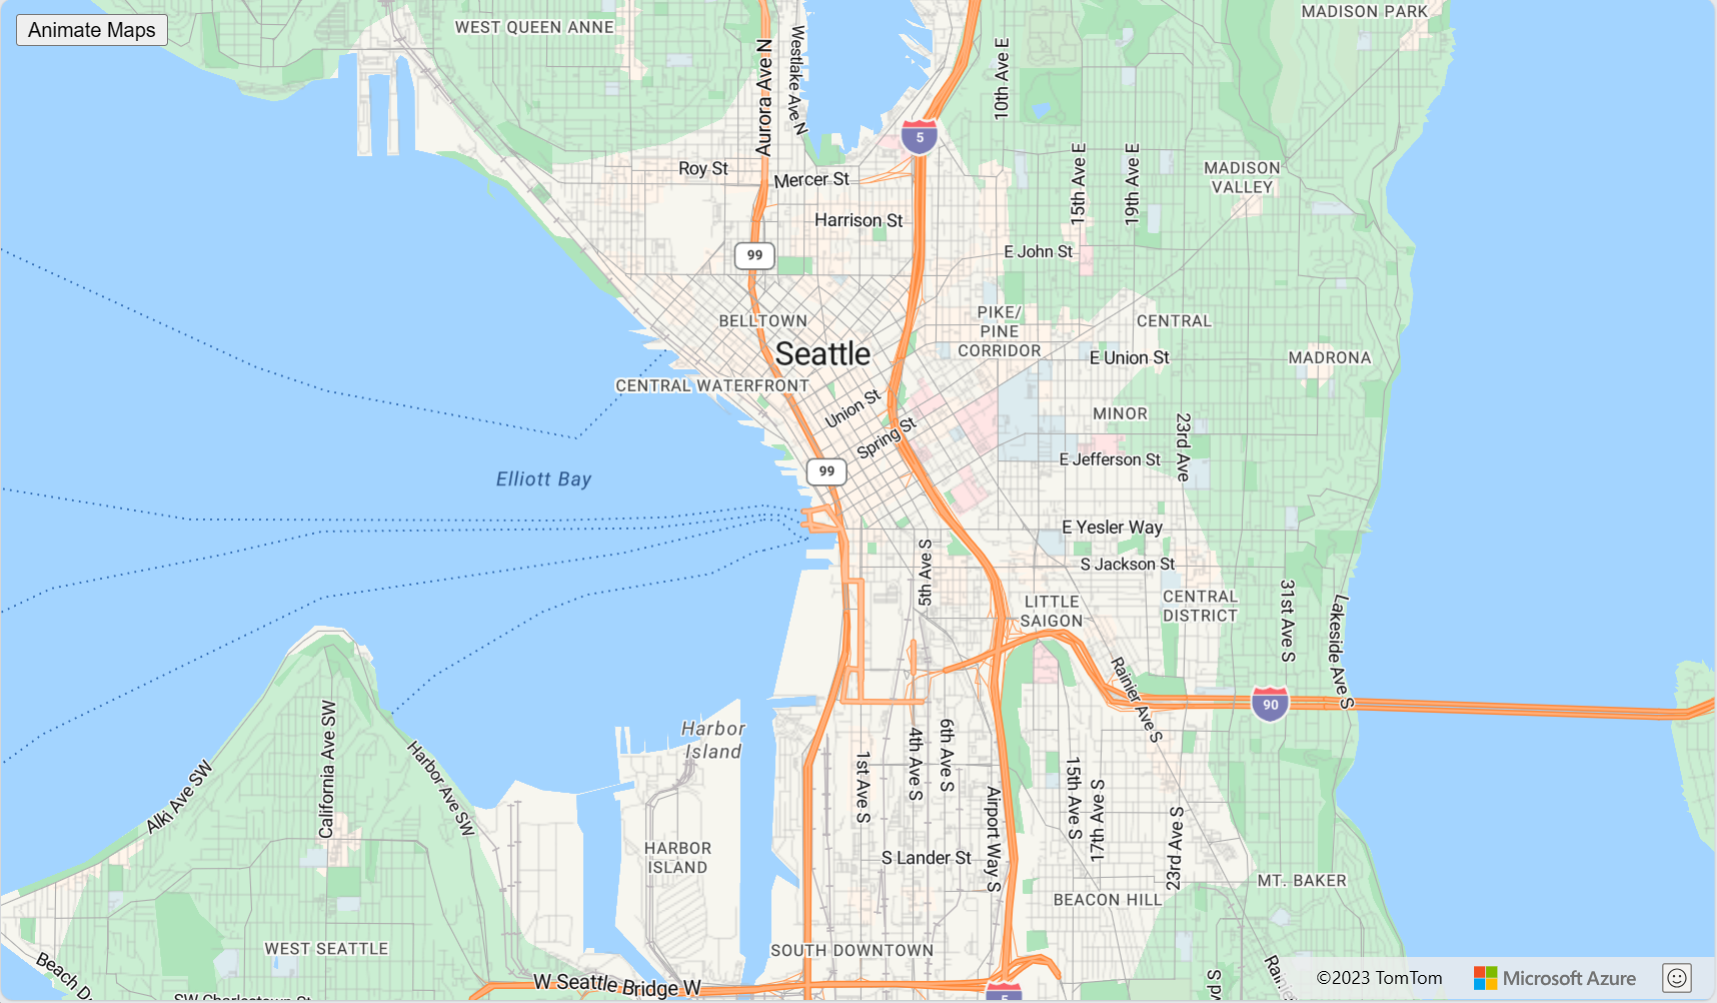
In the following code, the first code block creates a map and sets the enter and zoom map styles. In the second code block, a click event handler is created for the animate button. When this button is selected, the setCamera function is called with some random values for the CameraOptions and AnimationOptions.
<!DOCTYPE html>
 <html>
 <head>

    <!-- Add references to the Azure Maps Map control JavaScript and CSS files. -->
  <link rel="stylesheet" href="https://atlas.microsoft.com/sdk/javascript/mapcontrol/3/atlas.min.css" type="text/css" />
  <script src="https://atlas.microsoft.com/sdk/javascript/mapcontrol/3/atlas.min.js"></script>


    <script type="text/javascript">
    var map;

    function InitMap()
    {
        map = new atlas.Map('myMap', {
        center: [-122.33, 47.6],
        zoom: 12,
        view: 'Auto',
        style: 'road',


        // Add authentication details for connecting to Azure Maps.
        authOptions: {
          // Get an Azure Maps key at https://azuremaps.com/.
          authType: 'subscriptionKey',
          subscriptionKey: '{Your-Azure-Maps-Subscription-key}'
        }
      });
    }

    /* Animate map view to set camera location
       to random points on the map*/
    function animateMap() {
      map.setCamera({
      zoom: Math.random() *2 + 12,
      duration: 1000,
      type: 'fly'
      });
    }
  </script>

  <style>
    button {
      position: absolute;
      top: 10px;
      left: 10px;
    }
  </style>

</head>

<html style='width:100%;height:100%;'>
  <body onload="InitMap()" style='width:100%;height:100%;padding:0;margin:0;'>
    <div id='myMap' style='position:relative;width:100%;height:100%;'></div>
  <button onclick="animateMap()">Animate Maps</button>
  <div id="my-text-box"></div>
  </body>
</html>
Request transforms
Sometimes it's useful to be able to modify HTTP requests made by the map control. For example:
- Add more headers to tile requests for password protected services.
- Modify URLs to run requests through a proxy service.
The service options of the map has a transformRequest that can be used to modify all requests made by the map before they're made. The transformRequest option is a function that takes in two parameters; a string URL, and a resource type string that indicates what the request is used for. This function must return a RequestParameters result.
transformRequest: (url: string, resourceType: string) => RequestParameters
When using a request transform, you must return a RequestParameters object that contains a url property at a minimum. The following are the properties that can be included in a RequestParameters object.
| Option | Type | Description |
|---|---|---|
| body | string | A POST request body. |
| credentials | 'same-origin' | 'include' |
Used to specify the cross-origin request (CORs) credentials setting. Use 'include' to send cookies with cross-origin requests. |
| headers | object | The headers to be sent with the request. The object is a key value pair of string values. |
| method | 'GET' | 'POST' | 'PUT' |
The type of request to be made. Default is 'GET'. |
| type | 'string' | 'json' | 'arrayBuffer' |
The format of POST response body. |
| url | string | The url to be requested. |
The resource types most relevant to content you add to the map are listed in the following table:
| Resource Type | Description |
|---|---|
| Image | A request for an image for use with either a SymbolLayer or ImageLayer. |
| Source | A request for source information, such as a TileJSON request. Some requests from the base map styles also use this resource type when loading source information. |
| Tile | A request from a tile layer (raster or vector). |
| WFS | A request from a WfsClient in the Spatial IO module to an OGC Web Feature Service. For more information, see Connect to a WFS service. |
| WebMapService | A request from the OgcMapLayer in the Spatial IO module to a WMS or WMTS service. For more information, see Add a map layer from the Open Geospatial Consortium (OGC). |
Here are some resource types, typically ignored, that are passed through the request transform and are related to the base map styles: StyleDefinitions, Style, SpriteImage, SpriteJSON, Glyphs, Attribution.
The following example shows how to modify all requests to the size https://example.com by adding a username and password as headers to the request.
var map = new atlas.Map('myMap', {
    transformRequest: function (url, resourceType) {
        //Check to see if the request is to the specified endpoint.
        if (url.indexOf('https://examples.com') > -1) {
            //Add custom headers to the request.
            return {
                url: url,
                header: {
                    username: 'myUsername',
                    password: 'myPassword'
                }
            };
        }

        //Return the URL unchanged by default.
        return { url: url };
    },

    authOptions: {
        authType: 'subscriptionKey',
        subscriptionKey: '<Your Azure Maps Key>'
    }
});
Next steps
Learn more about the classes and methods used in this article:
See code examples to add functionality to your app:
Feedback
Coming soon: Throughout 2024 we will be phasing out GitHub Issues as the feedback mechanism for content and replacing it with a new feedback system. For more information see: https://aka.ms/ContentUserFeedback.
Submit and view feedback for