Deploy Bastion using Azure PowerShell
This article shows you how to deploy Azure Bastion with the Standard SKU using PowerShell. Azure Bastion is a PaaS service that's maintained for you, not a bastion host that you install on your VM and maintain yourself. An Azure Bastion deployment is per virtual network, not per subscription/account or virtual machine. For more information about Azure Bastion, see What is Azure Bastion?
Once you deploy Bastion to your virtual network, you can connect to your VMs via private IP address. This seamless RDP/SSH experience is available to all the VMs in the same virtual network. If your VM has a public IP address that you don't need for anything else, you can remove it.

In this article, you create a virtual network (if you don't already have one), deploy Azure Bastion using PowerShell, and connect to a VM. You can also deploy Bastion by using the following other methods:
Note
The use of Azure Bastion with Azure Private DNS zones is supported. However, there are restrictions. For more information, see the Azure Bastion FAQ.
Before beginning
Verify that you have an Azure subscription. If you don't already have an Azure subscription, you can activate your MSDN subscriber benefits or sign up for a free account.
PowerShell
This article uses PowerShell cmdlets. To run the cmdlets, you can use Azure Cloud Shell. Cloud Shell is a free interactive shell that you can use to run the steps in this article. It has common Azure tools preinstalled and configured to use with your account.
To open Cloud Shell, just select Open Cloudshell from the upper-right corner of a code block. You can also open Cloud Shell on a separate browser tab by going to https://shell.azure.com/powershell. Select Copy to copy the blocks of code, paste them into Cloud Shell, and select the Enter key to run them.
You can also install and run the Azure PowerShell cmdlets locally on your computer. PowerShell cmdlets are updated frequently. If you haven't installed the latest version, the values specified in the instructions may fail. To find the versions of Azure PowerShell installed on your computer, use the Get-Module -ListAvailable Az cmdlet. To install or update, see Install the Azure PowerShell module.
Example values
You can use the following example values when creating this configuration, or you can substitute your own.
** Example VNet and VM values:**
| Name | Value |
|---|---|
| Virtual machine | TestVM |
| Resource group | TestRG1 |
| Region | East US |
| Virtual network | VNet1 |
| Address space | 10.1.0.0/16 |
| Subnets | FrontEnd: 10.1.0.0/24 |
Azure Bastion values:
| Name | Value |
|---|---|
| Name | VNet1-bastion |
| Subnet Name | FrontEnd |
| Subnet Name | AzureBastionSubnet |
| AzureBastionSubnet addresses | A subnet within your VNet address space with a subnet mask /26 or larger. For example, 10.1.1.0/26. |
| Tier/SKU | Standard |
| Public IP address | Create new |
| Public IP address name | VNet1-ip |
| Public IP address SKU | Standard |
| Assignment | Static |
Deploy Bastion
This section helps you create a virtual network, subnets, and deploy Azure Bastion using Azure PowerShell.
Important
Hourly pricing starts from the moment that Bastion is deployed, regardless of outbound data usage. For more information, see Pricing and SKUs. If you're deploying Bastion as part of a tutorial or test, we recommend that you delete this resource after you finish using it.
Create a resource group, a virtual network, and a front end subnet to which you'll deploy the VMs that you'll connect to via Bastion. If you're running PowerShell locally, open your PowerShell console with elevated privileges and connect to Azure using the
Connect-AzAccountcommand.New-AzResourceGroup -Name TestRG1 -Location EastUS ` $frontendSubnet = New-AzVirtualNetworkSubnetConfig -Name FrontEnd ` -AddressPrefix "10.1.0.0/24" ` $virtualNetwork = New-AzVirtualNetwork ` -Name TestVNet1 -ResourceGroupName TestRG1 ` -Location EastUS -AddressPrefix "10.1.0.0/16" ` -Subnet $frontendSubnet ` $virtualNetwork | Set-AzVirtualNetworkConfigure and set the Azure Bastion subnet for your virtual network. This subnet is reserved exclusively for Azure Bastion resources. You must create this subnet using the name value AzureBastionSubnet. This value lets Azure know which subnet to deploy the Bastion resources to. The example in the following section helps you add an Azure Bastion subnet to an existing VNet.
- The smallest subnet AzureBastionSubnet size you can create is /26. We recommend that you create a /26 or larger size to accommodate host scaling.
- For more information about scaling, see Configuration settings - Host scaling.
- For more information about settings, see Configuration settings - AzureBastionSubnet.
- Create the AzureBastionSubnet without any route tables or delegations.
- If you use Network Security Groups on the AzureBastionSubnet, refer to the Work with NSGs article.
Set the variable.
$vnet = Get-AzVirtualNetwork -Name "TestVNet1" -ResourceGroupName "TestRG1"Add the subnet.
Add-AzVirtualNetworkSubnetConfig ` -Name "AzureBastionSubnet" -VirtualNetwork $vnet ` -AddressPrefix "10.1.1.0/26" | Set-AzVirtualNetwork- The smallest subnet AzureBastionSubnet size you can create is /26. We recommend that you create a /26 or larger size to accommodate host scaling.
Create a public IP address for Azure Bastion. The public IP is the public IP address of the Bastion resource on which RDP/SSH will be accessed (over port 443). The public IP address must be in the same region as the Bastion resource you're creating.
$publicip = New-AzPublicIpAddress -ResourceGroupName "TestRG1" `
-name "VNet1-ip" -location "EastUS" `
-AllocationMethod Static -Sku Standard
Create a new Azure Bastion resource in the AzureBastionSubnet using the New-AzBastion command. The following example uses the Basic SKU. However, you can also deploy Bastion using the Standard SKU by changing the -Sku value to "Standard". The Standard SKU lets you configure more Bastion features and connect to VMs using more connection types. You can also deploy Bastion automatically using the Developer SKU. For more information, see Bastion SKUs.
New-AzBastion -ResourceGroupName "TestRG1" -Name "VNet1-bastion" `
-PublicIpAddressRgName "TestRG1" -PublicIpAddressName "VNet1-ip" `
-VirtualNetworkRgName "TestRG1" -VirtualNetworkName "TestVNet1" `
-Sku "Basic"
It takes about 10 minutes for the Bastion resources to deploy. You can create a VM in the next section while Bastion deploys to your virtual network.
Create a VM
You can create a VM using the Quickstart: Create a VM using PowerShell or Quickstart: Create a VM using the portal articles. Be sure you deploy the VM to the same virtual network to which you deployed Bastion. The VM you create in this section isn't a part of the Bastion configuration and doesn't become a bastion host. You connect to this VM later in this tutorial via Bastion.
The following required roles for your resources.
Required VM roles:
- Reader role on the virtual machine.
- Reader role on the NIC with private IP of the virtual machine.
Required inbound ports:
- For Windows VMS - RDP (3389)
- For Linux VMs - SSH (22)
Connect to a VM
You can use the Connection steps in the following section to connect to your VM. You can also use any of the following articles to connect to a VM. Some connection types require the Bastion Standard SKU.
- Connect to a Windows VM
- Connect to a Linux VM
- Connect to a scale set
- Connect via IP address
- Connect from a native client
Connection steps
In the Azure portal, go to the virtual machine that you want to connect to.
At the top of the pane, select Connect > Bastion to go to the Bastion pane. You can also go to the Bastion pane by using the left menu.
The options available on the Bastion pane depend on the Bastion SKU. If you're using the Basic SKU, you connect to a Windows computer by using RDP and port 3389. Also for the Basic SKU, you connect to a Linux computer by using SSH and port 22. You don't have options to change the port number or the protocol. However, you can change the keyboard language for RDP by expanding Connection Settings.
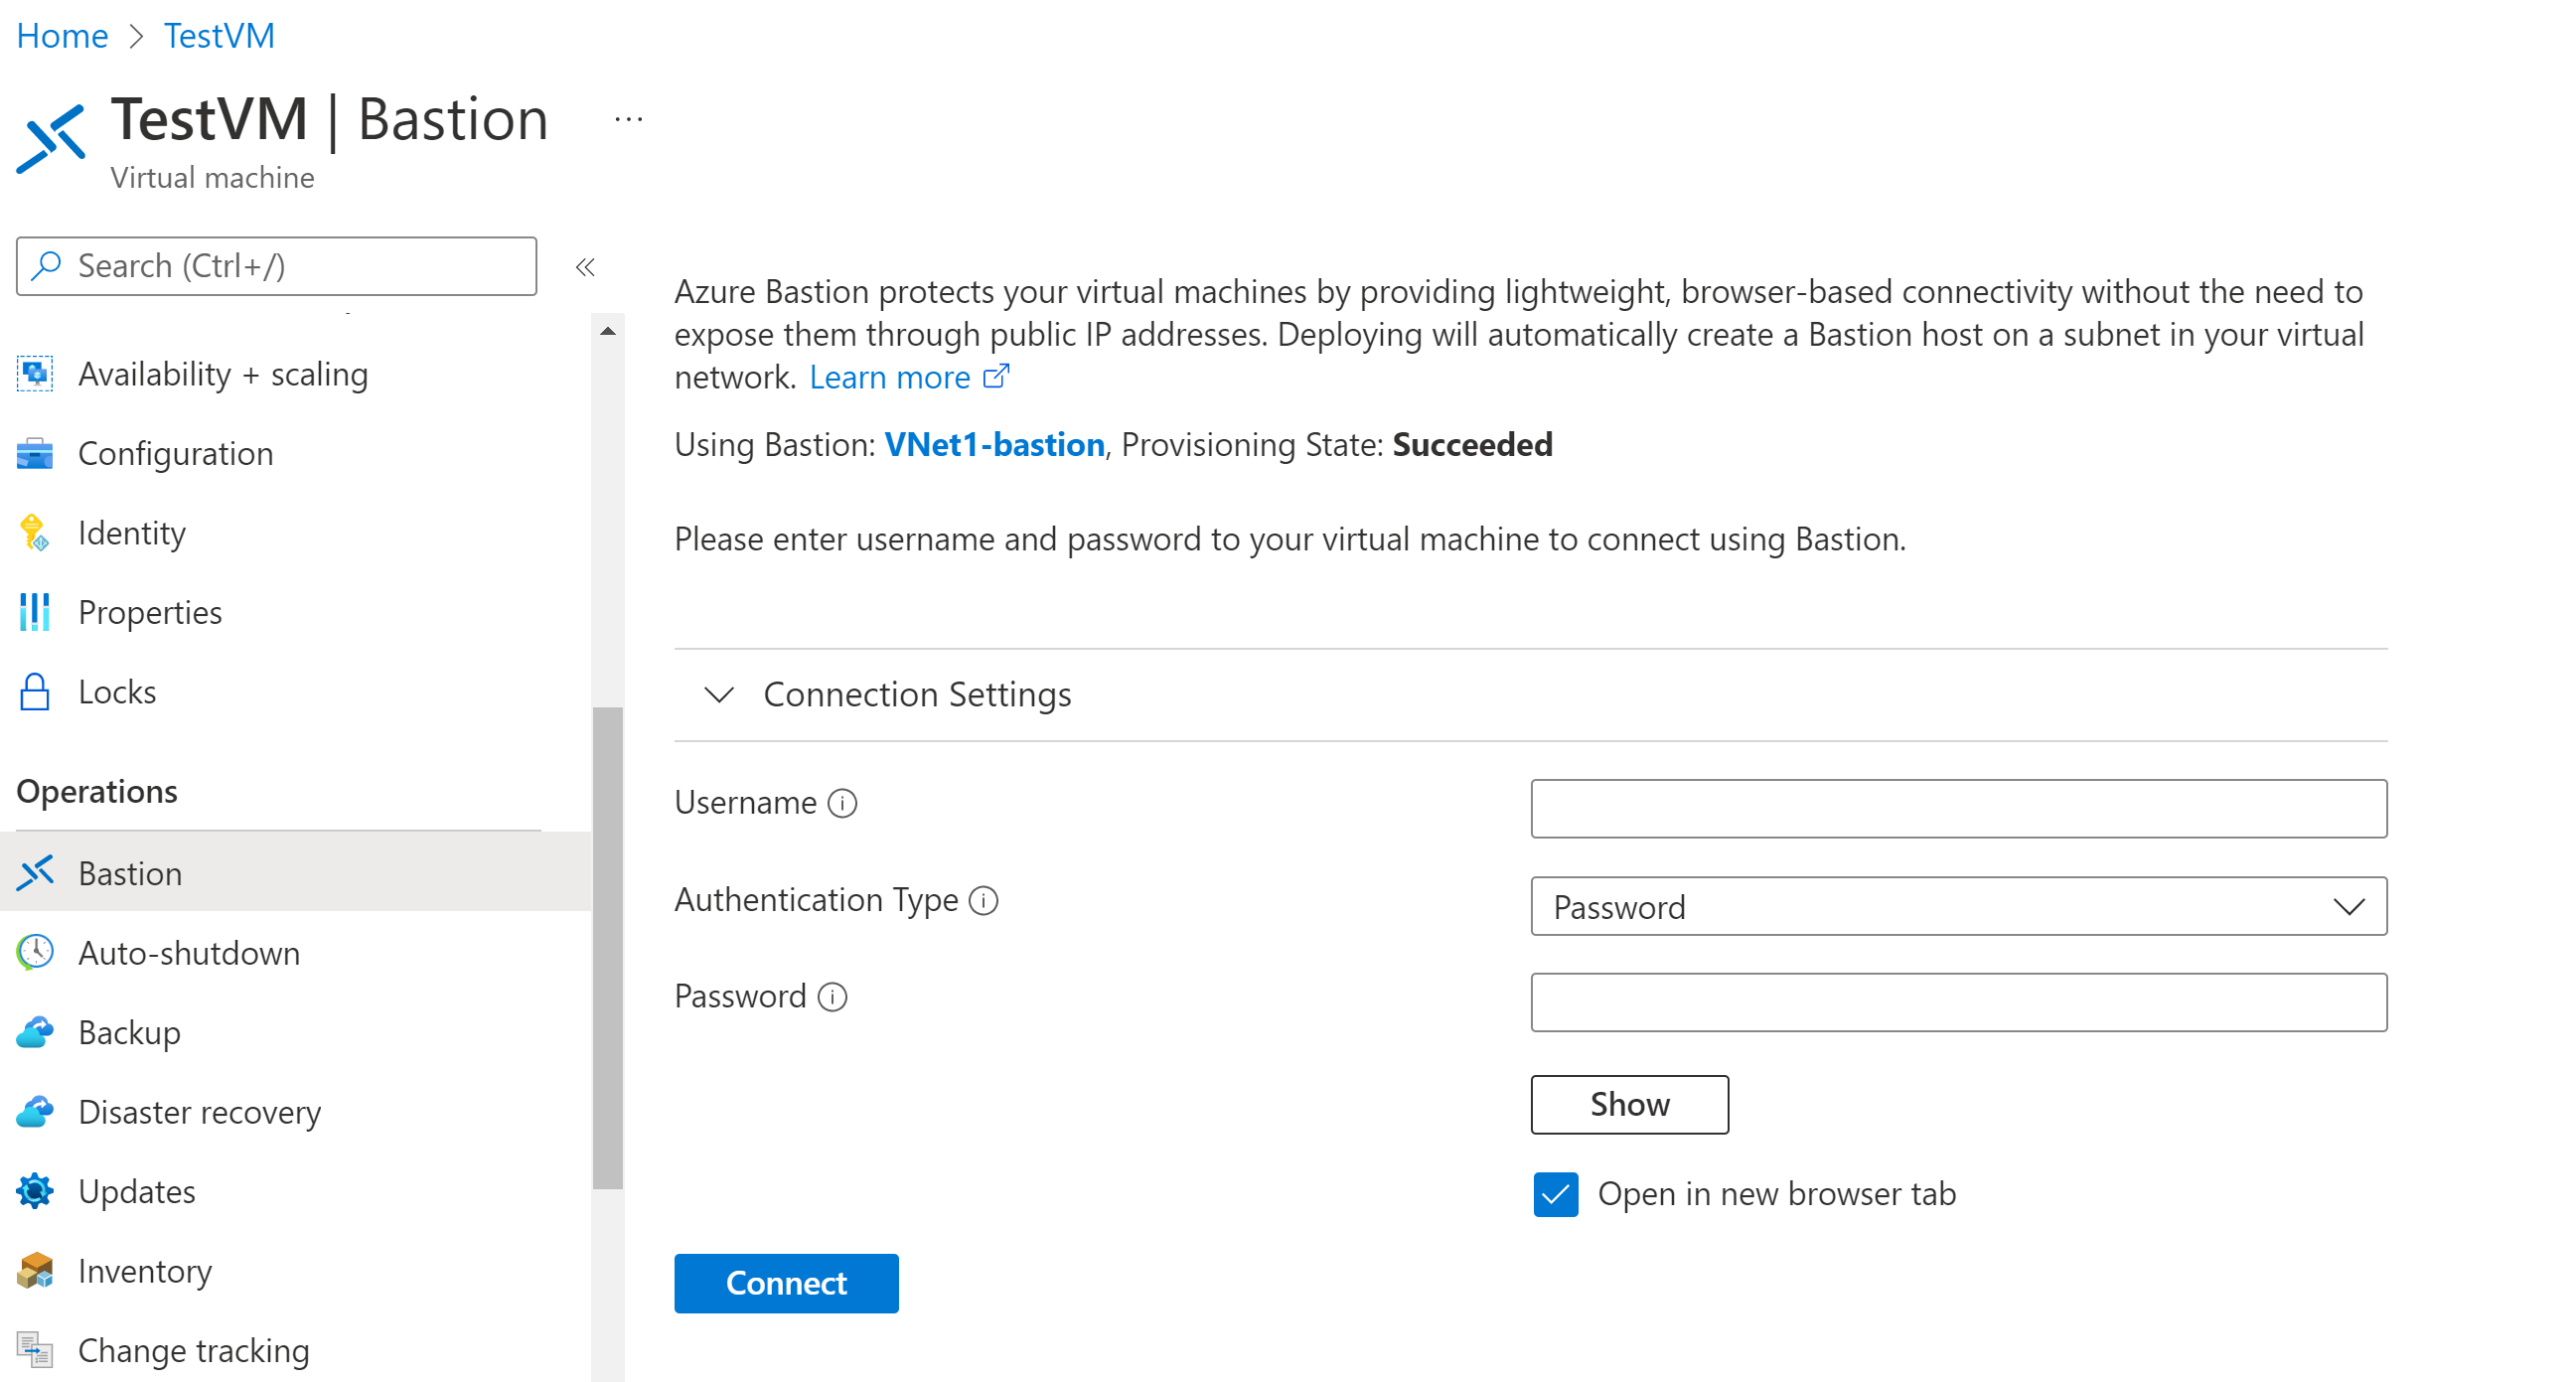
If you're using the Standard SKU, you have more connection protocol and port options available. Expand Connection Settings to see the options. Typically, unless you configure different settings for your VM, you connect to a Windows computer by using RDP and port 3389. You connect to a Linux computer by using SSH and port 22.

For Authentication Type, select from the dropdown list. The protocol determines the available authentication types. Complete the required authentication values.
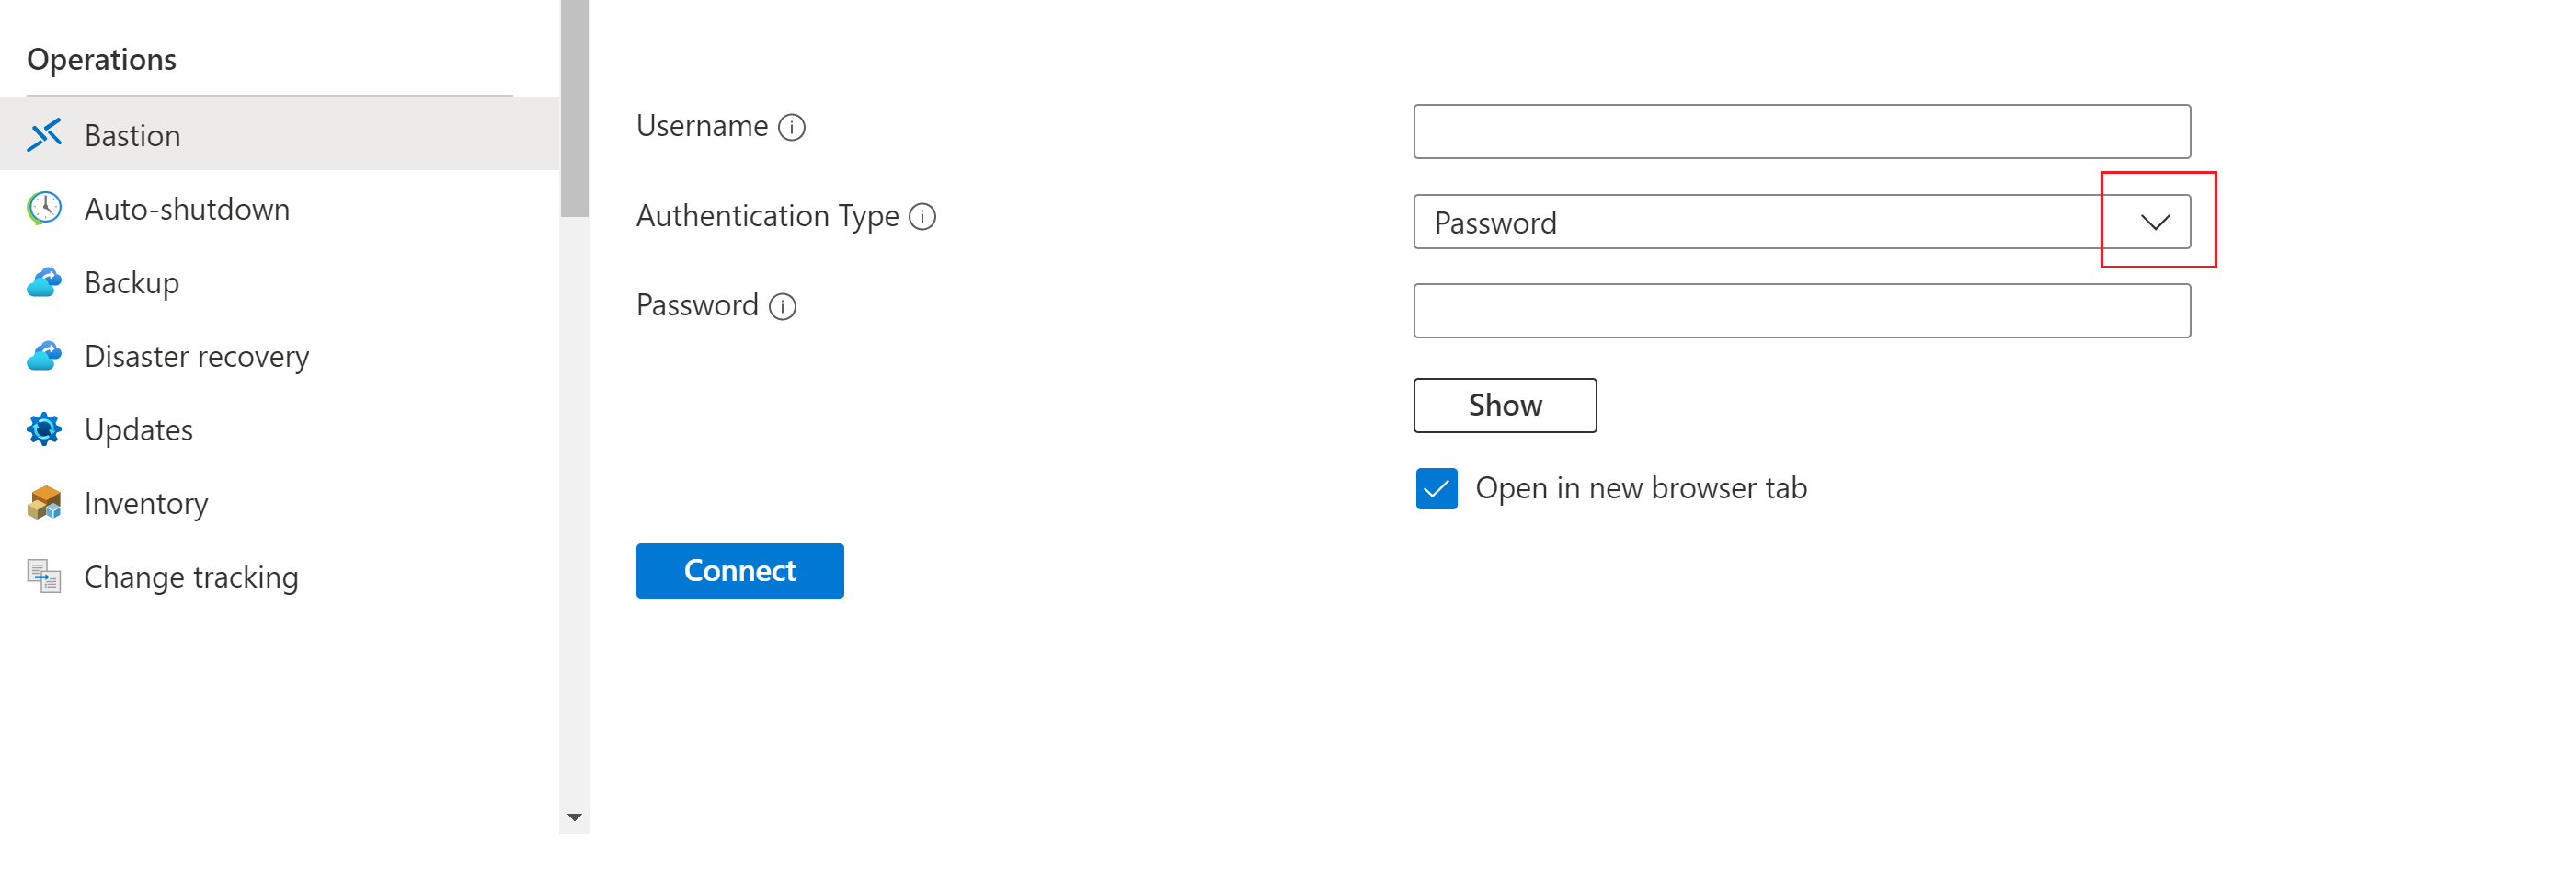
To open the VM session in a new browser tab, leave Open in new browser tab selected.
Select Connect to connect to the VM.
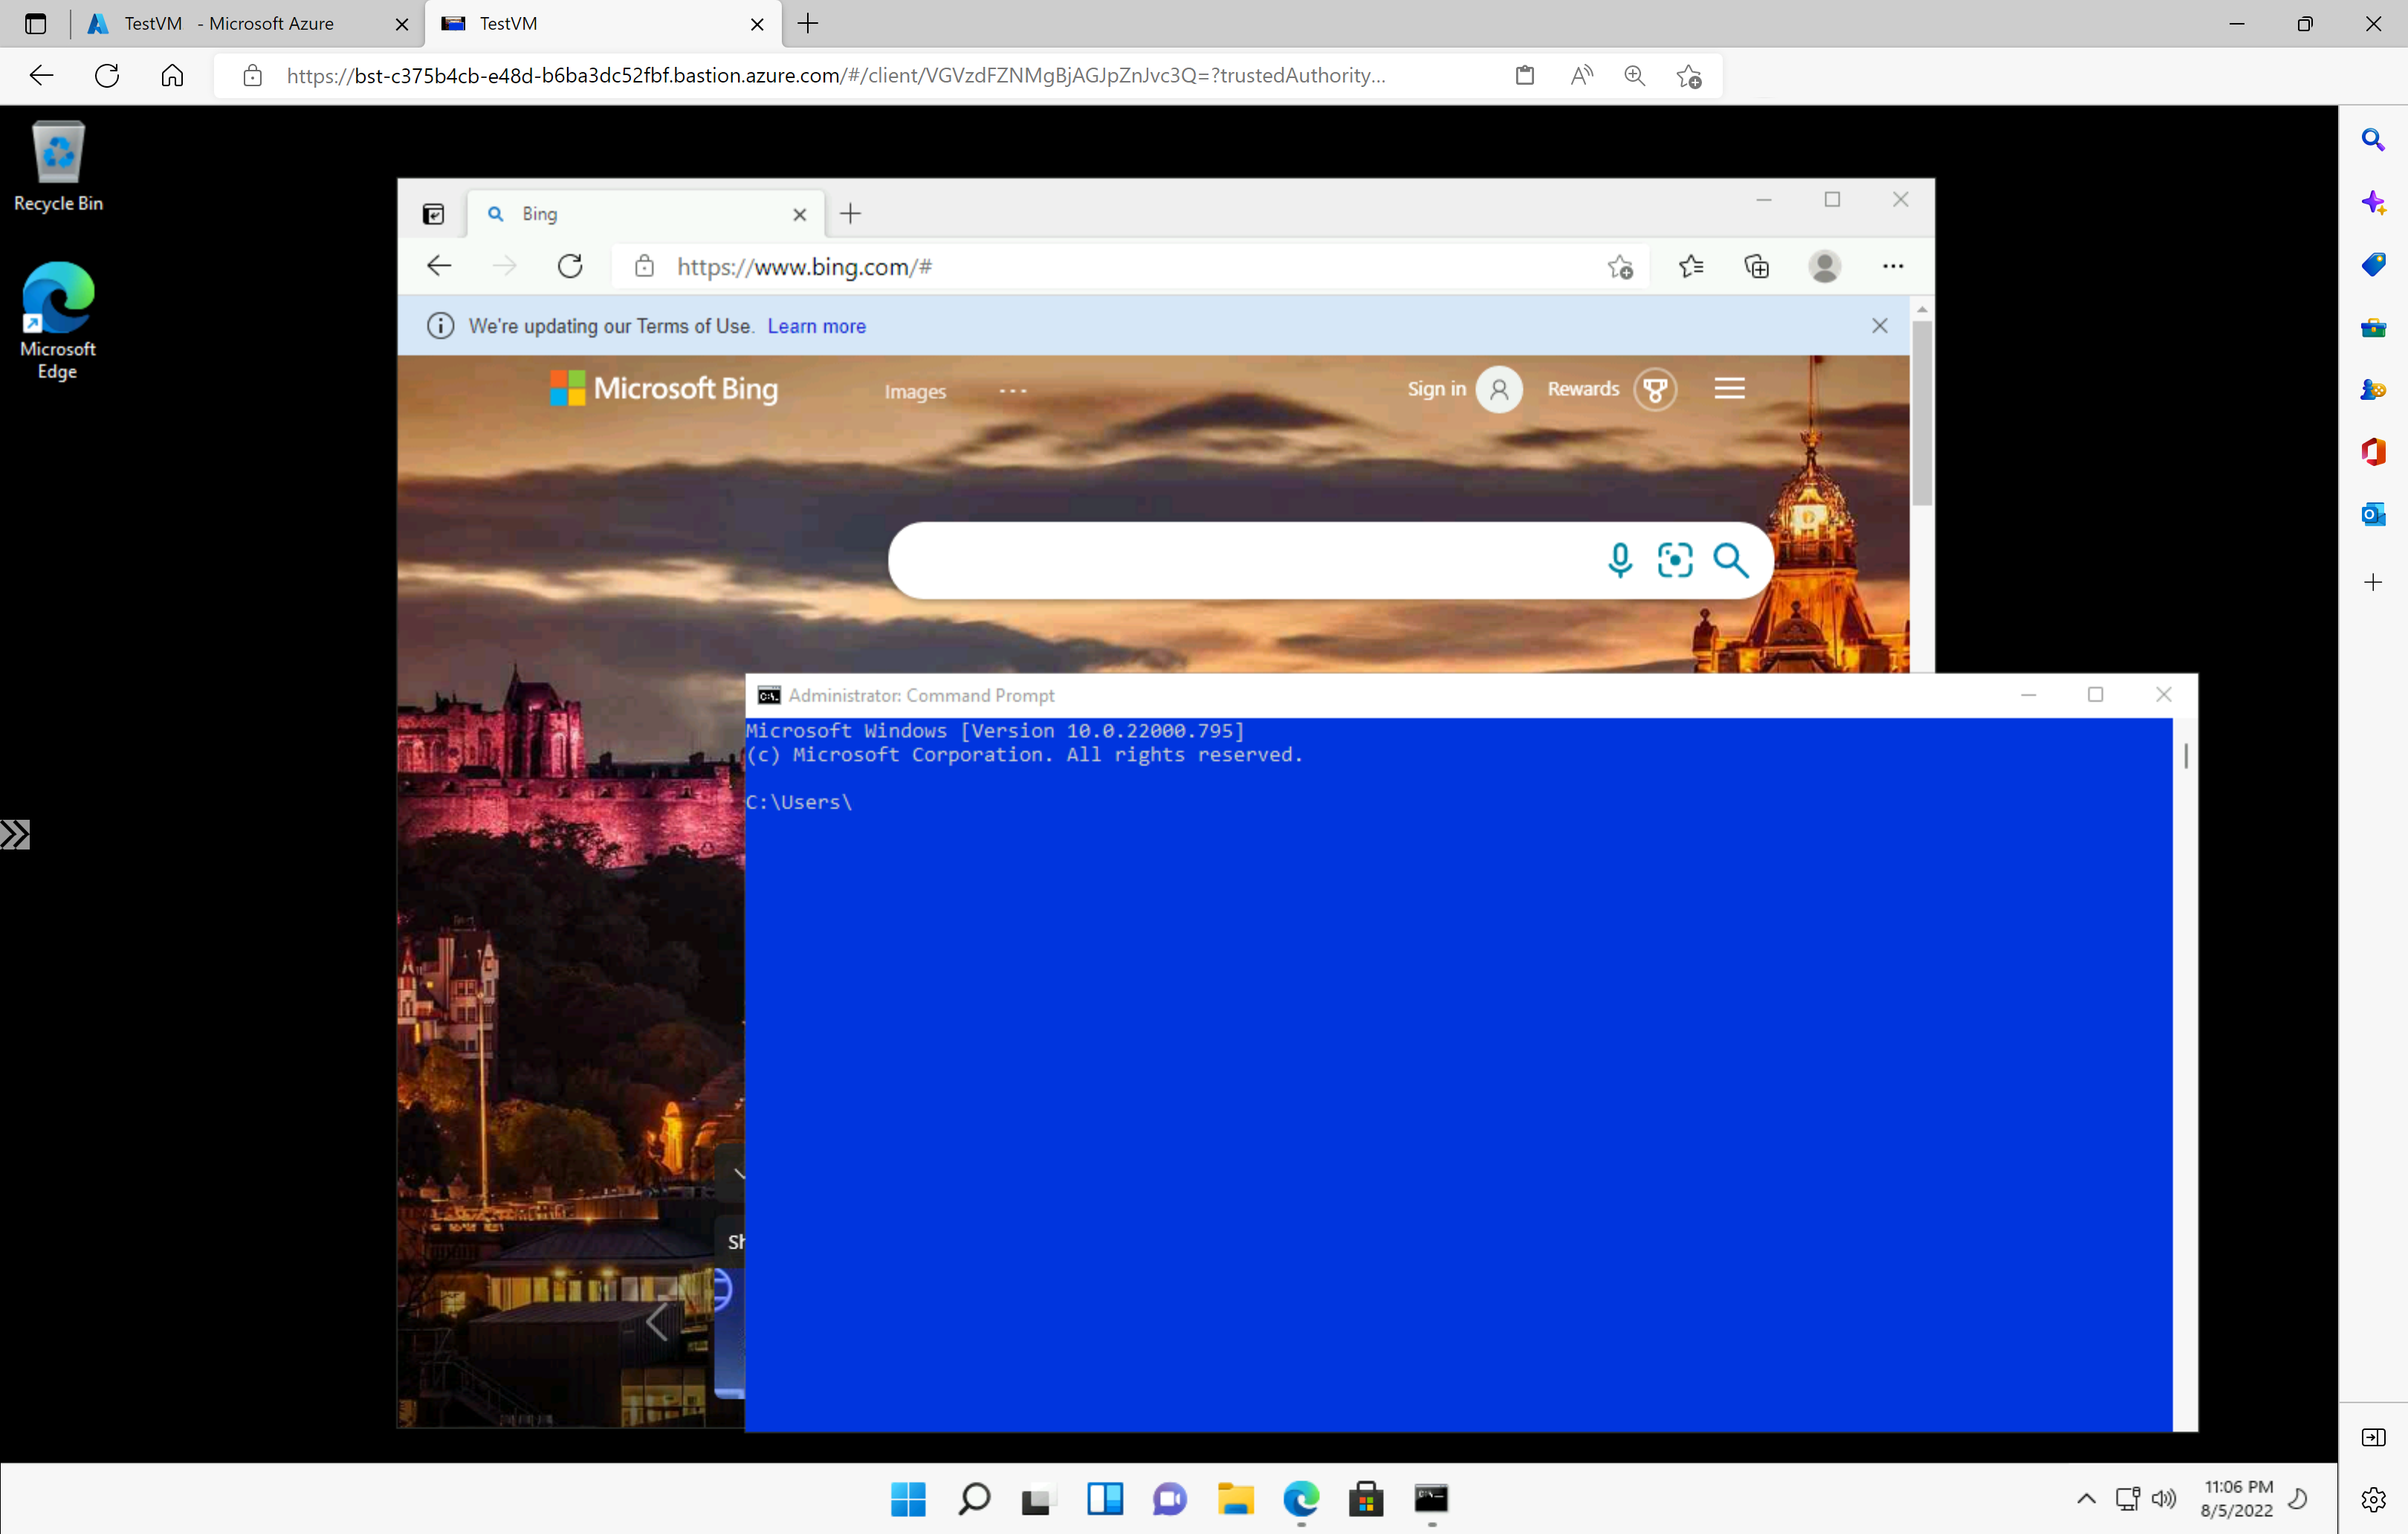
Confirm that the connection to the virtual machine opens directly in the Azure portal (over HTML5) by using port 443 and the Bastion service.
Note
When you connect, the desktop of the VM will look different from the example screenshot.


Using keyboard shortcut keys while you're connected to a VM might not result in the same behavior as shortcut keys on a local computer. For example, when you're connected to a Windows VM from a Windows client, Ctrl+Alt+End is the keyboard shortcut for Ctrl+Alt+Delete on a local computer. To do this from a Mac while you're connected to a Windows VM, the keyboard shortcut is Fn+Ctrl+Alt+Backspace.
To enable audio output
You can enable remote audio output for your VM. Some VMs automatically enable this setting, whereas others require you to enable audio settings manually. The settings are changed on the VM itself. Your Bastion deployment doesn't need any special configuration settings to enable remote audio output.
Note
Audio output uses bandwidth on your internet connection.
To enable remote audio output on a Windows VM:
- After you're connected to the VM, an audio button appears on the lower-right corner of the toolbar. Right-click the audio button, and then select Sounds.
- A pop-up message asks if you want to enable the Windows Audio Service. Select Yes. You can configure more audio options in Sound preferences.
- To verify sound output, hover over the audio button on the toolbar.
Remove VM public IP address
Azure Bastion doesn't use the public IP address to connect to the client VM. If you don't need the public IP address for your VM, you can disassociate the public IP address. See Dissociate a public IP address from an Azure VM.
Next steps
- To use Network Security Groups with the Azure Bastion subnet, see Work with NSGs.
- To understand VNet peering, see VNet peering and Azure Bastion.
Feedback
Coming soon: Throughout 2024 we will be phasing out GitHub Issues as the feedback mechanism for content and replacing it with a new feedback system. For more information see: https://aka.ms/ContentUserFeedback.
Submit and view feedback for