Apply the Key Vault VM extension to Azure Cloud Services (extended support)
This article provides basic information about the Azure Key Vault VM extension for Windows and shows you how to enable it in Azure Cloud Services.
What is the Key Vault VM extension?
The Key Vault VM extension provides automatic refresh of certificates stored in an Azure key vault. Specifically, the extension monitors a list of observed certificates stored in key vaults. When the extension detects a change, it retrieves and installs the corresponding certificates. For more information, see Key Vault VM extension for Windows.
What's new in the Key Vault VM extension?
The Key Vault VM extension is now supported on the Azure Cloud Services (extended support) platform to enable the management of certificates end to end. The extension can now pull certificates from a configured key vault at a predefined polling interval and install them for the service to use.
How can I use the Key Vault VM extension?
The following procedure will show you how to install the Key Vault VM extension on Azure Cloud Services by first creating a bootstrap certificate in your vault to get a token from Microsoft Entra ID. That token will help in the authentication of the extension with the vault. After the authentication process is set up and the extension is installed, all the latest certificates will be pulled down automatically at regular polling intervals.
Note
The Key Vault VM extension downloads all the certificates in the Windows certificate store to the location provided by the certificateStoreLocation property in the VM extension settings. Currently, the Key Vault VM extension grants access to the private key of the certificate only to the local system admin account.
Prerequisites
To use the Azure Key Vault VM extension, you need to have a Microsoft Entra tenant. For more information, see Quickstart: Set up a tenant.
Enable the Azure Key Vault VM extension
Generate a certificate in your vault and download the .cer file for that certificate.
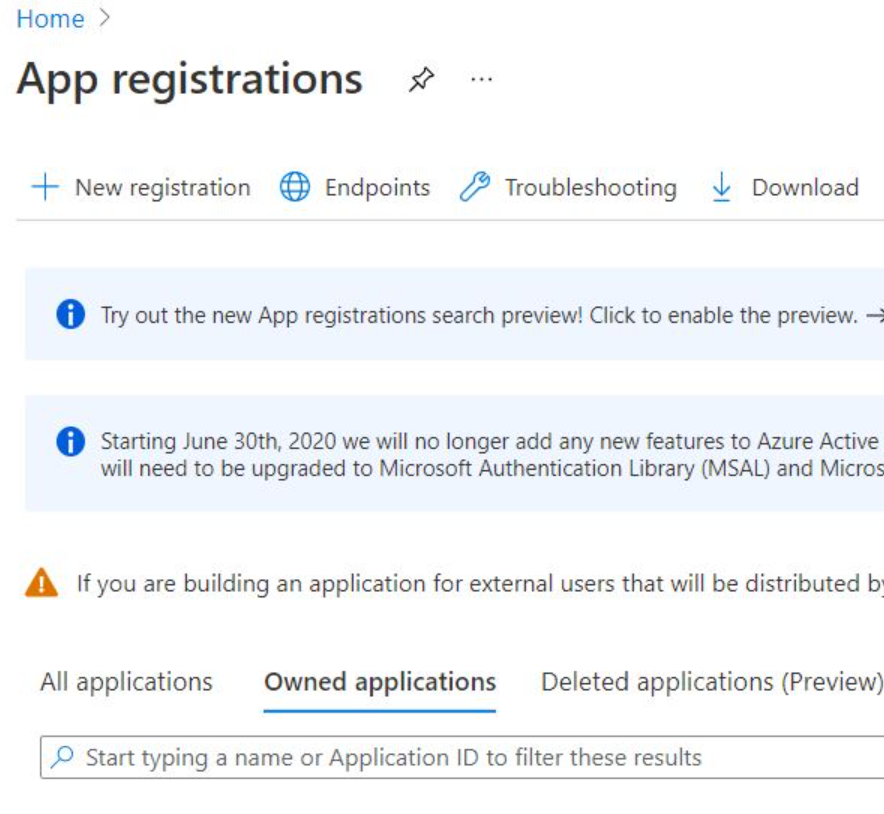
In the Azure portal, go to App registrations.

On the App registrations page, select New registration.
On the next page, fill out the form and complete the app creation.
Upload the .cer file of the certificate to the Microsoft Entra app portal.
Optionally, you can use the Azure Event Grid notification feature for Key Vault to upload the certificate.
Grant the Microsoft Entra app secret permissions in Key Vault:
- If you're using a role-based access control (RBAC) preview, search for the name of the Microsoft Entra app that you created and assign it to the Key Vault Secrets User (preview) role.
- If you're using vault access policies, assign Secret-Get permissions to the Microsoft Entra app that you created. For more information, see Assign access policies.
Install the Key Vault VM extension by using the Azure Resource Manager template snippet for the
cloudServiceresource:{ "osProfile": { "secrets": [ { "sourceVault": { "id": "[parameters('sourceVaultValue')]" }, "vaultCertificates": [ { "certificateUrl": "[parameters('bootstrpCertificateUrlValue')]" } ] } ] }, "extensionProfile": { "extensions": [ { "name": "KVVMExtensionForPaaS", "properties": { "type": "KeyVaultForPaaS", "autoUpgradeMinorVersion": true, "typeHandlerVersion": "1.0", "publisher": "Microsoft.Azure.KeyVault", "settings": { "secretsManagementSettings": { "pollingIntervalInS": "3600", "certificateStoreName": "My", "certificateStoreLocation": "LocalMachine", "linkOnRenewal": false, "requireInitialSync": false, "observedCertificates": "[parameters('keyVaultObservedCertificates']" }, "authenticationSettings": { "clientId": "Your AAD app ID", "clientCertificateSubjectName": "Your boot strap certificate subject name [Do not include the 'CN=' in the subject name]" } } } } ] } }You might need to specify the certificate store for the bootstrap certificate in ServiceDefinition.csdef:
    <Certificates>
             <Certificate name="bootstrapcert" storeLocation="LocalMachine" storeName="My" />
    </Certificates>
Next steps
Further improve your deployment by enabling monitoring in Azure Cloud Services (extended support).
Feedback
Coming soon: Throughout 2024 we will be phasing out GitHub Issues as the feedback mechanism for content and replacing it with a new feedback system. For more information see: https://aka.ms/ContentUserFeedback.
Submit and view feedback for