Assign access levels with group rules
Azure DevOps Services
Azure DevOps provides group-based access levels for Microsoft Entra groups and Azure DevOps groups. These groups allow you to manage permissions efficiently by assigning access levels to entire groups of users. In this article, learn how to add a group rule to assign an access level to that group of users. Azure DevOps resources get assigned to all members of a group.
Assign group rules to support both access levels and project memberships. Users get the highest access level when they're assigned to more than one rule or Microsoft Entra group, which specify different levels of access. For example, if John is assigned to two Microsoft Entra groups and two different Group rules that specify Stakeholder access and the other Basic access, then John's access level is Basic.
When users leave the Microsoft Entra group, Azure DevOps adjusts their access level based on the rules defined for that group. The user remains in Azure DevOps but may have different permissions or access rights. The highest access level assigned to the user determines their final permissions.
Note
- Changes made to project readers through group rules don't persist. If you need to adjust project readers, consider alternative methods, such as direct assignment or custom security groups.
- We recommend that you regularly review the rules listed on the "Group rules" tab of the "Users" page. If any changes get made to the Microsoft Entra ID group membership, these changes show up in the next re-evaluation of the group rules, which can be done on-demand, when a group rule gets modified, or automatically every 24 hours. Azure DevOps updates Microsoft Entra group membership every hour, but it may take up to 24 hours for Microsoft Entra ID to update dynamic group membership.
Prerequisites
- To manage group rules, you must be a member of the Project Collection Administrators group. If you're not a member, get added as one.
Add group rule
Sign in to your organization (
https://dev.azure.com/{yourorganization}).Select
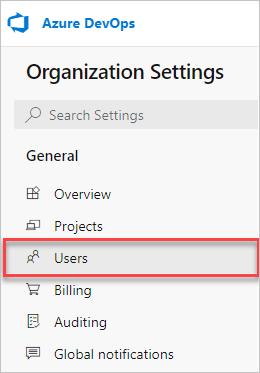
 Organization settings.
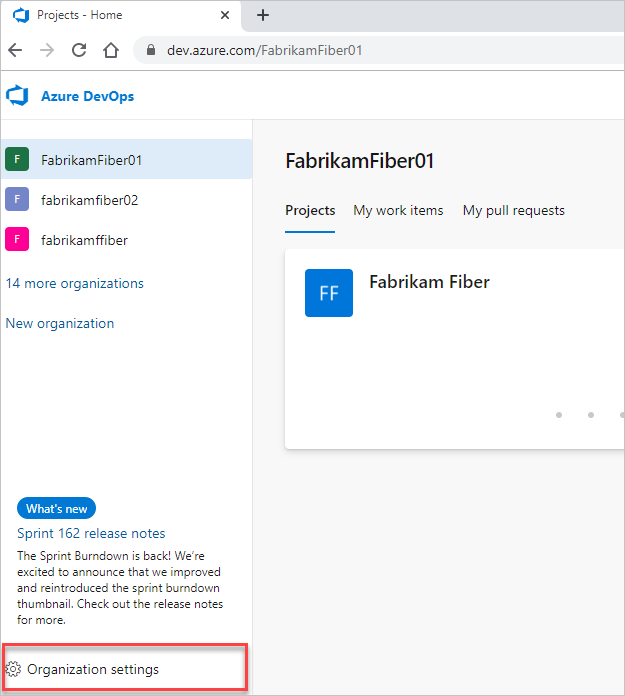
Select Permissions, and then verify that you're a member of the Project Collection Administrators group.

Select Users, and then select Group rules. This view shows you all of your created group rules. Select Add a group rule.
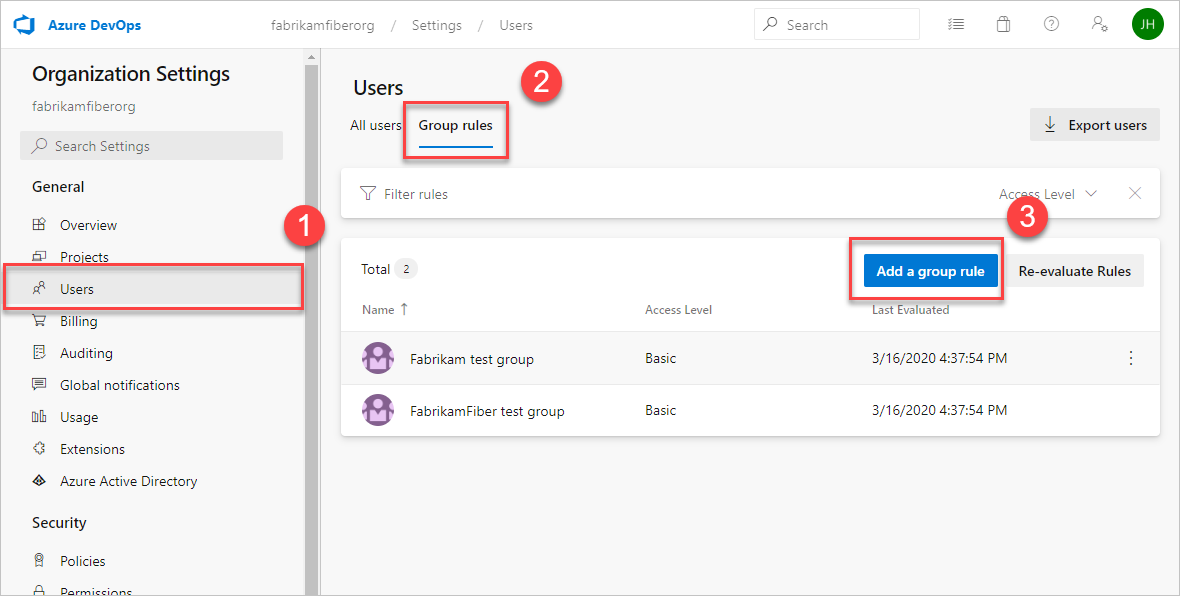
Group rules appear only if you're a member of the Project Collection Administrators group.
Complete the dialog box for the group for which you want to create a rule. Include an access level for the group and any optional project access for the group. Select Add.
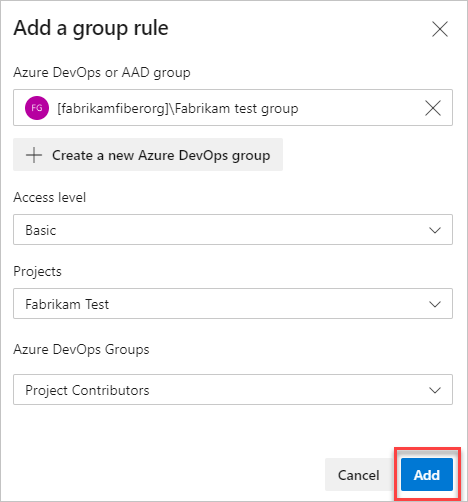
A notification displays, showing the status and outcome of the rule. If the assignment couldn't be completed, select View status to see the details.

Important
- Group rules only apply to users without direct assignments and to users added to the group going forward. Remove direct assignments so the group rules apply to those users.
- Users don't appear in All users until they attempt to sign in for the first time.
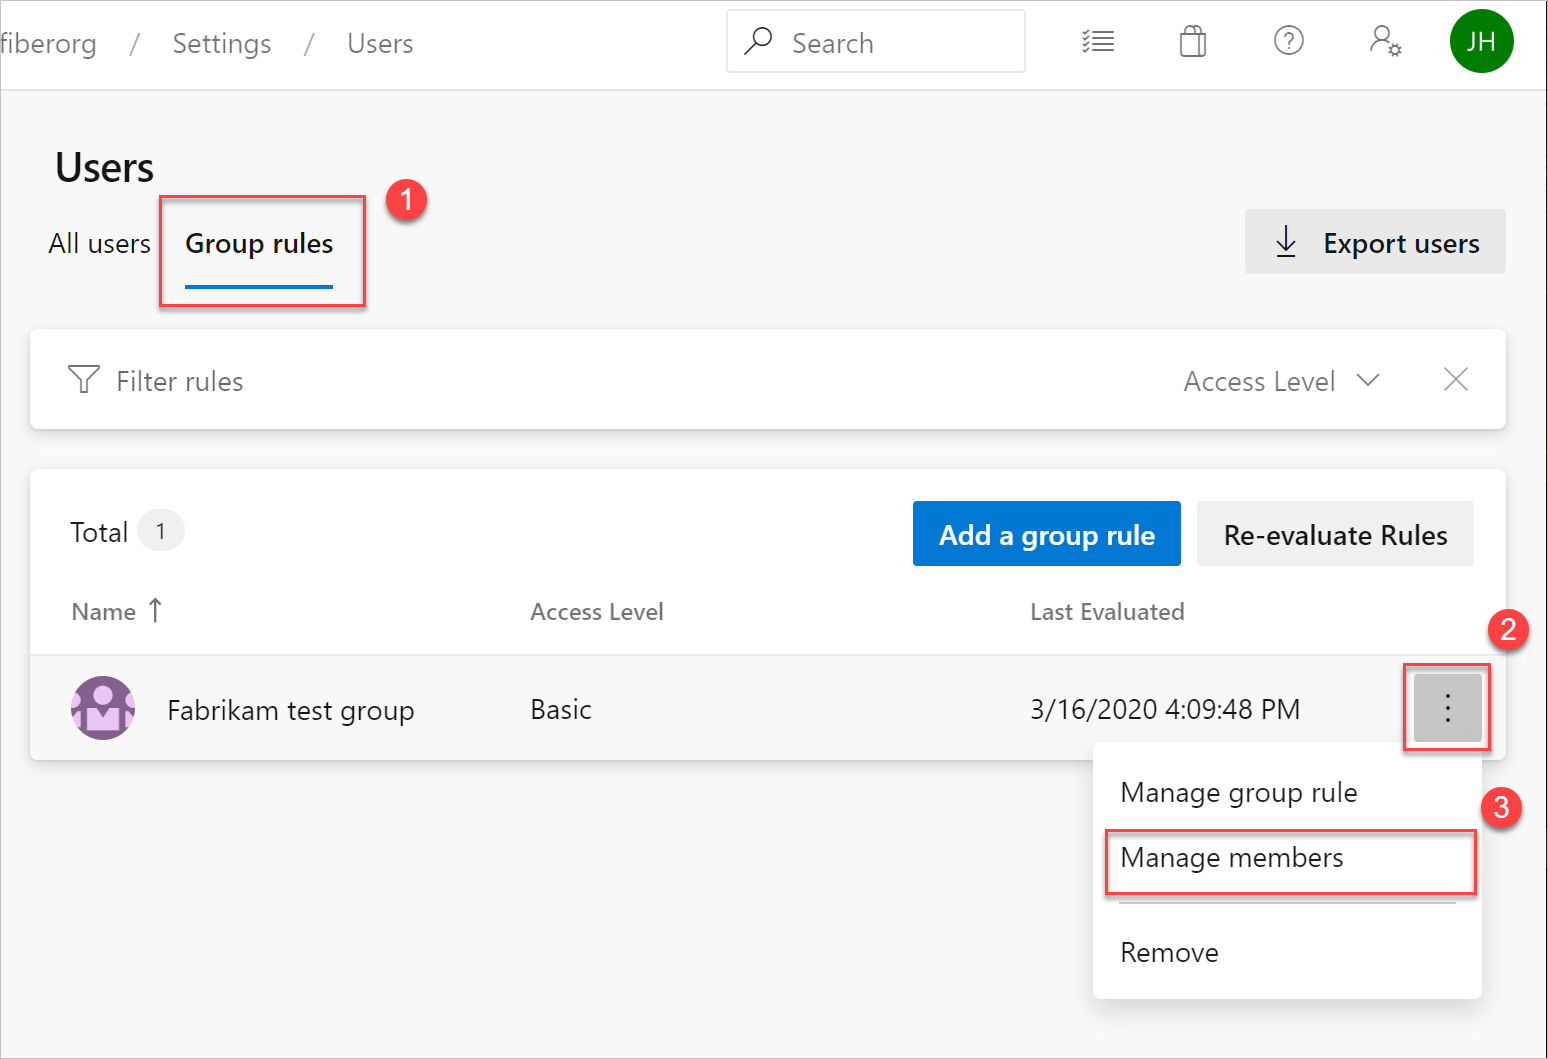
Manage group members
Select Group rules >
 > Manage members.
Leave existing automation for managing access levels for users running as-is (for example, PowerShell). The goal is to reflect the same resources that the automation is applying to those users.
Add members, and then select Add.
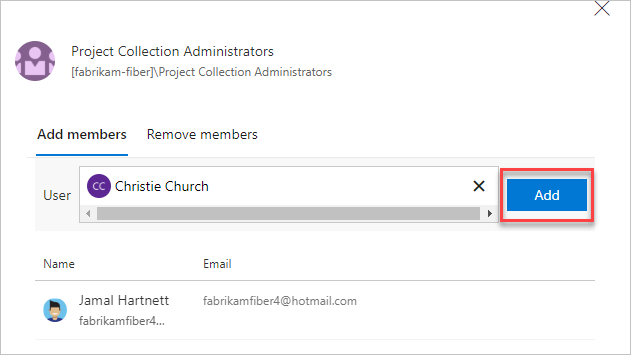
When you assign the same access level to a user, the user consumes only one access level. User assignments can be made both directly and through a group.
Verify group rule
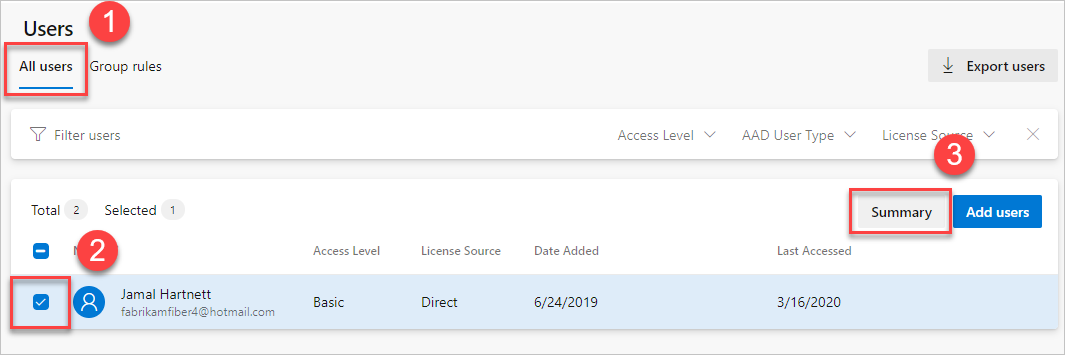
Verify that the resources are applied to each group and individual user. Select All users, highlight a user, and then select Summary.
Remove direct assignments
To manage a user's resources only by the groups that they're in, remove their direct assignments. Resources assigned to a user via individual assignment stay assigned to the user. This assignment stays whether the resources are assigned or taken away from the user's groups.
Sign in to your organization (
https://dev.azure.com/{yourorganization}).Select
Organization settings.Select Users.
Select all users with resources for management only by groups.
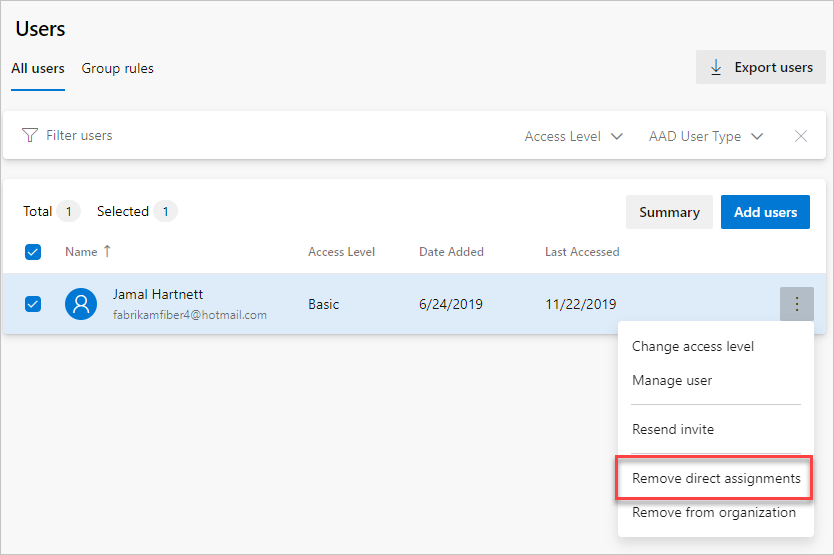
To confirm that you want to remove the direct assignments, select Remove.
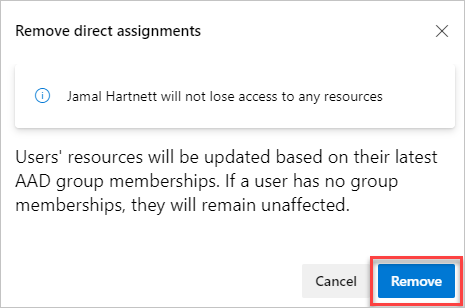
Direct assignments get removed from the users.
If a user isn't a member of any groups, then the user isn't affected.
FAQs
Q: How do Visual Studio Subscriptions work with group rules?
A: Visual Studio Subscribers are always directly assigned via the Visual Studio Admin Portal and take precedence in Azure DevOps over access levels assigned directly or via group rules. When you view these users from the Users Hub, the License Source always shows as Direct. The only exception are Visual Studio Professional subscribers who are assigned Basic + Test Plans. Since Basic + Test Plans provides more access in Azure DevOps, it takes precedence over a Visual Studio Professional subscription.
Related articles
Feedback
Coming soon: Throughout 2024 we will be phasing out GitHub Issues as the feedback mechanism for content and replacing it with a new feedback system. For more information see: https://aka.ms/ContentUserFeedback.
Submit and view feedback for