Create an IoT hub using the Azure portal
This article describes how to create and manage an IoT hub, using the Azure portal.
Create an IoT hub
This section describes how to create an IoT hub using the Azure portal.
Sign in to the Azure portal.
On the Azure homepage, select the + Create a resource button.
From the Categories menu, select Internet of Things, and then select IoT Hub.
On the Basics tab, complete the fields as follows:
Important
Because the IoT hub will be publicly discoverable as a DNS endpoint, be sure to avoid entering any sensitive or personally identifiable information when you name it.
Property Value Subscription Select the subscription to use for your hub. Resource group Select a resource group or create a new one. To create a new one, select Create new and fill in the name you want to use. IoT hub name Enter a name for your hub. This name must be globally unique, with a length between 3 and 50 alphanumeric characters. The name can also include the dash ( '-') character.Region Select the region, closest to you, where you want your hub to be located. Some features, such as IoT Hub device streams, are only available in specific regions. For these limited features, you must select one of the supported regions. Tier Select the tier that you want to use for your hub. Tier selection depends on how many features you want and how many messages you send through your solution per day.
The free tier is intended for testing and evaluation. The free tier allows 500 devices to be connected to the hub and up to 8,000 messages per day. Each Azure subscription can create one IoT hub in the free tier.
To compare the features available to each tier, select Compare tiers. For more information, see Choose the right IoT Hub tier for your solution.Daily message limit Select the maximum daily quota of messages for your hub. The available options depend on the tier you've selected for your hub. To see the available messaging and pricing options, select See all options and select the option that best matches the needs of your hub. For more information, see IoT Hub quotas and throttling. 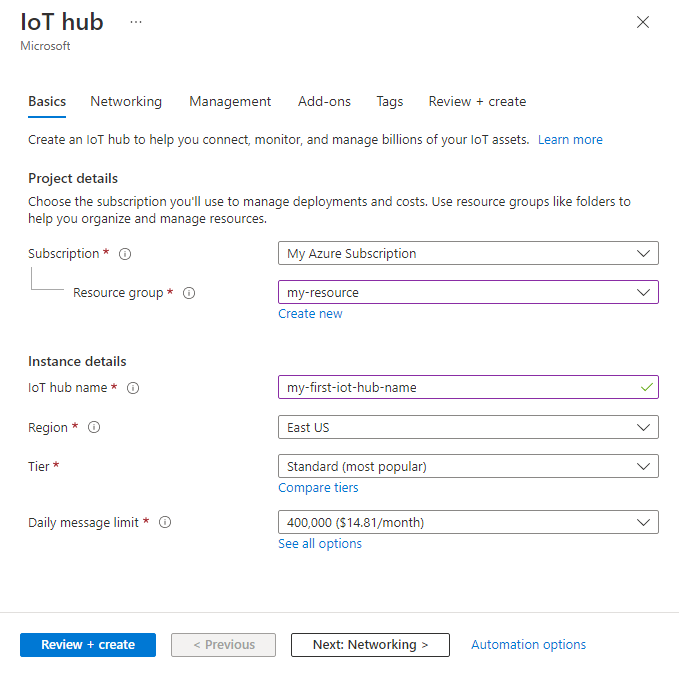
Note
Prices shown are for example purposes only.
Select Next: Networking to continue creating your hub.
On the Networking tab, complete the fields as follows:
Property Value Connectivity configuration Choose the endpoints that devices can use to connect to your IoT hub. Accept the default setting, Public access, for this example. You can change this setting after the IoT hub is created. For more information, see Managing public network access for your IoT hub. Minimum TLS Version Select the minimum TLS version to be supported by your IoT hub. Once the IoT hub is created, this value can't be changed. Accept the default setting, 1.0, for this example. 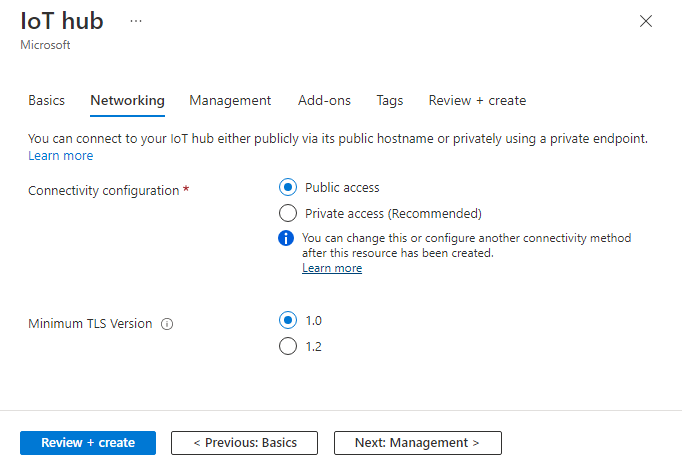
Select Next: Management to continue creating your hub.
On the Management tab, accept the default settings. If desired, you can modify any of the following fields:
Property Value Permission model Part of role-based access control, this property decides how you manage access to your IoT hub. Allow shared access policies or choose only role-based access control. For more information, see Control access to IoT Hub by using Microsoft Entra ID. Assign me You may need access to IoT Hub data APIs to manage elements within an instance. If you have access to role assignments, select IoT Hub Data Contributor role to grant yourself full access to the data APIs.
To assign Azure roles, you must haveMicrosoft.Authorization/roleAssignments/writepermissions, such as User Access Administrator or Owner.Device-to-cloud partitions This property relates the device-to-cloud messages to the number of simultaneous readers of the messages. Most IoT hubs need only four partitions. 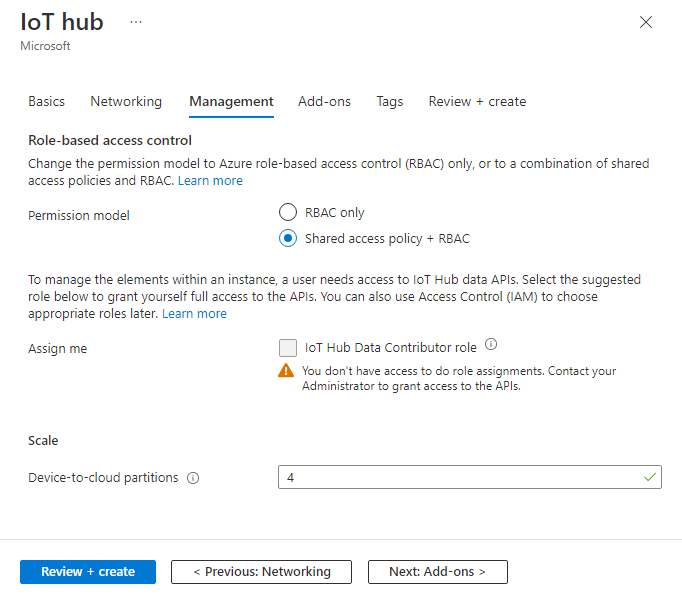
Select Next: Add-ons to continue to the next screen.
On the Add-ons tab, accept the default settings. If desired, you can modify any of the following fields:
Property Value Enable Device Update for IoT Hub Turn on Device Update for IoT Hub to enable over-the-air updates for your devices. If you select this option, you're prompted to provide information to provision a Device Update for IoT Hub account and instance. For more information, see What is Device Update for IoT Hub? Enable Defender for IoT Turn Defender for IoT on to add an extra layer of protection to IoT and your devices. This option isn't available for hubs in the free tier. Learn more about security recommendations for IoT Hub in Defender for IoT. 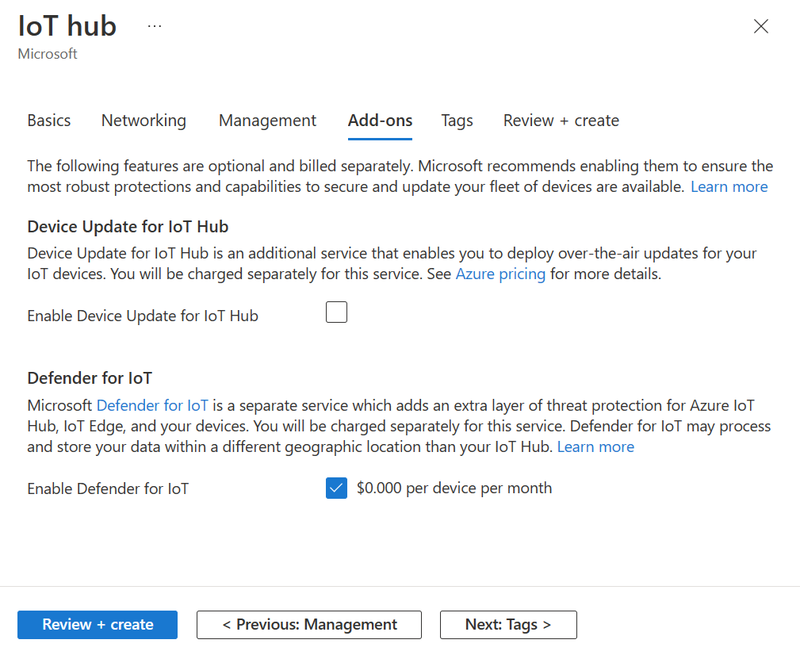
Note
Prices shown are for example purposes only.
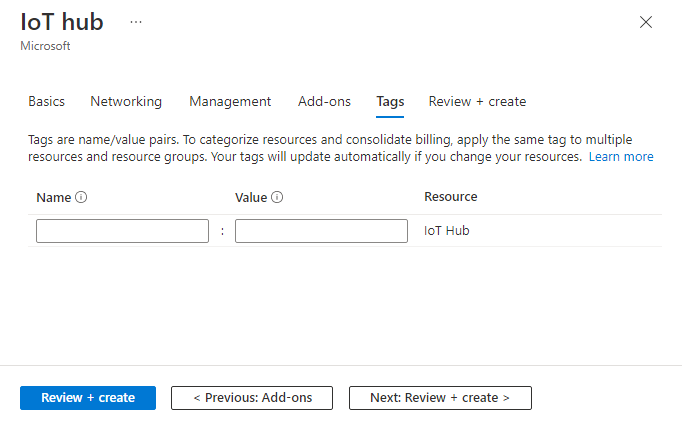
Select Next: Tags to continue to the next screen.
Tags are name/value pairs. You can assign the same tag to multiple resources and resource groups to categorize resources and consolidate billing. In this document, you won't be adding any tags. For more information, see Use tags to organize your Azure resources.
Select Next: Review + create to review your choices.
Select Create to start the deployment of your new hub. Your deployment will be in progress a few minutes while the hub is being created. Once the deployment is complete, select Go to resource to open the new hub.
Update the IoT hub
You can change the settings of an existing IoT hub after it's created from the IoT Hub pane. Here are some properties you can set for an IoT hub:
Pricing and scale: Migrate to a different tier or set the number of IoT Hub units.
IP Filter: Specify a range of IP addresses for the IoT hub to accept or reject.
Properties: A list of properties that you can copy and use elsewhere, such as the resource ID, resource group, location, and so on.
For a complete list of options to update an IoT hub, see the az iot hub update commands reference page.
Shared access policies
You can also view or modify the list of shared access policies by choosing Shared access policies in the Security settings section. These policies define the permissions for devices and services to connect to IoT Hub.
Select Add shared access policy to open the Add shared access policy page. You can enter the new policy name and the permissions that you want to associate with this policy, as shown in the following screenshot:

The Registry Read and Registry Write policies grant read and write access rights to the identity registry. These permissions are used by back-end cloud services to manage device identities. Choosing the write option automatically includes the read option.
The Service Connect policy grants permission to access service endpoints. This permission is used by back-end cloud services to send and receive messages from devices. It's also used to update and read device twin and module twin data.
The Device Connect policy grants permissions for sending and receiving messages using the IoT Hub device-side endpoints. This permission is used by devices to send and receive messages from an IoT hub or update and read device twin and module twin data. It's also used for file uploads.
Select Add to add your newly created policy to the existing list.
For more detailed information about the access granted by specific permissions, see IoT Hub permissions.
Register a new device in the IoT hub
In this section, you create a device identity in the identity registry in your IoT hub. A device can't connect to a hub unless it has an entry in the identity registry. For more information, see the IoT Hub developer guide.
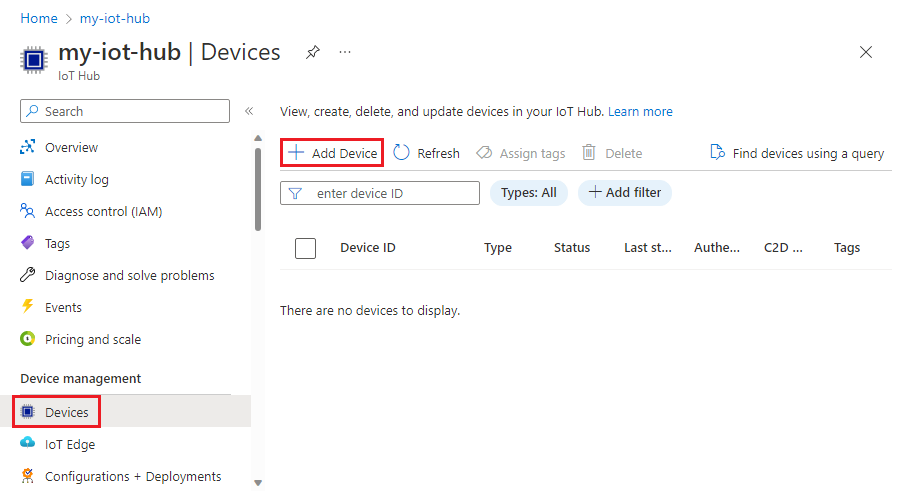
In your IoT hub navigation menu, open Devices, then select Add Device to add a device in your IoT hub.
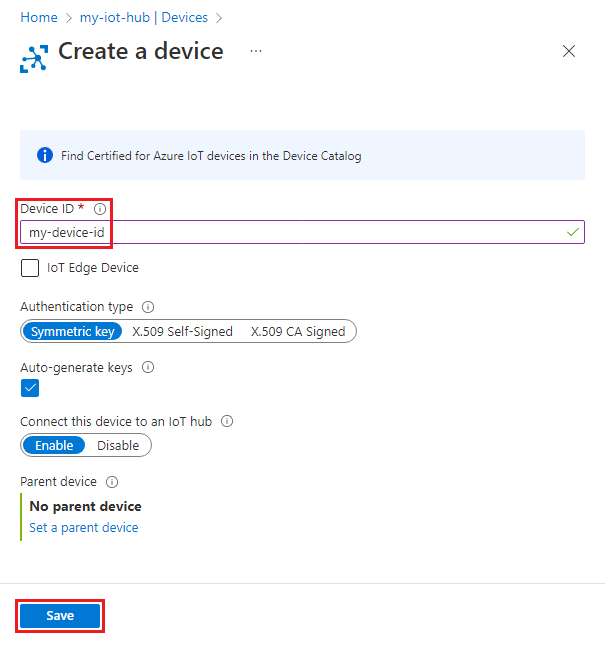
In Create a device, provide a name for your new device, such as myDeviceId, and select Save. This action creates a device identity for your IoT hub. Leave Auto-generate keys checked so that the primary and secondary keys will be generated automatically.
Important
The device ID may be visible in the logs collected for customer support and troubleshooting, so make sure to avoid any sensitive information while naming it.
After the device is created, open the device from the list in the Devices pane. Copy the value of Primary connection string. This connection string is used by device code to communicate with the IoT hub.
By default, the keys and connection strings are masked because they're sensitive information. If you click the eye icon, they're revealed. It's not necessary to reveal them to copy them with the copy button.


Note
The IoT Hub identity registry only stores device identities to enable secure access to the IoT hub. It stores device IDs and keys to use as security credentials, and an enabled/disabled flag that you can use to disable access for an individual device. If your application needs to store other device-specific metadata, it should use an application-specific store. For more information, see IoT Hub developer guide.
Disable or delete a device in an IoT hub
If you want to keep a device in your IoT hub's identity registry, but want to prevent it from connecting then you can change its status to disabled.
In the Azure portal, navigate to your IoT hub.
Select Devices from the navigation menu.
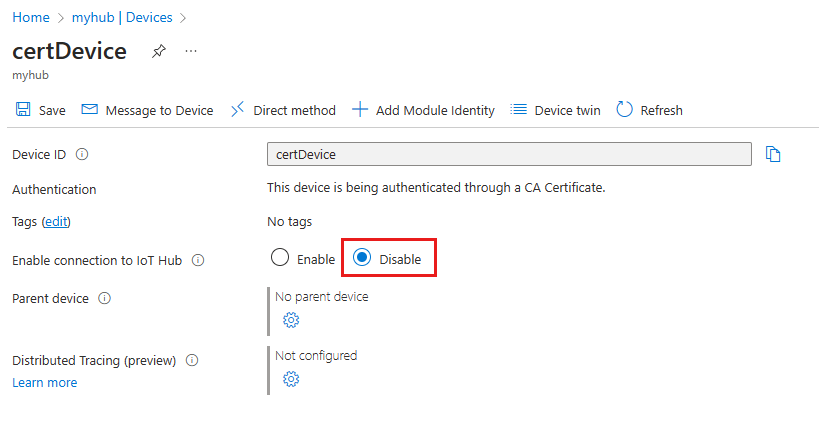
Select the name of the device that you want to disable to view its device details page.
On the device details page, set the Enable connection to IoT Hub parameter to Disable.
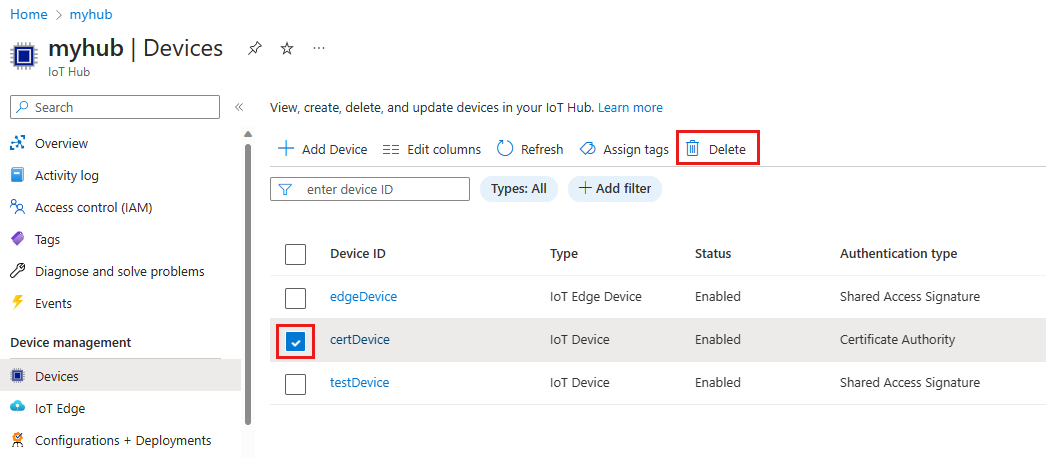
If you want to remove a device from your IoT hub's identity registry, you can delete its registration.
From the Devices page of your IoT hub, select the checkbox next to the device that you want to delete.
Select Delete to remove the device registration.
Delete an IoT hub
To delete an IoT hub, open your IoT hub in the Azure portal, then choose Delete.

Next steps
Learn more about managing Azure IoT Hub:
Feedback
Coming soon: Throughout 2024 we will be phasing out GitHub Issues as the feedback mechanism for content and replacing it with a new feedback system. For more information see: https://aka.ms/ContentUserFeedback.
Submit and view feedback for