Connect to and manage Azure Files in Microsoft Purview
This article outlines how to register Azure Files, and how to authenticate and interact with Azure Files in Microsoft Purview. For more information about Microsoft Purview, read the introductory article.
Supported capabilities
| Metadata Extraction | Full Scan | Incremental Scan | Scoped Scan | Classification | Labeling | Access Policy | Lineage | Data Sharing | Live view |
|---|---|---|---|---|---|---|---|---|---|
| Yes | Yes | Yes | Yes | Yes | Yes | No | Limited** | No | No |
** Lineage is supported if dataset is used as a source/sink in Data Factory Copy activity
Azure Files supports full and incremental scans to capture the metadata and classifications, based on system default and custom classification rules.
For file types such as csv, tsv, psv, ssv, the schema is extracted when the following logics are in place:
- First row values are non-empty
- First row values are unique
- First row values are neither a date nor a number
Prerequisites
An Azure account with an active subscription. Create an account for free.
An active Microsoft Purview account.
You will need to be a Data Source Administrator and Data Reader to register a source and manage it in the Microsoft Purview governance portal. See our Microsoft Purview Permissions page for details.
Register
This section describes how to register Azure Files in Microsoft Purview using the Microsoft Purview governance portal.
Authentication for registration
Currently there's only one way to set up authentication for Azure file shares:
- Account Key
Account Key to register
When authentication method selected is Account Key, you need to get your access key and store in the key vault:
- Navigate to your storage account
- Select Security + networking > Access keys
- Copy your key and save it somewhere for the next steps
- Navigate to your key vault
- Select Objects > Secrets
- Select + Generate/Import and enter the Name and Value as the key from your storage account
- Select Create to complete
- If your key vault isn't connected to Microsoft Purview yet, you will need to create a new key vault connection
- Finally, create a new credential using the key to set up your scan
Steps to register
To register a new Azure Files account in your data catalog, follow these steps:
Open the Microsoft Purview governance portal by:
- Browsing directly to https://web.purview.azure.com and selecting your Microsoft Purview account.
- Opening the Azure portal, searching for and selecting the Microsoft Purview account. Selecting the the Microsoft Purview governance portal button.
Select Data Map on the left navigation.
Select Register
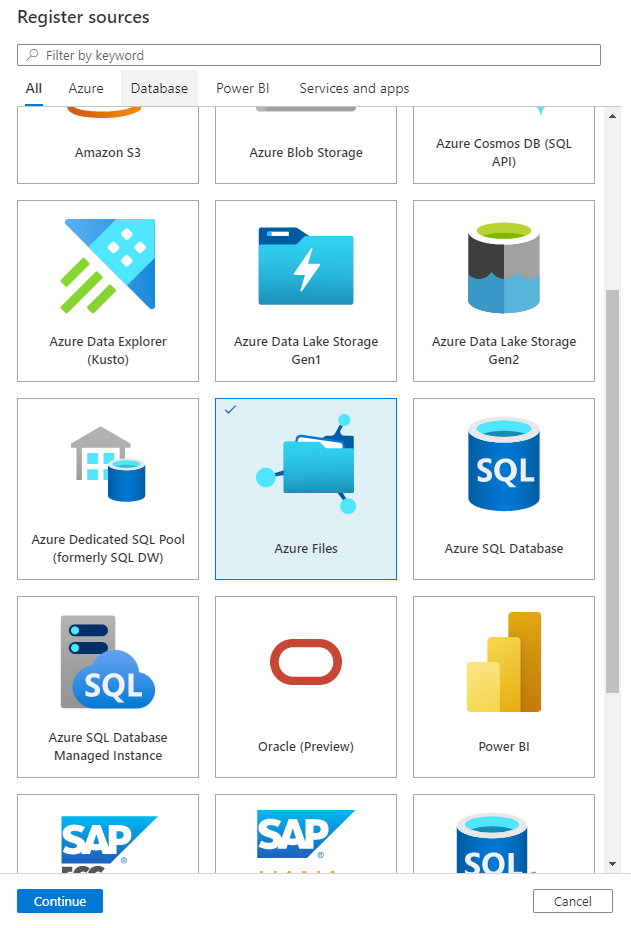
On Register sources, select Azure Files
Select Continue
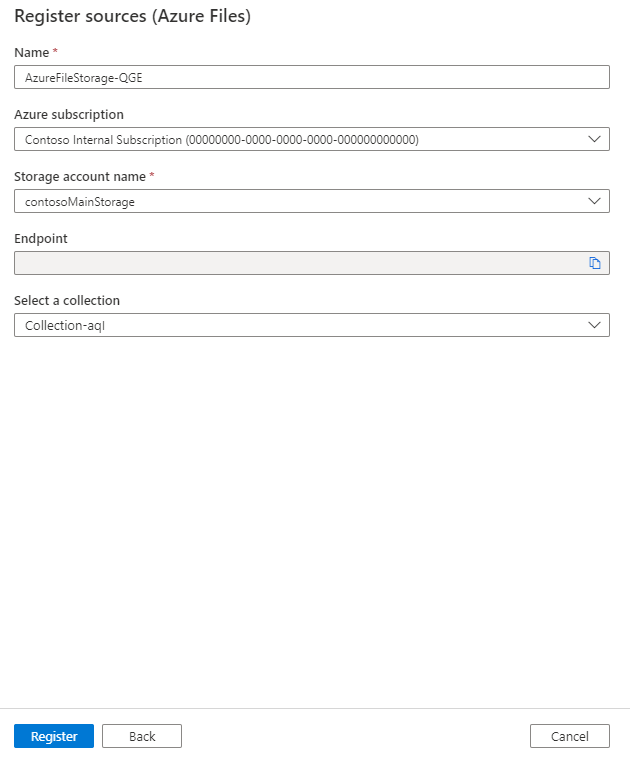
On the Register sources (Azure Files) screen, follow these steps:
- Enter a Name that the data source will be listed with in the Catalog.
- Choose your Azure subscription to filter down Azure Storage Accounts.
- Select an Azure Storage Account.
- Select a collection from the list.
- Select Register to register the data source.
Scan
Follow the steps below to scan Azure Files to automatically identify assets and classify your data. For more information about scanning in general, see our introduction to scans and ingestion
Create and run scan
To create and run a new scan, follow these steps:
Select the Data Map tab on the left pane in the Microsoft Purview governance portal.
Select the Azure Files source that you registered.
Select New scan
Choose either the Azure integration runtime if your source is publicly accessible, a managed virtual network integration runtime if using a managed virtual network, or a self-hosted integration runtime if your source is in a private virtual network. For more information about which integration runtime to use, see the choose the right integration runtime configuration article.
Select the account key credential to connect to your data source.
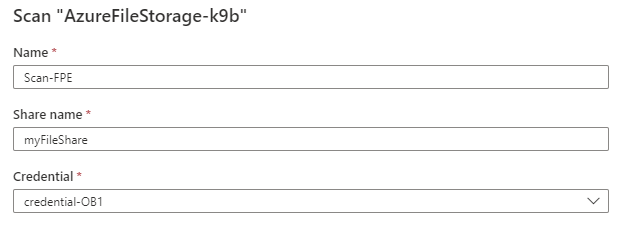
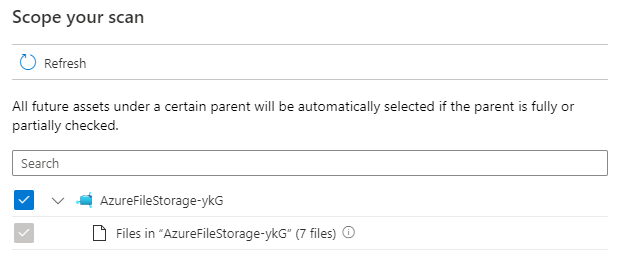
You can scope your scan to specific databases by choosing the appropriate items in the list.
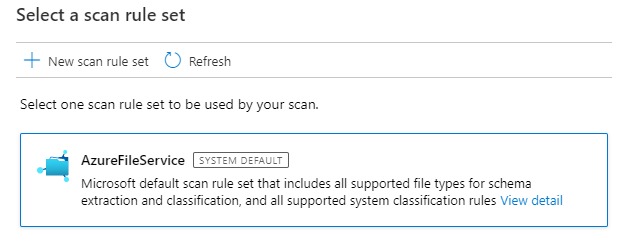
Then select a scan rule set. You can choose between the system default, existing custom rule sets, or create a new rule set inline.
Choose your scan trigger. You can set up a schedule to reoccur, or run the scan once.

Review your scan and select Save and run.
View your scans and scan runs
To view existing scans:
- Go to the Microsoft Purview portal. On the left pane, select Data map.
- Select the data source. You can view a list of existing scans on that data source under Recent scans, or you can view all scans on the Scans tab.
- Select the scan that has results you want to view. The pane shows you all the previous scan runs, along with the status and metrics for each scan run.
- Select the run ID to check the scan run details.
Manage your scans
To edit, cancel, or delete a scan:
Go to the Microsoft Purview portal. On the left pane, select Data Map.
Select the data source. You can view a list of existing scans on that data source under Recent scans, or you can view all scans on the Scans tab.
Select the scan that you want to manage. You can then:
- Edit the scan by selecting Edit scan.
- Cancel an in-progress scan by selecting Cancel scan run.
- Delete your scan by selecting Delete scan.
Note
- Deleting your scan does not delete catalog assets created from previous scans.
Next steps
Now that you have registered your source, follow the below guides to learn more about Microsoft Purview and your data.
Feedback
Coming soon: Throughout 2024 we will be phasing out GitHub Issues as the feedback mechanism for content and replacing it with a new feedback system. For more information see: https://aka.ms/ContentUserFeedback.
Submit and view feedback for