Tutorial: Deploy an application on your Service Fabric standalone cluster
Service Fabric standalone clusters offer you the option to choose your own environment and create a cluster as part of the "any OS, any cloud" approach that Service Fabric is taking. In this tutorial series, you create a standalone cluster hosted on AWS and deploy an application into it.
This tutorial is part three of a series. Service Fabric standalone clusters offer you the option to choose your own environment and create a cluster as part of our "any OS, any cloud" approach with Service Fabric. This tutorial shows you how to create the AWS infrastructure necessary to host this standalone cluster.
In this article, you'll learn how to:
- Download the sample app
- Deploy to the cluster
Prerequisites
Before you begin this tutorial:
- Install Visual Studio 2019 and install the Azure development and ASP.NET and web development workloads.
- Install the Service Fabric SDK
Download the voting sample application
In a command window, run the following command to clone the sample app repository to your local machine.
git clone https://github.com/Azure-Samples/service-fabric-dotnet-quickstart
Deploy the app to the Service Fabric cluster
Once the application is downloaded, you can deploy it to a cluster directly from Visual Studio.
Open Visual Studio
Select File > Open
Navigate to the folder you cloned the git repository to, and select Voting.sln
Right-click on the
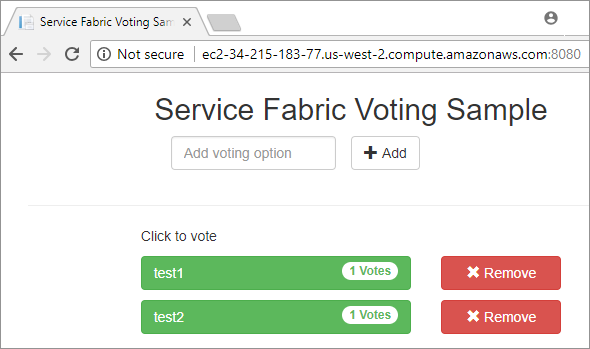
Votingapplication project in the Solution Explorer and choose PublishSelect the dropdown for the Connection Endpoint and enter the public DNS Name of one of the nodes in your cluster. For example,
ec2-34-215-183-77.us-west-2.compute.amazonaws.com:19000. In Azure, a fully qualified domain name (FQDN) is not given automatically, but can easily be set in VM Overview page.Open you preferred browser and type in the cluster address (the connection endpoint, this app deploys on port 8080 - for example, ec2-34-215-183-77.us-west-2.compute.amazonaws.com:8080).
Next steps
In this article, you learned how to deploy an application to your cluster:
- Download the sample app
- Deploy to the cluster
Advance to part four of the series to clean up your cluster.
Feedback
Coming soon: Throughout 2024 we will be phasing out GitHub Issues as the feedback mechanism for content and replacing it with a new feedback system. For more information see: https://aka.ms/ContentUserFeedback.
Submit and view feedback for