Quickstart: Create a Synapse workspace
This quickstart describes the steps to create an Azure Synapse workspace by using the Azure portal.
Create a Synapse workspace
- Open the Azure portal, and at the top search for Synapse.
- In the search results, under Services, select Azure Synapse Analytics.
- Select Add to create a workspace.
- In the Basics tab, give the workspace a unique name. We'll use mysworkspace in this document
- You need an ADLSGEN2 account to create a workspace. The simplest choice is to create a new one. If you want to re-use an existing one you'll need to perform some additional configuration.
- OPTION 1 Creating a new ADLSGEN2 account
- Under Select Data Lake Storage Gen 2 / Account Name, click Create New and provide a global unique name, such as contosolake.
- Under Select Data Lake Storage Gen 2 / File system name, click File System and name it users.
- OPTION 2 See the Prepare a Storage Account instructions at the bottom of this document.
- Your Azure Synapse workspace will use this storage account as the "primary" storage account and the container to store workspace data. The workspace stores data in Apache Spark tables. It stores Spark application logs under a folder called /synapse/workspacename.
- Select Review + create > Create. Your workspace is ready in a few minutes.
Note
After creating your Azure Synapse workspace, you will not be able to move the workspace to another Microsoft Entra tenant. If you do so through subscription migration or other actions, you may lose access to the artifacts within the workspace.
Open Synapse Studio
After your Azure Synapse workspace is created, you have two ways to open Synapse Studio:
- Open your Synapse workspace in the Azure portal. On the top of the Overview section, select Launch Synapse Studio.
- Go to the
https://web.azuresynapse.netand sign in to your workspace.
Prepare an existing storage account for use with Azure Synapse Analytics
Open the Azure portal.
Navigate to an existing ADLSGEN2 storage account
Select Access control (IAM).
Select Add > Add role assignment to open the Add role assignment page.
Assign the following role. For detailed steps, see Assign Azure roles using the Azure portal.
Setting Value Role Owner and Storage Blob Data Owner Assign access to USER Members your user name 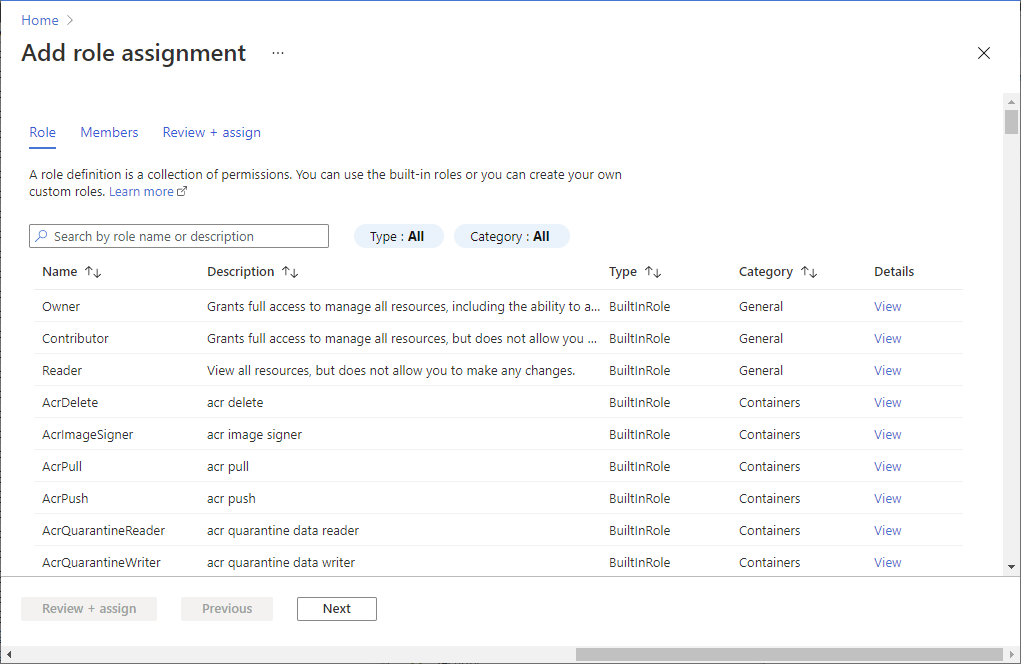
On the left pane, select Containers and create a container.
You can give the container any name. In this document, we'll name the container users.
Accept the default setting Public access level, and then select Create.
Configure access to the storage account from your workspace
Managed identities for your Azure Synapse workspace might already have access to the storage account. Follow these steps to make sure:
Open the Azure portal and the primary storage account chosen for your workspace.
Select Access control (IAM).
Select Add > Add role assignment to open the Add role assignment page.
Assign the following role. For detailed steps, see Assign Azure roles using the Azure portal.
Setting Value Role Storage Blob Data Contributor Assign access to MANAGEDIDENTITY Members myworkspace Note
The managed identity name is also the workspace name.
Select Save.
Next steps
Feedback
Coming soon: Throughout 2024 we will be phasing out GitHub Issues as the feedback mechanism for content and replacing it with a new feedback system. For more information see: https://aka.ms/ContentUserFeedback.
Submit and view feedback for