Tutorial: Migrate a virtual machine public IP address to Azure NAT Gateway
In this tutorial, you learn how to migrate your virtual machine's public IP address to a NAT gateway. You learn how to remove the IP address from the virtual machine. You reuse the IP address from the virtual machine for the NAT gateway.
Azure NAT Gateway is the recommended method for outbound connectivity. Azure NAT Gateway is a fully managed and highly resilient Network Address Translation (NAT) service. A NAT gateway doesn't have the same limitations of Source Network Address Translation (SNAT) port exhaustion as default outbound access. A NAT gateway replaces the need for a virtual machine to have a public IP address to have outbound connectivity.
For more information about Azure NAT Gateway, see What is Azure NAT Gateway?
In this tutorial, you learn how to:
- Remove the public IP address from the virtual machine.
- Associate the public IP address from the virtual machine with a NAT gateway.
Prerequisites
An Azure account with an active subscription. Create an account for free.
An Azure Virtual Machine with a public IP address assigned to its network interface. For more information on creating a virtual machine with a public IP, see Quickstart: Create a Windows virtual machine in the Azure portal.
- For the purposes of this article, the example virtual machine is named myVM. The example public IP address is named myPublicIP.
Note
Removal of the public IP address prevents direct connections to the virtual machine from the internet. RDP or SSH access won't function to the virtual machine after you complete this migration. To securely manage virtual machines in your subscription, use Azure Bastion. For more information on Azure Bastion, see What is Azure Bastion?.
Remove public IP from virtual machine
In this section, you learn how to remove the public IP address from the virtual machine.
Sign in to the Azure portal.
In the search box at the top of the portal, enter Virtual machine. Select Virtual machines.
In Virtual machines, select myVM or your virtual machine.
In the Overview of myVM, select Public IP address.

In myPublicIP, select the Overview page in the left-hand column.
In Overview, select Dissociate.
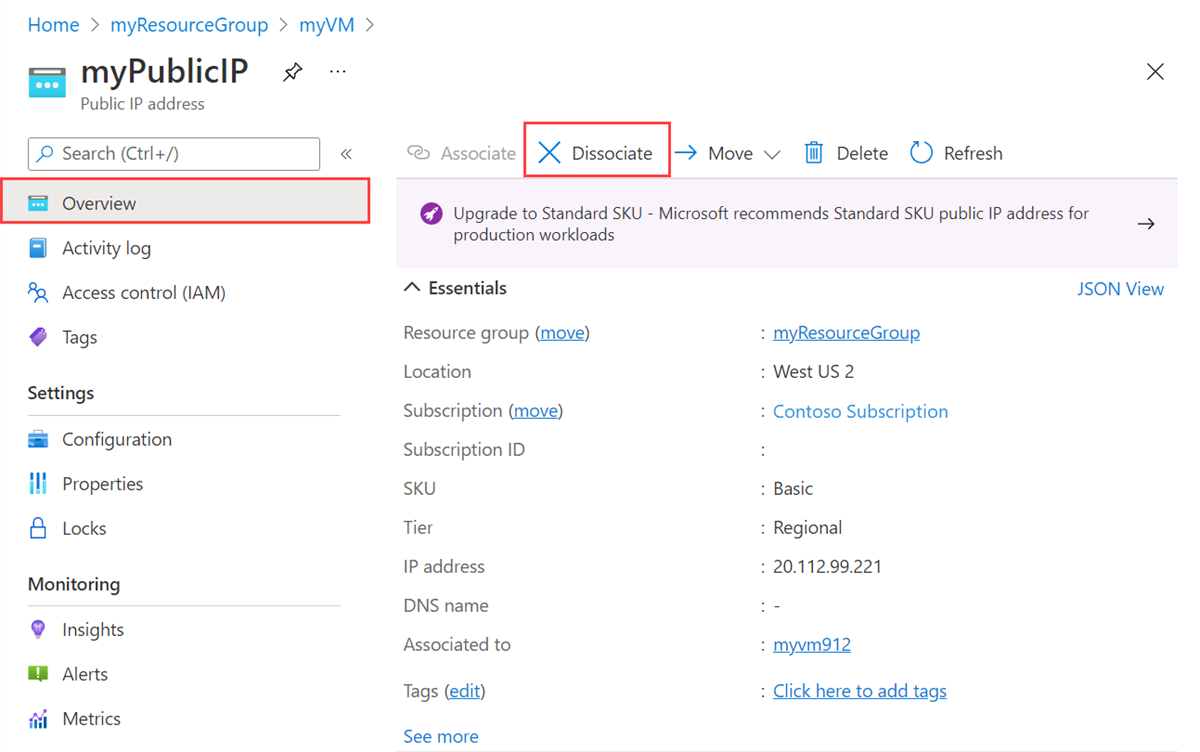
Select Yes in Dissociate public IP address.
(Optional) Upgrade IP address
The NAT gateway resource requires a standard public IP address. In this section, you upgrade the IP you removed from the virtual machine in the previous section. If the IP address you removed is already a standard public IP, you can proceed to the next section.
In the search box at the top of the portal, enter Public IP. Select Public IP addresses.
In Public IP addresses, select myPublicIP or your basic IP address.
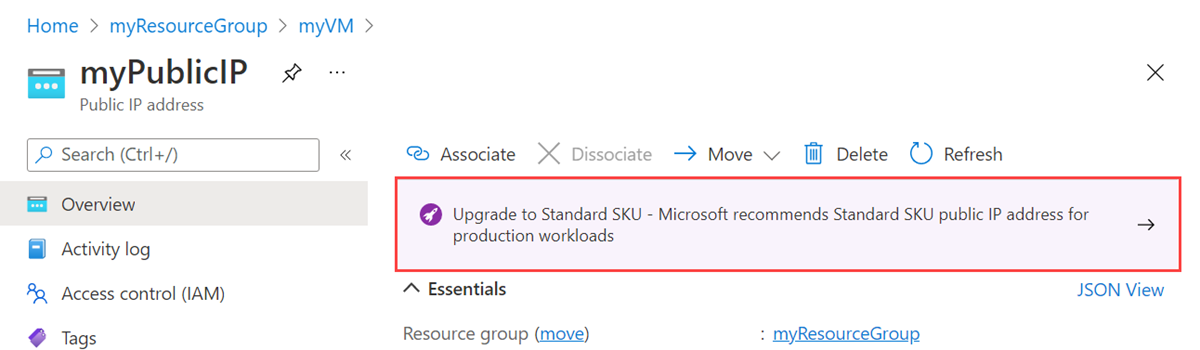
In the Overview of myPublicIP, select the IP address upgrade banner.
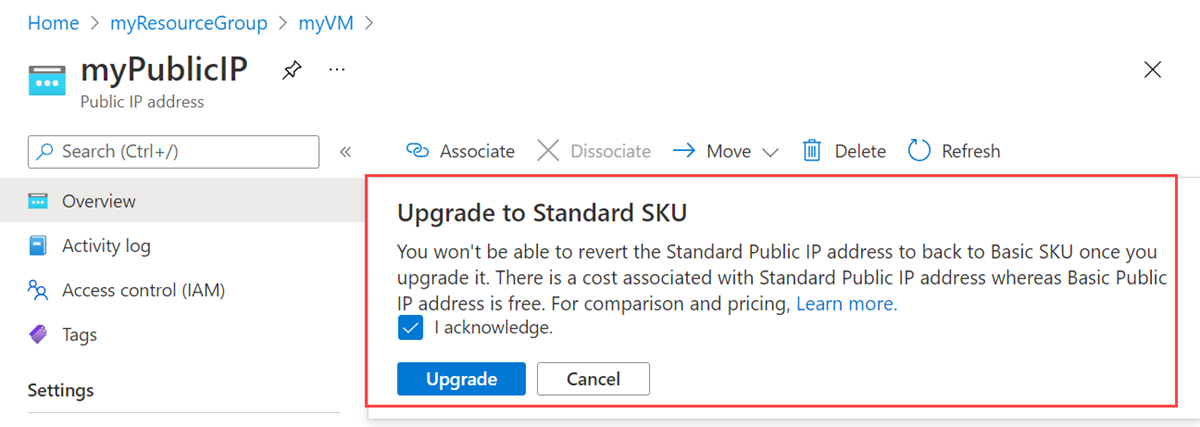
In Upgrade to Standard SKU, select the box next to I acknowledge. Select the Upgrade button.
When the upgrade is complete, proceed to the next section.
Create NAT gateway
In this section, you create a NAT gateway with the IP address you previously removed from the virtual machine. You assign the NAT gateway to your precreated subnet within your virtual network. The subnet name for this example is default.
In the search box at the top of the portal, enter NAT gateway. Select NAT gateways.
In NAT gateways, select + Create.
In Create network address translation (NAT) gateway, enter or select the following information in the Basics tab.
Setting Value Project details Subscription Select your subscription. Resource group Select Create new.
Enter myResourceGroup.
Select OK.Instance details NAT gateway name Enter myNATgateway. Region Select the region of your virtual network. In this example, it's West US 2. Availability zone Leave the default of None. Idle timeout (minutes) Leave the default setting. Select the Outbound IP tab, or select Next: Outbound IP at the bottom of the page.
In Public IP addresses in the Outbound IP tab, select the IP address from the previous section in Public IP addresses. In this example, it's myPublicIP.
Select the Subnet tab, or select Next: Subnet at the bottom of the page.
In the pull-down box for Virtual network, select your virtual network.
In Subnet name, select the checkbox for your subnet. In this example, it's default.
Select the Review + create tab, or select Review + create at the bottom of the page.
Select Create.
Clean up resources
If you're not going to continue to use this application, delete the NAT gateway with the following steps:
From the left-hand menu, select Resource groups.
Select the myResourceGroup resource group.
Select Delete resource group.
Enter myResourceGroup and select Delete.
Next step
In this article, you learned how to:
Remove a public IP address from a virtual machine.
Create a NAT gateway and use the public IP address from the virtual machine for the NAT gateway resource.
NAT gateway provides connectivity benefits and allows any virtual machine created within this subnet to have outbound connectivity without requiring a public IP address. For more information about NAT gateway and its connectivity benefits, see the Design virtual networks with NAT gateway documentation.
Advance to the next article to learn how to migrate default outbound access to Azure NAT Gateway:
Feedback
Coming soon: Throughout 2024 we will be phasing out GitHub Issues as the feedback mechanism for content and replacing it with a new feedback system. For more information see: https://aka.ms/ContentUserFeedback.
Submit and view feedback for