Create and manage Microsoft Learn Collections
Microsoft Learn Collections is a feature available to anyone with a Microsoft Learn profile. Collections allow you to create curated lists of Microsoft Learn content to share with your followers. A collection can include documentation articles, training modules, learning paths, videos, code samples, and more.
With collections, you can:
- Bookmark useful content that you need to reference often.
- Bookmark interesting content that you don't have time to read right now and want to revisit later.
- Curate content to share with your employees, students, followers, or community. In this case, plan what content you'll save to the collection and how you'll organize it before you create it.
Create a collection
You can create a collection from your profile page or from the content page of any Microsoft Learn item.
Before building your collection, be clear about its purpose and what action you want the viewers to take. Prepare the different elements of the collection ahead of time. Use a short, descriptive title that summarizes the topic covered in the collection. Add a description of what’s included in the collection so that the viewer understands its purpose and what action you’re suggesting they take by accessing the collection. You can edit the title and description of the collection at any time.
Create a collection from your Microsoft Learn profile
Sign in to Microsoft Learn.
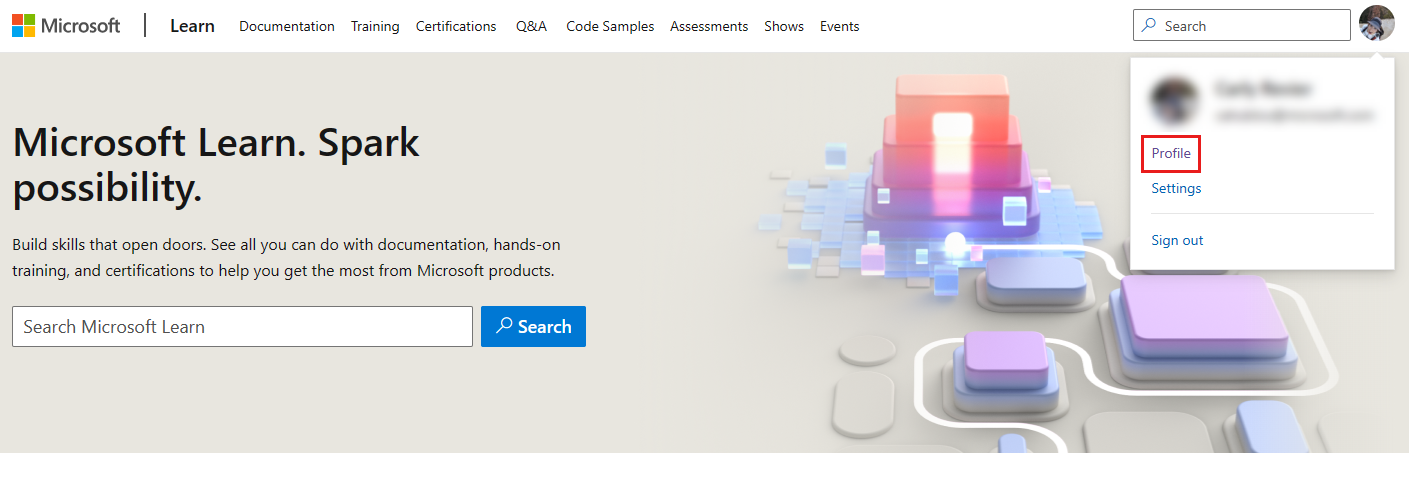
Select your profile icon in the upper-right corner of the page, and choose Profile.
Select Collections from the menu on the left-hand side of the page.
Select +New Collection at the bottom of the list of collections.
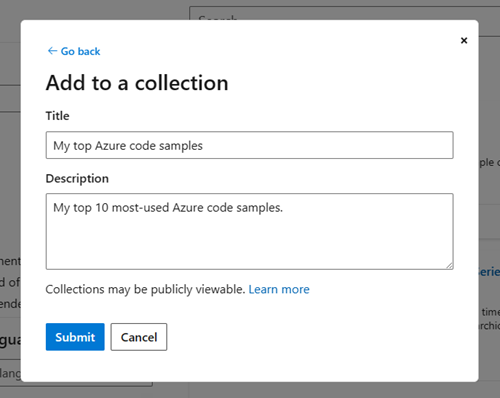
In the pop-up box that appears, give your new collection a title and a description.
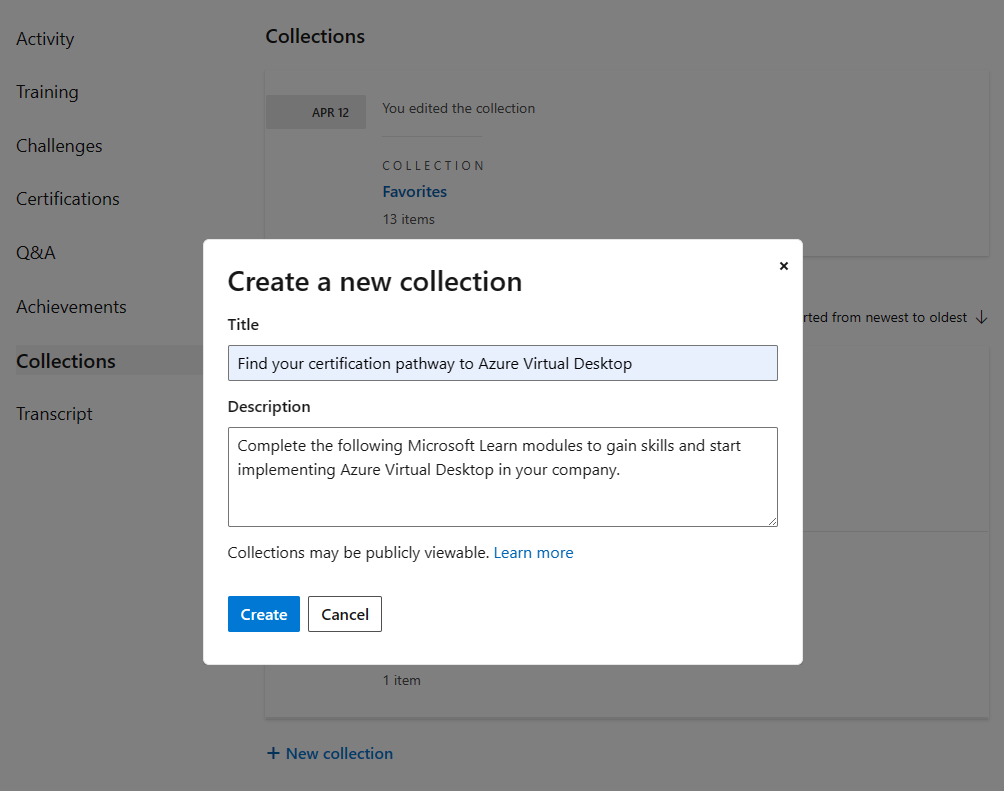
Select Create. Your collection now appears in the list of collections on your profile page.
Create a collection from a Microsoft Learn item
Sign in to Microsoft Learn.
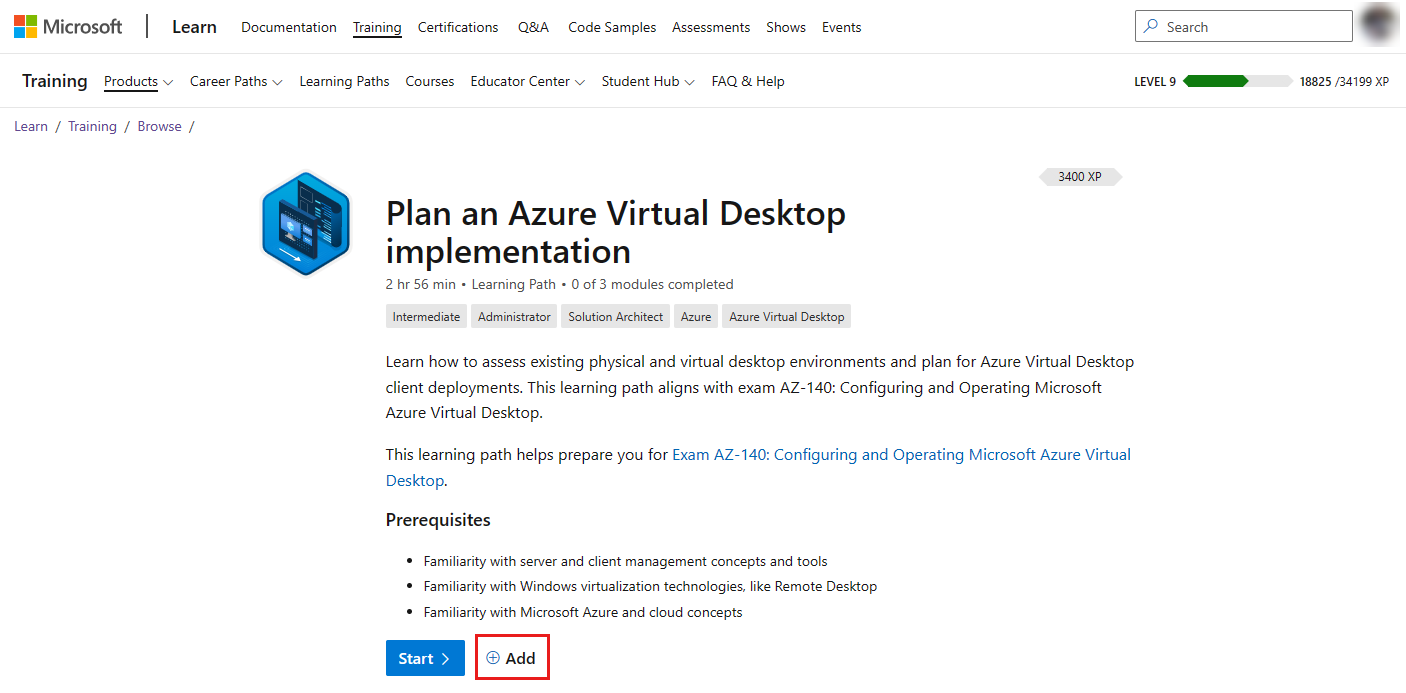
Navigate to the Microsoft Learn content you want to add to a collection. Look for the +Add or + button.
For a training module or learning path, the button appears near the bottom of the title section:
For an article, the button appears to the right of the title:

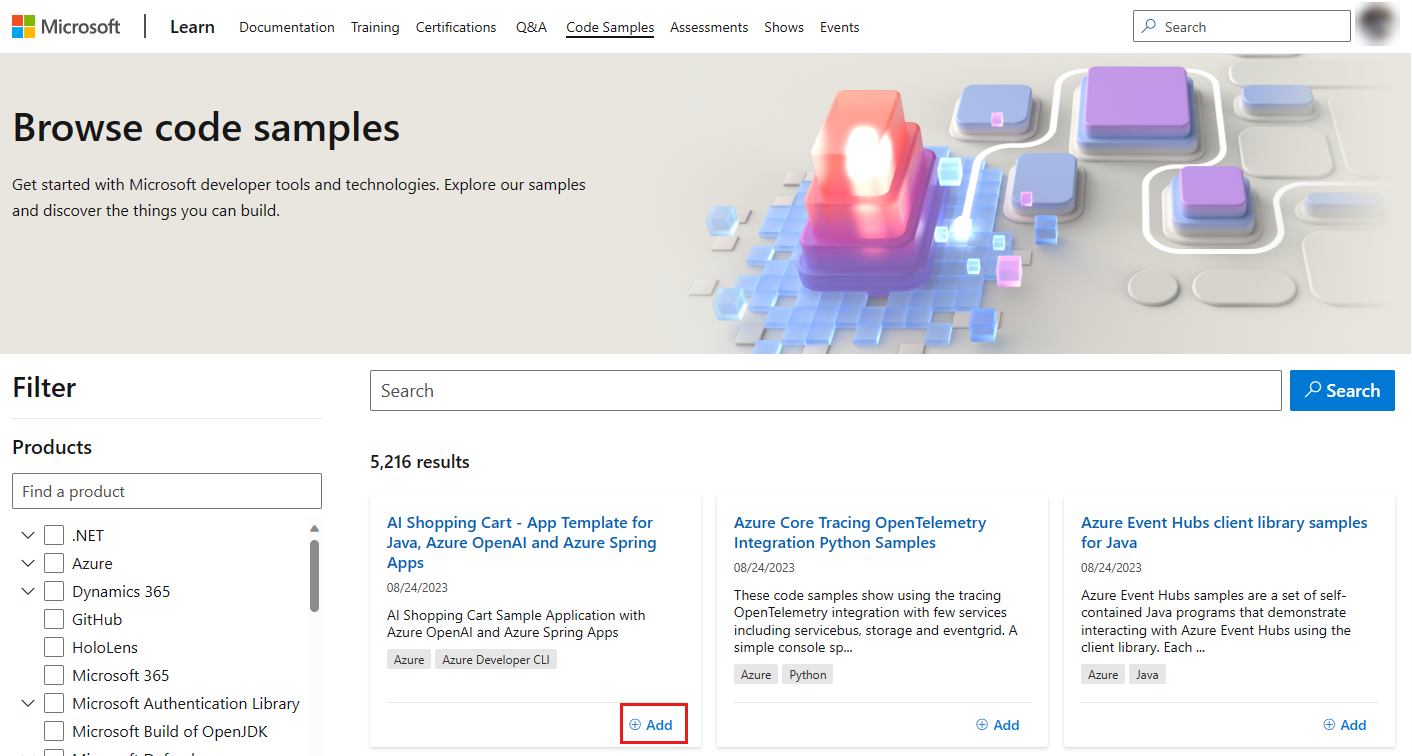
For a code sample, the button appears on the Browse code samples page, at the bottom of each search result:
In the pop-up box that appears, select +New Collection. Give your new collection a title and a description. Select Submit.
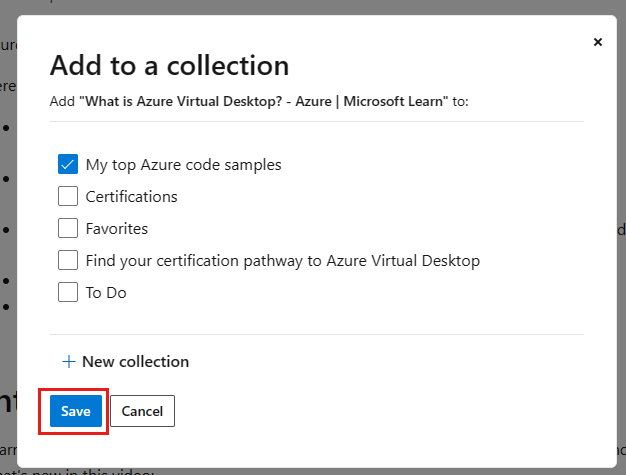
You'll be returned to the previous pop-up screen, where the collection you just created is now selected. Choose Save to add the content you're viewing to the new collection. You can select more items from the list to add the content to multiple collections.
A confirmation message appears at the top of the screen confirming the item has been added to the collection you just created.
Add and manage content
The Collections feature supports all content types. Once you've created a collection, you can add any content from the Microsoft Learn site to the collection by selecting the Save button available on all pages. Once added, you can rearrange and delete content as needed.
Other considerations for adding content to a collection include:
- Limit the number of items in the collection to fewer than 10 items. Three to five items is ideal.
- The first item will get the most engagement, followed by positions two and three.
- The items in positions four through ten will receive more engagement if the sections are used.
- Sort sections and items in the order you recommend the user consume them.
Add content to a collection
Make sure you're signed in to Microsoft Learn.
Navigate to the Microsoft Learn content you want to add to a collection. Look for the +Add or + button. For examples of how this button appears for various content types, see Step 2 in Create a collection from a Microsoft Learn item.
The Add to a collection pop-up box appears. Select the collection(s) you'd like to add the content to.
Select Save.
Rearrange content
When you add content to a collection, it's added to the bottom of the list. You can reorder content by using the up/down arrows on the content item, moving it one space at a time. Wait until each individual move interaction completes before selecting the up/down arrows again.
Delete content
To delete content within a collection, select the trash can icon on the content item. A pop-up appears alerting you that the content will be permanently deleted. Select Yes, delete to delete the content.
Add and manage sections
Once you've saved content to your collection, you can add sections to the collection to make it easier to navigate. You can add as many sections as you need. You can also move content items between sections, and you can rearrange sections within the collection. And if you need to reorganize, you can delete sections from the collection.
Add sections to a collection
Select your profile icon in the upper-right corner of the page, and choose Profile.
Choose Collections from the menu on the left-hand side of the page.
Select the name of the collection you want to add sections to.
Under the list of content, select Section.
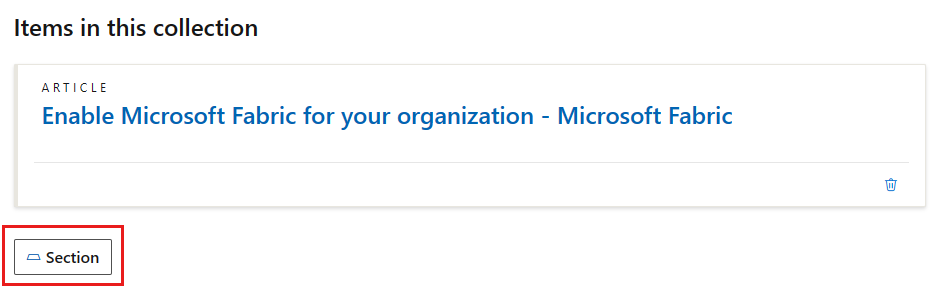
Add a section title that describes the content included in the section. For example:
- Join the Microsoft Learn Cloud Skills Challenge
- Access Azure Arc Learning Content
- Find your certification pathway to Azure Virtual Desktop
- Watch training videos for Azure Virtual Desktop
This field is optional. If you don't add a title, the section will be named Section 1 by default. You can change the title at any time.
Add a short description of the resources included in the section that directs the user to a specific action. For example:
- Learn how to do more with less on Azure when you migrate to the cloud.
- Optimize your investment and reinvest for growth.
- Complete the following Microsoft Learn modules to gain skills and start implementing Azure Virtual Desktop in your company.
This field is optional. You can change the description at any time.
Select Save.
Rearrange sections
To rearrange a section, select the up/down arrows on the section header.
To rearrange content within the sections, select the up/down arrows on the content items. You can move content into and within your various sections.
You can move items one space at a time. Wait until each individual move interaction completes before selecting the up/down arrows again.
Delete sections
To delete a section, select the edit pencil icon on the section header, and then select Delete section.
Deleting the section doesn't delete the content within the section. The content within the deleted section will move up to the section above it, if one exists.
Share a collection
Sharing a collection with your followers or colleagues allows you to show others the content you've curated. You can share a collection with anyone, even if they don't have a Microsoft Learn account.
You can share your collection by copying the URL from the browser, or by using the Share functionality from within the collection itself.
Share from the browser
- Navigate to the collection you'd like to share.
- Copy the link in the URL bar of your browser.
Important
Remove the local (for example, en-us) from the URL when you share it. If you include the locale in the link, the user will be forced into that locale experience and will have to manually switch back to their preferred locale.
Share from the collection
Navigate to the collection you'd like to share.
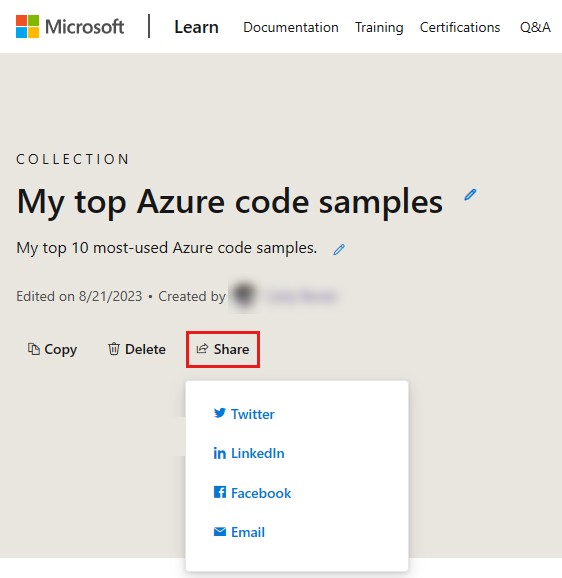
From the title section, select Share, and then select the platform you'd like to share on. You can choose between Twitter, LinkedIn, Facebook, or email. You'll navigate to the platform you selected, where you can add a message to your post. The link to the collection will be automatically added to your post.
Copy a collection
You can copy any of your collections if you'd like to use the same content in multiple collections or use one of your collections as a template for creating a new one. Copying a collection creates a new collection with the same title, content, and sections as the original collection. You can then add, remove, and rearrange content as needed. Any edits to the new collection won't affect the original collection.
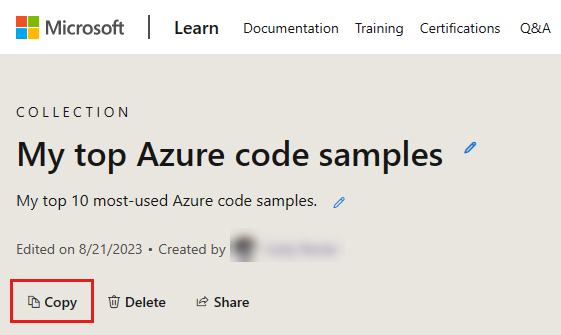
Navigate to the collection you'd like to copy.
Select the Copy button from the header section of the collection.
A pop-up message appears alerting you that a copy of the collection has been saved to your profile. Select Edit my collection to see the new copy of the collection.
Delete a collection
You can delete any of your collections. Deleting a collection is a permanent action that will also delete any content you've added to the collection and any sections you've created within the collection.
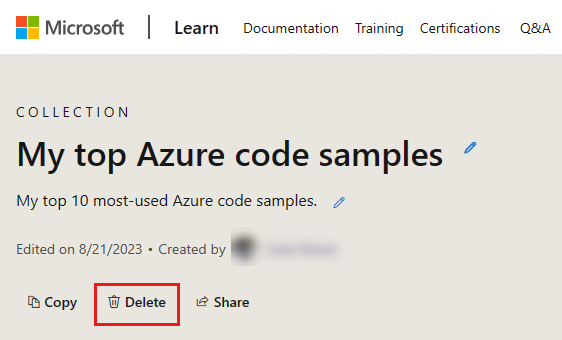
Navigate to the collection you'd like to delete.
Select the Delete button from the header section of the collection.
A pop-up message appears asking you to confirm the deletion. Select Yes, delete to permanently delete the collection.
Limitations
- Collections can include only content on Microsoft Learn. You can't add external links. Only Official Collections created by Microsoft employees can include links to resources outside of Microsoft Learn.
Localization
- The title, description, and section titles and descriptions will appear only in the language the creator provides.
- The pieces of content added to the collection (for example, modules, events, certifications) will appear in the collection viewer's preferred language if that content has been localized elsewhere on the site already.
Further reading
- Announcing Learn Collections from the Microsoft Learn team blog.
Feedback
Coming soon: Throughout 2024 we will be phasing out GitHub Issues as the feedback mechanism for content and replacing it with a new feedback system. For more information see: https://aka.ms/ContentUserFeedback.
Submit and view feedback for