Design an ER format to keep rows together on the same Excel page
This article explains how a user in the System Administrator or Electronic Reporting Functional Consultant role can configure an Electronic reporting (ER) format that generates outbound documents in Microsoft Excel and manage document pagination so that rows that are created are kept on the same page.
In this example, you will modify the Microsoft-provided ER format that is used to print free text invoices in Excel. Your modifications will let you manage the pagination of a generated free text invoice report so that all the rows of a single invoice line are kept on the same page when possible.
The procedures in this article can be completed in the USMF company. No coding is required.
In this example, you will create the required ER configurations for the Litware, Inc. sample company. Make sure that the configuration provider for the Litware, Inc. (http://www.litware.com) sample company is listed for the ER framework, and that it's marked as Active. If this configuration provider isn't listed, or if it isn't marked as Active, follow the steps in Create a configuration provider and mark it as active.
Enter a new free text invoice
Follow the steps in Create a free text invoice to add a free text invoice.
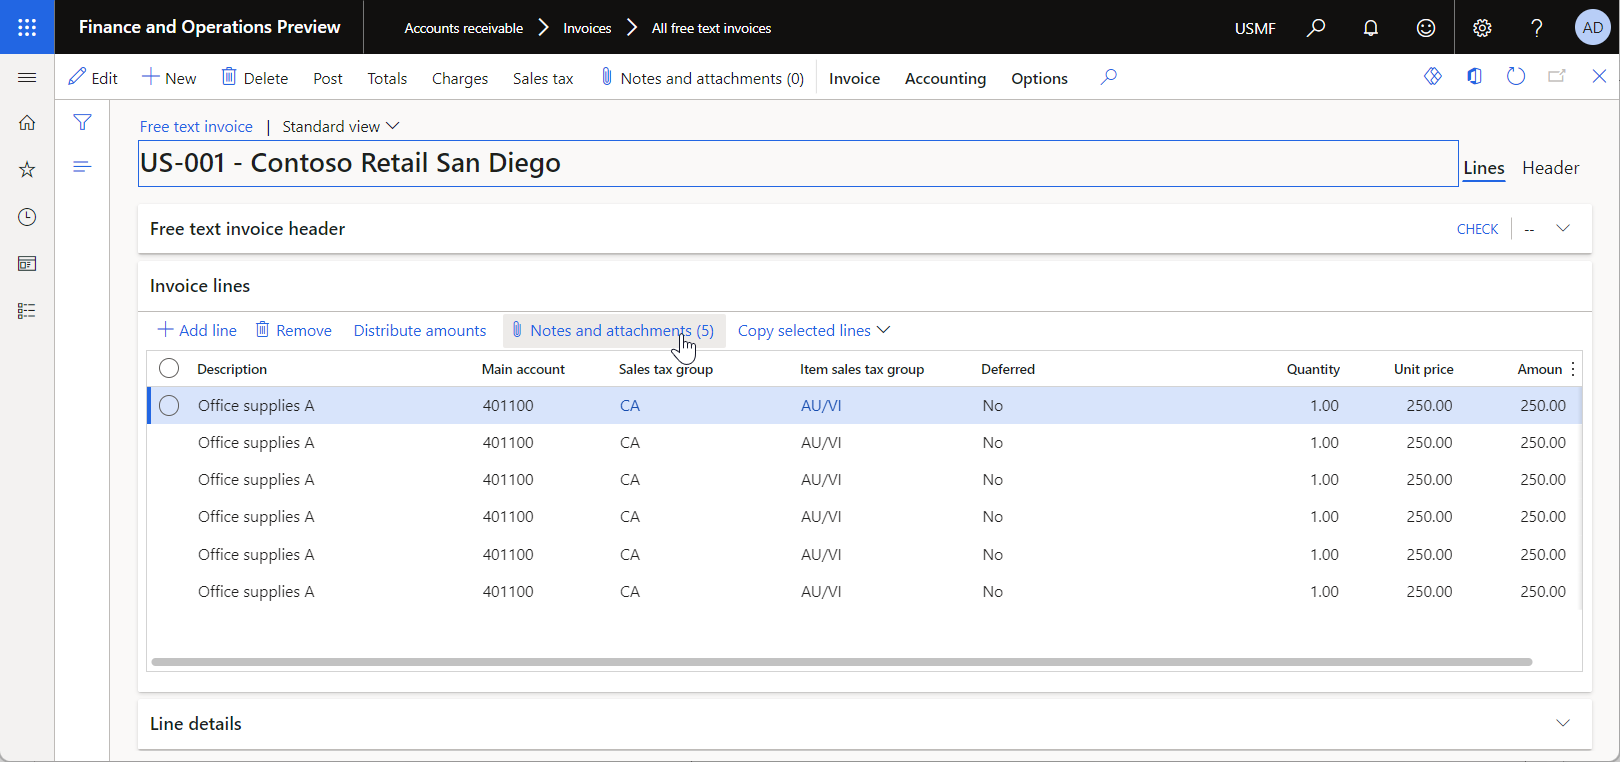
- Add a single line to the invoice.
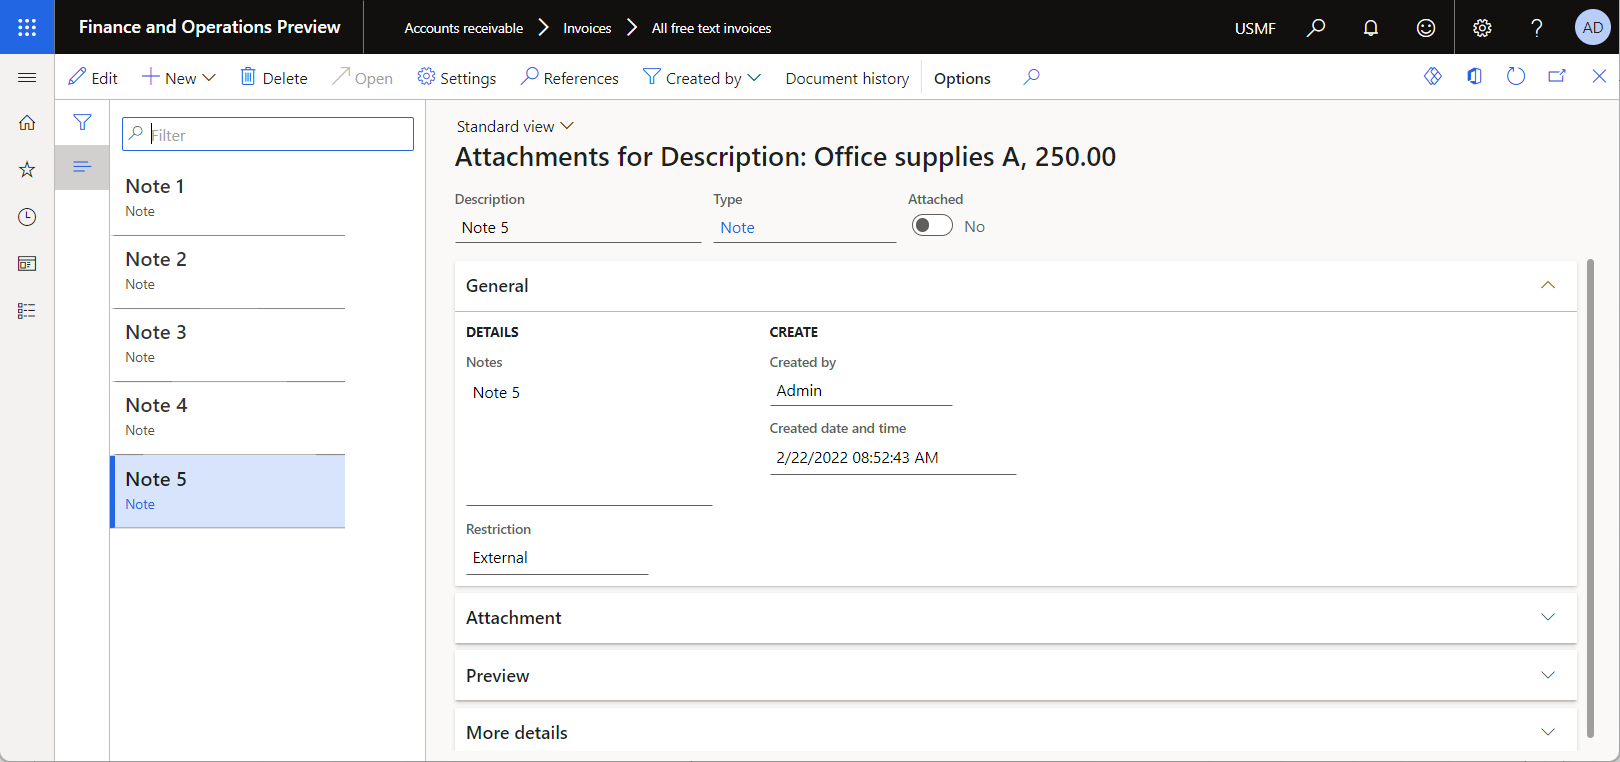
- Add five notes for the invoice line.
Follow the steps in Copy lines to create five additional invoice lines that are copies the invoice line that you added in the previous step.
Configure the ER framework
Follow the steps in Configure the ER framework to set up the minimal set of ER parameters. You must complete this setup before you start to use the ER framework to design a custom version of a standard ER format.
Import the standard ER format configuration
Follow the steps in Import the standard ER format configuration to add the standard ER configurations to your current instance of Dynamics 365 Finance. For example, import version 252.116 of the Free text invoice (Excel) format configuration. Base version 252 of the base Invoice model configuration is automatically imported from the repository together with the required Invoice model mapping configuration.
Set up print management to use the standard ER format
Follow the steps in Set up print management to configure print management for the Accounts receivable module so that the standard ER format is used to print free text invoices.
Configure a format destination for the standard ER format
Follow the steps in Configure a format destination for on-screen preview to configure the Screen ER destination of the standard ER format so that generated reports are converted to PDF format and previewed on a new browser tab.
Print a free text invoice by using the standard ER format
Follow the steps in Print a free text invoice to use the standard ER format to generate a free text invoice report in Excel format for the added invoice.
Download the generated Excel workbook, and review it in the Excel desktop application.
Notice that the sixth line of the invoice starts on the first page of the report and continues on the second page. The last note appears on the second page, and it isn't obvious that it belongs to the sixth invoice line. Therefore, the page break in the middle of the content for the invoice line makes this document more difficult to read.
The remaining procedures in this article show how you can tune the standard ER format to improve the look and readability of the invoice report by keeping all the content for a single invoice line on the same page.
Create a custom format
Follow the steps in Create a custom format to derive a format from the imported ER format and create a Free text invoice (Excel) custom ER configuration that is available for editing and modification.
Edit the custom format
Follow the steps in Create a custom format to open the derived ER format for editing in the ER format designer.
On the Format designer page, in the format component tree in the left pane, expand Free text invoice > Sheet > InvoiceLines, and select the InvoiceLines_Values component.
On the Format tab, set the Keep rows together option to Yes.
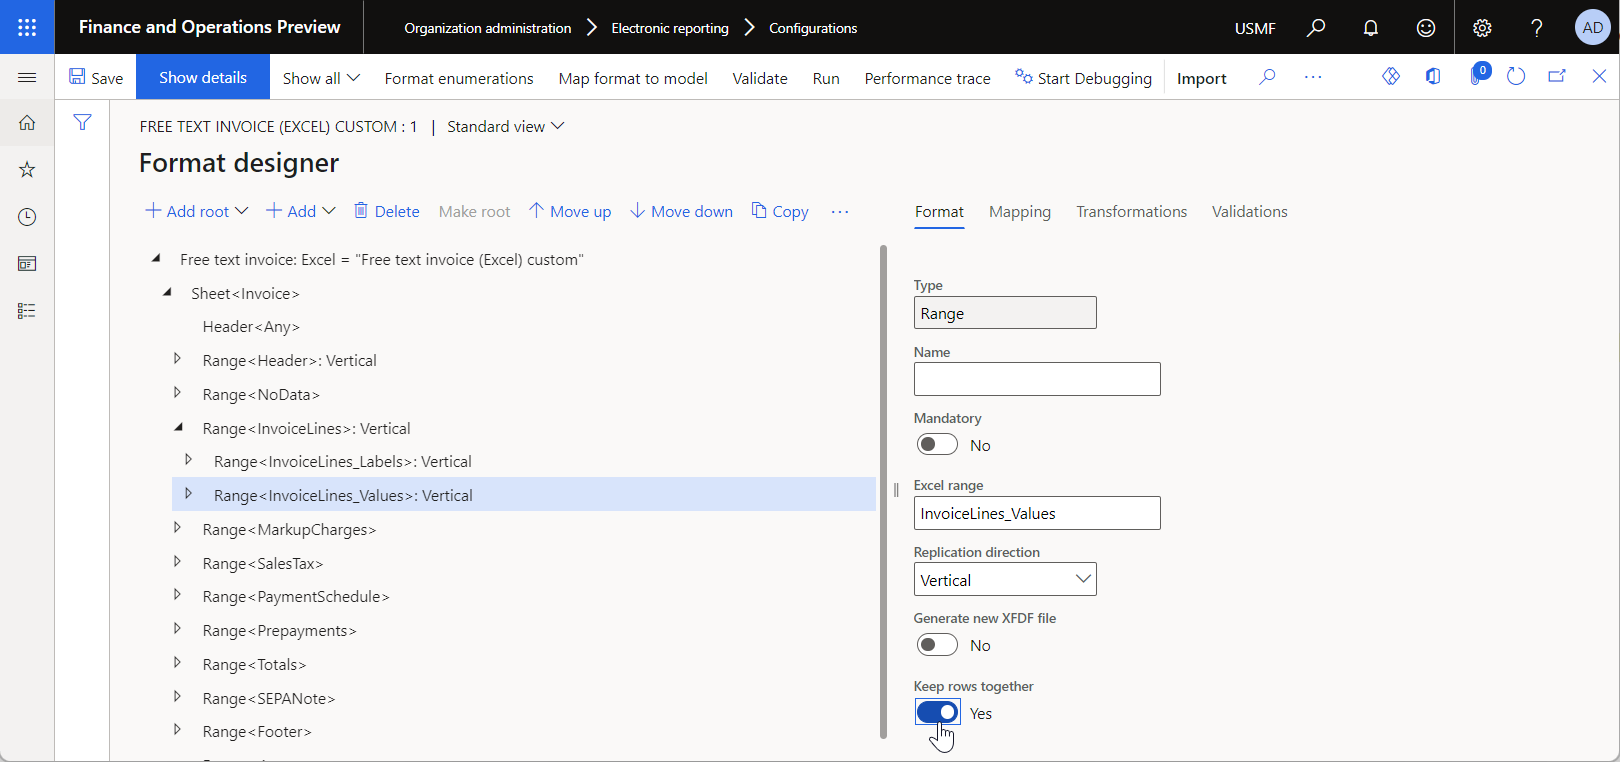
Select Save, and close the page.
Mark the custom format as runnable
Follow the steps in Mark the custom format as runnable to make the modified version of the custom ER format runnable.
Set up print management to use the custom ER format
Follow the steps in Set up print management to configure print management for the Accounts receivable module so that the custom ER format is used to print free text invoices.
Configure a format destination for the custom ER format
Follow the steps in Configure a format destination for on-screen preview to configure the Screen ER destination of the custom ER format so that generated reports are converted to PDF format and previewed on a new browser tab.
Print a free text invoice by using the custom ER format
Follow the steps in Print a free text invoice to use the custom ER format to generate a free text invoice report in Excel format for the added invoice.
Download the generated Excel workbook, and review it in the Excel desktop application.
Notice that the sixth line of the invoice starts on the second page, and all the Excel rows that represent this invoice line appear together on that page.

Additional resources
Design a configuration for generating documents in Excel format
Feedback
Coming soon: Throughout 2024 we will be phasing out GitHub Issues as the feedback mechanism for content and replacing it with a new feedback system. For more information see: https://aka.ms/ContentUserFeedback.
Submit and view feedback for