Exercise - Customize directory branding
Suppose you've been asked to display your retail organization's branding on the Azure sign-in page to reassure users that they're passing credentials to a legitimate system.
Here, you'll learn how to configure this custom branding.
To complete this exercise, you must have two image files:
- A page background image. This must be a PNG or JPG file, 1920 x 1080 pixels, and smaller than 300 KB.
- A company logo image. This must be a PNG or JPG file, 32 x 32 pixels, and smaller than 5 KB.
Customize Microsoft Entra organization branding
Let's use Microsoft Entra ID to set up the custom branding.
Sign in to the Azure portal.
Go to your Microsoft Entra organization by selecting Microsoft Entra ID. If you're not in the right Microsoft Entra organization, go to your Azure profile in the upper-right corner and select Switch directory to find your organization.
Under Manage, select Company branding > Customize.
Next to Favicon, select Browse. Select your logo image.
Next to Background image, select Browse. Select your page background image.
Select a Page background color or accept the default.
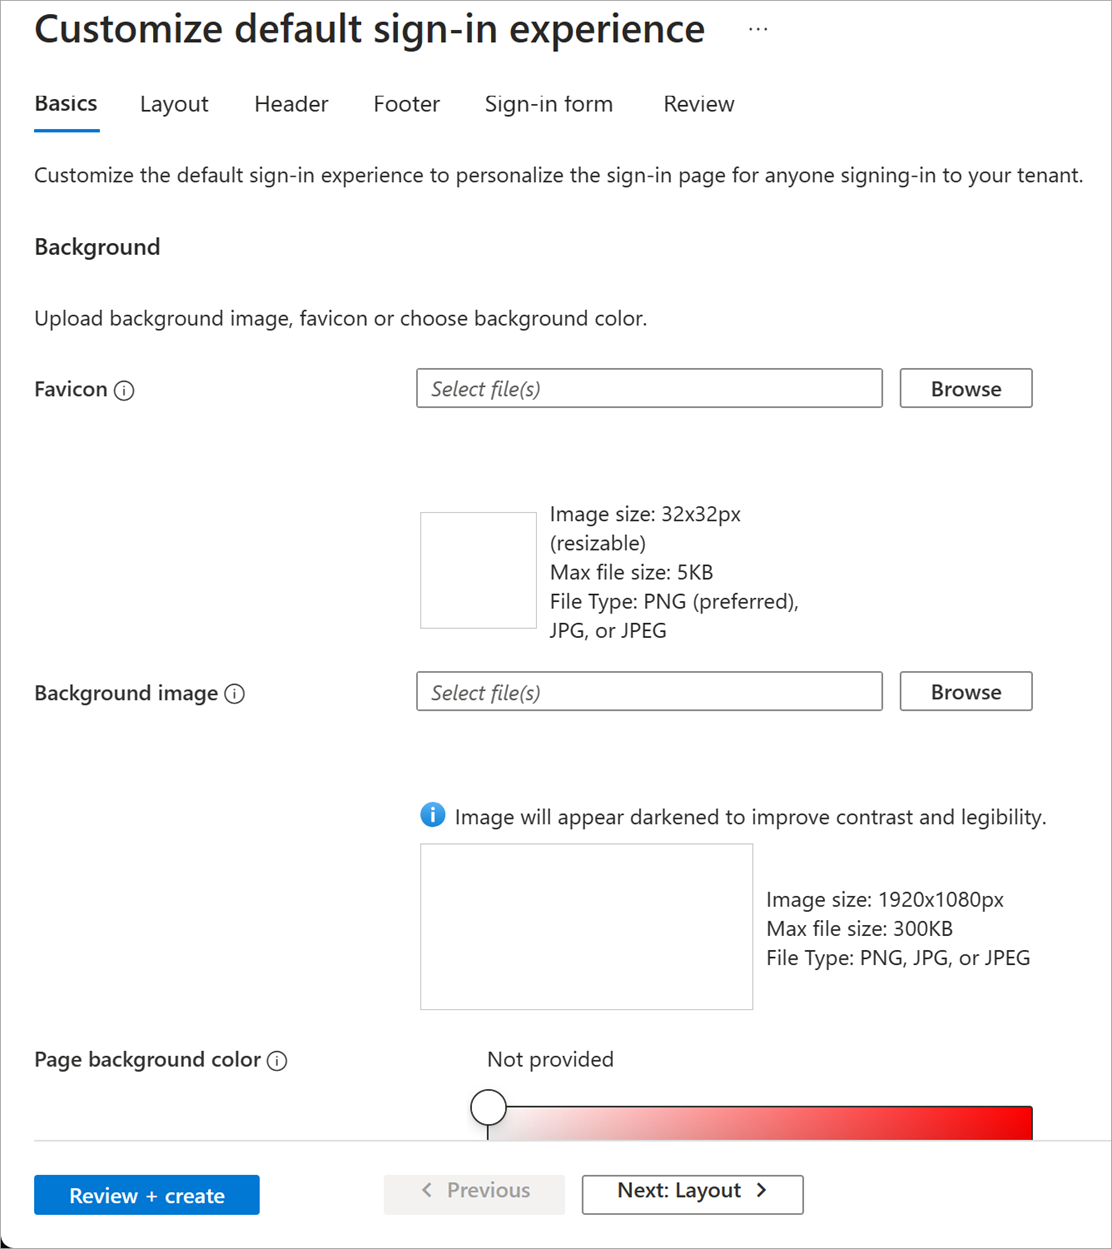
Select Review + Create, then select Create.
Test the organization's branding
Now, let's use the account that we created in the last exercise to test the branding.
In a new browser window, go to https://login.microsoft.com.
Select the account for Bala Sandhu. Your custom branding is displayed.

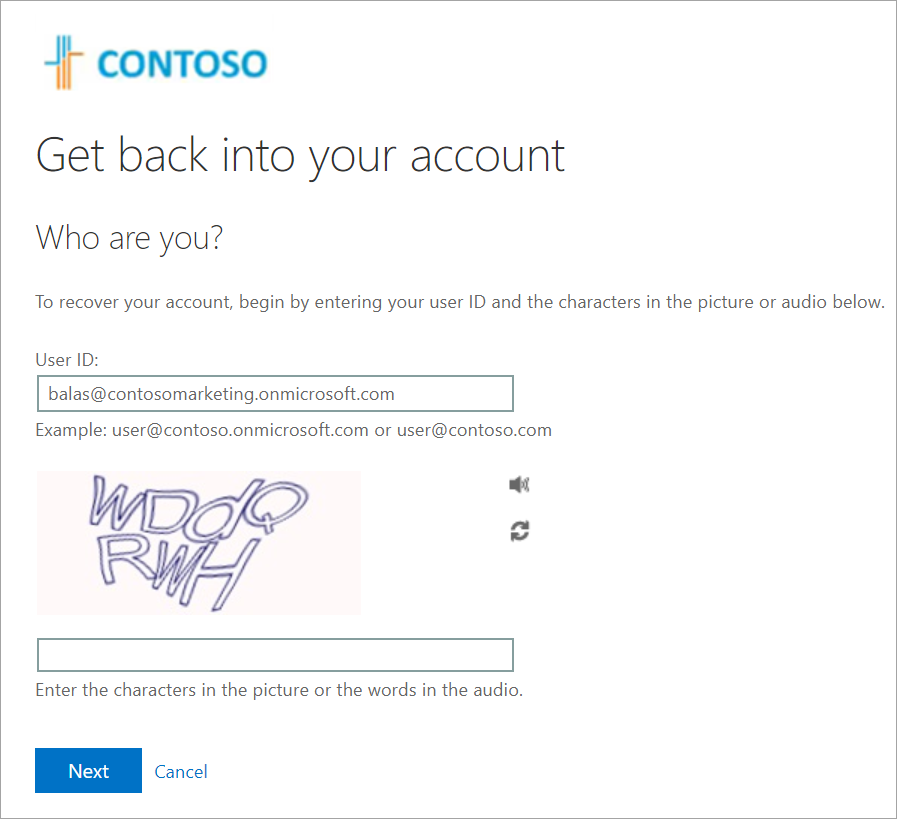
Select Forgot my password.