Exercise - Create a workflow for a pull request
Your website's development team has asked you to update the website to run on the Linux operating system. In this exercise, you'll add a validation workflow that automatically runs when a pull request is opened or updated. Then, you'll create a pull request for your website's operating system change.
During the process, you'll:
- Create a workflow for pull request validation.
- Add Bicep linting to the workflow.
- Create a pull request, and watch the workflow run.
- Fix any errors that are identified by the pull request validation workflow.
- Rerun the workflow, and then merge and close the pull request.
Create a workflow to run when pull requests are created and updated
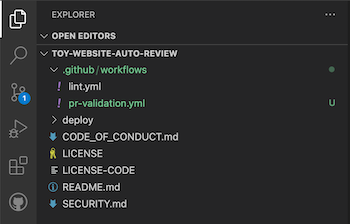
In Visual Studio Code, create a new file named pr-validation.yml in the .github/workflows folder.
Add the following code to the file:
name: pr-validation

on: pull_request
This code ensures that the workflow is executed whenever a pull request is created or updated.
Note
You're working directly against your repository's main branch. You wouldn't ordinarily do this, but in this exercise you'll work against main to simplify the steps. In your own projects, it's important to set up branch protection rules to protect your main branch.
Add a lint job to your workflow
Whenever you open or edit a pull request, you want to run a linting step for your Bicep files. There's a reusable lint workflow in the repository that you can call from this workflow.
At the end of the existing file contents, to reuse the lint workflow that's defined in your repository, add the following lines:
jobs:
  lint:
    uses: ./.github/workflows/lint.yml
Your repository has a bicepconfig.json file that configures the linter to emit errors instead of warnings, so any failures during the lint job will cause the workflow to fail.
Save your changes.
Commit and push your changes to your Git repository's main branch by running the following commands in the Visual Studio Code terminal:
git add .
git commit -m "Add first version of pull request validation workflow"
git push
Update the Bicep file
Next, modify your website's Bicep file to update the website's operating system to Linux.
In the Visual Studio Code terminal, create a new branch for your changes by running the following command:
git checkout -b feature/linux-appOpen the main.bicep file in the deploy folder.
Near the top of the file, below the variable definitions, define a new variable for the application framework to use:
// Define the names for resources.
var appServiceAppName = 'toy-website-linux-${resourceNameSuffix}'
var appServicePlanName = 'toy-website-linux'
var storageAccountName = 'mystorage${resourceNameSuffix}'

var appServiceAppLinuxFrameworkVersion = 'node|14-lts'
This setting tells Azure App Service that the application will be built using version 14 of the Node.js framework.
Update the
appServicePlanresource definition. Add thekindproperty and thereservedproperty in thepropertiesobject:resource appServicePlan 'Microsoft.Web/serverfarms@2022-03-01' = { name: appServicePlanName location: location sku: environmentConfigurationMap[environmentType].appServicePlan.sku kind: 'linux' properties: { reserved: true } }Update the
appServiceAppresource definition to set the application framework:resource appServiceApp 'Microsoft.Web/sites@2022-03-01' = { name: appServiceAppName location: location properties: { serverFarmId: appServicePlan.id httpsOnly: true siteConfig: { linuxFxVersion: 'node|14-lts' } } }Note
You might notice that Bicep warns you that you aren't using the
appServiceAppLinuxFrameworkVersionvariable. Here, you're intentionally causing a linter error so you can see how it looks within the GitHub pull request.Save your changes.
Commit and push your changes to your Git repository by running the following commands in the Visual Studio Code terminal:
git add .
git commit -m "Update operating system to Linux"
git push origin feature/linux-app
Create a pull request
Now that the workflow is configured and your Bicep file is updated, you can create a pull request.
In your browser, select Code.
Select 2 branches to open the list of branches in your GitHub repository.
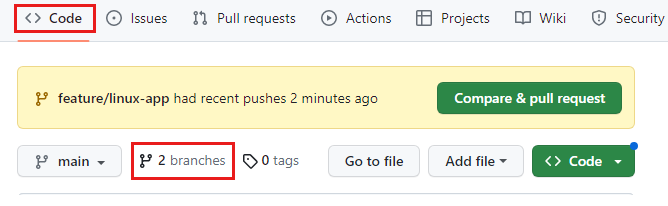
Compare & pull request is displayed for a short time when you push changes to branch that doesn't already have an open pull request. It's a shortcut to the Open a pull request page.
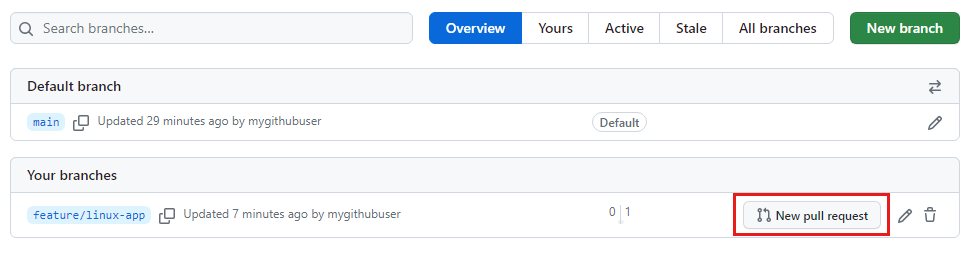
Next to the feature/linux-app branch, select New pull request.
Select Create pull request.
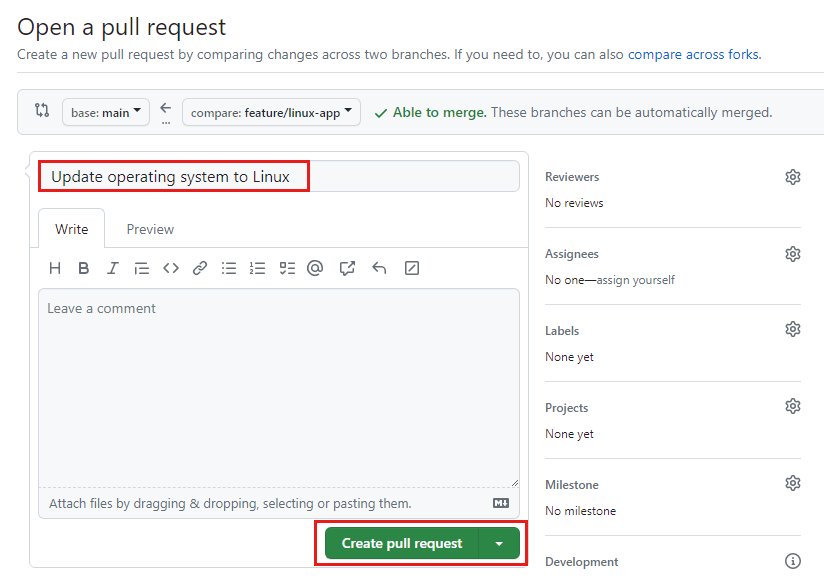
The pull request details page is displayed.
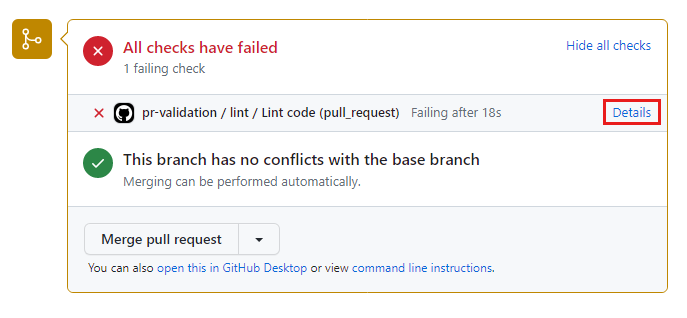
View the Checks section of the pull request details.
After a moment, notice that an automatic check has been triggered. The check runs your pull request validation workflow.
It might take some time for the workflow to start running. Refresh your browser window until you see the status checks.
When the check finishes, you can see that it has failed.
Note
GitHub allows you to merge the pull request even though the status checks have failed. In a real solution, you should configure a branch protection rule to prevent a pull request from being merged until its status checks have succeeded.
Fix the pull request validation errors
On the status check pane, select Details to inspect the workflow log.
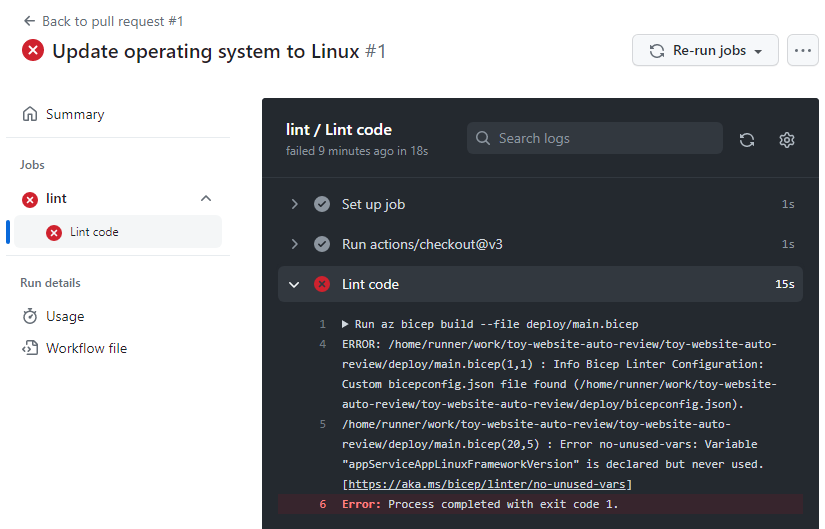
The log includes this message from the Bicep linter:
Error no-unused-vars: Variable "appServiceAppLinuxFrameworkVersion" is declared but never used.In Visual Studio Code, open the deploy/main.bicep file.
At line 20, there's a variable named
appServiceAppLinuxFrameworkVersion. The variable isn't used. Next, you'll fix this error.In the
appServiceAppresource definition, update thelinuxFxVersionproperty to use the variable instead of setting the property to the hard-coded value:resource appServiceApp 'Microsoft.Web/sites@2022-03-01' = { name: appServiceAppName location: location properties: { serverFarmId: appServicePlan.id httpsOnly: true siteConfig: { linuxFxVersion: appServiceAppLinuxFrameworkVersion } } }In the Visual Studio Code terminal, commit your changes and push them to the repository.
git add .
git commit -m "Fix Bicep file"
git push origin feature/linux-app
Monitor and merge the pull request
Reopen your browser to the pull request details page.
The pull request validation runs again. If the status check isn't running, refresh your page.
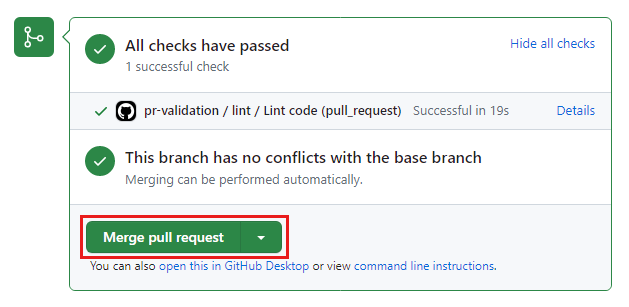
Wait for the check to finish. This time, it has succeeded. There are no syntax or linter errors in the Bicep file, so you're ready to merge the pull request.
Select Merge pull request to close the pull request and merge the changes in your main branch.
Select Confirm merge.