Exercise - Create ephemeral environments for pull requests
Some team members have told you they appreciate getting the automated Bicep linter feedback on their code changes before they send them to other team members to review. Now, you've decided to give your contributors and reviewers the ability to deploy and review their code in an ephemeral environment.
In this exercise, you'll update your pull request workflow to deploy an ephemeral environment whenever a pull request is opened, and redeploy it when code is pushed to the pull request branch. You'll also create another workflow to automatically delete the environment when the pull request is closed. You'll test your changes by creating a pull request for your website to use a Docker container image.
During the process, you'll:
- Update the pull request workflow to deploy an ephemeral environment.
- Create a pull request deletion workflow to delete the ephemeral environment.
- Create a pull request and watch the ephemeral environment get created.
- Approve the pull request and watch the ephemeral environment get deleted.
Update the pull request workflow to deploy an ephemeral environment
To begin, you need to update your pr-validation workflow to create an ephemeral environment.
In the Visual Studio Code terminal, check out the main branch of the repository.
git checkout mainPull the latest version of the code from GitHub, which includes the changes you merged in an earlier exercise.
git pullOpen the .github/workflows/pr-validation.yml file in Visual Studio Code.
Near the top of the file, below the
namesetting, add aconcurrencysetting:name: pr-validation concurrency: ${{ github.event.number }}This setting prevents multiple workflows for the same pull request from running at the same time, which might cause unpredictable results when you deploy resources to Azure.
Near the top of the file, under the
onsection that defines the trigger, define thepermissionssection:name: pr-validation concurrency: ${{ github.event.number }} on: pull_request permissions: id-token: write contents: readBelow the
permissionssection, add two new environment variables:name: pr-validation concurrency: ${{ github.event.number }} on: pull_request permissions: id-token: write contents: read env: resourceGroupName: pr_${{ github.event.number }} resourceGroupLocation: westus3The
resourceGroupNameenvironment variable specifies the name of the resource group that should be used for each ephemeral environment. Each resource group will be namedpr_123, where123is the unique pull request number.The
resourceGroupLocationenvironment variable specifies that your ephemeral environments should all be deployed into the West US 3 Azure region.Define a new job named
deploy, below thelintjob:jobs: lint: uses: ./.github/workflows/lint.yml deploy: runs-on: ubuntu-latest steps: - uses: actions/checkout@v3 - uses: azure/login@v1 name: Sign in to Azure with: client-id: ${{ secrets.AZURE_CLIENT_ID }} tenant-id: ${{ secrets.AZURE_TENANT_ID }} subscription-id: ${{ secrets.AZURE_SUBSCRIPTION_ID }}The job first checks out all the code onto the GitHub runner, and then signs in to your Azure environment.
Tip
YAML files are sensitive to indentation. Whether you type or paste this code, make sure your indentation is correct. Later in this exercise, you'll see the complete YAML workflow definition so that you can verify that your file matches.
Add a step to create the resource group with the name defined in the environment variable:
- uses: Azure/cli@v1 name: Create resource group with: inlineScript: | az group create \ --name ${{ env.resourceGroupName }} \ --location ${{ env.resourceGroupLocation }}After the resource group creation step, add a step to deploy the Bicep file to the resource group:
- uses: azure/arm-deploy@v1 id: deploy name: Deploy Bicep file with: failOnStdErr: false deploymentName: ${{ github.run_number }} resourceGroupName: ${{ env.resourceGroupName }} template: ./deploy/main.bicep parameters: > environmentType=TestAfter the deployment step, add a step to display the ephemeral environment's website address in the workflow log:
- name: Show website hostname run: | echo "Access the website at this address: https://${{ steps.deploy.outputs.appServiceAppHostName }}"Save your changes.
Verify that your pr-validation.yml file looks like the following:
name: pr-validation concurrency: ${{ github.event.number }} on: pull_request permissions: id-token: write contents: read env: resourceGroupName: pr_${{ github.event.number }} resourceGroupLocation: westus3 jobs: lint: uses: ./.github/workflows/lint.yml deploy: runs-on: ubuntu-latest steps: - uses: actions/checkout@v3 - uses: azure/login@v1 name: Sign in to Azure with: client-id: ${{ secrets.AZURE_CLIENT_ID }} tenant-id: ${{ secrets.AZURE_TENANT_ID }} subscription-id: ${{ secrets.AZURE_SUBSCRIPTION_ID }} - uses: Azure/cli@v1 name: Create resource group with: inlineScript: | az group create \ --name ${{ env.resourceGroupName }} \ --location ${{ env.resourceGroupLocation }} - uses: azure/arm-deploy@v1 id: deploy name: Deploy Bicep file with: failOnStdErr: false deploymentName: ${{ github.run_number }} resourceGroupName: ${{ env.resourceGroupName }} template: ./deploy/main.bicep parameters: > environmentType=Test - name: Show website hostname run: | echo "Access the website at this address: https://${{ steps.deploy.outputs.appServiceAppHostName }}"If it doesn't, update it to match this example, and then save it.
In the Visual Studio Code terminal, commit your changes. You won't push them to the remote repository yet.
git add .
git commit -m "Update pull request validation workflow to deploy an ephemeral environment"
Add a pull request deletion workflow
You've created a workflow that automatically deploys the changes in each pull request to an ephemeral resource group. Now, you'll configure a second workflow to delete the ephemeral environments when they're no longer needed.
Create a new file named pr-closed.yml in the .github/workflows folder.

At the top of the file, name the workflow, configure the same concurrency key that you used in the pull request validation workflow, configure the workflow to run whenever a pull request is closed, and allow the workflow to get an access token:
name: pr-closed
concurrency: ${{ github.event.number }}

on:
  pull_request:
    types: [closed]

permissions:
  id-token: write
  contents: read
Below the code you just entered, define an environment variable for the name of the resource group that's associated with the pull request's ephemeral environment:
env:
  resourceGroupName: pr_${{ github.event.number }}
The resource group name is the same as the one you used for the pull request validation workflow.
Below the code you added, define a new job named
remove, and configure it to sign in to Azure:jobs: remove: runs-on: ubuntu-latest steps: - uses: azure/login@v1 name: Sign in to Azure with: client-id: ${{ secrets.AZURE_CLIENT_ID }} tenant-id: ${{ secrets.AZURE_TENANT_ID }} subscription-id: ${{ secrets.AZURE_SUBSCRIPTION_ID }}Within the
removejob, define a step to delete the resource group by using the Azure CLI, and confirm the deletion by using the--yesargument:- uses: Azure/cli@v1 name: Delete resource group with: inlineScript: | az group delete \ --name ${{ env.resourceGroupName }} \ --yesSave your changes.
Verify that your pr-closed.yml file looks like the following:
name: pr-closed
concurrency: ${{ github.event.number }}

on:
  pull_request:
    types: [closed]

permissions:
  id-token: write
  contents: read

env:
  resourceGroupName: pr_${{ github.event.number }}

jobs:
  remove:
    runs-on: ubuntu-latest
    steps:
      - uses: azure/login@v1
        name: Sign in to Azure
        with:
          client-id: ${{ secrets.AZURE_CLIENT_ID }}
          tenant-id: ${{ secrets.AZURE_TENANT_ID }}
          subscription-id: ${{ secrets.AZURE_SUBSCRIPTION_ID }}
      - uses: Azure/cli@v1
        name: Delete resource group
        with:
          inlineScript: |
            az group delete \
              --name ${{ env.resourceGroupName }} \
              --yes
If it doesn't, update it to match this example, and then save it.
In the Visual Studio Code terminal, commit your changes and push them to the remote repository:
git add .
git commit -m 'Add pull request closed workflow'
git push
Update the Bicep file
Next, update your Bicep file to use a Docker container image for your website's application.
In the Visual Studio Code terminal, create a new branch for your changes by running the following command:
git checkout -b feature/container-appOpen the main.bicep file in the deploy folder.
Update the value of the
appServiceAppLinuxFrameworkVersionvariable:var appServiceAppLinuxFrameworkVersion = 'DOCKER|dockersamples/static-site:latest'Save your changes.
Commit and push your changes to your Git repository by running the following commands in the Visual Studio Code terminal:
git add .
git commit -m "Use container image for website"
git push origin feature/container-app
Create a pull request
You've defined workflows to create and manage ephemeral environments automatically in pull requests. Now, you'll create another pull request for your Bicep changes.
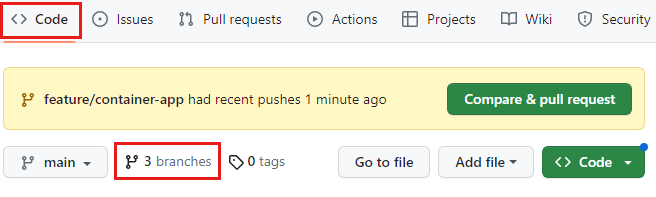
In your browser, select Code, and then select 3 branches.
Under Your branches, next to feature/container-app, select New pull request.
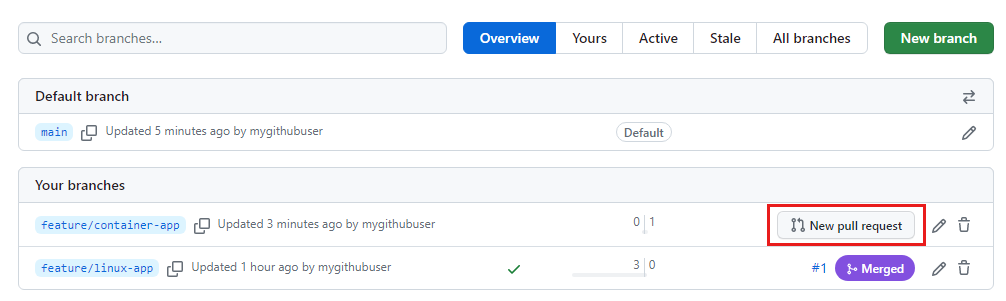
Select Create pull request.
Watch the ephemeral environment get created
On the pull request details page, wait for the status check items to appear.
In the list, next to the deploy job, select Details.
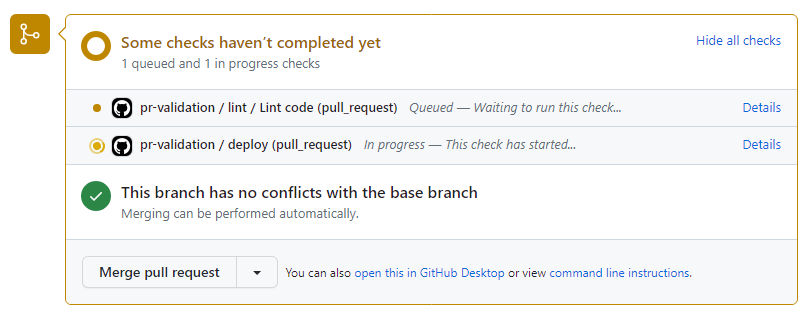
Wait for the deployment to finish.
Select Show website hostname.
Select the URL in the log.
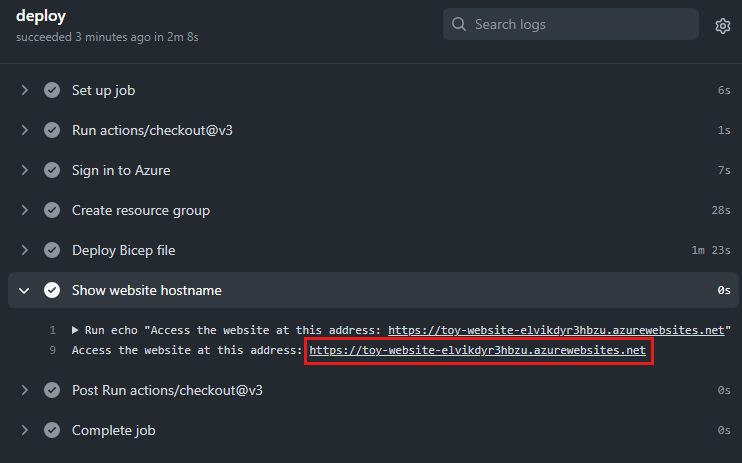
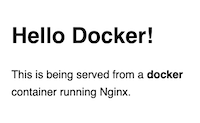
The website loads and displays a Hello Docker! message that indicates that the website is running from the container image that's defined in the pull request change.
Optionally, open the Azure portal, and go to the ephemeral environment's resource group.
Review the resources that were deployed: storage account, App service, and App service plan.
Merge the pull request
Now that you've tested the pull request, you can merge it into the main branch.
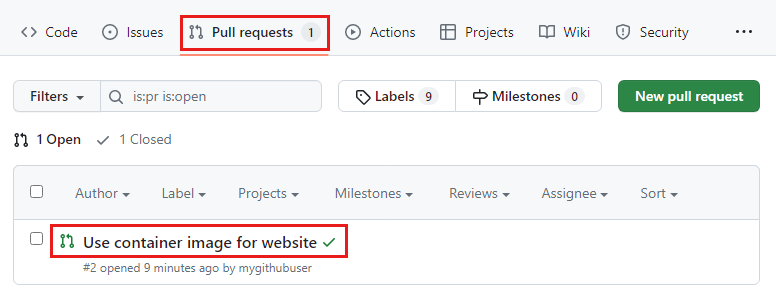
Select Pull requests, and select the Use container image for website pull request.
The status checks have passed.
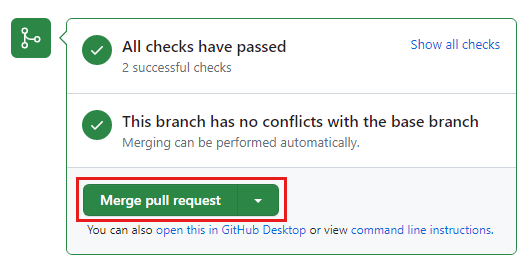
Select Merge pull request.
Select Confirm merge.
Review the deletion of the resource group
In the browser, select Actions and then, on the left pane, select the pr-closed workflow.
You can see that the workflow has been invoked automatically because a pull request was closed.

Select the workflow to review the log.
It might take a few minutes for the workflow to finish deleting the resource group in Azure.
Important
You don't need to wait for the workflow run to finish. But be sure to open the Azure portal later, both to verify that the ephemeral environment's resource group has been deleted successfully and to avoid incurring costs for the Azure resources.
Clean up resources
After you're finished with the module, you can delete the resources you created:
GitHub secrets
- From the GitHub repository, go to Settings > Secrets and variables > Actions.
- Select Remove secret for each repository secret and follow the prompts.
GitHub repository
- Go to Settings > General
- Select Delete this repository and follow the prompts.
Azure App registration's federated credentials and service principal.
- From the portal home page, search for Azure Active Directory and select it from the list of Services.
- Go to Manage > App registrations.
- In Owned applications select toy-website-auto-review.
- Select Delete and follow the prompts.
- Select Deleted applications to permanently delete the app registration.
Important
It's possible to have duplicate App registration and service principal names. It's recommended to verify the application ID to make sure you're deleting the correct resource.