Camera first creation
We took the Flip Camera your students love and created a unique experience ideal for remote learning.
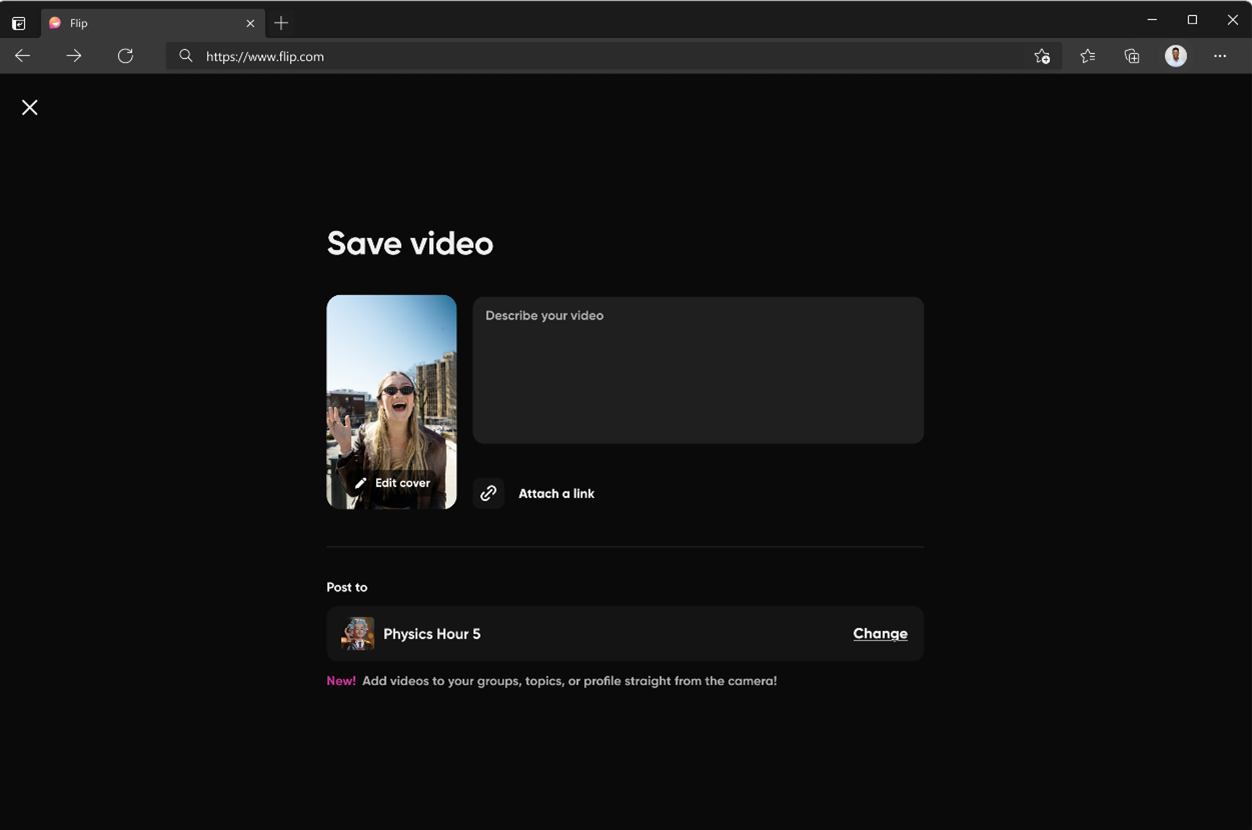
Now you can create enriching videos for school, work, and life to share beyond your groups!
The camera is located at the top left of your Educator Admin. This camera is the perfect way to introduce a lesson to students, send a message home to families, or tell your story to the community.
Simply follow these steps:
- Sign in to your Educator Admin
- Launch the camera via the menu along the top left of your dashboard.
- Record!
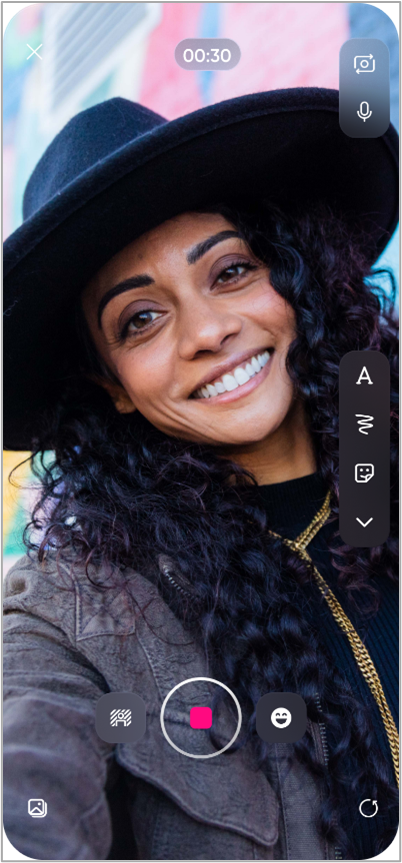
Create, trim, and rearrange your video segments. You can also upload videos from your device. Activate whiteboard mode and use live inking to add context. Overlay photos from your camera roll, emoji, and text as stickers on your video.
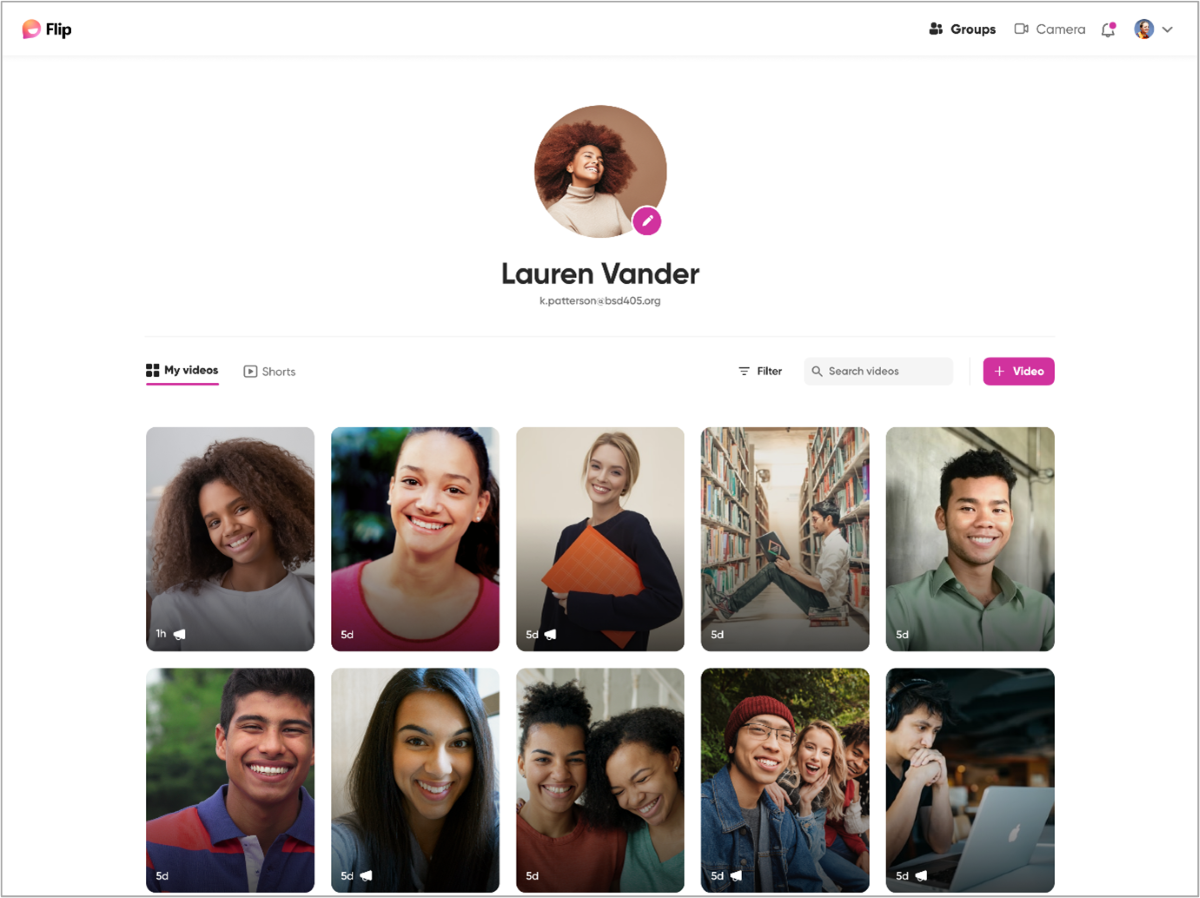
Videos are posted to My Videos where they're viewable only by you, unless you choose to share. You can access them by selecting My Videos in the upper left corner of the screen. This displays thumbnails of all your videos.
From here you can share your video via link, QR code, share to Google Classroom, share to Teams, grab an embed code, or download your video. You can also choose to post your video on a topic at any time.
Engage creativity with the Flip Camera
Your students can build a story by adding visual flair to their video.
Add text, emoji, drawing, custom images, and GIFs
To add visual flair, students decorate their screen and then record or decorate while live. They can upload a custom image from the camera roll, such as a picture of their artwork, and discuss the inspiration and implications.
Steps:
- Launch the camera.
- Choose from Effects from the dock on the right side of the camera screen.
- Create your masterpiece before pressing record OR while recording!
Create on boards
Empower your students to show their work with a board (whiteboard, blackboard, cork board, graph paper, and more).
Steps:
- Launch the camera.
- Select the Board icon from the dock on the right side of the camera screen.
- Create your masterpiece before pressing record or while recording!
BONUS: drag the board to split the screen between your camera and your board!

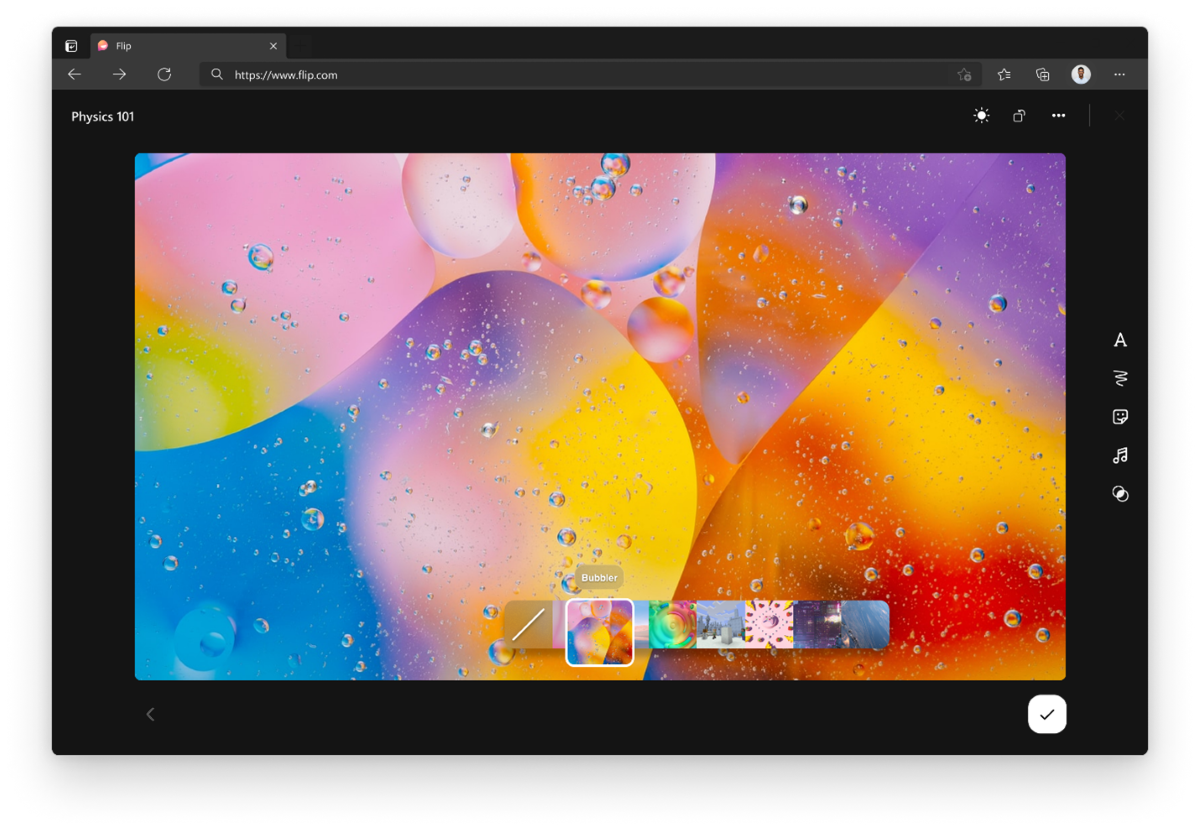
Add Backdrops
You and your students can add backdrops to further express your creativity.
Steps:
- Launch the camera.
- To the left of the record button, choose the backdrop image.
- From here you can choose video or image backdrops, import your own, or even choose to share your screen as your backdrop.
Lenses
Choose from animated lenses to take your video to the next level.
Steps:
- Launch the camera.
- Choose the lens icon to the right of the record button and choose the lens that best fits your video needs.
- Record as normal!
Screen record
Available on the Flip Microsoft Edge and Google Chrome browser experience: capture a PowerPoint, website, or... anything on your screen! The ability to screen record with the Flip camera allows you to capture what you see on your screen!
Steps:
- Launch the camera.
- Open the three dots button (…) in the top right to open More Options then select Record screen. Note, this feature is currently available only on the browser (and not via the mobile app).
- Select a screen to record.
- Complete recording and, if you desire, add additional clips.
Discover even more ways to use the camera.