Exercise - Set up a new project and integrate OpenZeppelin
Let’s create a new project, with the help of Truffle, and then incorporate the OpenZeppelin contracts library. Make sure that you already have Truffle and Ganache CLI installed before moving on.
Create a new project
- Open your terminal or command-line application on your computer. In your terminal, create a new folder named Token20. To do that, run the
mkdir Token20command. I usually run this command inside a folder named Projects, where I store all my other development projects. - Go to the Token20 folder (run
cd Token20). - To initialize a new project, run
truffle init. - Wait for your project to be initialized, and then open the project in Visual Studio Code.
You should see the following output after you use Truffle to initialize the project:
$ mkdir Token20
$ cd Token20/
$ truffle init
✔ Preparing to download box
✔ Downloading
✔ cleaning up temporary files
✔ Setting up box
$ ls
contracts               migrations              test                    truffle-config.js
Set up the project
When the project has been created and is open in the editor, take a look around the contents of the project folder.
Next, you'll want to confirm that you have Node.js installed. Open the terminal and run the node command. If Node.js is installed, that command returns the version that is installed on your computer. If Node.js isn't installed on your computer, go to Node to learn how to download it for your platform.
Node.js comes with the node package manager (npm) installed. npm helps you manage other JavaScript-built packages and applications.
- In your terminal, run
npm init. That command displays a utility that walks you through the process of creating a package.json file, which describes the project and stores dependencies that are used in the project. - Complete the steps in the utility to easily create a package.json file.
Note
You can press Enter at each prompt to use the default value.
Set up OpenZeppelin
Next, we want to integrate with the OpenZeppelin contracts library.
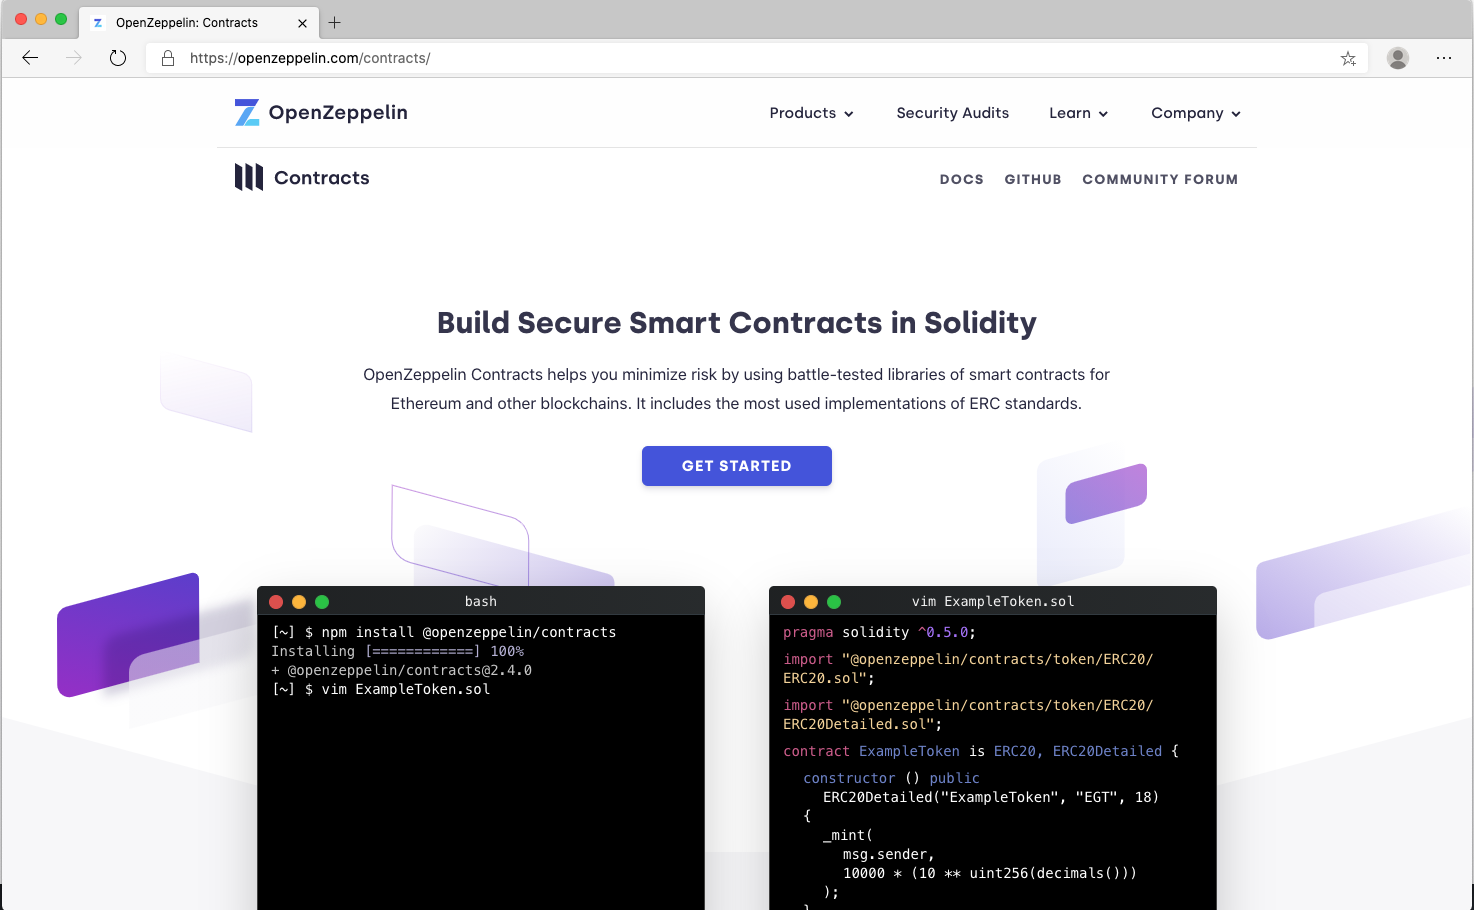
To do that, in the terminal, run npm install @openzeppelin/contracts.
Wait for the package to install to your project successfully. You should see output like the following in your terminal:
+ @openzeppelin/contracts@4.5.0
added 2 packages from 1 contributor and audited 1 package in 1s
found 0 vulnerabilities
Notice that a couple things happened:
- The package was added as a dependency in the package.json file.
- A node_modules folder imported all the available contracts from OpenZeppelin, in the subfolder @openzeppelin/contracts.
Inspecting the contents of that folder returns the following output:
$  ls node_modules/@openzeppelin/contracts
README.md  build/    governance/  metatx/       proxy/     token/
access/    finance/  interfaces/  package.json  security/  utils/
Take some time to look through the available contract source files that are now available to your project. Pay special attention to the token contracts. Get a better understanding of the implementation of each contract and which functions are typically made available.