Exercise - Create a new Express web application
Tailwind Traders has tasked you with creating a simple API using the Express framework. The online retailer wants to evaluate Express to see if it's easy to work with. As part of that evaluation, they want you to build a web application that serves different routes.
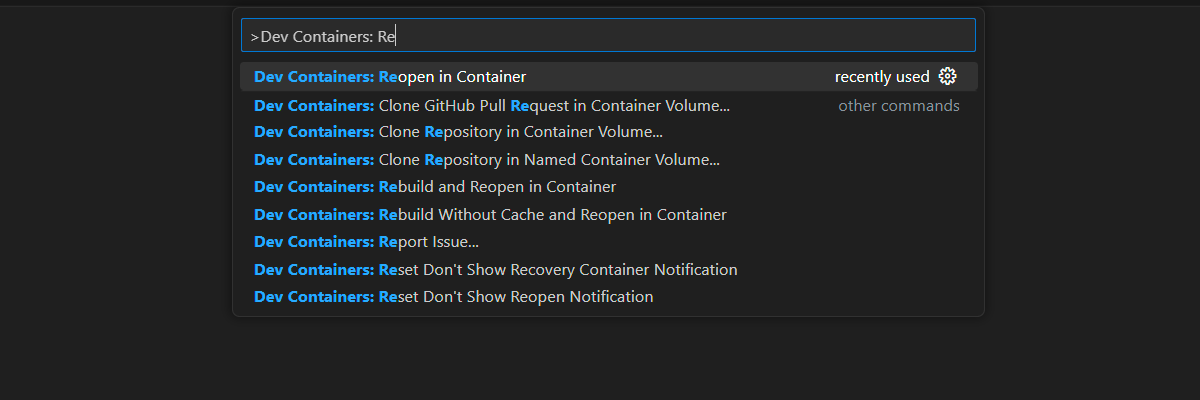
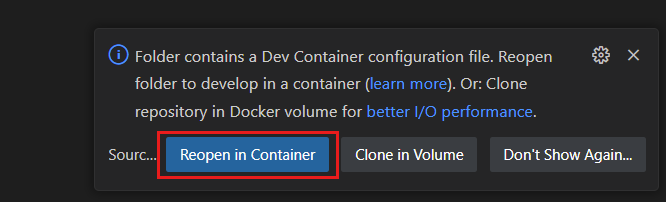
Open project in development container
Use the provided development container to complete the exercises in this module. The development container is preconfigured with the tools you need to complete the exercises.
Start the process to create a new GitHub Codespace on the
mainbranch of theMicrosoftDocs/node-essentialsGitHub repository.On the Create codespace page, review the codespace configuration settings and then select Create new codespace

Wait for the codespace to start. This startup process can take a few minutes.
Open a new terminal in the codespace.
Tip
You can use the main menu to navigate to the Terminal menu option and then select the New Terminal option.

Validate that Node.js is installed in your environment:
node --versionThe dev container uses a Node.js LTS version such as
v20.5.1. The exact version might be different.The remaining exercises in this project take place in the context of this development container.

Create a basic web app with Express
Create a basic application that handles requests.
Open a terminal in the dev container.
Use the following commands to create a new Node.js project and install the Express framework:
mkdir my-express-app
cd my-express-app
npm init -y
npm install express
The
initcommand creates a default package.json file for your Node.js project. Theinstallcommand installs the Express framework.In a code editor, open the package.json file.
In the
dependenciessection, locate theexpressentry:"dependencies": { "express": "^4.18.2" ... }This entry indicates the Express framework is installed. Your version may be more recent. This sample code uses version 4 of the Express framework.
In a code editor in the
my-express-appfolder, create a file named app.js, and add the following code:const express = require('express'); const app = express(); const port = 3000; app.get('/', (req, res) => res.send('Hello World!')); app.listen(port, () => console.log(`Example app listening on port ${port}! http://localhost:${port}/`));The code creates an instance of an Express application by invoking the
express()method. This is the top-level function exported by the Express module. All further configuration and functionality is added via theappvariable.Notice how the code sets up a route to slash
/, the root, with the syntax:app.get('/', (req, res) => res.send('Hello World!'));After setting up the route, the code starts the web application by invoking the
listen()method:app.listen(port, () => console.log('Example app listening on port ${port}!'));Open a terminal for this subfolder by right-clicking the subfolder name and selecting Open in integrated terminal.
In the terminal, run the following command to start the Express web application:
node app.jsYou should see the following output:
Example app listening at http://localhost:3000This output means your app is up and running and ready to receive requests.
You can right-click and select the URL in the terminal or you can open the browser when Visual Studio Code pops up a notification asking if you want to Open in browser. You should see the following output:
Hello World!In the terminal, press Ctrl + C to stop the web Express program.
Create a web app that returns JSON data
Use the same app.js file to add a new route.
In a code editor, open the
app.jsfile.Add the following code after the existing
app.getsyntax after the code for the first route,/:app.get('/products', (req, res) => { const products = [ { id: 1, name: 'hammer' }, { id: 2, name: 'screwdriver' }, { id: 3, name: 'wrench' }, ]; res.json(products); });Make sure your app.js file looks like this example:
 const express = require('express');
 const app = express();
 const port = 3000;

 app.get('/', (req, res) => res.send('Hello World!'));

 app.get('/products', (req, res) => {
     const products = [
         { id: 1, name: 'hammer' },
         { id: 2, name: 'screwdriver' },
         { id: 3, name: 'wrench' },
     ];

     res.json(products);
 });

 app.listen(port, () => {
     console.log(`Example app listening on port ${port}! http://localhost:${port}/`);
 });
Save your changes to the app.js file and close the file.
In the terminal, run the following command to restart the web Express app:
node app.jsYou should see the following output:
Example app listening at http://localhost:3000In a browser, return to the tab from the previous step and add the new route,
/products, to the end of the URL. You should see the following JSON output:[{"id":1,"name":"hammer"},{"id":2,"name":"screwdriver"},{"id":3,"name":"wrench"}]In the terminal, press Ctrl + C to stop the web Express program.
Congratulations! You implemented a second route that can serve up static JSON data.