Exercise - Deploy an Azure App Service web app on Kubernetes with Azure Arc
This unit combines the last two exercises as you evaluate Azure App Service on Kubernetes with Azure Arc. In these two exercises, you'll perform the following tasks:
- Create a web app in Azure App Service on Kubernetes with Azure Arc.
- Deploy a Node.js-based application by using a zip-file deployment.
- Delete the Azure Arc resource group.
- Delete the AKS resource group.
Note
The sample application you'll deploy is intentionally very simplistic. This exercise's primary purpose is to demonstrate deployment methodology. However, you can use the same approach when deploying more complex apps (the file size limit is 2048 megabytes (MB). For more information, see Deploy your app to Azure App Service with a ZIP or WAR file.
Note
This exercise illustrates a code-based deployment. Azure App Service on Kubernetes with Azure Arc also supports container-based deployments.
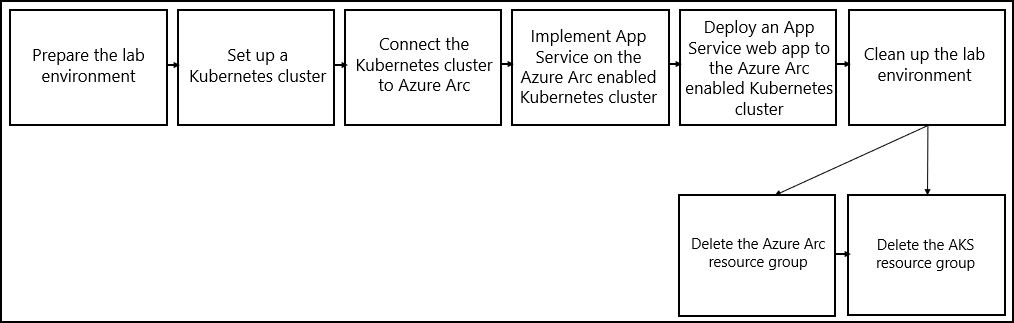
These are the two final exercises in the module's sequence of exercises. These exercises have guided you through implementing Azure App Service on Kubernetes with Azure Arc. The sequence consists of the following exercises:
- Prepare the lab environment.
- Set up a Kubernetes cluster.
- Connect the Kubernetes cluster to Azure Arc.
- Implement App Service on the Azure Arc enabled Kubernetes cluster.
- Deploy an App Service web app to the Azure Arc enabled Kubernetes cluster.
- Clean up the lab environment.
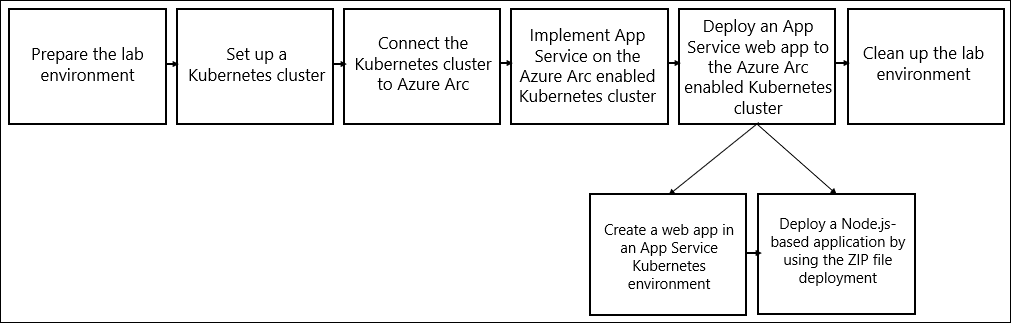
Task 1: Create a web app in an App Service Kubernetes environment
To deploy a web app to an App Service Kubernetes environment, you need to designate its custom location. It is not necessary or recommended to explicitly create an App Service plan, since the platform will automatically provision one for you.
Note
For the sake of completeness, this task includes steps that illustrate creation of an App Service plan.
Use the following steps to create a Linux code-based web app:
In the browser window that displays the Bash session in the Azure Cloud Shell pane, run the following commands. These commands set values of the variables that designate the names of the resource group that contains the Arc resources and the Azure Arc-connected cluster resource:
K8S_ARC_PREFIX=k8sArc
ARC_RG_NAME="${K8S_ARC_PREFIX}-RG"
ARC_CLUSTER_NAME="${K8S_ARC_PREFIX}-cluster"
Run the following commands to set the values of the variables that designate the extension's name that's being installed in the Azure Arc-connected cluster and the name of the corresponding Kubernetes environment:
EXTENSION_NAME="${K8S_ARC_PREFIX}-kube"
KUBE_ENV_NAME=$(az appservice kube list -g $ARC_RG_NAME --query "[0].name" -o tsv)
Run the following command to set the value of the variable that designate the name of the custom location that will host resources you deployed to the Azure Arc-connected Kubernetes cluster:
CUSTOM_LOCATION_NAME="${K8S_ARC_PREFIX}-location"Run the following command to store the id property value of the custom location in a variable:
CUSTOM_LOCATION_ID=$(az customlocation show -g $ARC_RG_NAME -n $CUSTOM_LOCATION_NAME --query id -o tsv)Run the following command to set value of the variable that designates the names of the web app:
WEBAPP_NAME=k8sarcwebapp$RANDOM$RANDOMRun the following command to deploy a web app:
az webapp create -g $ARC_RG_NAME -n $WEBAPP_NAME --custom-location $CUSTOM_LOCATION_ID --runtime "NODE|12-lts"Tip
To list valid runtimes, run the following command:
az webapp list-runtimes --linuxNote
If you want to explicitly create an App Service plan, run the following commands that, respectively, set the value of the variables that designate the names of the service plan and the web app, create an App Service plan, and create a web app based on that App Service plan:
WEBAPP_SP_NAME=k8sArc-sp
WEBAPP_NAME=k8sarcwebapp$RANDOM$RANDOM
az appservice plan create -g $ARC_RG_NAME -n $WEBAPP_SP_NAME --custom-location $CUSTOM_LOCATION_ID --per-site-scaling --is-linux --sku K1
az webapp create -g $ARC_RG_NAME -p $WEBAPP_SP_NAME -n $WEBAPP_NAME --runtime "NODE|12-lts"
Task 2: Deploy a Node.js-based application by using the zip-file deployment
Now, you'll download the code containing a sample Node.js application, install its dependencies, create a zip archive that contains all application files, and deploy it to the web app you previously created.
Use the following steps to deploy a Node.js-based application by using the ZIP file deployment to a web app on Azure App Service on Kubernetes with Azure Arc:
In the browser window that displays the Bash session in the Azure Cloud Shell pane, run the following command to download the content of the https://github.com/Azure-Samples/nodejs-docs-hello-world GitHub repository that contains the sample application:
git clone https://github.com/Azure-Samples/nodejs-docs-hello-world.gitRun the following command to change the working directory to the one that contains the application code:
cd nodejs-docs-hello-worldRun the following command to create a zip archive that contains all of the application files:
zip -r nodejs-docs-hello-world.zip .Run the following command to deploy the zip archive that contains all of the application files to the target web app:
az webapp deployment source config-zip -g $ARC_RG_NAME -n $WEBAPP_NAME --src nodejs-docs-hello-world.zipNote
From the deployment standpoint, this process is the same as the one used to deploy an application to Azure App Service. The difference is that your web app is running on the Azure Arc enabled Kubernetes cluster. It's not being hosted by Azure App Service.
Note
Don't use
az webapp upto deploy code. It isn't supported in the current preview. There also isn't support for File Transfer Protocol (FTP) publishing.Run the following command to list pods in the appservice-ns namespace on the target Azure Arc-enabled Kubernetes cluster:
kubectl get pods -n appservice-nsNote
The list should include a pod with a name for which the prefix matches the web app's name.
To validate the deployment from a functional standpoint, in the web browser that displays the Azure Cloud Shell, open another tab, navigate to the Azure portal, and use the Search resources, services, and docs text box to search for the App Service web app you deployed. Navigate to its Overview blade, identify its URL, and then open another tab in the same browser window to display the corresponding webpage.
Note
The webpage should display Hello World!`
Task 3: Delete the Azure Arc resource group
To return your Azure subscription to its original state, remove the Azure Arc resources that you'll no longer use.
Use the following steps to delete all Azure Arc resources you provisioned throughout this course's exercises:
Switch to the browser window that displays the Bash session in the Azure Cloud Shell pane, and then run the following commands. These commands set the variable value for the name of the resource group that contains the Arc resources:
K8S_ARC_PREFIX=k8sArc
ARC_RG_NAME="${K8S_ARC_PREFIX}-RG"
Run the following command to delete the resource group:
az group delete --name $ARC_RG_NAME --yes
Task 4: Delete the AKS resource group
To minimize Azure-related charges that are associated with running these exercises, remember to delete the Azure resources that you'll no longer use.
Use the following step to delete the remaining Azure resources you provisioned throughout this course's exercises:
In the web browser window that displays the Bash session in the Azure Cloud Shell pane, run the following command. These commands set the value of the variable that designates the resource group's name that contains the AKS cluster. This will automatically delete all resources in the corresponding infrastructure resource group:
K8S_CLUSTER_RG_NAME=k8sAKS-RGRun the following command to delete the resource group:
az group delete --name $K8S_CLUSTER_RG_NAME --no-wait --yesNote
The command executes asynchronously (as determined by the --nowait parameter). While you'll be able to run another Azure CLI command in the same shell immediately after running this command, it'll take a few minutes before the resource groups are actually removed.
Congratulations! You've completed the last two exercises of this module. You've created a web app in Azure App Service on Kubernetes with Azure Arc. You've also deployed a Node.js-based application into the web app by using the zip-file deployment method, validated the deployment, and removed any Azure resources that you'll no longer use.