Lab - Generate electronic documents for payments
Read this first - before you start the lab!
Important
For this lab, you CANNOT sign in with your own credentials. Use the following steps to sign in to your lab environment with the correct credentials.
Ensure that you are signed in to Microsoft Learn.
Select Launch VM mode or Sign in to launch VM mode in this unit.
In the Resources tab on the lab side bar, select the T icon next to Password in the MININT box, to have the administrator password for the Virtual Machine entered for you.
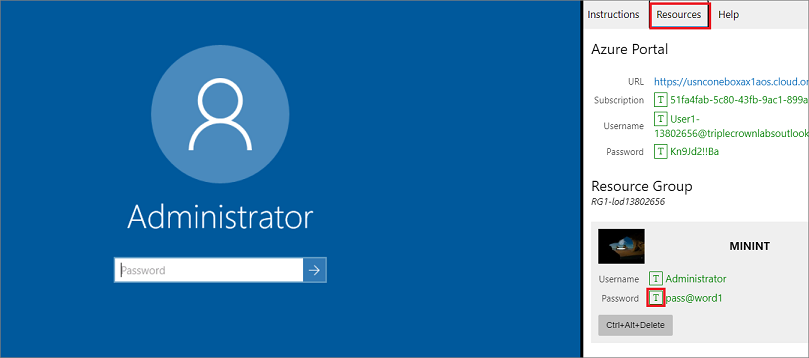
Select Enter.
Microsoft Edge will open. Wait for it to navigate to the Sign in page for finance and operations.
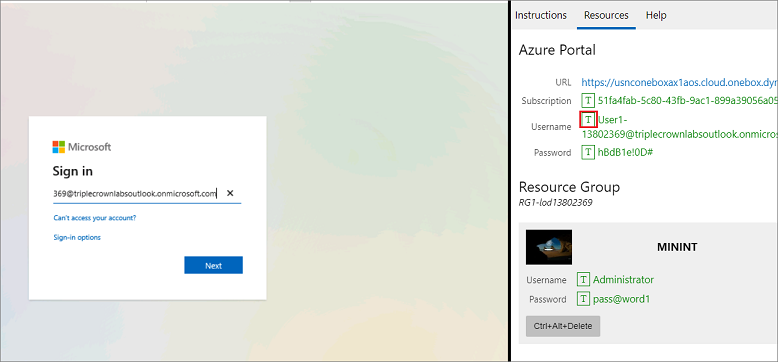
On the Microsoft Sign in page in finance and operations, place your mouse cursor into the Username field.
On the Resources tab of the lab side bar, below the Azure portal heading, select the T icon next to Username, then press Enter.
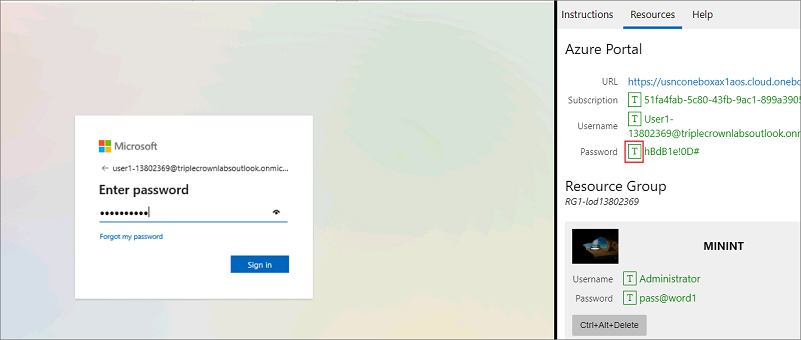
Your mouse cursor will now be in the Password page.
On the Resources tab of the lab side bar, below the Azure portal heading, select the T icon next to select Password, then press Enter.
Don't stay signed in or store the password on the virtual machine.
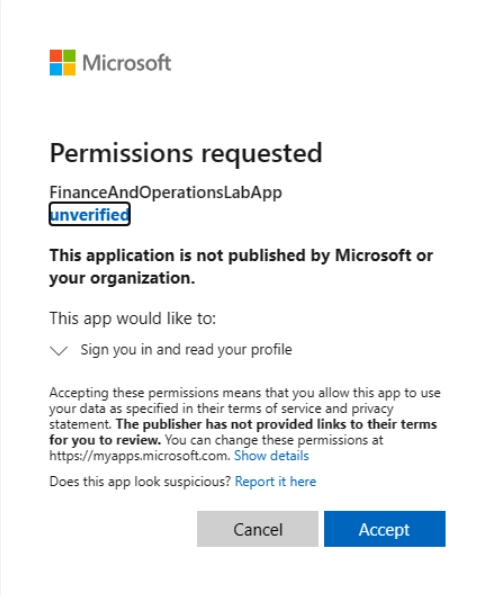
Select Accept in the Permissions requested page.
To see the lab instructions, select the Instructions tab on the lab side bar.
You can now begin your work on this lab.
Scenario
As the Finance manager for the company USMF, you need to set up Electronic reporting due to a local requirement. Your technical team has set up the format, and now you need to test it, by creating a file to see that it matches what is needed.
Verify file format is set up
- In company USMF go to Accounts payable > Payment setup > Methods of payment.
- Place your cursor in the left navigation bar on Electronic.
- Select the File formats FastTab.
- If the Export format is not NACHA (US), then select it.
- Save and close the page.
Test the format of generated payment files
- Go to Accounts payable > Payments > Vendor payment journal.
- Select New.
- In the Name field, select VendPay.
- Select Save.
- Select Lines.
- In the Company field, enter DEMF.
- In the Account field, specify the value DE-01001.
- In the Description field, enter Payment.
- In the Debit field, enter 175.
- Select the Payment tab.
- In the Method of payment field, select the Electronic.
- Select Save.
- Select Generate payments.
- In the Method of payment field, select Electronic.
- In the Bank account field, select USMF OPER.
- Select the radio button on Export format.
- Select the Export format of NACHA (US).
- Select OK.
- Note the File name created. (The batch number followed by the bank, etc.).
- Select OK. You will see a pop-up message asking you to open the file.
- Select Open file. You will see the electronic file in Notepad.
- Close the page.
Close the lab environment
- Select Done in the Instructions pane in the lab side bar.
- In the Lab is complete window, select Continue, and then select Leave to return to the next unit in the module.