Lab - Create a sales order and work with commissions
Read this first - before you start the lab!
Important
For this lab, you CANNOT sign in with your own credentials. Use the following steps to sign in to your lab environment with the correct credentials.
Ensure that you are signed in to Microsoft Learn.
Select Launch VM mode or Sign in to launch VM mode in this unit.
In the Resources tab on the lab side bar, select the T icon next to Password in the MININT box, to have the administrator password for the Virtual Machine entered for you.
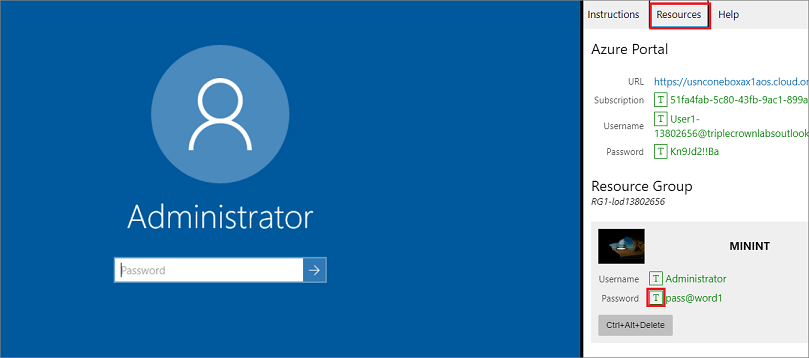
Select Enter.
Microsoft Edge will open. Wait for it to navigate to the Sign in page for finance and operations.
On the Microsoft Sign in page in finance and operations, place your mouse cursor into the Username field.
On the Resources tab of the lab side bar, below the Azure portal heading, select the T icon next to Username, then press Enter.
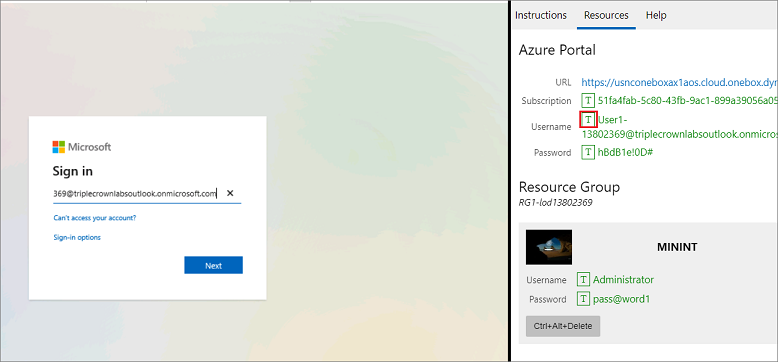
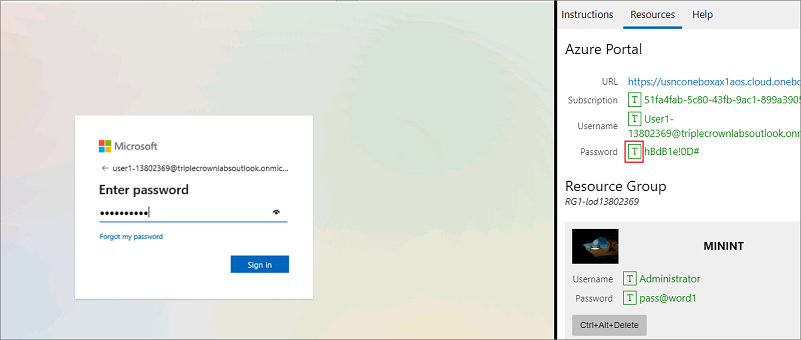
Your mouse cursor will now be in the Password page.
On the Resources tab of the lab side bar, below the Azure portal heading, select the T icon next to select Password, then press Enter.
Don't stay signed in or store the password on the virtual machine.
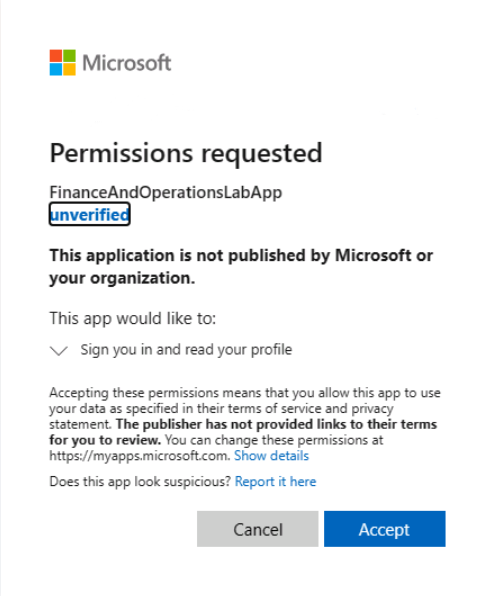
Select Accept in the Permissions requested page.
To see the lab instructions, select the Instructions tab on the lab side bar.
You can now begin your work on this lab.
Scenario - create a sales order
In this scenario you will create a sales order in the USMF company.
Enter sales order header details
- In company USMF, go to Sales and marketing > Sales orders > All sales orders.
- Select New.
- In the Customer account field, select the drop-down button to open the lookup.
- In the list, find and select the customer US-004.
- Select OK.
- Select Sales order line.
- Select Dimensions.
- For this example, select the Color, Site, and Warehouse dimensions. The dimensions that you select will appear in the sales order grid. If you want your selections to persist, set the Save setup option to Yes.
- Select OK.
- In the Item number field, select the drop-down button to open the lookup.
- For this example, select item number T0004.
- In the Color field, select the drop-down button to open the lookup.
- In the list, find and select Black.
- In the Quantity field, enter 1.
Review the order totals
On the Action Pane, select Sales order.
Select Totals.
The Totals page displays details about the entire order. This includes the subtotal amount (a sum of all line net amounts that are adjusted for eventual line discounts), the total invoice amount (a subtotal amount that is adjusted for eventual order-level discount, charges, and sales tax), the customer credit limit situation, and more. The invoice amount is the amount that will appear on the customer's invoice document.
Select OK.
Scenario - work with commissions
In the USMF company, you need to extend the commission calculation rule that expired on 12/31/2017. You need to have all the necessary commission calculations set up to ensure that the commission for customer US-013 for all items is being calculated.
Create a Commission calculation
- Go to Sales and marketing > Commissions > Commission calculation.
- Select New.
- In the Item code field select All.
- In the Customer code field select All.
- In the Sales rep code field select All.
- In the Commission percentage field enter 4.00.
- In the From field enter 1/01/2023.
- In the To field enter 12/31/2023.
Create a Commission customer group
- Go to Sales and marketing > Commissions > Customer groups for Commission.
- Select New.
- In the Group field enter 01.
- In the Name field enter All customer group.
Add Commission share amount
- Go to Sales and marketing > Commissions > Sales groups."
- Select General in the Action Pane.
- Select Sales rep.
- Select Edit.
- Enter 4.00 in the Commission share field.
Create a sales order
Go to Sales and marketing > Sales orders > All sales orders.
Select New.
In the Customer account field, select the drop-down button to open the lookup.
In the list, find and select US-013.
Select OK.
On the upper right of the page, select Header view.
Expand the Setup section.
The value in the Sales group field represents a group with one or more sales representatives that are assigned to it. The people in the group are those who will receive commissions when the order is invoiced, according to the predefined rates and distribution. The value is copied from the Customer card, but you can change it if you want. The Sales group is also copied to the sales order line. You can change the group so that it can differ from the one in the header and/or between lines.
The value in the Commission group field represents a group that you have created for one or more customers with the purpose of tracking commissions. The value is copied from the Customer card, but you can change it if you want.
On the upper right of the page select Lines view.
In the Item number field, select the drop-down button to open the lookup.
In the list, select D0001.
In the Quantity field, enter 2.
Note the line's Net amount. It represents the sales revenue, which in this example is the basis for commission calculation.
Select Save.
Select Pick and pack on the Action Pane.
Select Generate picking list.
Ensure the information is correct and select OK> OK.
Select Picking list registration.
Select the line and Update > Update all.
Select Post packing slip.
Select OK.
On the Action Pane, select Invoice. You may need to select "..." to see the Invoice option.
Under the Generate field group, select Invoice.
Expand the Parameters section.
In the Quantity field, select All.
Select Yes in the Posting field.
Select OK.
Select OK. Allow the processing to complete and don't close the page.
Review the registered sales commissions
- On the Action Pane, select Invoice.
- Under the Journals field group, select Invoice.
- On the Action Pane, select Invoice.
- Select Commission transactions.
- The Overview tab displays lines that represent the commission amounts that are payable to sales representatives who are associated with the invoiced sales order.
- Close the page.
- Select Voucher. You can review the voucher transactions for the commission amounts that have been posted to the predefined commission expense and commission payable accounts.
- Close all pages.
Close the lab environment
- Select Done in the Instructions pane in the lab side bar.
- In the Lab is complete window, select Continue, and then select Leave to return to the next unit in the module.