Exercise - Use a Content Delivery Network to publish a static website
Serving video files to your global users can benefit from a Content Delivery Network (CDN). In this unit, you learn how to create a CDN endpoint and profile. Then, you see how to configure the endpoint to cache content from a static website.
Create a Content Delivery Network
First, create a CDN and connect that CDN to the website that you created from your storage account.
The free sandbox allows you to create resources in a subset of the Azure global regions. Select a region from the following list when you create resources:
- West US 2
- South Central US
- Central US
- East US
- West Europe
- Southeast Asia
- Japan East
- Brazil South
- Australia Southeast
- Central India
Sign into the Azure portal using the same account you used to activate the sandbox.
On the Azure portal menu or from the Home page, select + Create a resource.
Search for Front Door and CDN profiles, then select Create.
Select the radio button for Explore other offerings, then select the radio button for Azure CDN Standard from Microsoft (classic).
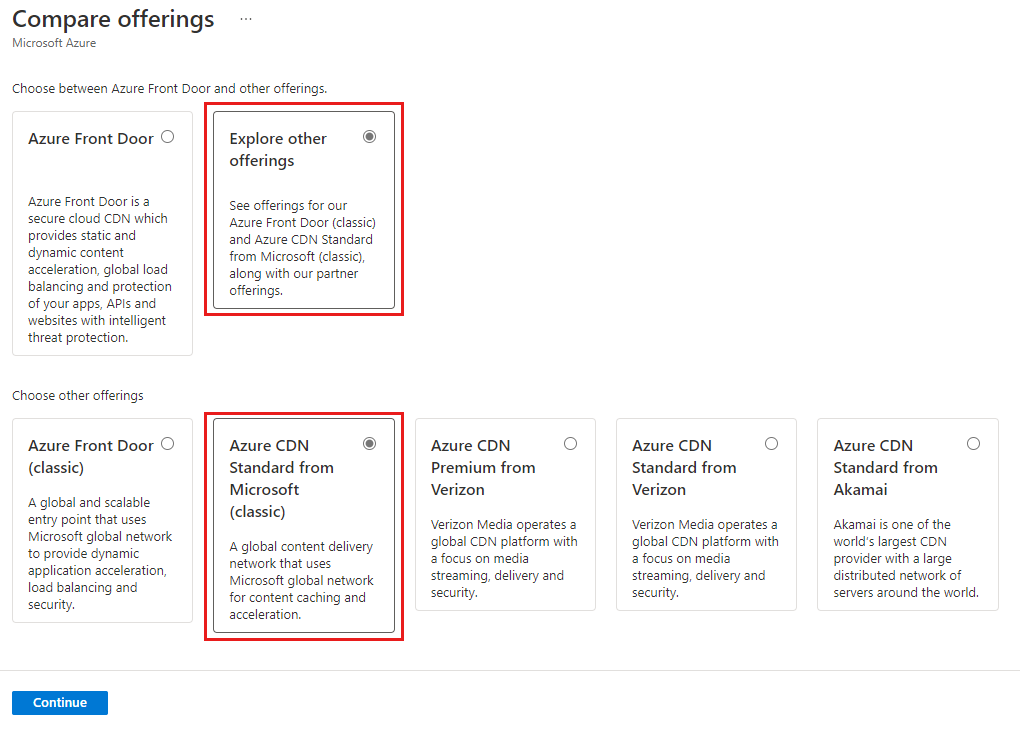
Select Continue to configure the CDN profile.
On the Basics page, enter or select the following information:
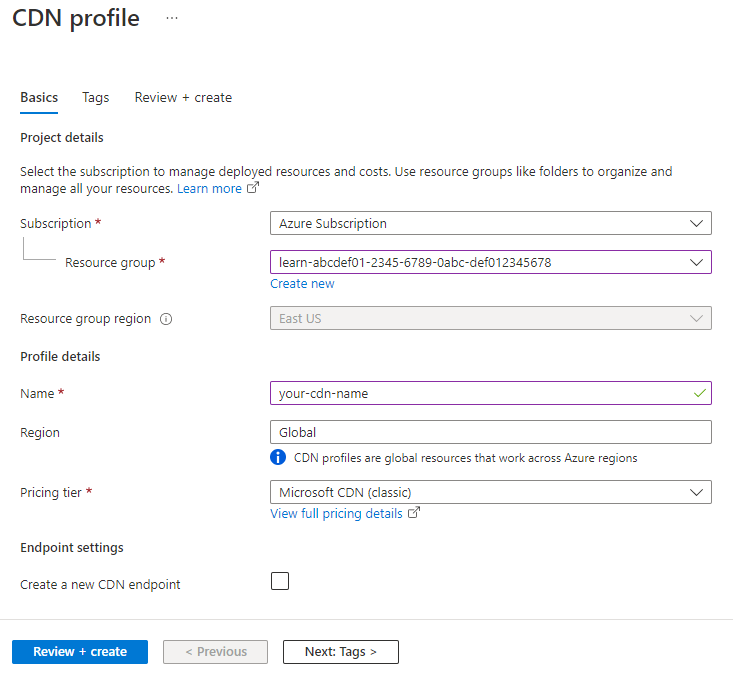
Settings Value Subscription Select the sandbox environment subscription. Resource group Select the existing Resource Group (" [sandbox resource group name] ") from the drop-down list.Name Enter a name for the CDN profile. Pricing tier Select Microsoft CDN (classic). Create a new CDN endpoint Leave this option unchecked. Select Review and Create, then select Create to deploy the CDN profile.
Once the profile is created, select Go to resource to display the CDN profile pane.
Create a CDN Endpoint
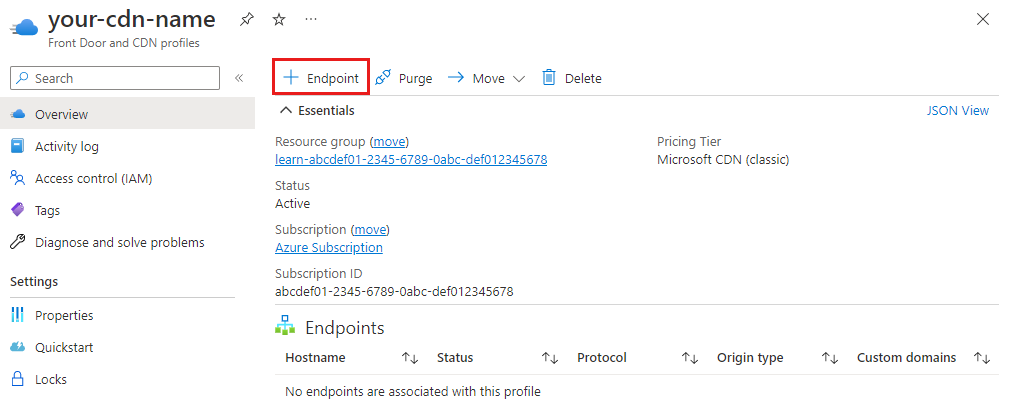
Now, create a CDN profile that connects to the source web server in the storage account. Take the following steps:
In the CDN Profile pane, select + Endpoint.
On the Add an endpoint page, enter or select the following information:
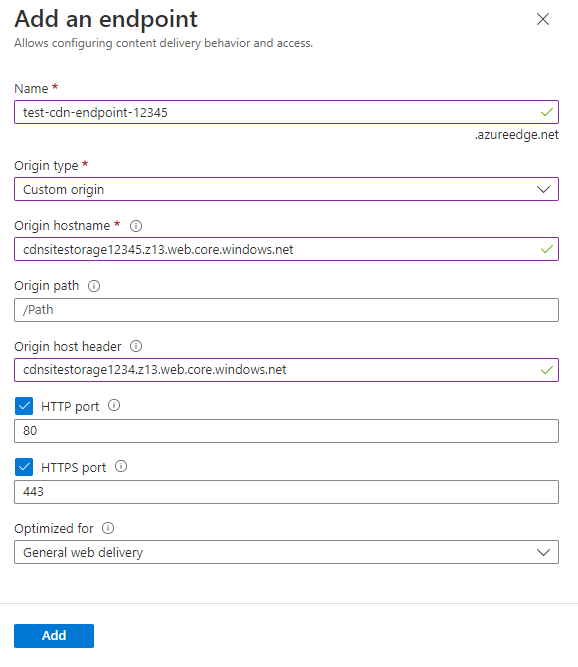
Settings Value Name Enter a unique name for the endpoint. Origin type Select Custom origin. Origin hostname Enter the URL from when you created the web site. Remove the https:// and the final trailing slash character. Origin Path Leave as default. Origin host header Leave as default. This value is the same as the Origin hostname. HTTP port Leave default as port 80. HTTPS port Leave default as port 443. Note
Origin type specifies what type of hosting service is used. Custom origin is used for any other type of publicly accessible origin webserver. This can be a webserver hosted on Azure or elsewhere.
Select Add to create the endpoint. Note the message that it can take up to 10 minutes for the settings to reach every CDN POP.
After 10 minutes elapses, select the Endpoint hostname link. The web site should display.