Lab - Work with the fiscal calendar, year, and periods
Read this first - before you start the lab!
Important
For this lab, you CANNOT sign in with your own credentials. Use the following steps to sign in to your lab environment with the correct credentials.
Ensure that you are signed in to Microsoft Learn.
Select Launch VM mode or Sign in to launch VM mode in this unit.
In the Resources tab on the lab side bar, select the T icon next to Password in the MININT box, to have the administrator password for the Virtual Machine entered for you.
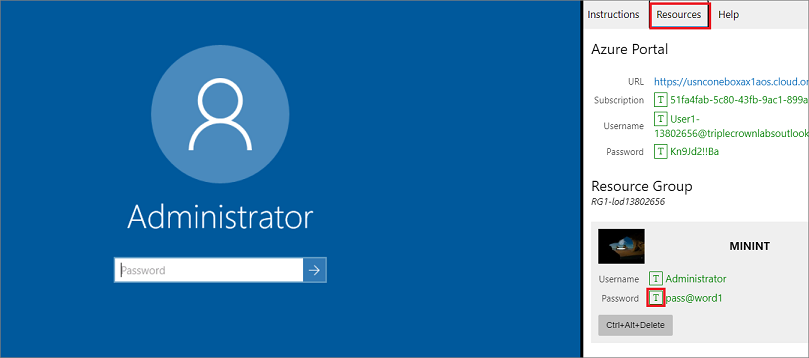
Select Enter.
Microsoft Edge will open. Wait for it to navigate to the Sign in page for finance and operations.
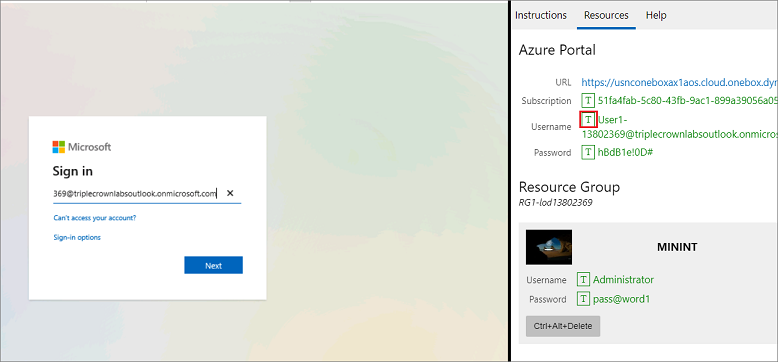
On the Microsoft Sign in page in finance and operations, place your mouse cursor into the Username field.
On the Resources tab of the lab side bar, below the Azure portal heading, select the T icon next to Username, then press Enter.
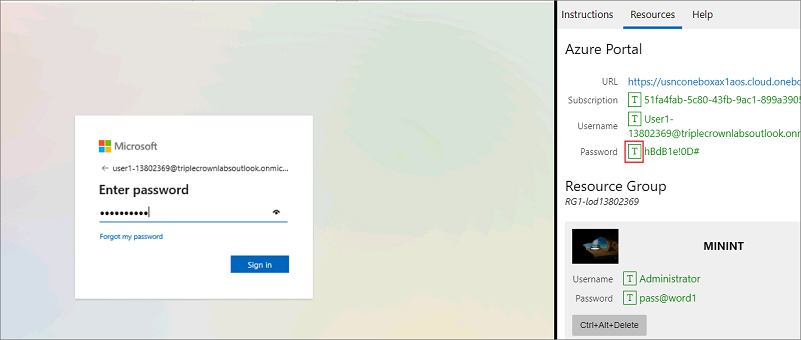
Your mouse cursor will now be in the Password page.
On the Resources tab of the lab side bar, below the Azure portal heading, select the T icon next to select Password, then press Enter.
Don't stay signed in or store the password on the virtual machine.
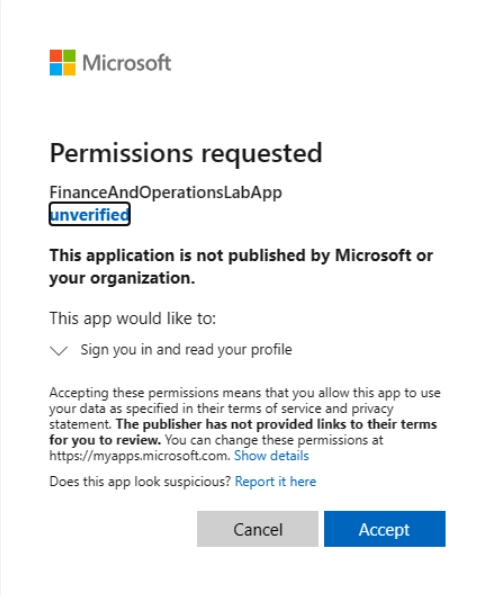
Select Accept in the Permissions requested page.
To see the lab instructions, select the Instructions tab on the lab side bar.
You can now begin your work on this lab.
Scenario - Create a fiscal calendar, year, and period
The Accounting manager, wants to define calendars for different purposes and share them across different ledgers without having to create them in each legal entity. Perform the following steps to assist the Accounting manager.
- Go to General ledger > Ledger setup > Fiscal calendars.
- Select New calendar.
- Enter the name of the calendar to be created in the Calendar field.
- Enter a description of the fiscal calendar in the Description field. This description can be used on reports.
- Enter the Start and End dates of the initial fiscal year in the appropriate fields.
- Enter a Fiscal year name of the initial fiscal year to be associated with this fiscal calendar.
- Enter the Length of the period and the Unit of the periods. These fields work together to determine how many periods will be created.
- Select Create.
Scenario - Create a date interval for a month
Follow these steps to create a date interval for the month of January.
- Go to General ledger > Ledger setup > Date intervals.
- Select New.
- In the Date interval code field, type 'January'.
- In the Description field, type 'Month of January'.
- Under Interval Start on the left side of the screen, fill out the following fields:
- From date period type - Select 'Fiscal year'.
- From date Start/End - Select 'Start'.
- From date adjustment unit - Select 'Months'.
- Under Interval End on the right side of the screen, fill out the following fields:
- To date period type - Select 'Fiscal year'.
- To date Start/End - Select 'End'.
- To date +/- - Enter '-11'.
- To date adjustment unit - Select 'Months'.
- Select Save.
- Close the page.
Close the lab environment
- Select Done in the Instructions pane in the lab side bar.
- In the Lab is complete window, select Continue, and then select Leave to return to the next unit in the module.