Create a pick up and ship e-Commerce customer order
To create an e-Commerce customer order (pick-up and ship), follow this procedure:
Go to the e-Commerce site by following the link in Microsoft Dynamics Lifecycle Services, in the e-Commerce tab.
Go to a product page, select a product variant, and then select the Add to bag button.
Go to a different product page, select a product variant, and then select the Add to bag button.

Select one of the products for pickup. In the Select a store dialog box, enter the store where the goods can be picked up and then select the Search button. In the list of results, find the store that you want for the pickup and then select Pick up here.
Note
The stores that you will be able to select for picking up the order at Store Commerce depend on the Fulfillment group assignment configuration on the online store that is related to the e-Commerce site.

The other item can be shipped to an address.
Select Checkout.

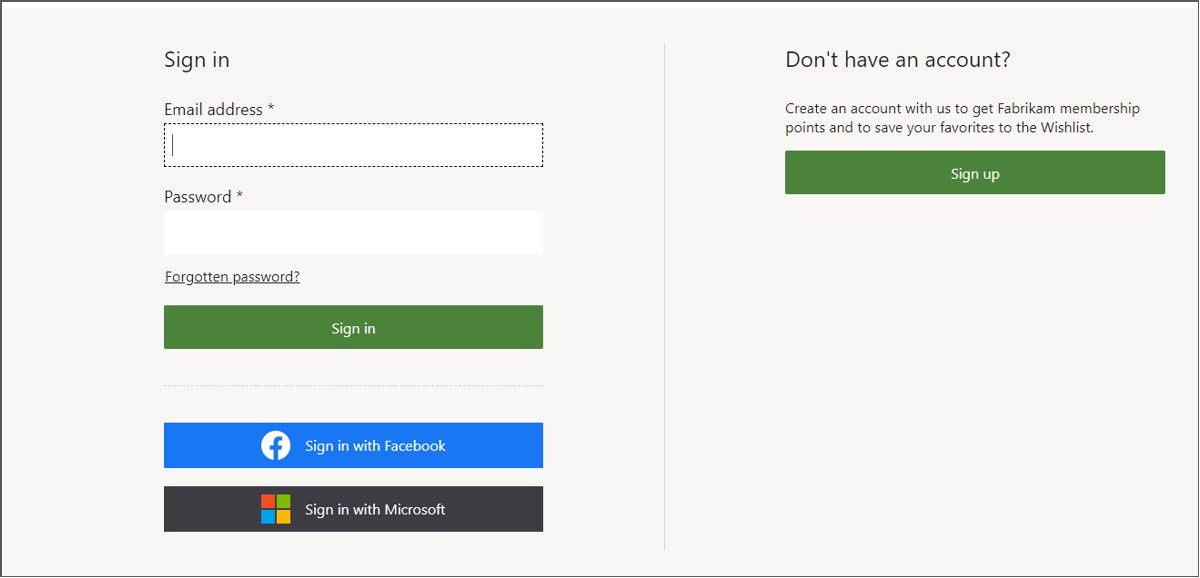
Sign in to your customer account or select Sign up to create a new customer account, if you don’t already have one.
Note
You can create and process orders for pick-up and for shipping as a Guest and as a signed-in customer, either as an existing customer or when you are creating a new customer account during the creation of the order.
Signing up will send a verification code to the email address that you provide. Sign in to your new account on the site by using this verification code.
On your order in process, fill out the Shipping Address section and then select Save & continue.
Select a delivery mode and then select Save & continue.

Fill out the payment method.
Note
For testing purposes, you can use any name and use credit card number 4111 1111 1111 1111 expiry 10/20 CVC 737. Never use actual credit card information on the test site.
Provide an email address in the Contact information field and then select Place order. You will receive a confirmation email after placing the order.


The site will show an Order Confirmation page.

Another consideration to be made on the e-Commerce site when an order has been placed, is the optional functionality of supporting reordering of previously purchased items. Commerce can support the reordering process to improve customer retention in the Order details module. The Buy it again functionality can be enabled to automatically add items to a shopper’s cart instead of taking them to a Product details page. The customer can add either individual items or multiple items, that they had ordered in the past, to an existing order.
To view the transaction in Commerce Headquarters (HQ), run the P-0001 job and Synchronize Orders to pull in the orders from the Commerce scale units.
- In Commerce HQ, go to Retail and Commerce > Retail and Commerce IT > Distribution schedule.
- Select the P-0001 job and then select Run now.

- In Commerce HQ, go to Retail and Commerce > Retail and Commerce IT > Synchronize Orders.
- Select the online channel that you are working with and add it to the SELECTED ORGANIZATION NODES.
- Select OK.
- Search for Online store transactions to find the order in the Transaction list. You should be able to match the date, time, and order charge to the order that you created on the site.
Note
Running the P-0001 job and Synchronize orders is performed by batch jobs in real-life scenarios. These steps are included in this exercise for the purpose of understanding the process.
Guest checkout
There are multiple benefits that come with the Guest checkout option on an e-Commerce site. An additional consideration that should be made when allowing guest checkout is the ability to enable order lookup for those guests. Enabling order lookup for guest checkout can do more than increase conversion rates, it can also create new opportunities to connect with the guest and generate engagement and potential retention.
A guest who does not sign in is considered an unauthenticated user, and a new API must be enabled on the Commerce Scale Unit that allows an order to be looked up using the guest’s email address and order confirmation ID. Because personal data such as shipping address and the last four digits of a credit card are often shown on an order, the Commerce parameters allow the option of either displaying or hiding this information when an order is looked up.
The Commerce parameter can be updated in Retail and commerce > Headquarters setup > Parameters > Commerce parameters and the screenshot that is shown below shows the changes that can be made for unauthenticated users (guests), and whether or not to include personal data.

When the guest order lookup has been configured, the guest can look up their order by either navigating to the URL provided in the transactional email of their order or by using a page that is set up for order lookup on the e-Commerce website.
Watch the following video to learn how to create an e-Commerce customer order with a guest checkout.