Exercise - Set up your Azure DevOps environment
In this unit, you'll make sure that your Azure DevOps organization is set up to complete the rest of this module. You'll also create the Azure App Service environment that you'll deploy to.
To accomplish these goals, you:
- Add a user to ensure Azure DevOps can connect to your Azure subscription.
- Fork and clone a GitHub repo that contains a basic Python app.
- Create the Azure App Service by using the Azure CLI in Azure Cloud Shell.
Add a user to Azure DevOps
To complete this module, you need your own Azure subscription. You can get started with Azure for free.
You don't need an Azure subscription to work with Azure DevOps, but here you'll use Azure DevOps to deploy to Azure resources that exist in your Azure subscription. To simplify the process, use the same Microsoft account to sign in to both your Azure subscription and your Azure DevOps organization.
If you use different Microsoft accounts to sign in to Azure and Azure DevOps, add a user to your DevOps organization under the Microsoft account that you use to sign in to Azure. For more information, see Add users to your organization or project. When you add the user, choose the Basic access level.
Then, sign out of Azure DevOps and sign in. Use the Microsoft account that you use to sign in to your Azure subscription.
Fork the GitHub repo
Here, you fork the GitHub repo required for this project. It's a basic Python web app built by using the Django framework.
- Go to the Python with Django repo.
- Select Fork and then select your account.
- Select Create fork.
Create the Azure App Service environment
Here, you create the App Service required to deploy the Python app.
Important
You need your own Azure subscription to complete the exercises in this module.
In this module, you use the Azure CLI to spin up the Azure App Service that hosts the Python app. You can access the Azure CLI from a terminal or through Visual Studio Code. Here, you access the Azure CLI from Azure Cloud Shell. This browser-based shell experience is hosted in the cloud. In Cloud Shell, the Azure CLI is configured for use with your Azure subscription.
Bring up Cloud Shell through the Azure portal
Go to the Azure portal and sign in.
From the menu, select Cloud Shell. When prompted, select the Bash experience.

Note
Cloud Shell requires an Azure storage resource to persist any files that you create in Cloud Shell. When you first open Cloud Shell, you're prompted to create a resource group, storage account, and Azure Files share. This setup is automatically used for all future Cloud Shell sessions.
Select an Azure region
A region is one or more Azure datacenters within a geographic location. East US, West US, and North Europe are examples of regions. Every Azure resource, including an App Service instance, is assigned a region.
To make commands easier to run, start by selecting a default region. After you specify the default region, later commands use that region unless you specify a different region.
From Cloud Shell, run the following
az account list-locationscommand to list the regions that are available from your Azure subscription.az account list-locations \ --query "[].{Name: name, DisplayName: displayName}" \ --output tableFrom the
Namecolumn in the output, choose a region that's close to you. For example, chooseeastasiaorwestus2.Run
az configureto set your default region. Replace<REGION>with the name of the region you chose.az configure --defaults location=<REGION>This example sets
eastusas the default region:az configure --defaults location=eastus
Create the Azure resources
This solution requires several Azure resources for deployment, which you'll create now.
Note
For learning purposes, here you use the default network settings. These settings make your site accessible from the internet. In practice, you could configure an Azure virtual network that places your website in a network that's not internet routable and that only you and your team can access. Later, you could reconfigure your network to make the website available to your users.
Run the following
az group createcommand to create a resource group.az group create --name python-cicd-rgRun the following
az appservice plan createcommand to create an App Service plan.az appservice plan create \ --name python-cicd-asp \ --resource-group python-cicd-rg \ --sku B1 \ --is-linuxThe
--skuargument specifies the B1 plan. This plan runs on the Basic tier. The--is-linuxargument specifies to use Linux workers.Important
If the B1 SKU isn't available in your Azure subscription, choose a different plan, such as S1 (Standard).
Run the following
az webapp createcommand to create the App Service instance.az webapp create \ --name python-cicd-$RANDOM \ --resource-group python-cicd-rg \ --plan python-cicd-asp \ --runtime "PYTHON|3.9"The name must be globally unique, so here we use
$RANDOMto append a random number to the name. In practice, you'd choose a name that reflects your application. If this step fails due to a naming conflict, try running it again.Run the following
az webapp listcommand to list the host name and state of the App Service instance.az webapp list \ --resource-group python-cicd-rg \ --query "[].{hostName: defaultHostName, state: state}" \ --output tableNote the host name for your running service. You'll need the web host name later when you verify your work. Here's an example:
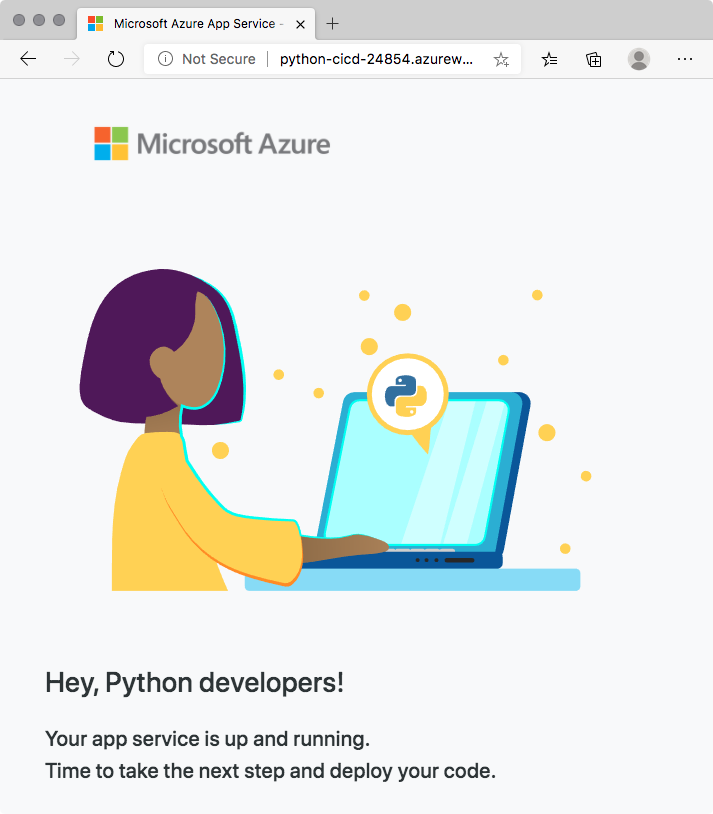
HostName                             State
-----------------------------------  -------
python-cicd-16353.azurewebsites.net  Running
As an optional step, navigate your browser to the host name. Verify that it's running and that the default home page appears.
Here's what you get:
Important
The Clean up your Azure DevOps environment page in this module contains important cleanup steps. Cleaning up helps ensure that you're not charged for Azure resources after you complete this module. Be sure to perform the cleanup steps even if you don't complete this module.