Exercise: Excel integration
Read this first - before you start the lab!
Important
For this lab, you CANNOT sign in with your own credentials. Use the following steps to sign in to your lab environment with the correct credentials.
Select Launch VM mode or Sign in to launch VM mode in this unit.
In the Resources tab on the lab side bar, select the T icon next to Password in the MININT box, to have the administrator password for the Virtual Machine entered for you.
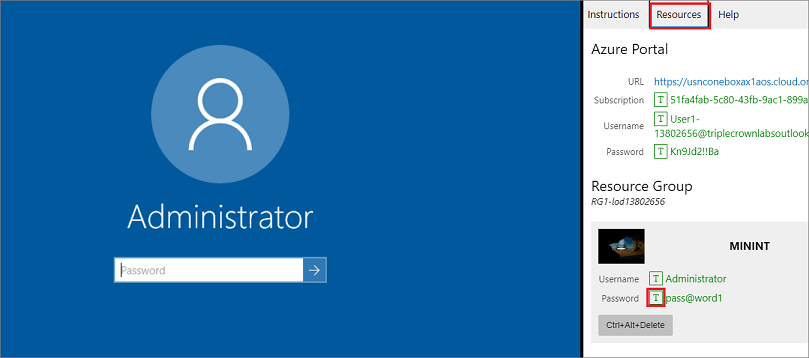
Press Enter.
In the Networks window that opens, select No to not allow your PC to be discoverable.
You'll see a PowerShell window and a Windows Command window appear. After about two to three minutes, they'll close and Microsoft Edge will open automatically. Wait for it to navigate to the Sign in page for finance and operations.
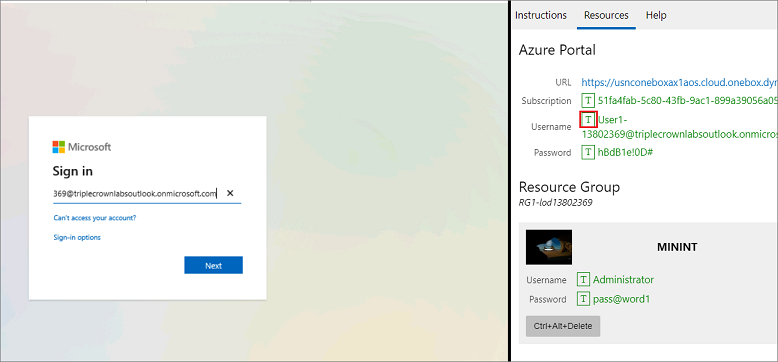
On the Microsoft Sign in page in finance and operations, insert your mouse cursor into the Username field.
On the Resources tab of the lab side bar, below the Azure portal heading, select the T icon next to Username, then press Enter.
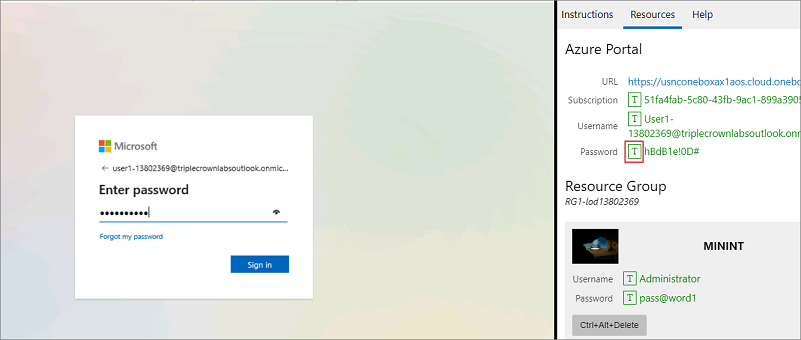
Your mouse cursor will now be in the Password page.
On the Resources tab of the lab side bar, below the Azure portal heading, select the T icon next to select Password, then press Enter.
Don't stay signed in, or store the password on the virtual machine.
To see the lab instructions, select the Instructions tab on the lab side bar.
You can now begin your work on this lab.
Objective
In this lab, you learn how to copy data from finance and operations to Excel using Dynamics office add-in app. You also learn how the same app can be used to insert data into finance and operations apps.
Lab steps
Now that you have become familiar with finance and operations apps, take some time to explore the Excel integration scenario.
Make sure you are in the USMF legal entity
Navigate to Procurement and sourcing > Setup > Vendors > Vendor groups.
Select Open in Microsoft Office > Open in Excel.
Select Vendor groups (usmf) and download the Excel template.
Save and then open the downloaded Excel template, allow it if needed, close activation, and select Enable editing. Trust this add-in, and then sign in (using your same credentials, if asked).
All the existing data of the Vendor group table appears in the Excel spreadsheet.
Enter a new record.
Enter 100 in the Vendor group field, Insurance Vendor in the Description field, and Net10 in the Terms of payment field.
Select the Publish button in the Microsoft Dynamics Office Add-in app.
Open the Vendor group form to verify that the new record is added.
Close the lab environment
- Select Done in the Instructions pane in the lab side bar.
- In the Lab is complete window, select Continue, and then select Leave to return to the next unit in the module.