Exercise - Create templates
Let's create two templates to display a list of shelters, and a detail page for each shelter. We'll also create a base template to ensure consistency across our application.
Create the base template
A base template is common for all Django projects. We'll start by creating one.
In Visual Studio Code, create a new folder inside dog_shelters named templates.
Create a new file inside templates named base.html.
Add the following HTML to base.html:
<!DOCTYPE html>
<html lang="en">
<head>
    <meta charset="UTF-8">
    <meta http-equiv="X-UA-Compatible" content="IE=edge">
    <meta name="viewport" content="width=device-width, initial-scale=1.0">
    <title>{% block title %}Dog shelter site{% endblock %}</title>
    <link rel="stylesheet" href="https://cdn.jsdelivr.net/npm/bootstrap@4.6.0/dist/css/bootstrap.min.css" integrity="sha384-B0vP5xmATw1+K9KRQjQERJvTumQW0nPEzvF6L/Z6nronJ3oUOFUFpCjEUQouq2+l" crossorigin="anonymous">
</head>
<body>
    <article class="container">
        <section class="jumbotron">
            <h3>Dog shelter application</h3>
        </section>
        {% block content %}
        {% endblock %}
    </article>
</body>
</html>
Note
We're using Bootstrap version 4.6 for our site. We don't need Bootstrap knowledge here, though. We're using only one class, jumbotron. Otherwise, we're using core HTML.
Notice the two {% block %} statements, one for the title and the next for the content that the child pages will provide. We're providing a default value for title, which ensures that we'll always have a title if a child page doesn't set it.
Create the shelter list template
We'll now create another template for listing all shelters. We'll loop through the list of shelters and create links to details for all shelters.
In dog_shelters/templates, create a new file named shelter_list.html.
Add the following code to create the template for our shelter list:
{% extends 'base.html' %}

{% block title %}
Shelter list
{% endblock %}

{% block content %}
<h2>Shelter list</h2>
<div>Here is the list of registered shelters</div>
    {% for shelter in shelters %}
        <div>
            <a href="{% url 'shelter_detail' shelter.id %}">
                {{shelter.name}}
            </a>
        </div>
    {% endfor %}
</div>
{% endblock %}
We use the block tags to indicate where we want our information to be placed. We specify a title value of Shelter list, and the content items will be the list of all shelters.
We're also using a new tag, url. The url tag generates a URL dynamically. Our URLs are registered in our URLconf, so they can potentially change. By using the url tag, we can tell Django to retrieve the appropriate URL from the URLconf rather than hard-coding in a path.
The url tag looks for the name of the path, shelter_detail in our case, and then the list of any expected parameters. shelter_detail has one parameter, pk. That's the primary key, or ID, of the shelter. We specify the ID by using shelter.id.
Create the shelter detail template
With our list template created, we can now create the detail template.
In dog_shelters/templates, create a new file called shelter_detail.html.
Add the following code to create the template:
{% extends 'base.html' %}

{% block title %}
Shelter list
{% endblock %}

{% block content %}
<h2>{{ shelter.name }}</h2>
<div>Located in {{ shelter.location }}</div>
{% if shelter.dog_set.all %}
    <div>Here is the list of available dogs</div>
    {% for dog in shelter.dog_set.all %}
        <div>
            <a href="">
                {{dog.name}}
            </a>
        </div>
    {% endfor %}
    </div>
{% else %}
    <div>This shelter has no dogs available for adoption</div>
{% endif %}
{% endblock %}
Notice that in the body, we check to see if any dogs are inside the shelter by using if shelter.dog_set.all. If there are dogs, we display the list by using for to loop through all the dogs. Otherwise, we display a message that says no dogs are available. We'll update the link in a later unit.
Note
You might notice that we're making two calls to shelter.dog_set.all. If you're experienced with databases and ORMs, you might be concerned that we're making two calls to the database. Two calls would normally be a performance hit. Django has built-in caching, which will ensure that only one call to the database is made.
Test the site
With our templates created, we can see our site in action!
Save all files.
Open your browser and go to http://localhost:8000.
The list of shelters should now appear.

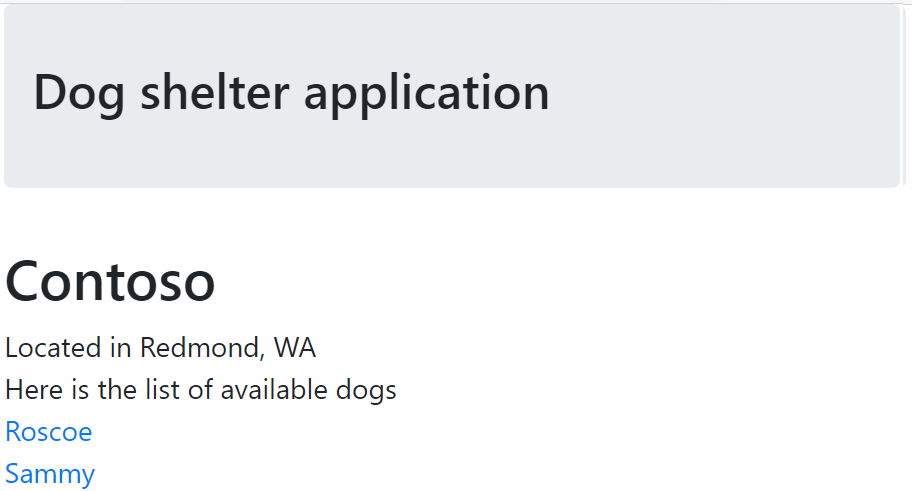
Select Contoso.
The list of dogs for the Contoso shelter now appears.