Deploy Win32 applications
Intune for Education lets you add 32-bit and 64-bit Win32 applications to your installation repository. You can use the Microsoft Endpoint Manager (MEM) for Intune to add Win32 applications to your account. If the application is packaged as an MSI file, you can use the Intune for Education portal instead.
Here, you'll learn how to install Win32 and MSI applications using Intune and Intune for Education.
Use MEM for Intune to install a Win32 app
The Intune for Education portal only supports Win32 applications packaged as MSI files. If your application is deployed using an executable file (EXE), you must use MEM.
A Win32 application must not be greater than 8 GB in size. Additionally, Win32 apps only run on Windows devices; make sure that the devices to which you deploy a Win32 app are running Windows 10 version 1607 or later.
Before you upload a Win32 app, you must prepare it for use by Intune using the Win32 Content Prep Tool, IntuneWinAppUtil.exe. Download this tool from the Microsoft GitHub repository at Intune GitHub repository.
Run the tool, and provide the following information:
- The folder containing the setup files for the Win32 app you want to deploy.
- The name of the file used to install the app (for example, setup.exe or setup.msi).
- The name of a folder that will be used to hold the file generated by the Win32 Content Prep Tool.
- Optionally, te name of a folder for holding catalog information about the app.
The tool creates a file with the extension .intunewin. You upload this file to Intune as follows:
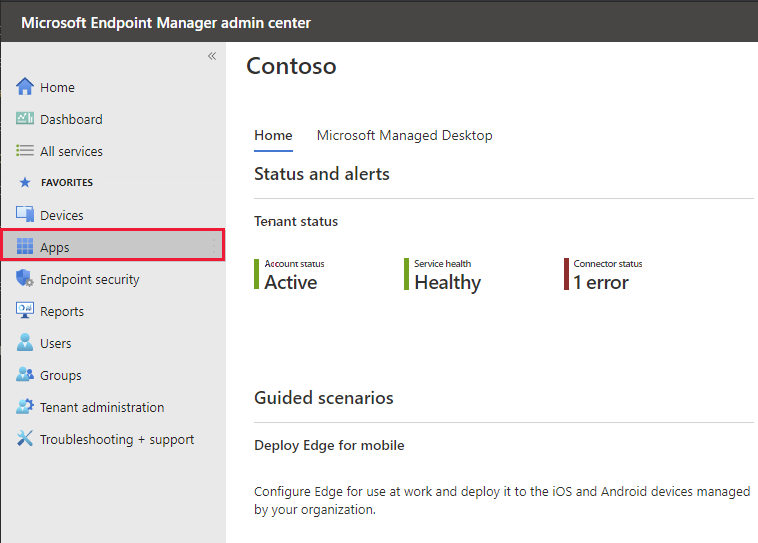
Using a browser, connect to the Microsoft Endpoint Manager admin center.
On the Home page, select Apps from the menu on the left.
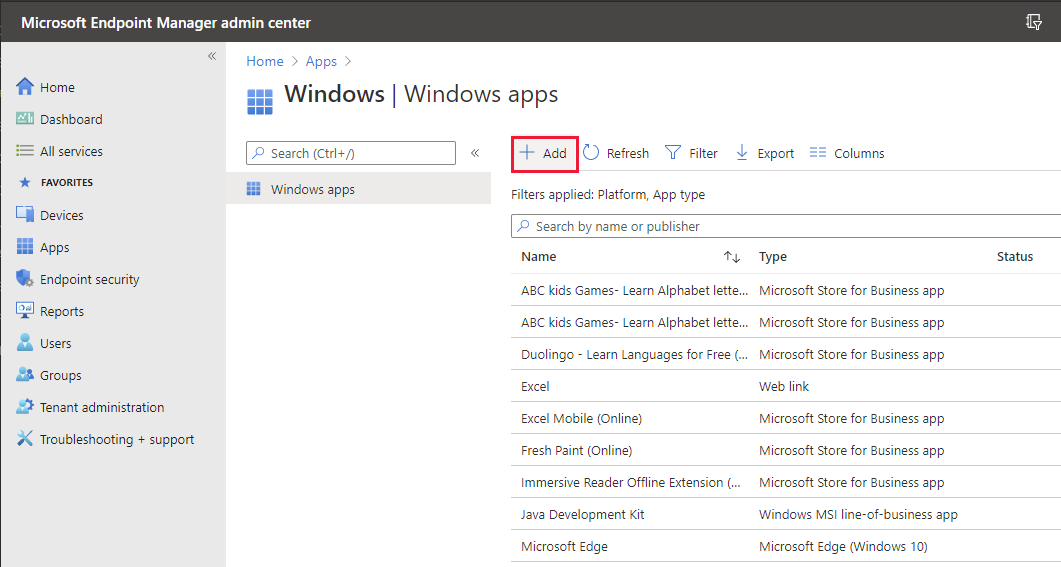
On the Apps | Overview page, under By platform, select Windows.

On the Windows | Windows apps page, in the menu bar, select + Add.
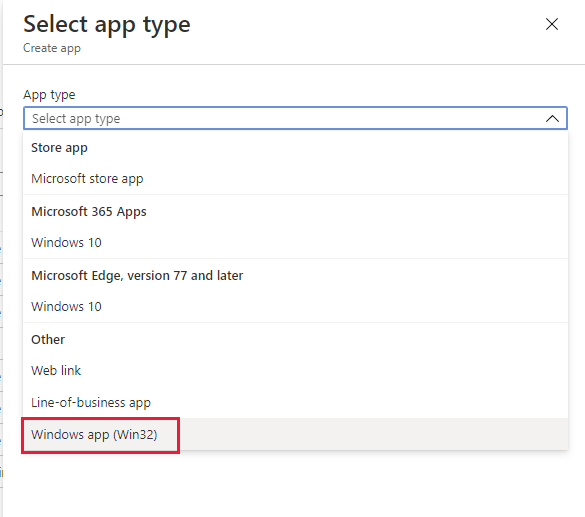
In the Select app type pane, select Windows app (Win32), and then click Select.
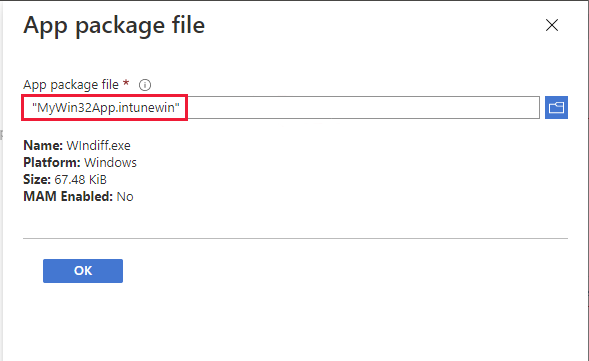
On the Add App page, select Select app package file.
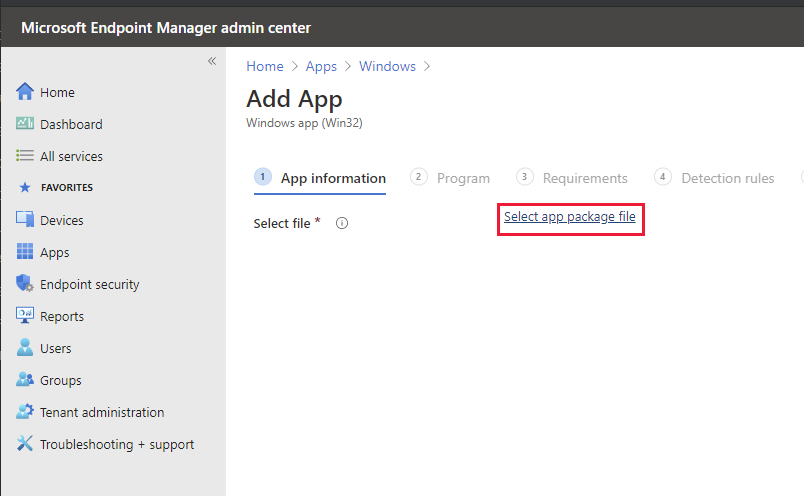
In the App package file pane, select the package file (the *.itunewin file) you created earlier, and the select OK.
On the Add App | App information page, fill in the details for the app, and then select Next.
Field Value Select file The .intunewin file that contains the Win32 setup information Name Add a name for the app. This name will be visible in the Intune apps list and to users in the Company Portal. Description Describe the purpose of the app what the app is and/or what users can do in the app. This description will be visible to them in Company Portal. Publisher The name of the developer or company that distributes the app. App Version The version of the app. Category Categorize the app to make it easier for users to sort and find in Company Portal. You can choose multiple categories. Show this as a featured app in the Company Portal Featured apps are prominently placed in Company Portal so that users can quickly get to them. Information URL Link to a website or documentation that has more information about the app. Privacy URL Link for people who want to learn more about the app's privacy settings and terms. Developer The name of the company or Individual that developed the app. Owner The name of the person in your organization who manages licensing or is the point-of-contact for this app. Notes Any additional notes about the app. Logo A logo image file that's associated with the app On the Add App | Program page, provide the information needed to install the app, and then select Next.
Field Value Install command The complete installation command line required to install this app. Uninstall command The complete uninstallation command line used to uninstall this app. Install behavior Select 'System' to install this app for all users if supported. Select 'User' to install this app for the logged-in user on the device. Device restart behavior Select the device restart behavior after the app has successfully installed. Specify return codes to indicate post-installation behavior Provide information that indicates the meaning of the codes returned by the installer, and select the corresponding action to perform on the device. On the Add App | Requirements page, provide the information that describes the devices requirements for running the Win32 App, and then select Next.
Field Value Operating system architecture Select 32-bit and/or 64-bit, as appropriate for the application Minimum operating system version Select the lowest build of windows 10 supported by the application. Disk space required (MB) Free disk space needed on the system drive to install the app. Optional Physical memory required (MB) Physical memory (RAM) required to install the app. Optional. Minimum number of logical processors required The minimum number of logical processors required to install the app. Optional. Minimum CPU speed required (MHz) The minimum CPU speed required to install the app. Optional. Configure additional requirement rules Specify any additional installation requirements, such as a specific Registry key, script, or file. On the Add App | Detection Rules page, provide the information needed to detect the presence of the app on a device, and then select Next.
Field Value Rules format Choose to either manually configure the detection rules or use a custom script to detect the presence of the app. You can select a custom detection script, or you can provides rules manually, based on an MSI product code, a file, or a Registry key. On the Add App | Dependencies page, list the software dependencies specifying applications that must be installed before this app, and then select Next.
On the Add App | Assignments page, provide the information needed to assign the app to devices and users, and then select Next.
Field Value Required Select the groups for which you want to make this app required. Required apps are installed automatically on enrolled devices. Available for enrolled devices Select the groups for which you want to make this app available. Available for enrolled devices apps are displayed in the Company Portal app and website for users to optionally install. Uninstall Select the groups for which you want to uninstall the app. Apps with this assignment are uninstalled from managed devices in the selected groups if Intune has previously installed the application onto the device via an "Available for enrolled devices" or "Required" assignment on the same deployment. On the Add App | Review + create page, review the configuration. If you are happy to proceed, select Create. When the app has been unloaded, select Overview to verify that it has been added correctly.
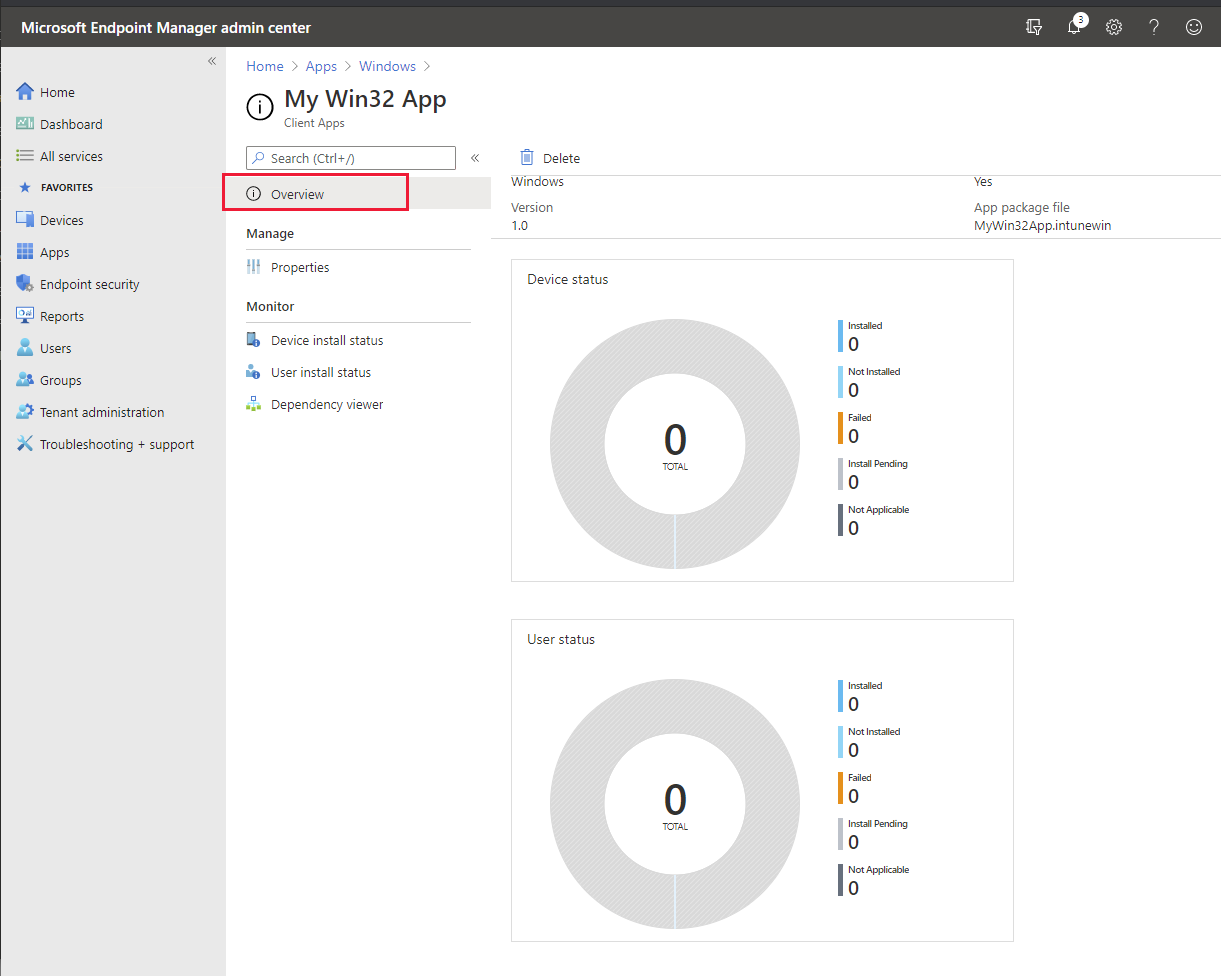
After it has been uploaded, the Win32 app will appear in the Intune for Education dashboard. You can install the application for all users following the procedure described later in this topic.
Use Intune for Education to install an MSI app
Intune for Education supports Win32 apps packaged as msi files; this is the format recognized by Windows Installer, the standard Microsoft technology used for deploying applications. This example walks through the steps to perform this task.
Using a browser, connect to Intune for Education at Intune education portal.
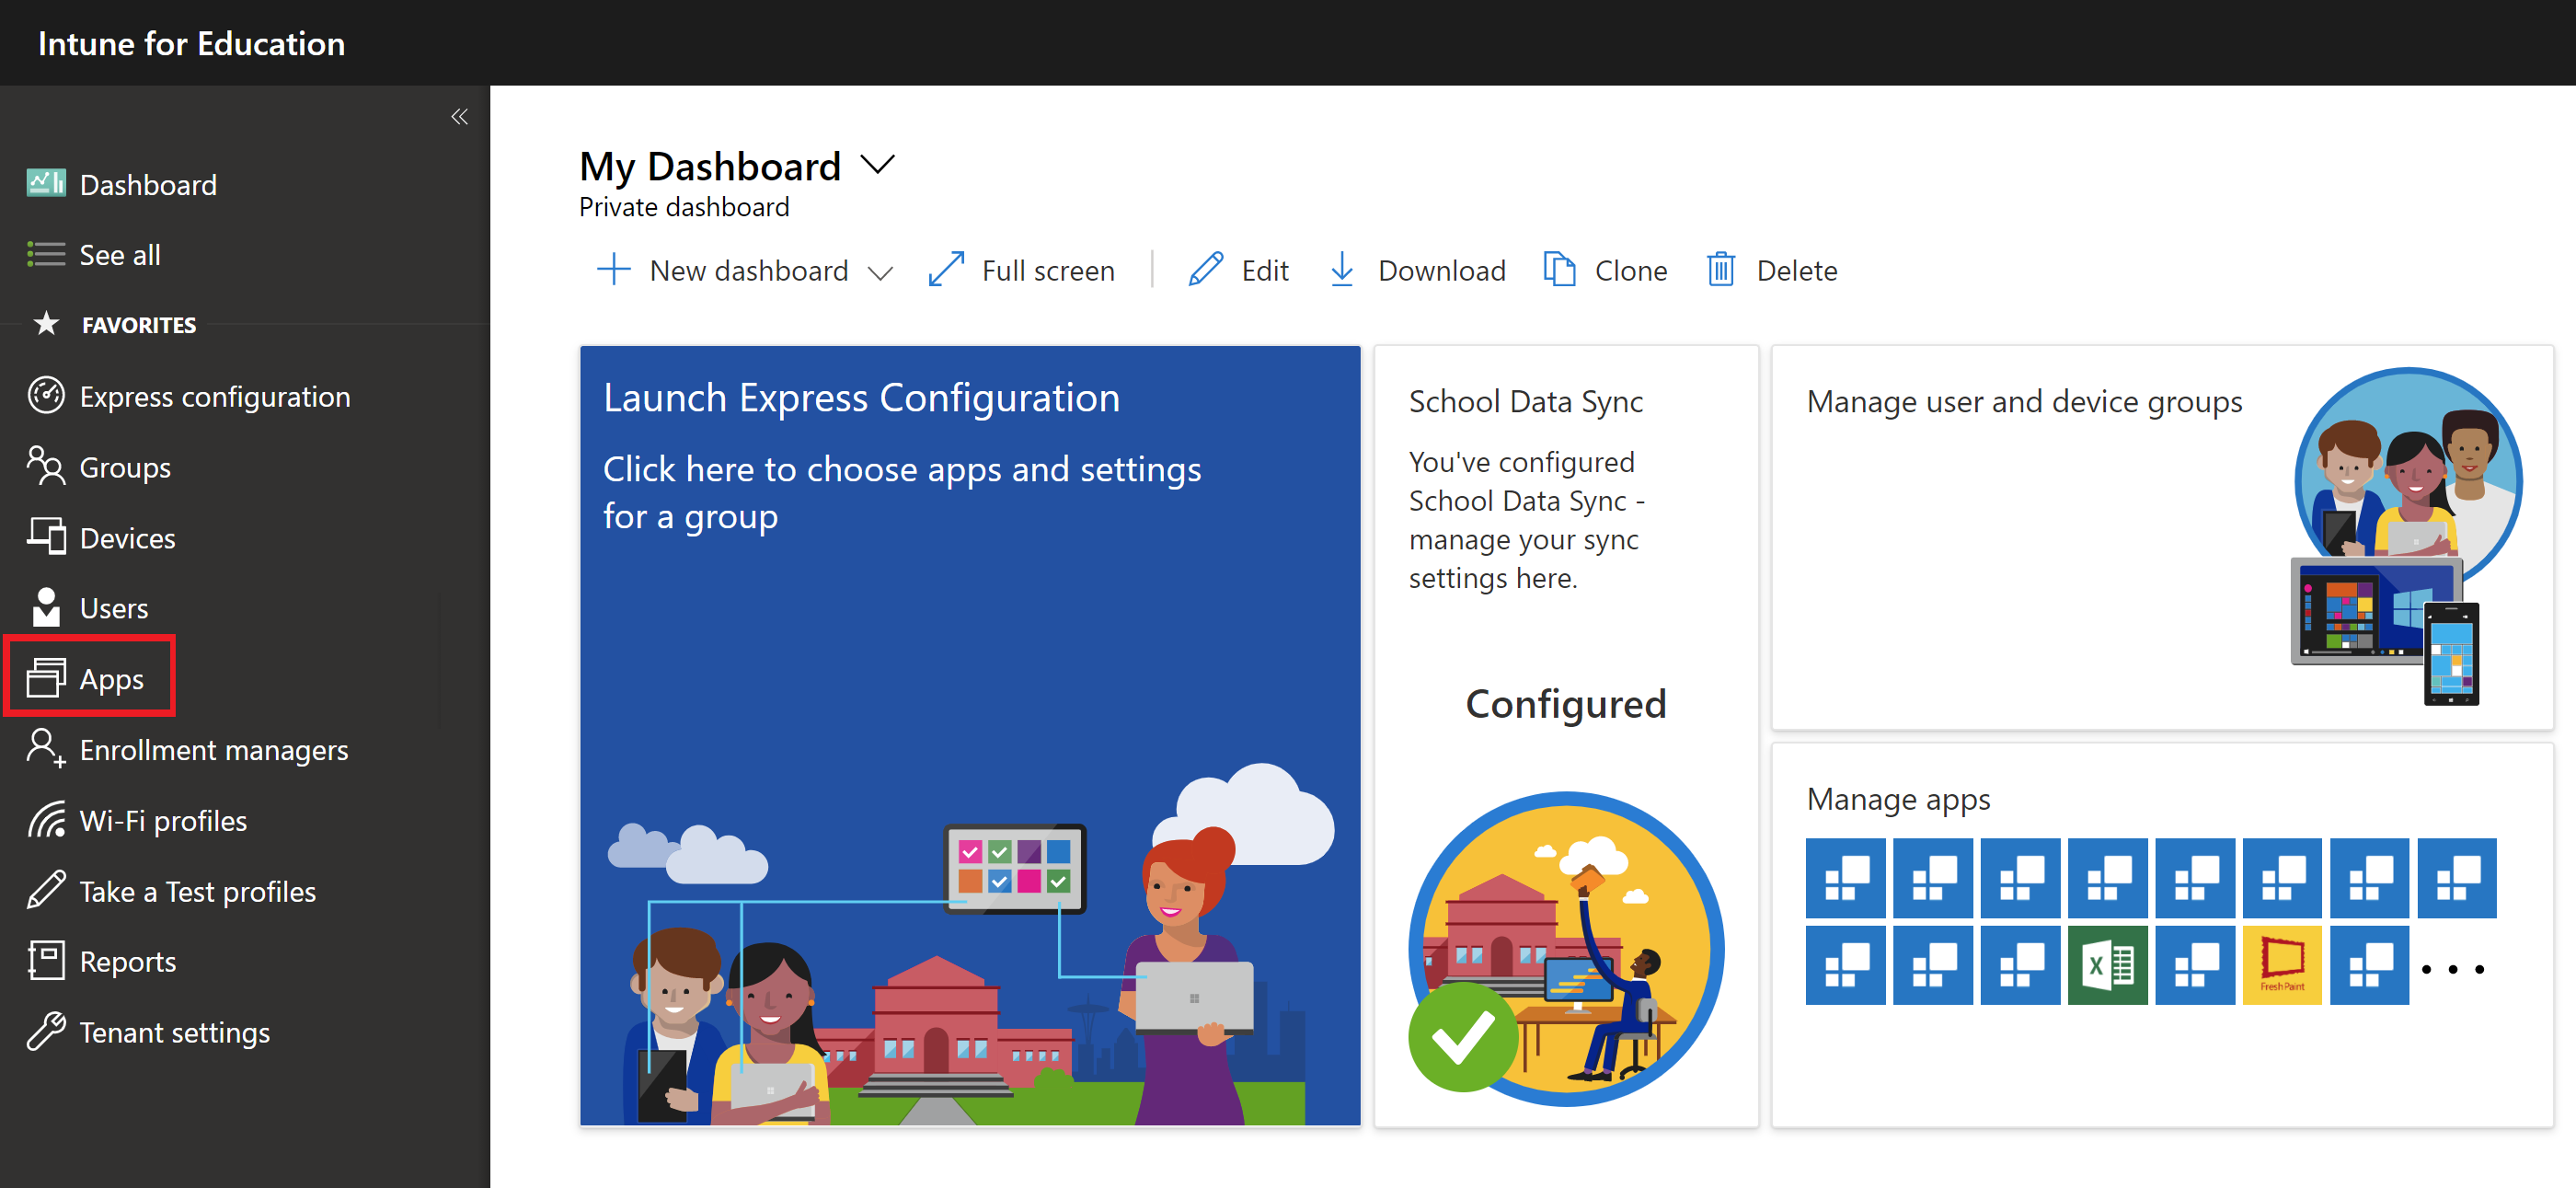
In the Intune for Education console, select Apps from the menu on the left.
On the Apps screen, select New App, and then select New desktop app. This will take you to the Microsoft Store for Education portal and you'll already be signed in.

In the New desktop app pane, select the MSI file containing the installer for the desktop app you want to add. You can use the browse button to navigate to the file.
Fill in the remaining details for the app. The App Name is the name of the app as it will appear on students' devices. The Command Line provides any parameters required by the installer. The Publisher and Icon identity the publisher of the app.
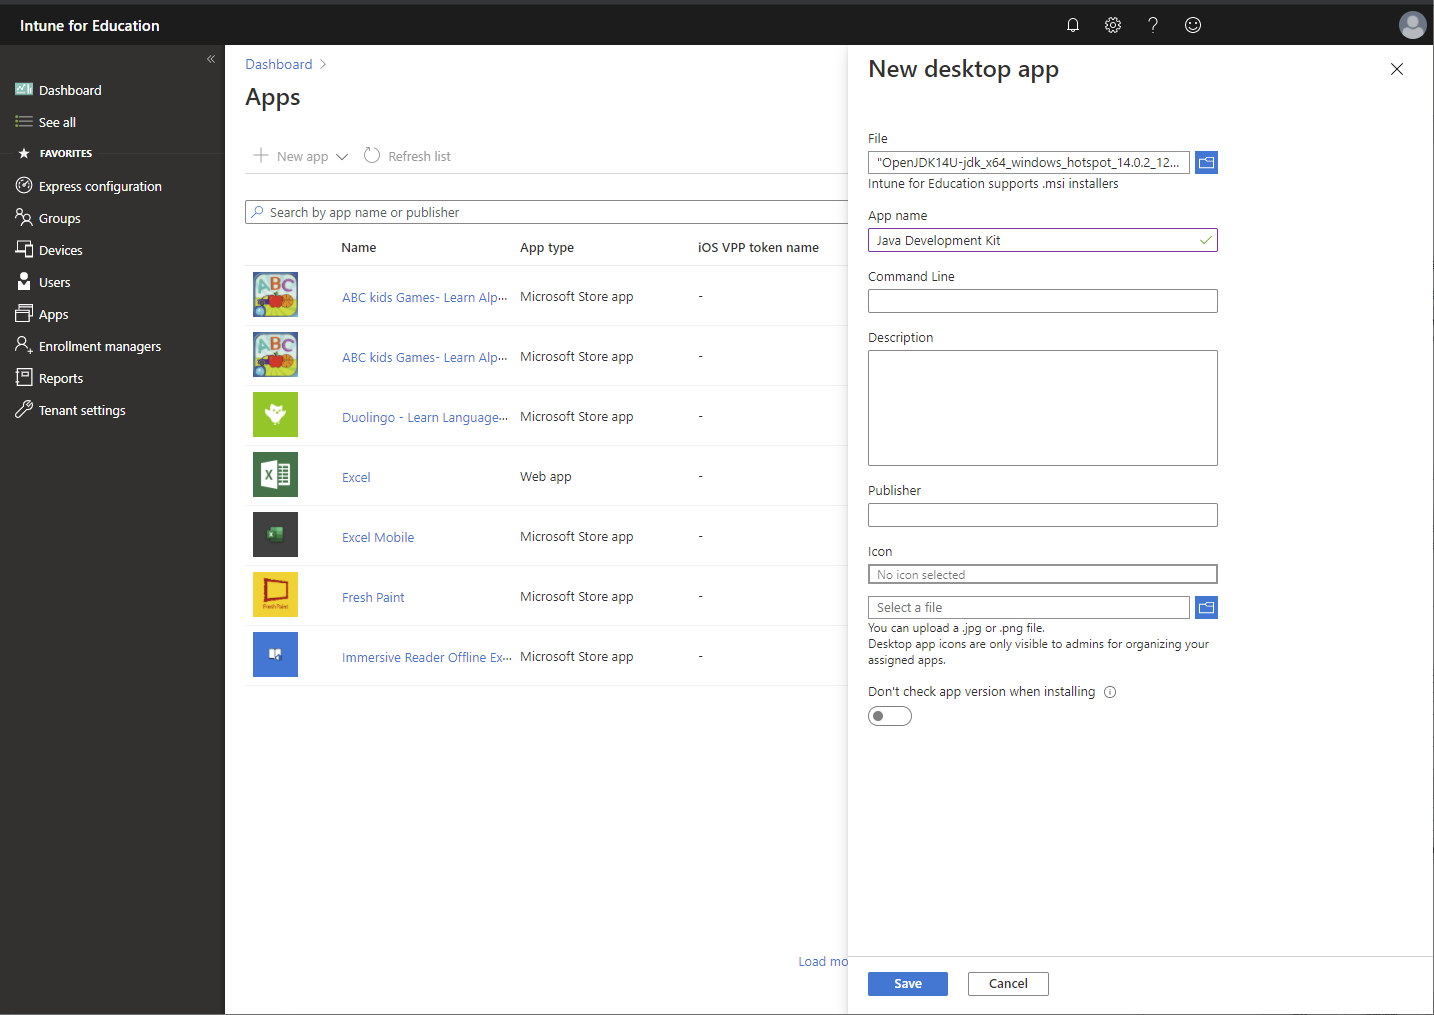
Select Save to add the app to the dashboard. Wait while the MSI file is uploaded before continuing.
Install applications for all users using Intune for Education
After you've added an app to the dashboard, use Intune for Education to specify the group to install the app for. Here, we'll show you how to install the app for all devices used by all users in your tenant.
If you haven't already opened the Intune for Education portal, using a browser, connect to Intune for Education at Intune education portal.
In the Intune for Education console, select Apps from the menu on the left.
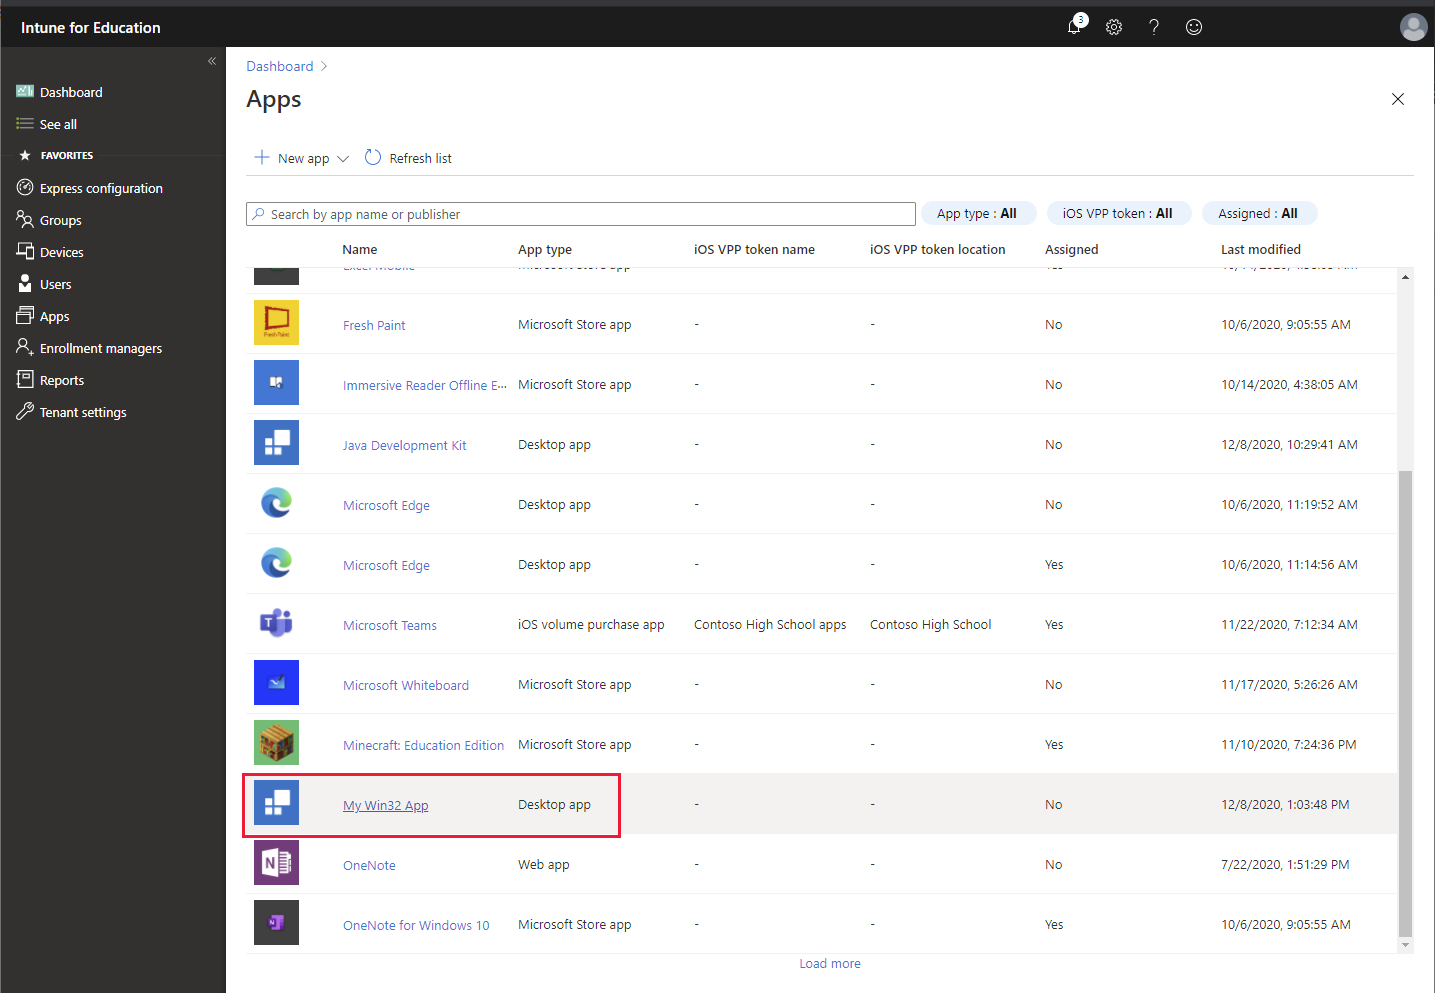
On the Apps page, select the app you want to install. You may need to select Load more if your app doesn't appear.
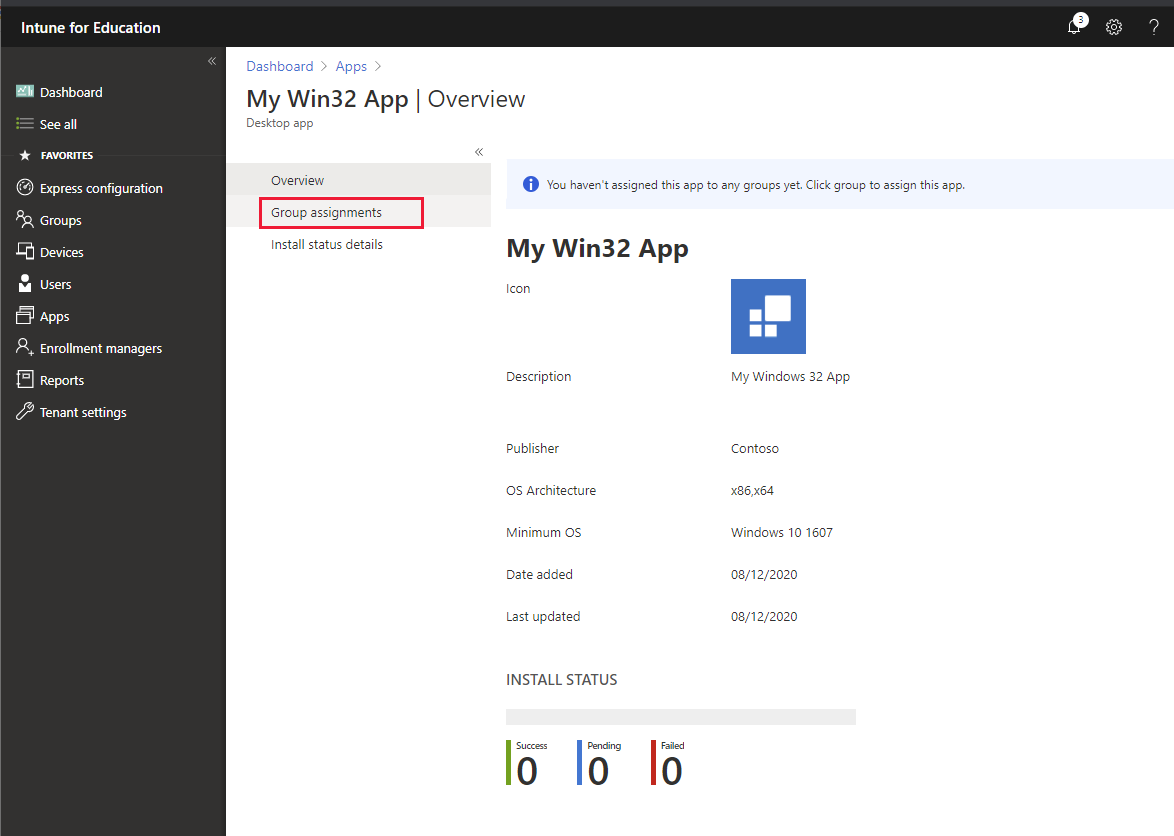
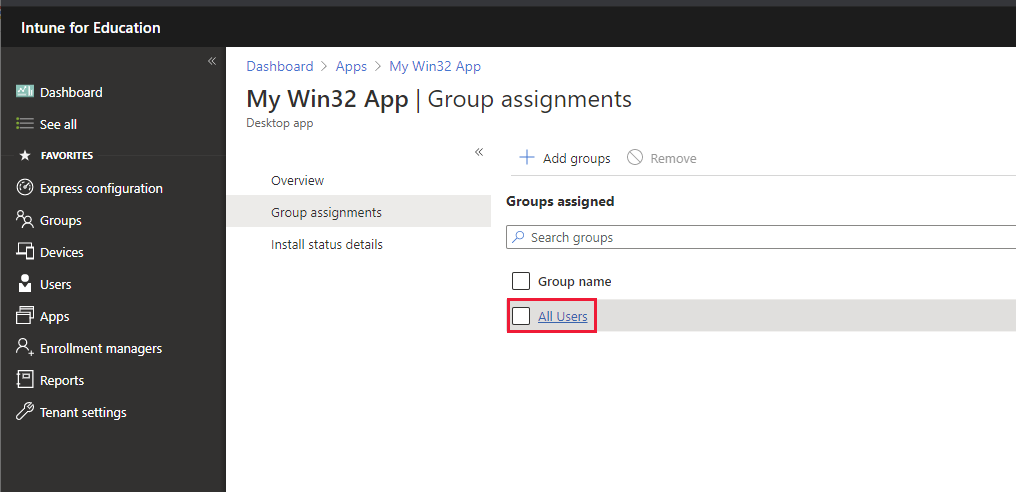
On the page for your app, select Group assignments.
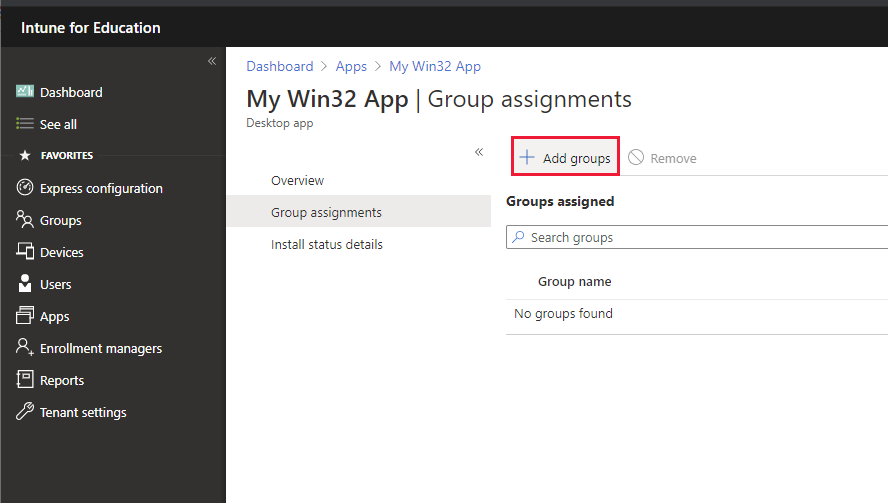
On the Group assignments page, select Add groups.
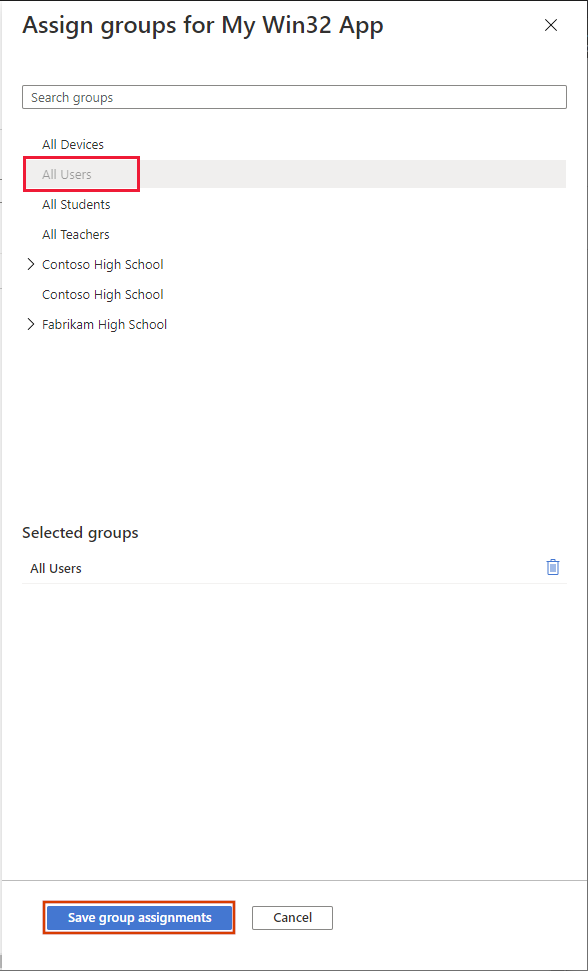
In the Assign groups pane, select All Users, and then select Save group assignments.
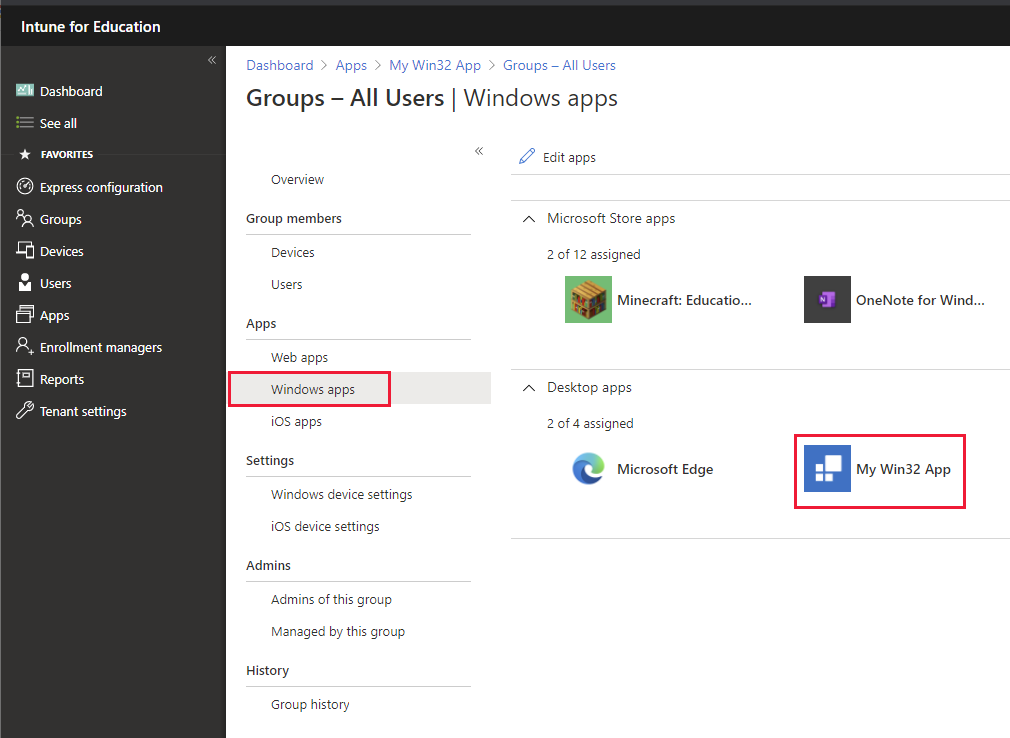
Back on the Group assignments page, select the link for the All Users group.
On the Groups - All Users page, select Windows apps, and verify that the new app appears in the list of desktop apps.
Note
You can use this same technique to install other Microsoft applications, such as Edge and Office.