Create a Flip account and your first group
Create your free Flip account with your Microsoft or Google credentials. Upon signing in, you're prompted to create your first group. A group is your learning community (think: your classroom, class period, PLC, book club). You can create as many groups as you want, so there's no limit to the communities you engage.
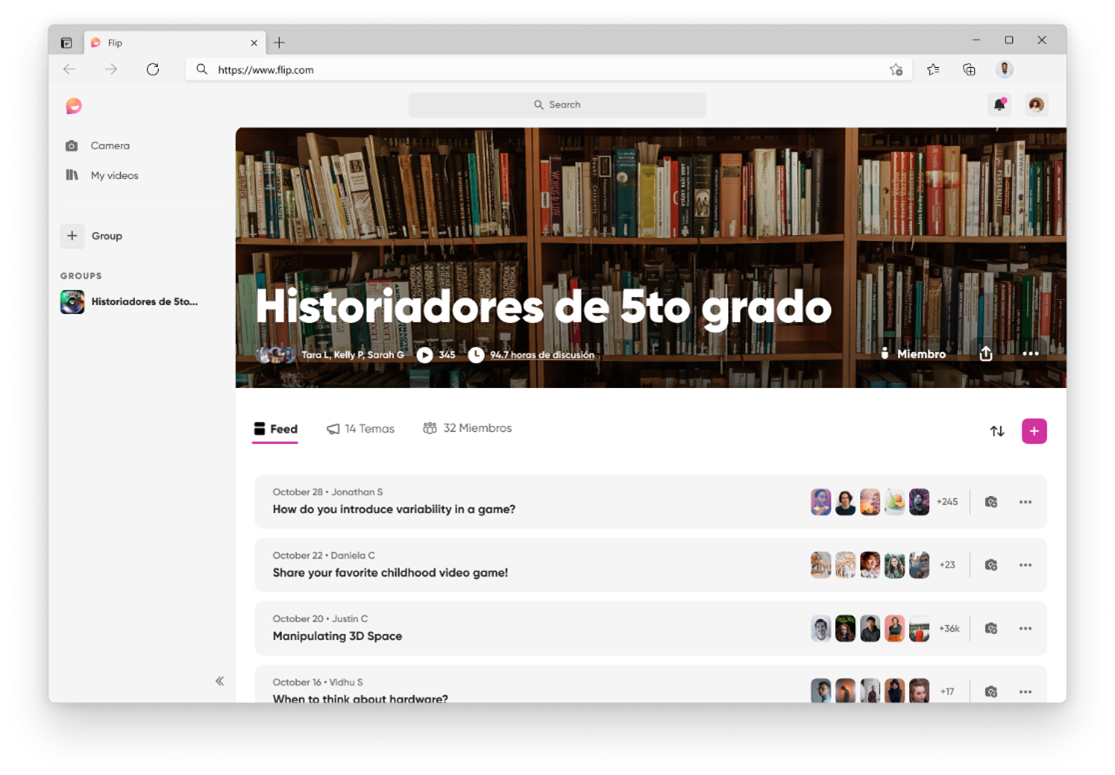
Groups allow participants to join a discussion with multiple topics. To create a group, simply:
- Set details such as group type, group name, and a fun cover image
- Add students via manage members
- Choose how often you would like to be notified about responses.
And that's it!
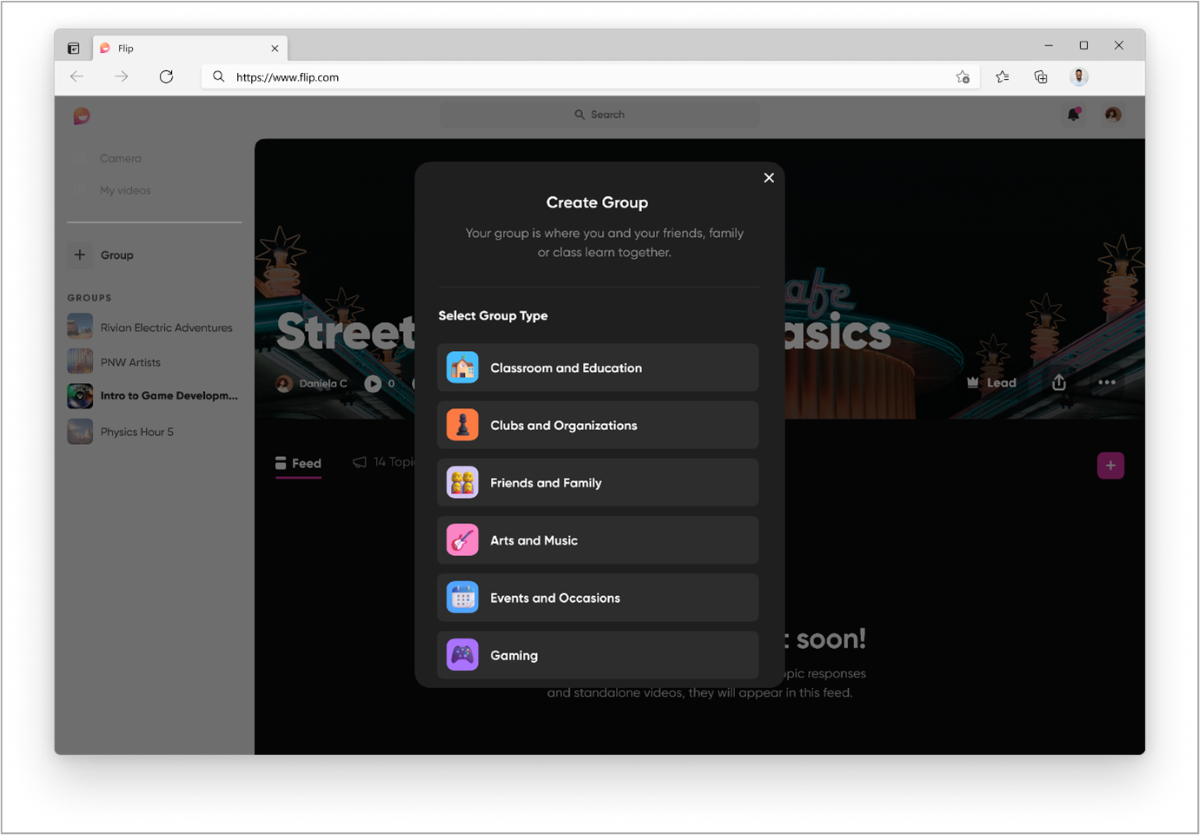
When creating a group, first choose your group type. Once you have set your group name and image, choose how you'll share your group (these are your group permissions).
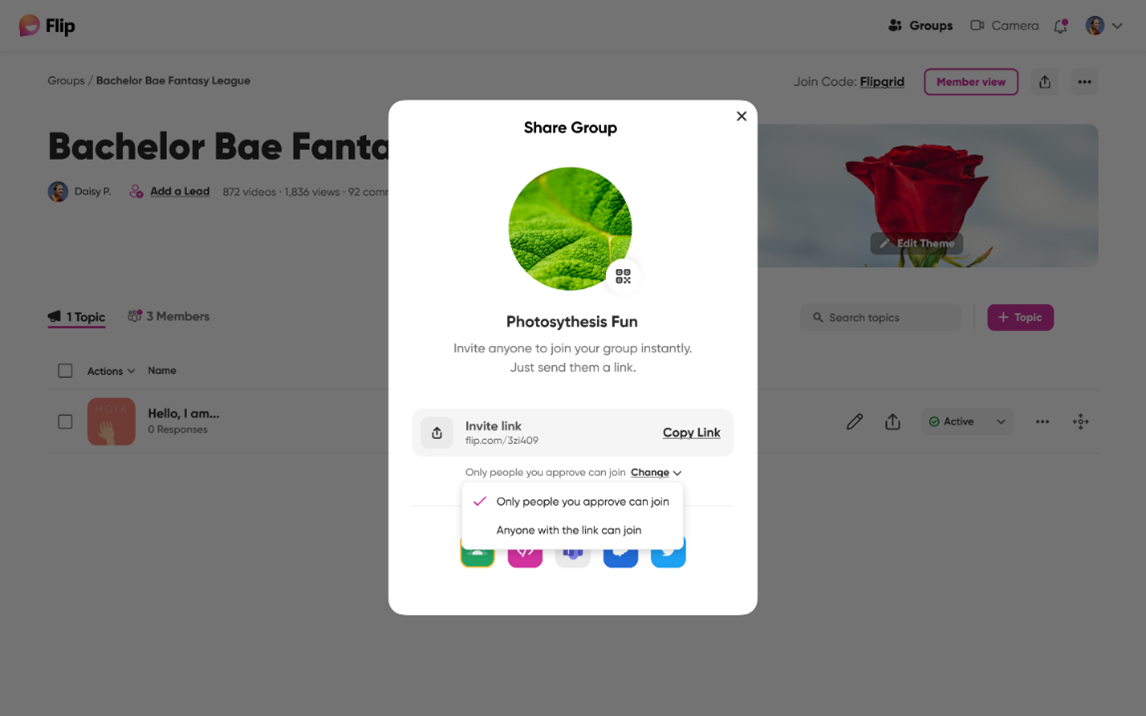
The invite link default is that anyone with the link can join, but from here you can change it so that only people who you approve can join.
Recommended share permissions for classroom use:
- Google Classroom: If you're already using Google Classroom, authenticate into that account and import your class roster. Students sign in with their Google Classroom account.
- Email or Domain: If your students use a Microsoft or Google school email, choose this option to allow only those within your school domain to access the topic. After entering your join code, students authenticate using their school email.
- Username: If your students don't have a school email, choose this option to create a class list. After entering the join code, each student authenticates using a unique code. (It can be as simple as any 2+ alphanumeric identifier that you decide.) You can also print unique QR codes for each student so all they need to do is scan to enter.