Elements, models, and packages
Elements, models, and packages represent the structural hierarchy in Visual Studio for finance and operations. Elements either exist out of the box in the application explorer (AOT) in Visual Studio, or they can be created. Elements are metadata and source files, such as base enumerations and tables. A Finance Operations project is used to organize and manage elements within a model. Models contain zero or more elements. For example, the warehouse management model is a group of elements that make up the warehouse management solution.
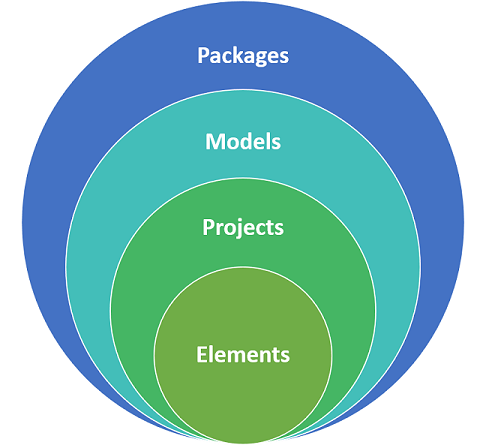
All models belong to packages, which can then be packaged together to create a deployable package and then deployed by using Lifecycle Services. A deployable package contains one or multiple packages that are used for runtime environments. Wizards in Visual Studio are used to create models and projects, and the designer window is used to customize elements within projects and models.
Deployable packages are deployed to finance and operations environments. These packages contain models that, in many cases, represent the modules that are visible in the user interface, such as Accounts payable. The models contain the elements that represent every field, menu, and page that is found in the user interface. These elements are created and managed in Visual Studio. Therefore, source control using Azure DevOps is required for finance and operations development.
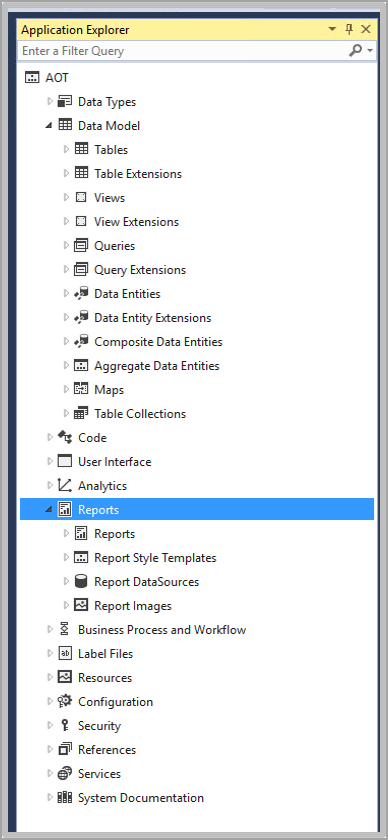
The following image shows the Application Explorer window in Visual Studio.
Create a new model
To create a new model, follow these steps
- From the Dynamics 365 menu in Visual Studio, select Model Management > Create model to open the Create model wizard.
- Enter the Model name, Model publisher, layer, Model description, and Model display name.
- Select Next.
- Select Create new package. This will create a model that builds into its own assembly. This should be used to store elements that extend the application.
- Select Next.
- Select the referenced models. Reference models provide access to all the elements that are located inside of the other models. The Application Suite, Application Platform and Application Foundation will give you access to most of the elements.
- Select Next.
- On the Summary step, verify that the information is correct.
- Optionally, select Create new project to create a project when the model is created.
- Optionally, select Make this my default model for new projects.
- Select Finish.
Build models
Before you create a deployable package, you should perform a model build. You may also need to perform a model to resolve errors you might be getting while working on a development project. To build models, follow these steps.
- From the Dynamics 365 menu in Visual Studio, select Build models.
- In the Packages list, select the packages that you want to build. The models that are related to the packages are listed in brackets.
- Optionally, you can select Build referenced packages to build dependent packages first.
- On the Options tab, you can select from multiple build
processes. These processes increase the build time, so if you do not need to run the process, leave the following options cleared.
- Build Pre-Compiled Forms - Static HTML is generated for each form during the build to allow faster rendering of forms at runtime.
- Build reports - Builds reports.
- Build Aggregate Measurements - Builds aggregate measurements.
- Run Best Practice Checks - Best practice checks are performed during the build.
- Synchronize database - Updates the SQL database schema during the build.
- Build cross reference data - Data for the cross-reference feature is updated to allow developers to find references to code and metadata.
- Select Build.
- Expand the Details tab to see the build process details.
Watch this video to learn more about metadata development in Visual Studio.