Exercise - Use a connector from Power Automate
In this exercise, you'll create a manually triggered Power Automate cloud flow that will use the Contoso invoicing custom connector that you created in the previous exercise in this module.
Important
Complete the Exercise: Create a new connector in a solution unit before starting this exercise.
Task 1: Create a Power Automate cloud flow
In this task, you'll create a Power Automate flow inside the Contoso invoicing solution that you previously created.
Get an API key from Contoso Invoicing.
[

Select the API Key link.
Copy and save your API key because you'll need it later.
Note
If you still have the API key that you previously used, it would still be usable at this time. If not, you can get a new one.
Go to Microsoft Power Platform maker portal and select the environment that you used in the Exercise: Create a new connector in a solution unit.
Select Solutions and then select to open the Contoso invoicing solution.
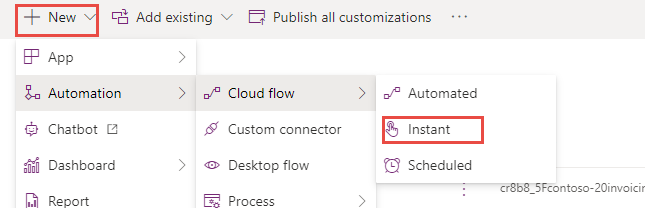
Select + New > Automation > Cloud flow > Instant.
Name the flow Email invoice list, select Manually trigger a flow, then Create.

Select + New step.
Select the Custom tab and then select the Contoso invoicing custom connector. Using the Custom tab to locate custom connectors is the fastest way to find them.

Select List invoices for the action.

Important
Leave the List Invoices* fields blank. This will allow us to pull all the information.
Enter Invoice connection as Connection name.
Paste your API Key. and select Create
Select Flow check to confirm there are no mistakes.
Select Save.
Select the arrow button located next to the flow name.
Select OK if prompted.
Don't navigate away from this page.


Task 2: Test the cloud flow
In this task, you'll test the cloud flow that you created in Task 1: Create a Power Automate cloud flow.
Open the Email invoice list cloud flow if not already open.
Select Run.
Select Continue.
Select Run flow.
Select Done.
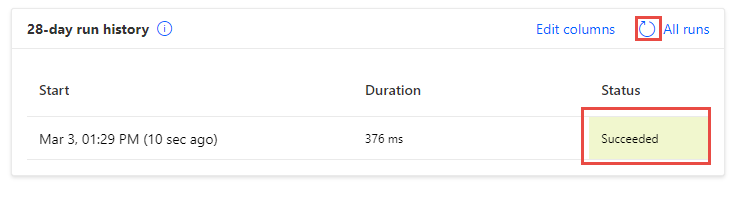
Refresh the run history.
The flow run should succeed.