Exercise - Set up demo data for the sample scenario
To follow the scenario that you will use in the following exercises, you must first prepare the feature by making demo data available and adding a few custom records.
Before you try to do any of the exercises in the rest of this module, follow the instructions in all the following subsections. These subsections also introduce several important settings pages that you will use when you set up engineering change management for your own organization.
Make standard demo data available
Work on a system where the standard demo data is installed. The standard demo data adds data for several demo legal entities (companies and organizations). As you work through the exercises, you will use the company picker on the right side of the navigation bar to switch between one company DEMF that is set up as an engineering organization and another company USMF that is set up as an operational organization.
To read more about setting up a system with demo data see Deploy a demo environment. Your administrator can help you set up the system.
Set up an engineering organization
An engineering organization owns the engineering data, and is responsible for product design and product changes. To set up your engineering organizations, follow these steps.
Go to Engineering change management > Setup > Engineering organizations.
Select New to add a row to the grid, and set the following values for it:
- Engineering organization: DEMF
- Organization name: Contoso Entertainment System Germany

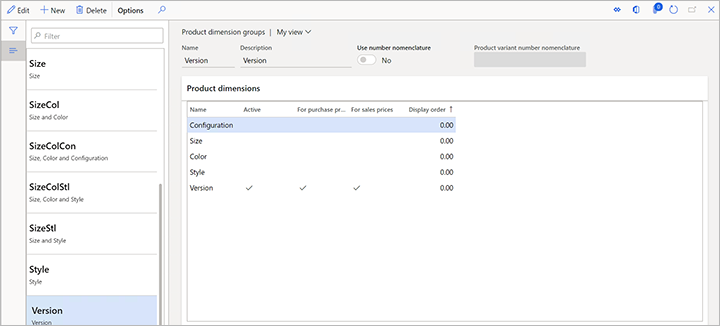
Set up the version product dimension group
To set up the version product dimension group, follow these steps.
Go to Product information management > Setup > Dimensions and variant groups > Product dimension groups.
Select New to create a product dimension group.
Set the Name field to Version.
Select Save to save the new dimension and load values onto the Product dimensions FastTab.
On the Product dimensions FastTab, set Version as an active product dimension.
Set up product lifecycle states
As an engineering product goes through its lifecycle, it's important that you be able to control which transactions are allowed for each lifecycle state. To set up the product lifecycle states, follow these steps.
Go to Engineering change management > Setup > Product lifecycle state.
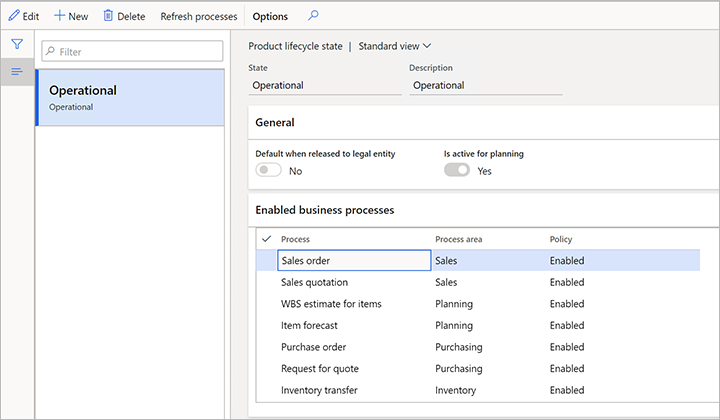
Select New to add a lifecycle state, and set the following values for it:
- State: Operational
- Description: Operational
Select Save to save the new lifecycle state and load values onto the Enabled business processes FastTab.
On the Enabled business processes FastTab, select the business processes that should be available. For this example, leave the Policy field set to Enabled for all business processes.
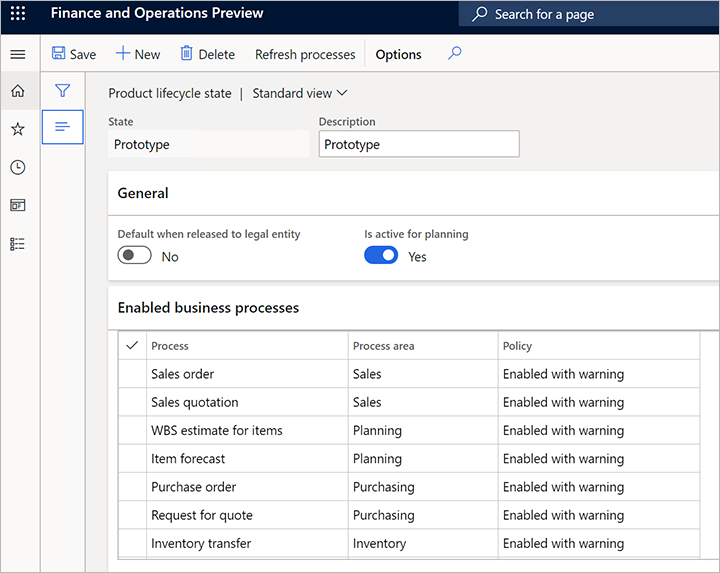
Select New to add another lifecycle state, and set the following values for it:
- State: Prototype
- Description: Prototype
Select Save to save the new lifecycle state and load values onto the Enabled business processes FastTab.
On the Enabled business processes FastTab, select the business processes that should be available. For this example, set the Policy field to Enabled with warning for all business processes.
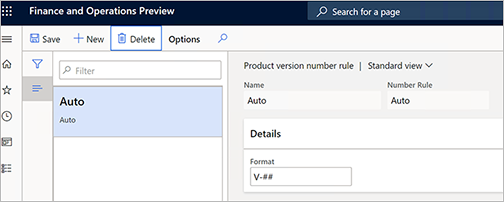
Set up a version number rule
To set up a version number rule, follow these steps.
Go to Engineering change management > Setup > Product version number rule.
Select New to add a rule, and set the following values for it:
- Name: Auto
- Number Rule: Auto
- Format: V-##
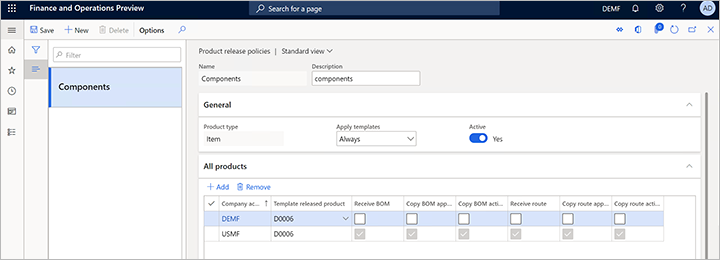
Set up a product release policy
To set up a product release policy, follow these steps.
Go to Engineering change management > Setup > Product release policies.
Select New to add a release policy, and set the following values for it:
- Name: Components
- Description: Components
On the General FastTab, set the following values:
- Product type: Item
- Apply templates: Always
- Active: Yes
On the All products FastTab, select Add to add a line, and set the following values for it:
- Company account ID: DEMF
- Template released product: D0006
Select Add to add another line, and set the following values for it:
- Company account ID: USMF
- Template released product: D0006
- Receive BOM: Select this check box.
- Copy BOM approval: Select this check box.
- Copy BOM activation: Select this check box.
- Receive route: Select this check box.
- Copy route approval: Select this check box.
- Copy route activation: Select this check box.
Set up an engineering product category
Engineering product categories provide the basis for creating engineering products (that is, products that are versioned and controlled through engineering change management). To set up engineering product categories, follow these steps.
Go to Engineering change management > Engineering product category details.
Select New to create a category, and set the following values for it:
- Name: Components
- Engineering organization: DEMF
On the Details FastTab, set the following values:
- Product type: Item
- Track version in transactions: Yes
- Product dimension group: Version
- Product lifecycle state at creation: Operational
- Version number rule: Auto
- Enforce effectivity: No
- Use number rule nomenclature: No
- Use name rule nomenclature: No
- Use description rule nomenclature: No
On the Release policy FastTab, set the Product release policy field to Components.
Select Save.


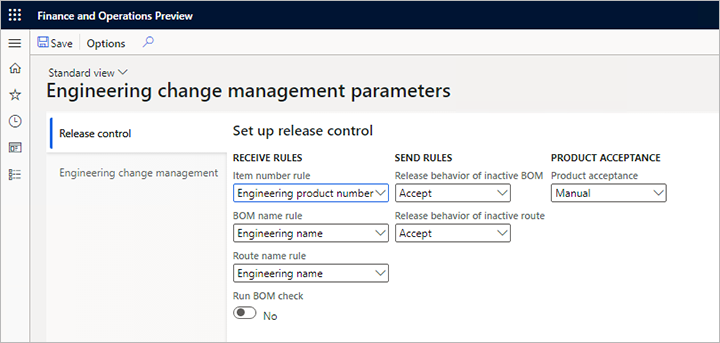
Set up product acceptance conditions
Use the company picker on the right side of the navigation bar to switch to the USMF legal entity (company).
Go to Engineering change management > Setup > Engineering change management parameters.
On the Release control tab, in the Product acceptance section, set the Product acceptance field to Manual.