Lab - Explore production control
Read this first - before you start the lab!
Important
For this lab, you CANNOT sign in with your own credentials. Use the following steps to sign in to your lab environment with the correct credentials.
Ensure that you are signed in to Microsoft Learn.
Select Launch VM mode or Sign in to launch VM mode in this unit.
In the Resources tab on the lab side bar, select the T icon next to Password in the MININT box, to have the administrator password for the Virtual Machine entered for you.
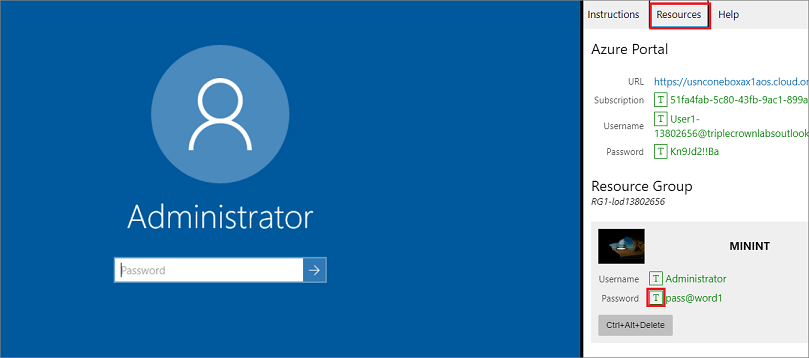
Select Enter.
Microsoft Edge will open. Wait for it to navigate to the Sign in page for finance and operations.
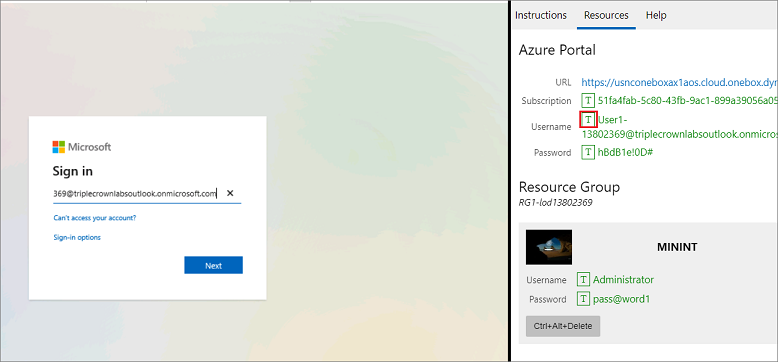
On the Microsoft Sign in page in finance and operations, place your mouse cursor into the Username field.
On the Resources tab of the lab side bar, below the Azure portal heading, select the T icon next to Username, then press Enter.
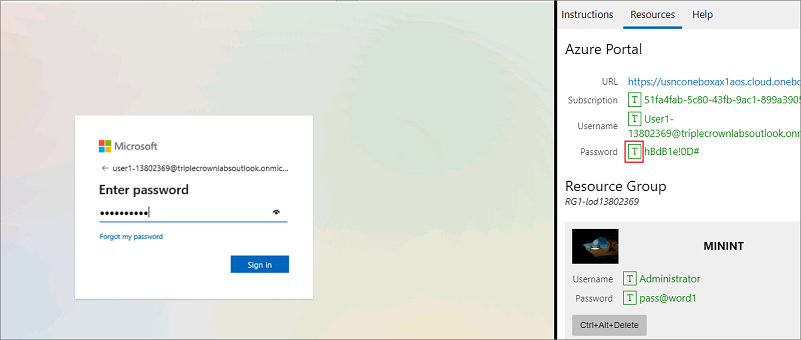
Your mouse cursor will now be in the Password page.
On the Resources tab of the lab side bar, below the Azure portal heading, select the T icon next to select Password, then press Enter.
Don't stay signed in or store the password on the virtual machine.
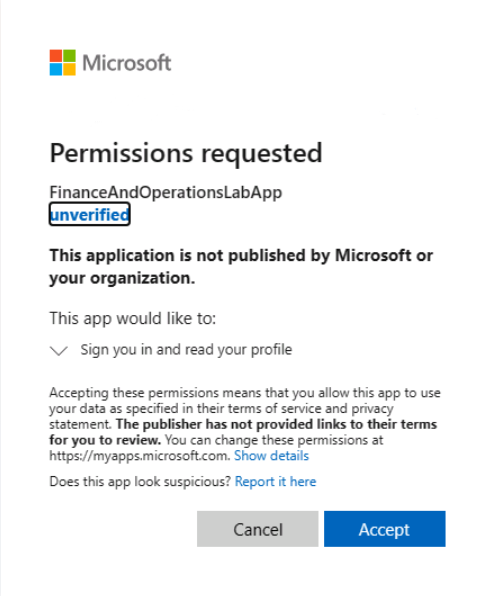
Select Accept in the Permissions requested page.
To see the lab instructions, select the Instructions tab on the lab side bar.
You can now begin your work on this lab.
Scenario - Define production control parameters
The Operations Manager at USMF, wants to make some changes to the policies. They have informed you that routes must not be modified or have their approvals removed. Instead, a new route operation should be created and the effective dates updated. Your task is to update the parameters to meet these business requirements.
- Go to Production control > Setup > Production control parameters.
- Set the Block removal of approval slider to Yes under the Routes group.
- Set the Block editing slider to Yes under the Routes group.
- Select Save.
- Close all pages.
Scenario - Create production pools
The Operations Manager at USMF, wants more visibility into production orders that are delayed. They have given you instructions to track the following:
- Subcontracted production orders that are missing deliveries
- Production orders with missing materials
- Orders delayed due to machine failures
By using the information provided, create three new production pools for use on new production orders.
Create a production pool for delayed subcontracted work
- Open Production control > Setup > Production > Production pools.
- Select New to create a new pool.
- Enter Delay-Sub in the Pool field.
- Enter Subcontracted Work Delayed in the Name field.
Create a production pool for missing materials
- Select New to create a new pool.
- Enter MATMISSING in the Pool field.
- Enter Materials Missing in the Name field.
Create a production pool for machine failures
- Select New to create a new pool.
- Enter MACHFAIL in the Pool field.
- Enter Machine Failure in the Name field.
- Select Save
- Close all pages.
Scenario - Define ledger posting for production
In this part of the lab, you will create a new item group for bicycle items and configure the ledger posting for production orders.
- The inventory account that is used for the new finished good bicycles will be the Finished goods inventory account number 140200.
- The WIP account will be the Production WIP-material account number 150150.
By using the information provided, create the item group and configure the production order postings.
Create an item group for bicycles
- Open Inventory management > Setup > Inventory > Item groups.
- Select New to create a new item group.
- Enter Bicycle in the Item group field.
- Enter Bicycle Finished Goods in the Name field.
- Close the page.
Configure the finished goods inventory accounts for production postings
- Open Inventory management > Setup > Posting > Posting.
- Select the Production tab.
- Select the Estimated cost of materials consumed button on the left pane.
- Select New to add a row.
- Select Group in the Item code field.
- Select Bicycle in the Item relation field.
- Select 140200 in the Main account field.
- Select the Estimated manufactured cost button on the left pane.
- Select New to add a row.
- Select Group in the Item code field.
- Select Bicycle in the Item relation field.
- Select 140200 in the Main account field.
- Select the Cost of materials consumed button on the left pane.
- Select New to add a row.
- Select Group in the Item code field.
- Select Bicycle in the Item relation field.
- Select 140200 in the Main account field.
- Select the Manufactured cost button on the left pane.
- Select New to add a row.
- Select Group in the Item code field.
- Select Bicycle in the Item relation field.
- Select 140200 in the Main account field.
- Close the page.
Configure the production WIP-material account for production postings
- Open Inventory management > Setup > Posting > Posting.
- Select the Production tab.
- Select the Estimated cost of materials consumed, WIP button on the left pane.
- Verify that the row is configured for All in the Item code field and the Main account is 150150.
- Select the Estimated manufactured cost, WIP button on the left pane.
- Verify that the row is configured for All in the Item code field and the Main account is 150150.
- Select the Cost of materials consumed, WIP button on the left pane.
- Verify that the row is configured for All in the Item code field and the Main account is 150100.
- Select the Manufactured cost, WIP button on the left pane.
- Verify that the row is configured for All in the Item code field and the Main account is 150100.
- Close the page.
Scenario - Define ledger posting for resources
You want to create a new cost category with an hourly rate of $15.00 per hour to produce bicycles. The new cost category should be assigned to a new resource group for bicycle production. Your task is to create the cost category and link to the appropriate expense account and WIP accounts for posting, and then link the new cost category to a new resource group for bicycle production.
Create a shared category for bicycle assembly
- Open Production control > Setup > Routes > Shared categories.
- Select New in the Action Pane.
- Enter Bicycle in the Category ID field.
- Enter Bicycle Assembly in the Category name field.
- Set the Can be used in Production slider to Yes.
- Close the page.
Create a new cost category for bicycle assembly
- Open Production control > Setup > Routes > Cost categories.
- Select New in the Action Pane.
- Select Bicycle in the Category ID field.
- Enter L2 for Assembly in the Category name field.
- Select the Category setup tab in the Action Pane.
- Select Price.
- Select New.
- In the Version field, select 10 for Current Fiscal Period.
- Select 1 in the Site field.
- Enter 15.00 in the Price field.
- Select Save in the Action Pane.
- Select Activate. A warning will appear, that you can ignore for the purposes of this lab.
- Close the page.
Add ledger postings to the cost category
- On the Cost categories page, expand the Ledger postings FastTab.
- In Estimated manufacturing cost absorbed, select the account 600500 Direct Labor Applied.
- In Manufacturing cost absorbed, select the account 600500 Direct Labor Applied.
- In Estimated cost of manufacturing consumed, WIP, select the account 150200 Production WIP-Labor.
- In Cost of manufacturing consumed, WIP, select the account 150100 Production WIP-Clearing.
- Close the page.
Create a new resource group for bicycle production
- Open Production control > Setup > Resources > Resource groups.
- Select New to create a new group.
- Enter 1150 in the Resource group field.
- Enter Bicycle Assembly in the Description field.
- Select 1 in the Site field.
Assign the cost category for setup, run time, and quantities
- Expand the Operation FastTab.
- Select Bicycle in the Setup category field.
- Select Bicycle in the Run time category field.
- Select Bicycle in the Quantity category field.
- Select Save in the Action Pane.
- Close the pages.
Scenario - Configure item prices
You are an accounting manager overseeing an order that is being shipped to the Acme Factory. To accomplish this goal, details of the FIFO test item must be modified, the purchase order must be created, an item price updated, and an invoice must be generated.
Modify details of the FIFO test item
- Go to the Product information management > Products > Released products page.
- Select product A0001 and open details.
- Select Edit to modify details.
- Go to the Purchase FastTab. (The FastTab is an expandable and collapsible area of a page, so the Purchase FastTab appears in the middle of your screen. Do not confuse this with the Purchase button which appears in the Action Pane which is the strip of buttons across the top of the screen.)
- Update the price from 12.00 to 16.49 in the Price field.
- Set the Latest purchase price slider to Yes under the Price update section.
- To update the sales price, expand the Sell FastTab.
- Enter 19.99 in the Price field under Base sales price.
- Select Contribution ratio in Sales price model under Price update.
- Enter 50.00 in the Contribution ratio field.
- Select Purchase price in the Base price drop-down menu.
- To manage the latest cost price for the item, go to the Manage costs FastTab.
- For Latest cost price, set the slider to Yes.
- Set the price to 16.49 in the Price field.
- Select Save
- Close the page.
Create a purchase order and update the item price
- Go to the Procurement and sourcing > Purchase orders > All purchase orders page.
- To create a new purchase order, select New.
- Select Vendor account 1001
- On the General FastTab, select Site 1 and Warehouse 13 and then select OK.
- Select Add line under the Purchase order lines FastTab to add a line to the purchase order for A0001.
- Select the Item number A0001, then enter 5 in the Quantity field.
- Update the Unit price to 21.00
- Select Save.
- To confirm the purchase order, go to the Purchase tab in the Action Pane.
- Select Confirm in the Actions section.
Generate an invoice
- Go to Invoice in the Action Pane and select Invoice under the Generate section.
- At the top of the screen, select Default from: Product receipt quantity.
- Select Order quantity in the drop-down list, and then select OK .
- On the Vendor invoice page, specify number 1217ABC in the Number field.
- Put today’s date in the Posting date field.
- Scroll down to verify the unit price and quantity info on the Lines FastTab.
- Select, at the top, Update match status
- Select Post.
- Close the page.
- Go to Product Information Management > Products > Released products.
- Open item A0001 and go to the Purchase FastTab.
- Verify that the Price has been updated to the latest purchase order price
- Go to the Sell FastTab.
- Verify that the date of price, and base sales price are updated.
- Close all pages.
Scenario - Create and manage resources
Company USMF has bought a new packing robot for their speaker packing workshop. The packing robot will reduce the need for manual labor in the speaker packing workshop. Therefore, some workers from this group can be reassigned to perform other work as the new packing robot becomes fully operational.
Create capabilities
- Go to Organization administration > Resources > Resource capabilities.
- Select New.
- Enter GTL-Assembly in the Capability field and Assembly in the Description field.
- Select New.
- Enter GTL- Packing in the Capability field and Packing in the Description field.
Assign resources to capability
- Select GTL-Assembly from the list of capabilities.
- Select Add from the Resources FastTab.
- Select 5110, Assembly worker 1, in the Resource field.
- Enter 1 in the Priority field.
- Accept the default Level of 0.00.
- Repeat steps 2 to 5 for resource 5111.
- Close the Resource capabilities page.
Assign capabilities to a resource
- Go to Organization administration > Resources > Resources.
- Select resource 5111 in the grid.
- Expand the Capabilities FastTab.
- Select View > All.
- Select Add.
- Enter GTL-Packing in the Capability field.
- Accept the default Effective date of today's date.
- Accept the default Level of 0.00.
- Enter 2 in the Priority field.
- Select Save
- Close the Resources page.
Close the lab environment
- Select Done in the Instructions pane in the lab side bar.
- In the Lab is complete window, select Continue, and then select Leave to return to the next unit in the module.