Exercise - Provision the web chat channel
Web chat is a simple web page that allows users to communicate with your Azure Health Bot instance. It's a popular channel that you can easily embed in your web assets. Alternative channels can be enabled for your bot on request.
Create the web chat channel
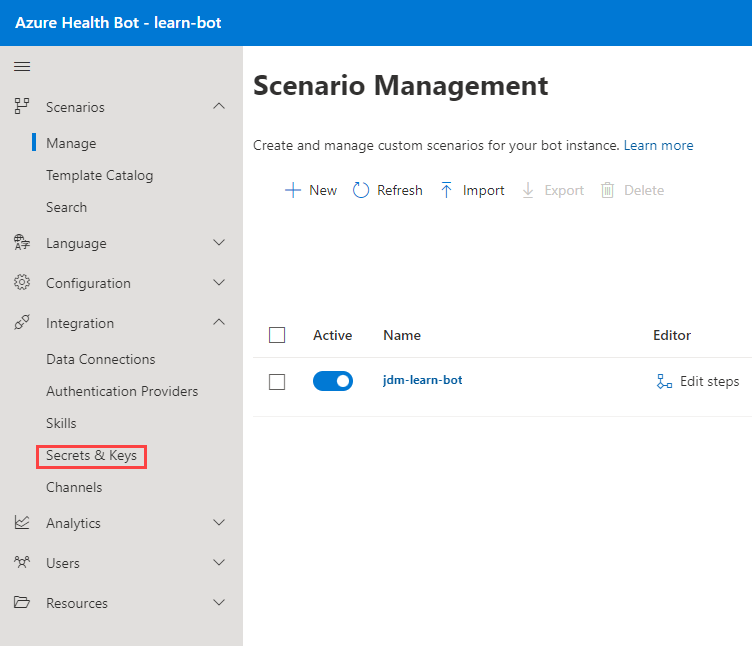
Sign in to the Health Bot management portal. On the left menu, under Integration, select Secrets & Keys.
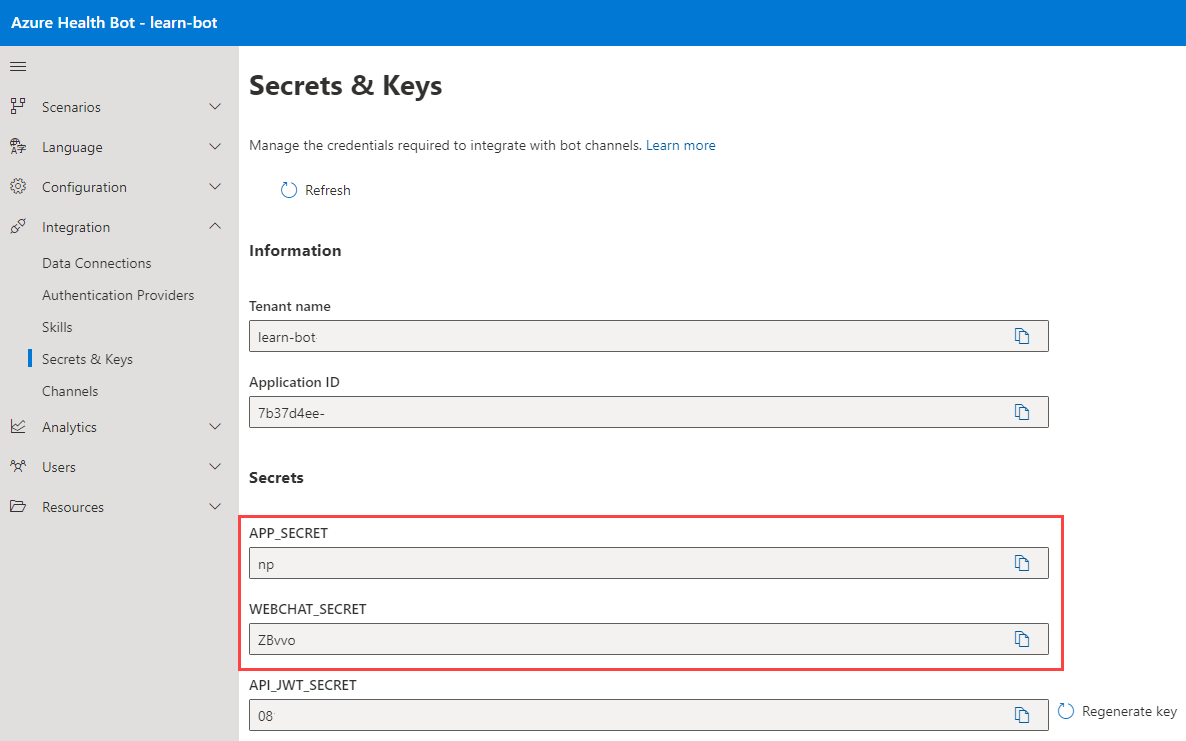
You use secrets to connect the bot to a web page. Copy the values for APP_SECRET and WEBCHAT_SECRET.
Go to the web chat container sample repository, and select Deploy to Azure.
You're redirected to your Azure portal. Sign in by using your Azure credentials, and enter the details required for the deployment:
- Subscription: The Azure subscription that's charged.
- Resource group: Create a new group or use an existing group.
- App Secret: Use the APP_SECRET value copied in step 2.
- Webchat Secret: Use the WEBCHAT_SECRET value copied in step 2.
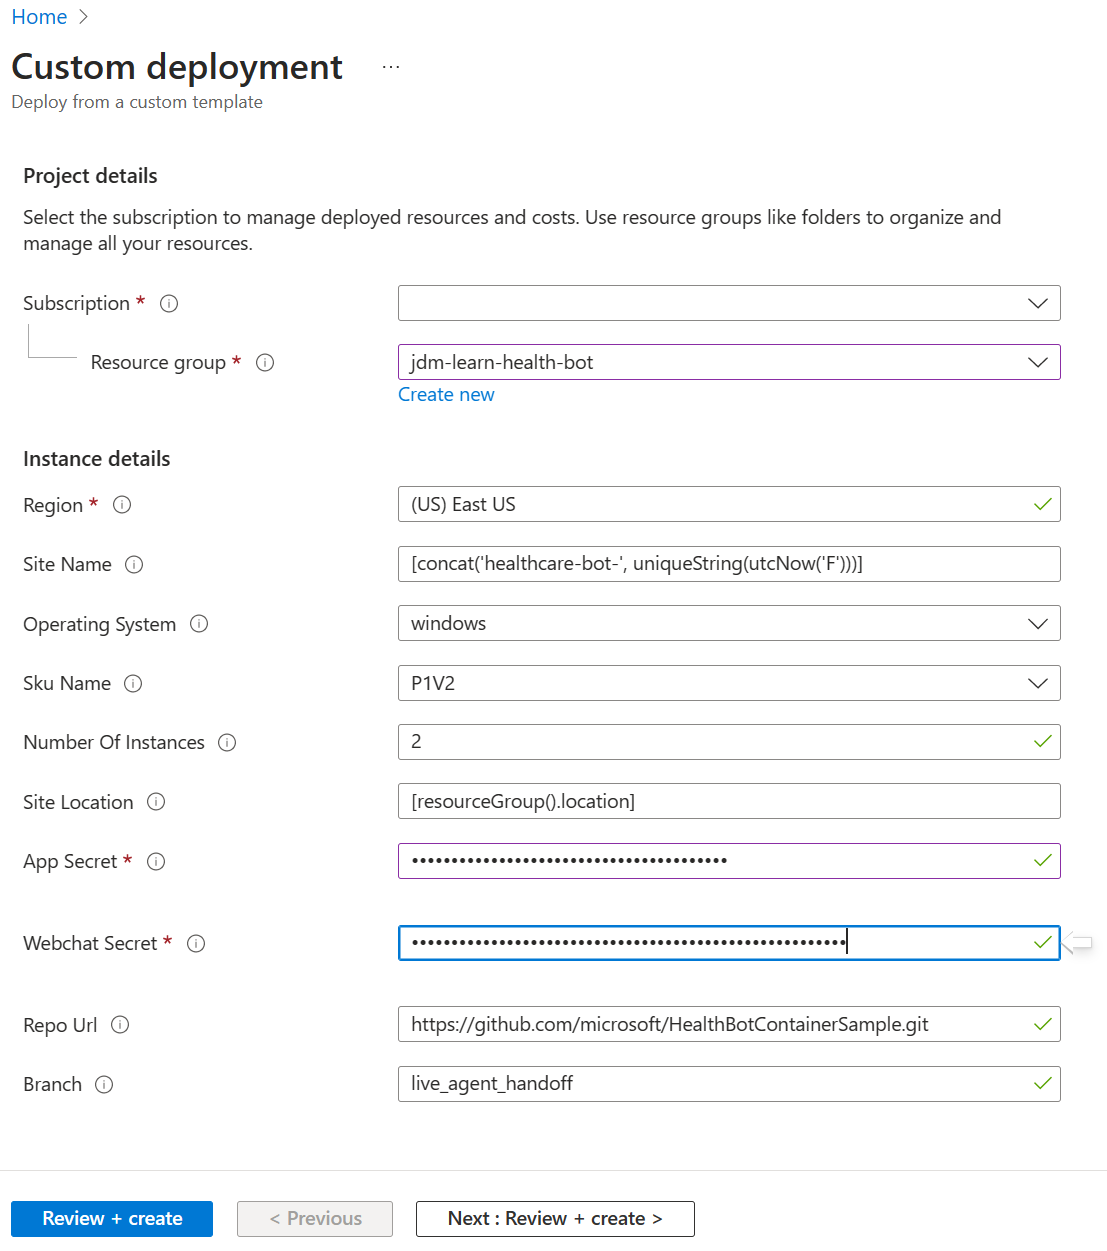
Select Review + create, and then select Create.
After the deployment completes, select Go to resource group, and then select the new App Service.
On the Overview page, open the Default domain.

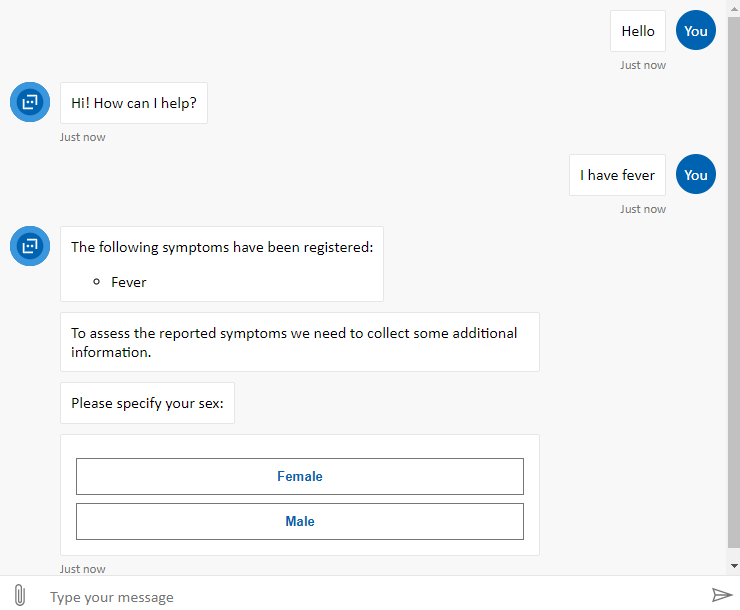
Test the connection to your bot instance by entering a few commands in the web chat.

Deploy Agent Webchat
Agent Webchat is another channel that's connected to your bot instance.
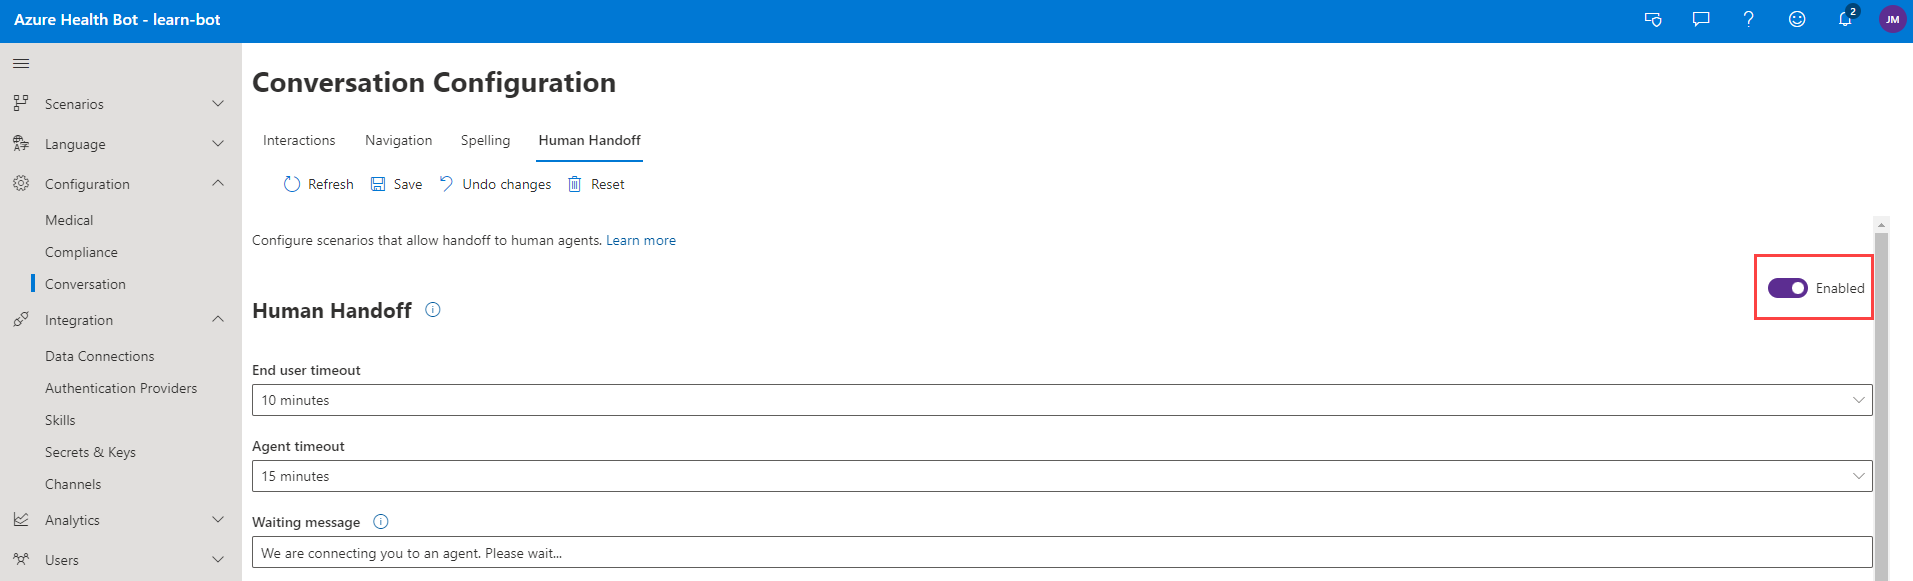
In the management portal for your Health Bot instance, go to Configuration > Conversation > Human Handoff. Enable the human handoff feature, and select Save.
To access the sample web chat, open the web chat URL that you created in step 7 and add /agent.html to the URL. A sign-in page loads that details the agent experience. You can enter any values to access the agent portal. Within the agent portal, you can issue agent commands to interact with users who are talking with your bot.


User experience: Connect to a live agent
If there are online agents, the user and agent go through a connection sequence before the live chat begins.
The user says something that triggers the handoff connection sequence.
The user is advised that they'll connect to an agent soon.
The user is added to the queue, and the agents receive a notification.
The agent uses a connect command to talk to the user who's been in the queue the longest.
A connection is established between the agent and the user.
The user receives a notification they're talking with an agent.
The live chat continues until the agent ends the interaction.

