Build a database
In the previous module, we developed a vitals bot to collect basic health information from users. To store the information, build a database.
Follow these steps to build a database:
In the Azure portal, sign in to your account.
Select Create a resource.
In the Categories menu, select Databases. Then select SQL Database.

Select Create.

Use the following information to configure the SQL Database:
Subscription: Select your subscription.
Resource group: Select Create new and enter a unique name for the resource group, such as Healthbot. Then select OK.
Database name: Name your database. Name your database healthbot.
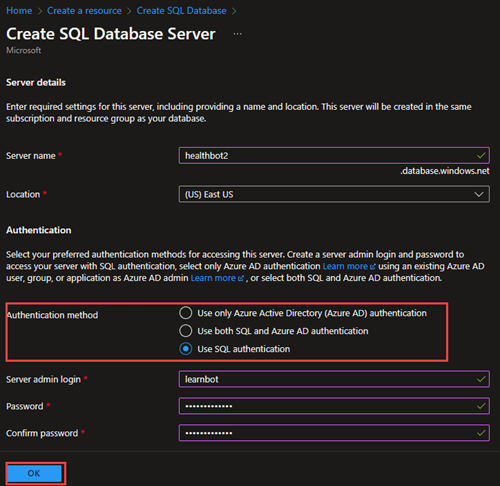
Server: Select Create new, and then fill in the following:
- Server name: Add a server name, such as healthbot.
- Server admin login: Add a username, such as learnbot.
- Location: Select a location close to you.
- Authentication method: Select Use SQL authentication.
- Password: Add a unique password for the server. Use healthbot@123.
- Confirm password: Retype the password you provided in the Password field.
- Select OK.
Want to use SQL elastic pool?: Select No.
Compute + storage: Select Configure database. Select Service tier.
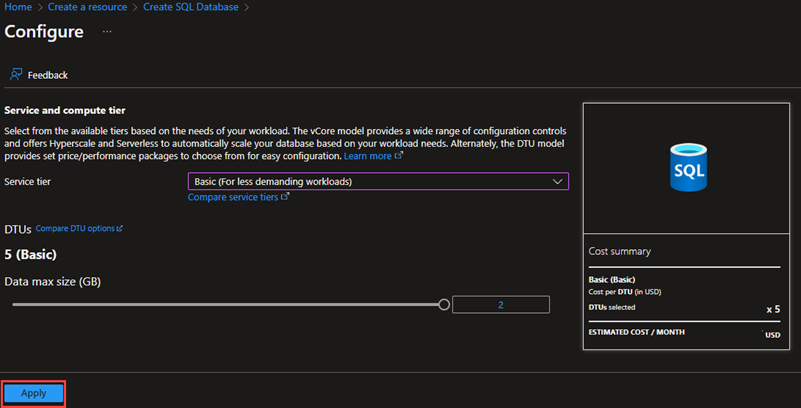
Select the Basic option from the drop-down. Note its cost. Then select Apply.
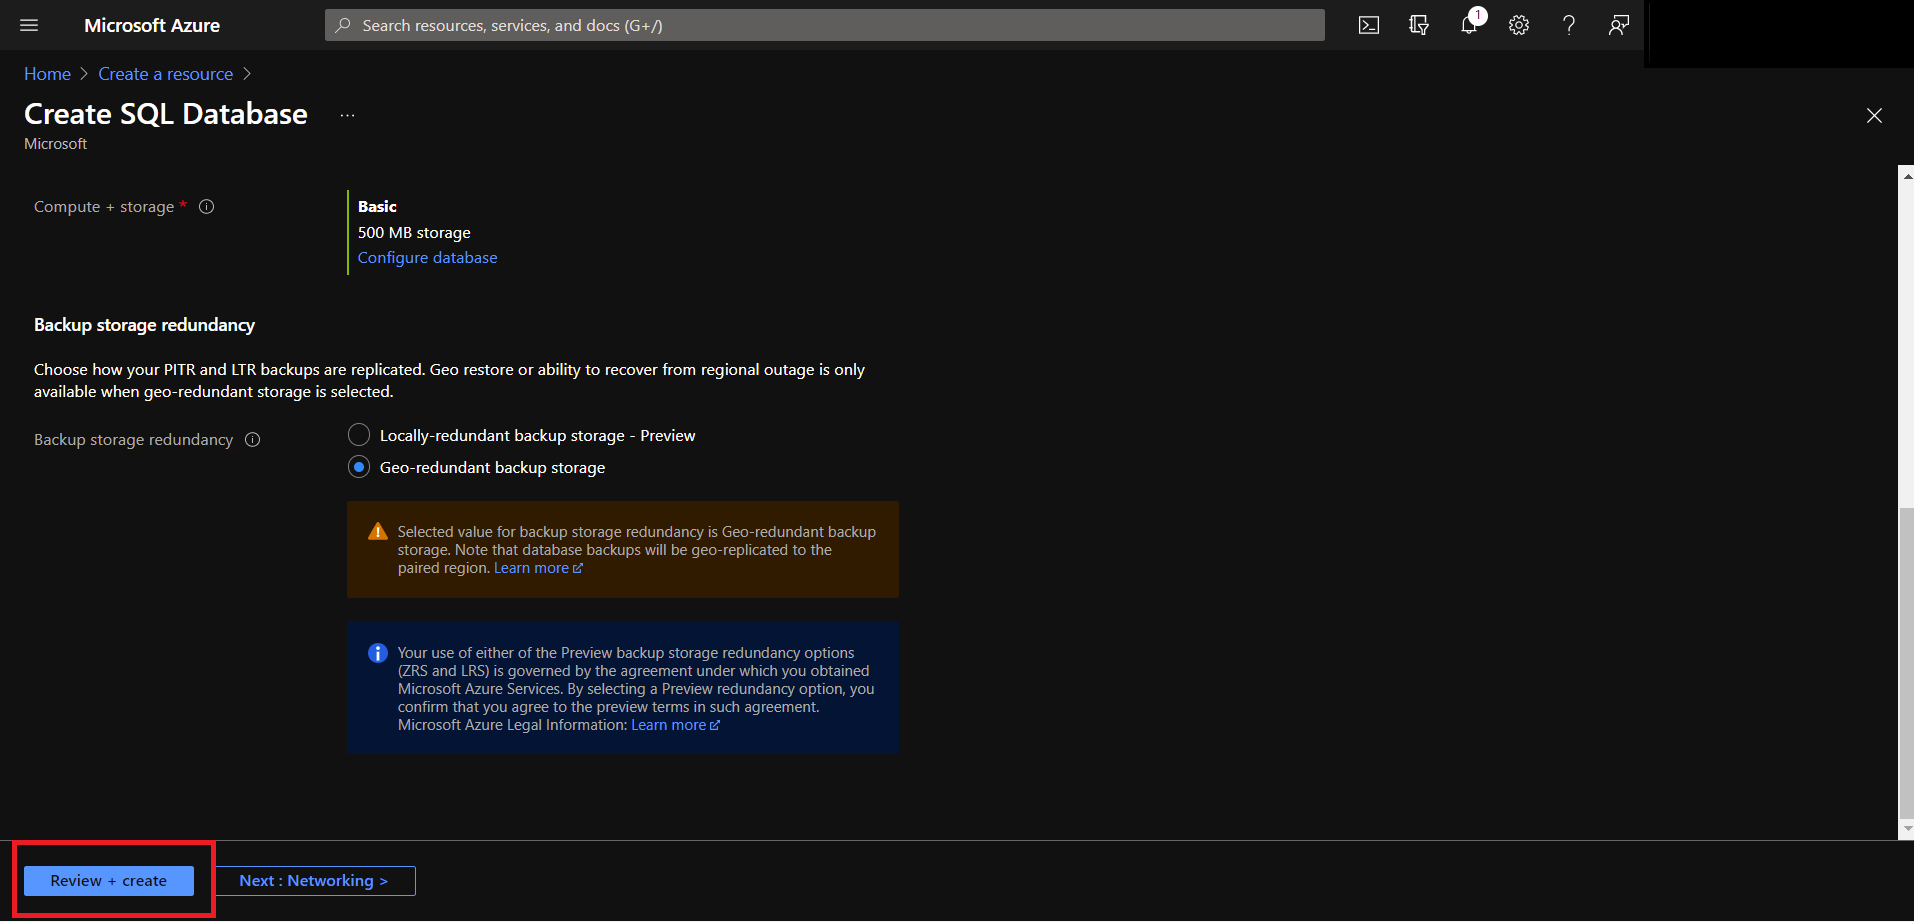
Backup storage redundancy: Select Geo-redundant backup storage.
Select Review + create.
On the summary page that appears, make sure you entered all details accurately. Then select Create.
After the deployment succeeds, select Go to resource.
Make a note of the server name that's listed under Essentials.

Return to the Overview page of the SQL database, and then select Set server firewall.
Under Public network access, select Selected networks.
Under Exceptions, select the checkbox for Allow Azure services and resources to access this server.

Under Firewall rules, select Add a firewall rule, and then enter the following details in the three text boxes:
- Rule name: ALL
- Start IP: 0.0.0.0
- End IP: 255.255.255.255
Select Save.
In the menu on the left, select Query editor (preview). Then enter the credentials you created in the previous steps.
- Login ID: learnbot
- Password: healthbot@123
Select Tables to create a new table.

In the code section, paste the following code:
     CREATE TABLE Vitals (
            name varchar(255),
            Age int,
            Weight int,
            Height int,
            ColumnDateTime DATETIME DEFAULT CURRENT_TIMESTAMP
     );
Select Run.
To save this code for future use, select Save query.


Allow other users to edit your database
We often work with multiple people on the same project and want to be able to share our current work with them. You can assign the other users as administrators for our database. Then they can view and modify the database like we do.
Follow these steps to give access to another user:
In the Azure portal, select the SQL server you created.

In the menu on the left side of the page, select Microsoft Entra ID.
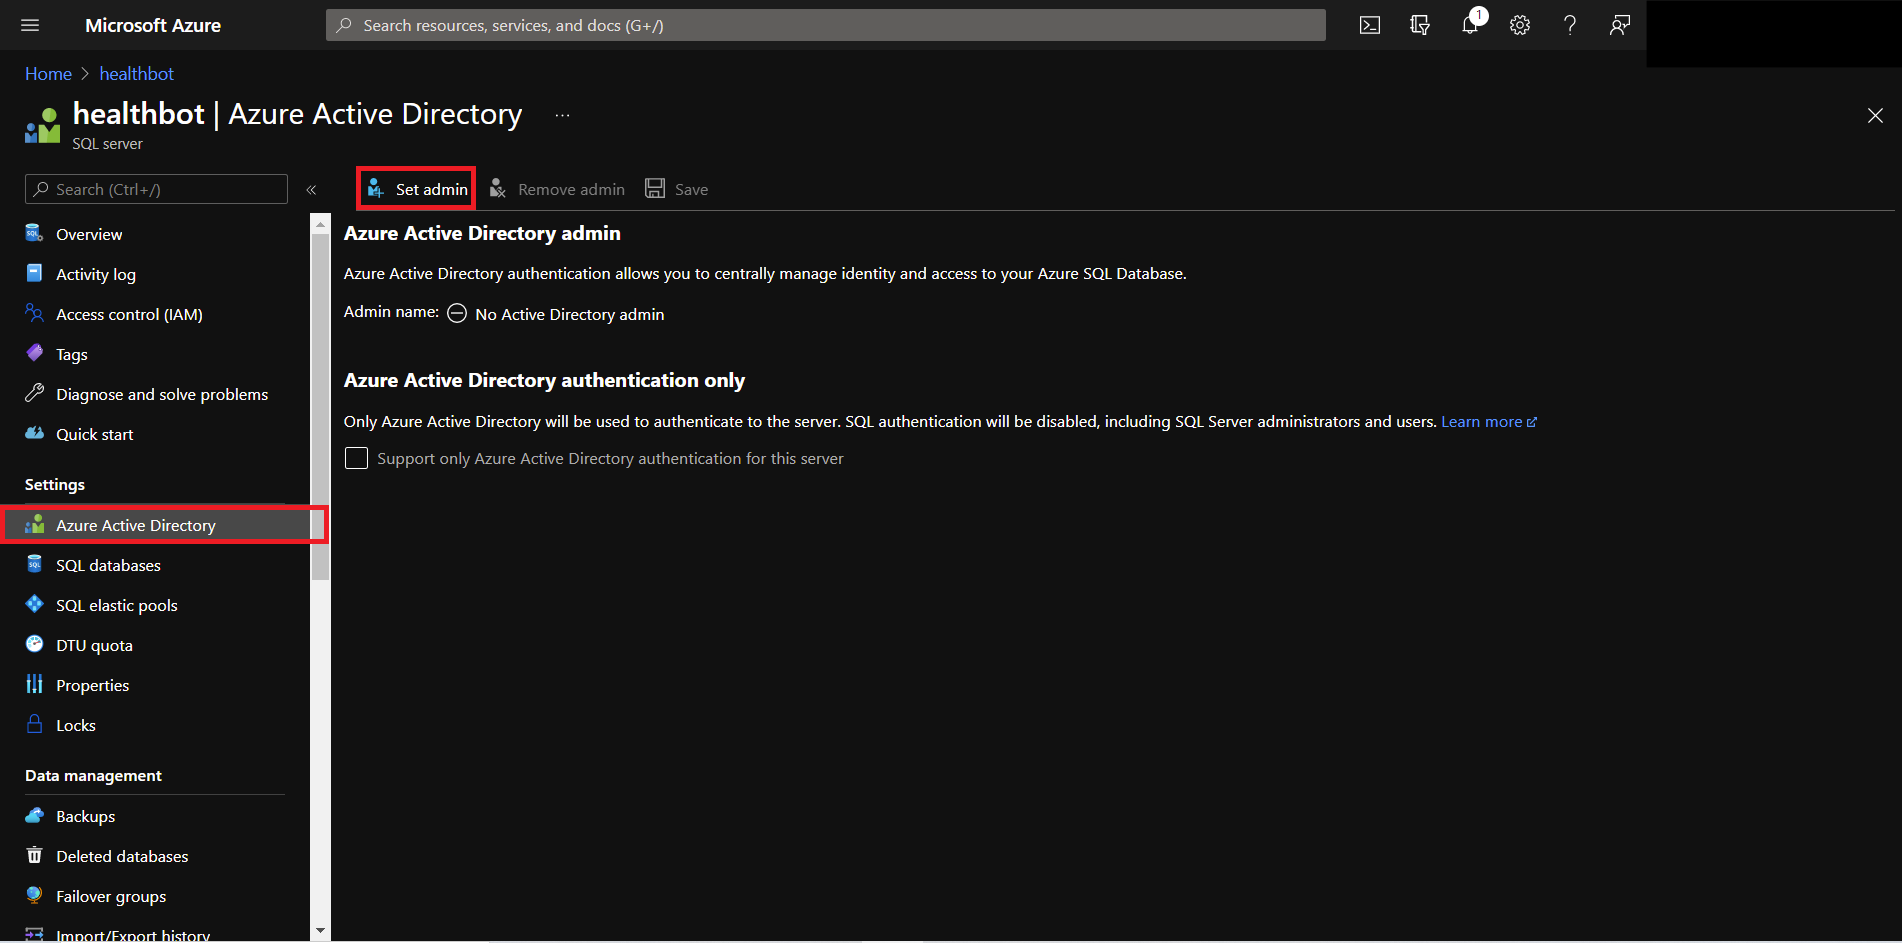
Select Set admin to open the Microsoft Entra ID pane.
Search for the user who needs access. Then choose Select.


Visualize the database as a table
Even though we know our database works, we can visualize the data that's logged into a table. To visualize it, we can use Azure Data Studio.
On the Azure portal landing page, select the SQL database you created.
Select Connect with > Azure Data Studio.

Select Download Azure Data Studio. Follow the steps to download it. If Data Studio is already installed, select Launch it now.

Select the New connection button next to the Servers list. The Connection pane opens on the right.

Fill in information for the following fields:
- Connection type: Select Microsoft SQL Server.
- Server: Paste the server name you created in step 9.
- Authentication type: Select SQL login.
- Username: Use the username you used to sign in to the query editor. We used learnbot.
- Password: Use the password you used to sign in to the query editor. We used healthbot@123.
- Database: Select the name of the database you created on Azure.
- Server group: Leave the selection as Default.
Select Connect.
In the Servers list, select healthbotserver > Databases.
Right-click healthbot and then select New query.
In the query, enter SELECT * FROM Vitals.
Select Run to see the table of the currently logged data.


Note
- The query SELECT * FROM Vitals asks to select all the data from the table named Vitals.
- The table name is case sensitive. The asterisk (*) denotes ALL.
- Follow steps 8 through 10 every time you want to visualize the table.