Implement and manage Microsoft Entra Verified ID
Microsoft Entra Verified ID is a preview feature. This content will continue to update as more capabilities are added, and the feature moves to general-availability. For more information you can also look here: Configure your tenant for Microsoft Entra Verifiable Credentials.
What is Entra Verified ID?
Microsoft Entra Verified ID safeguards your organization with an identity solution that's seamless and decentralized. The service allows you to issue and verify credentials. For issuers, Microsoft Entra ID provides a service that they can customize and use to issue their own verifiable credentials. For verifiers, the service provides a free REST API that makes it easy to request and accept verifiable credentials in your apps and services.
We use IDs in our daily lives. We have drivers licenses that we use as evidence of our ability to operate a car. Universities issue diplomas that prove we attained a level of education. We use passports to prove who we are to authorities as we arrive to other countries / regions. The data model describes how we could handle these types of scenarios when working over the internet but in a secure manner that respects users' privacy. In short, verifiable credentials are data objects consisting of claims made by the issuer attesting information about a subject. These claims are identified by schema and include the DID issuer and subject. The issuer's DID creates a digital signature as proof that they attest to this information.
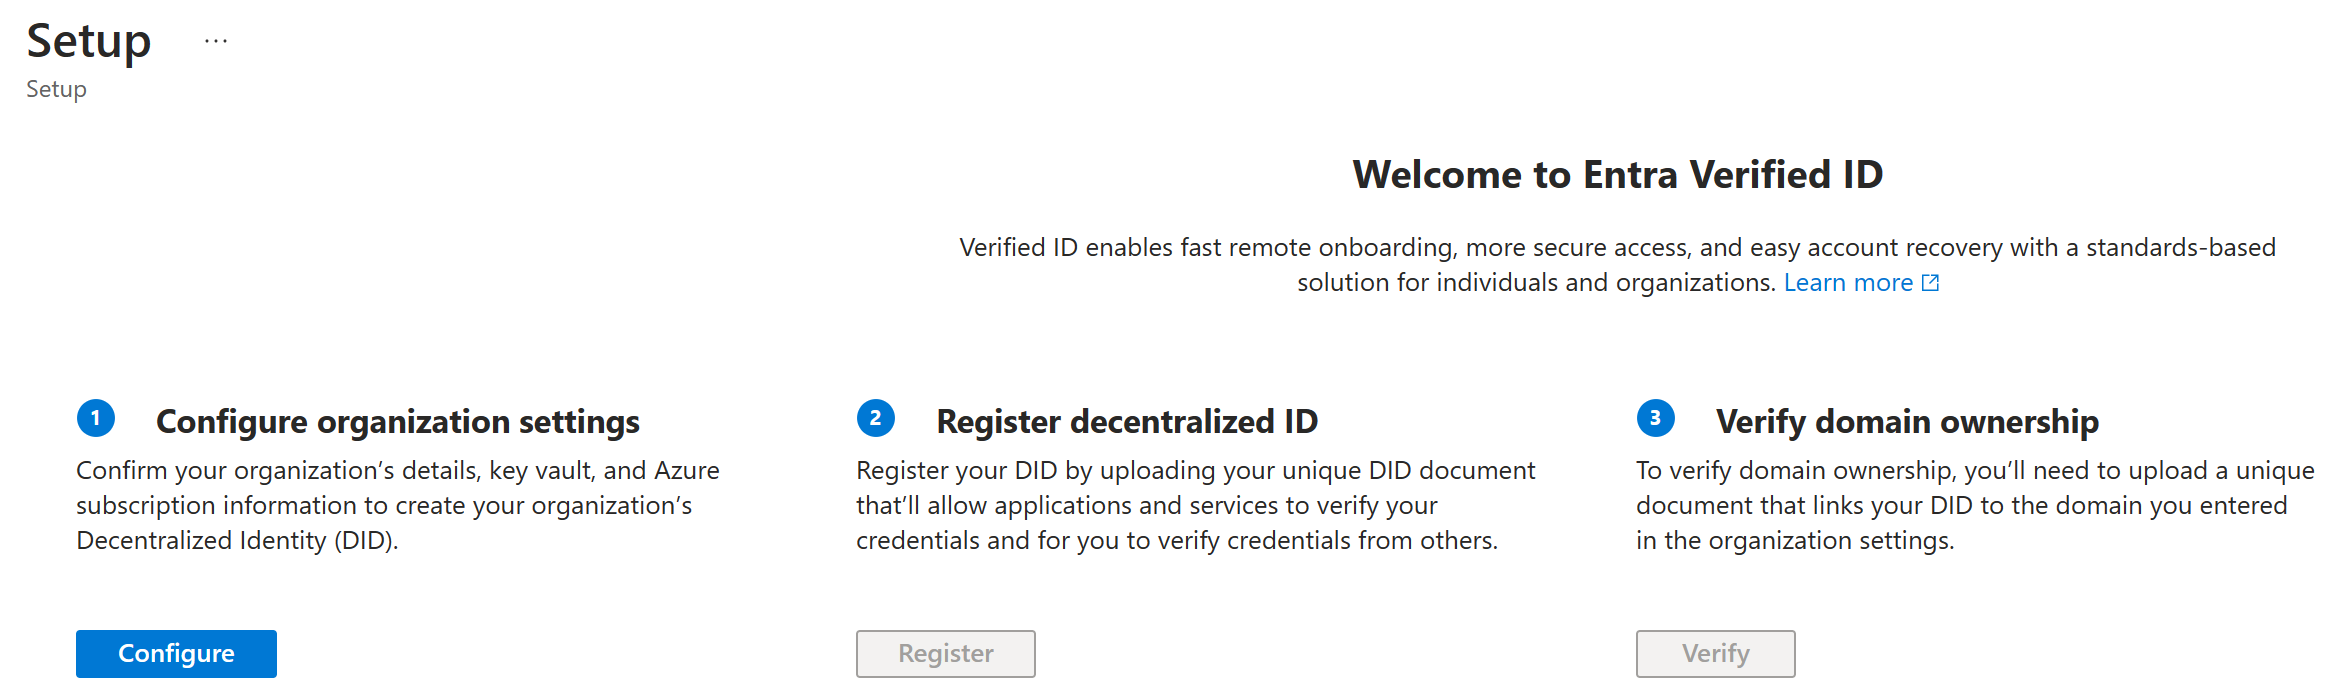
Deploying the Microsoft Entra Verified ID service
To deploy Microsoft Entra Verified ID, you will need:
- An Azure tenant with a subscription
- A Microsoft Entra ID premium license
- Logged in as the global administrator
- A configured Azure Key Vault instance
To set up Microsoft Entra Verified ID, follow these steps:
In the Azure portal, search for verifiable credentials. Then, select Verifiable Credentials (Preview).
From the left menu, select Getting started.
Set up your organization by providing the following information:
Setting Description of value to enter Organization name Enter a name to reference your business within Verifiable Credentials. Your customers don't see this name. Domain Enter a domain that's added to a service endpoint in your decentralized identity (DID) document. The domain is what binds your DID to something tangible that the user might know about your business. Microsoft Authenticator and other digital wallets use this information to validate that your DID is linked to your domain. If the wallet can verify the DID, it displays a verified symbol. If the wallet can't verify the DID, it informs the user that the credential was issued by an organization it couldn't validate. Key vault Enter the name of the key vault you have in your tenant. Select Save and create credential.
Note that these are just the general steps needed to deploy the Microsoft Entra Verified ID service. Follow the article list above for more details.