Exercise - Add OpenTelemetry to a cloud-native application
In this exercise, you add a new diagnostic project to your eShopLite solution. You'll see how to include the OpenTelemetry NuGet packages, and then add observability to the Products service.
Open the development environment and create the Azure resources
You can choose to use a GitHub codespace that hosts the exercise or complete the exercise locally in Visual Studio Code.
To use a codespace, create a preconfigured GitHub codespace with this Codespace creation template.
This step takes several minutes while GitHub creates and configures the codespace. After the process is finished, you see the code files for the exercise. The code used for the rest of this module is in the /dotnet-observability directory.
To use Visual Studio Code, clone the https://github.com/MicrosoftDocs/mslearn-dotnet-cloudnative repository to your local machine. Then:
- Install any system requiements to run Dev Container in Visual Studio Code.
- Make sure Docker is running.
- In a new Visual Studio Code window open the folder of the cloned repository
- Press Ctrl+Shift+P to open the command palette.
- Search: >Dev Containers: Rebuild and Reopen in Container
- Select eShopLite - dotnet-observability from the drop down. Visual Studio Code creates your development container locally.
Add a diagnostic project to the solution
The first step to adding observability to the eShopLite app is to introduce a new diagnostic project to the solution. This project contains all the OpenTelemetry packages and configurations that you'll use to add observability to the app.
- In the Visual Studio Code command palette, enter >.NET: Open Solution.
- Select dotnet-observability/eShopLite/eShopLite.sln.
- In the Solution Explorer, at the bottom of the EXPLORER pane, right-click the eShopLite solution and then select New Project.
- In the Select a template to create a new .NET project dialog, select Class Library (Common, Library).
- In the Name field, enter Diagnostics.
- In the Project will be created in dropdown, select Default directory.
Add OpenTelemetry packages
Now add the OpenTelemetry packages to the new diagnostic project.
By using the TERMINAL pane at the bottom of Visual Studio Code, go to the Diagnostics project folder:
cd dotnet-observability/eShopLite/DiagnosticsRun these
dotnet addcommands:dotnet add package OpenTelemetry.Exporter.Console dotnet add package OpenTelemetry.Extensions.Hosting dotnet add package OpenTelemetry.Instrumentation.AspNetCore dotnet add package OpenTelemetry.Instrumentation.EventCounters --prerelease dotnet add package OpenTelemetry.Instrumentation.Runtime dotnet add package OpenTelemetry.Instrumentation.SqlClient --prerelease dotnet add package OpenTelemetry.Instrumentation.HttpOn the EXPLORER pane, expand the Diagnostics folder and then select Diagnostics.csproj.
Change the
Project Sdkat the top to:<Project Sdk="Microsoft.NET.Sdk.Web">The preceding code allows you to use the
IConfigurationclass in your code.In the
<PropertyGroup>, add the output type:<OutputType>Library</OutputType>The preceding code ensures that the project builds as a library. Otherwise, the compiler expects a
Program.csfile with amainmethod.
Add the code to use OpenTelemetry
With the OpenTelemetry packages added, you now introduce the code to make use of them.
On the EXPLORER pane, right-click the Class1.cs file and then select Rename.
Rename the file to DiagnosticServiceCollectionExtensions.cs.
Replace the code in the file with the following code:
using OpenTelemetry.Metrics;
using OpenTelemetry.Resources;
using OpenTelemetry.Trace;

namespace Microsoft.Extensions.DependencyInjection;

public static class DiagnosticServiceCollectionExtensions
{
  public static IServiceCollection AddObservability(this IServiceCollection services,
      string serviceName,
      IConfiguration configuration)
  {
    // create the resource that references the service name passed in
    var resource = ResourceBuilder.CreateDefault().AddService(serviceName: serviceName, serviceVersion: "1.0");

    // add the OpenTelemetry services
    var otelBuilder = services.AddOpenTelemetry();

    otelBuilder
        // add the metrics providers
        .WithMetrics(metrics =>
        {
          metrics
            .SetResourceBuilder(resource)
            .AddRuntimeInstrumentation()
            .AddAspNetCoreInstrumentation()
            .AddHttpClientInstrumentation()
            .AddEventCountersInstrumentation(c =>
            {
              c.AddEventSources(
                      "Microsoft.AspNetCore.Hosting",
                      "Microsoft-AspNetCore-Server-Kestrel",
                      "System.Net.Http",
                      "System.Net.Sockets");
            })
            .AddMeter("Microsoft.AspNetCore.Hosting", "Microsoft.AspNetCore.Server.Kestrel")
            .AddConsoleExporter();

        })
        // add the tracing providers
        .WithTracing(tracing =>
        {
          tracing.SetResourceBuilder(resource)
                      .AddAspNetCoreInstrumentation()
                      .AddHttpClientInstrumentation()
                      .AddSqlClientInstrumentation();
        });

    return services;
  }
}
On the TERMINAL pane, run this command to build the project:
dotnet buildYou should see output similar to this example:
Build succeeded.
    0 Warning(s)
    0 Error(s)
The Diagnostics project is now ready to be used by the Products service.
On the EXPLORER pane, under SOLUTION EXPLORER, right-click the Products project and then select Add Project Reference.
Select Diagnostics.
On the EXPLORER pane, expand the Products folder and then select Program.cs.
Under the code comment
// Add observability code here, add a call to the Diagnostics method:builder.Services.AddObservability("Products", builder.Configuration);On the TERMINAL pane, go to the Products folder:
cd ../ProductsRun this command to build the project:
dotnet buildYou should see output similar to this example:
Build succeeded.
    0 Warning(s)
    0 Error(s)
Update Docker settings and run the app
On the TERMINAL pane, go to the root of the dotnet-observability folder:
cd ..
dotnet publish /p:PublishProfile=DefaultContainer
Run these Docker commands:
cd /workspaces/mslearn-dotnet-cloudnative/dotnet-observability/
docker compose up
The back-end (Products service) and front-end (Store service) containers should build. Then the app starts.
If you're doing this exercise in a codespace, select the PORTS tab at the bottom of the Visual Studio Code window. Select the Open in browser link next to the Front End service.
If you're doing this exercise locally in Visual Studio Code, in a new browser tab, go to the app at
http://localhost:32000.In the app, select Products in the navigation bar.
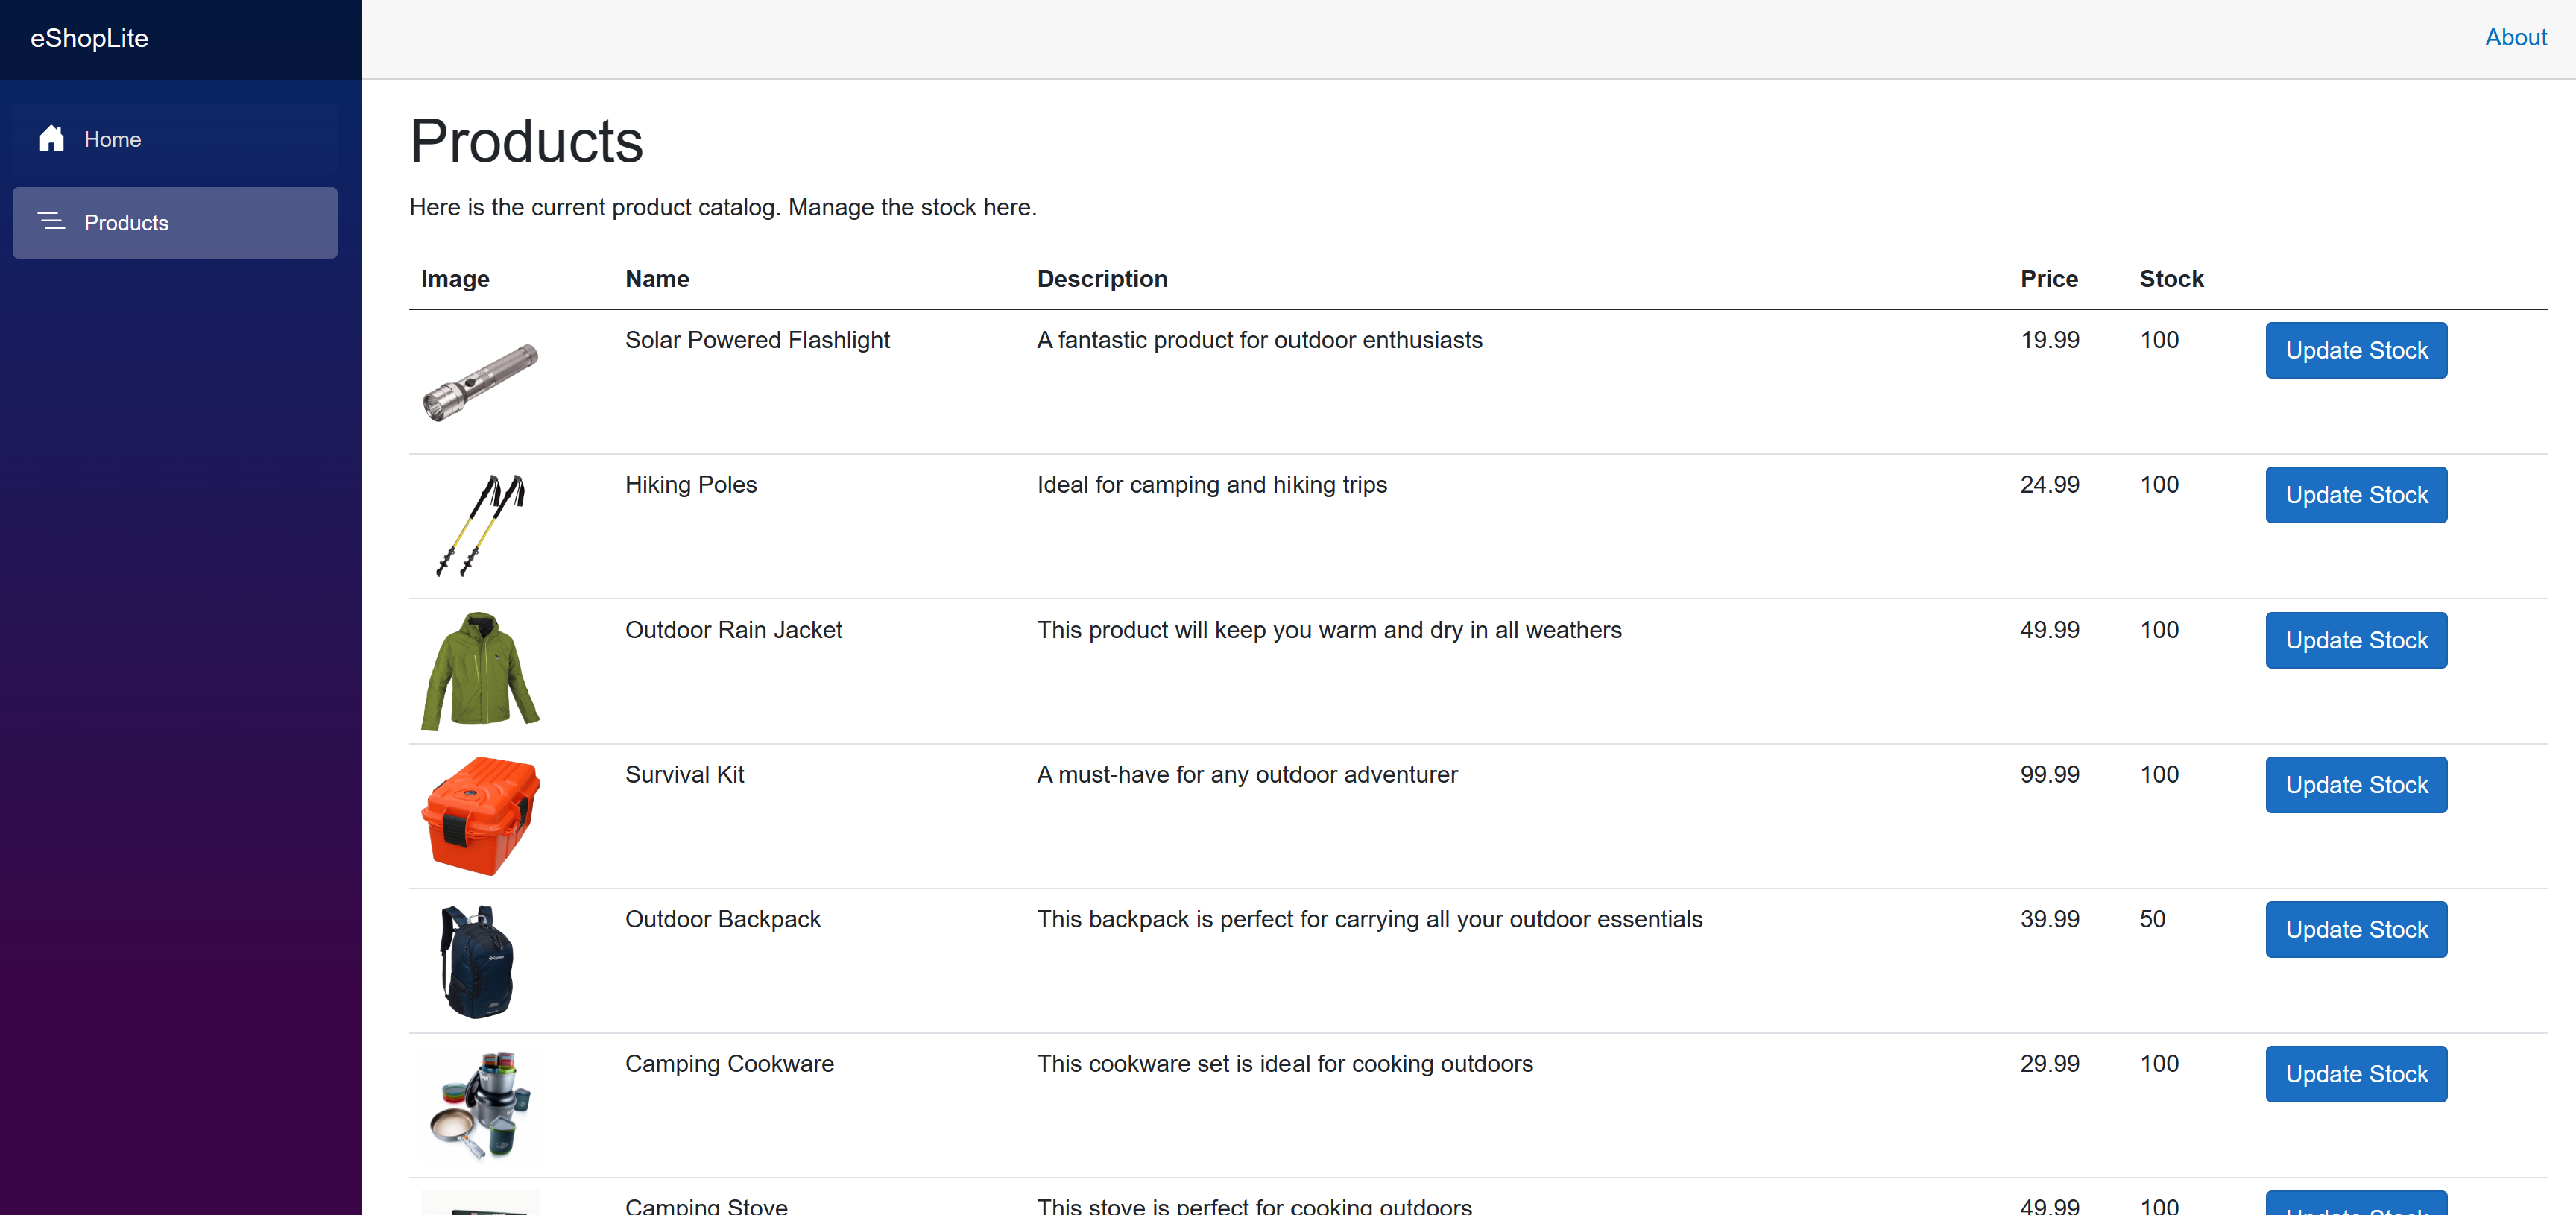
Select Update Stock for several of the products. Then, in the dialog, change the stock value and select Update.
Select the TERMINAL tab and scroll through the messages. Note there are messages from OpenTelemetry like:
backend-1   | Export ec.Microsoft-AspNetCore-Server-Kestrel.connection-queue-length, Meter: OpenTelemetry.Instrumentation.EventCounters/1.5.1.1
backend-1   | (2023-11-09T19:55:14.8933518Z, 2023-11-09T20:04:44.8596671Z] http.request.method: PUT http.response.status_code: 200 http.route: /api/Stock/{id} network.protocol.name: http network.protocol.version: 1.1 url.scheme: http Histogram
backend-1   | Value: Sum: 0.05144170000000001 Count: 4 Min: 0.0039736 Max: 0.0359739
Press Ctrl+C to stop the app.

You successfully added OpenTelemetry to the Products service. In the next unit, you'll see how to make better use of the telemetry data by viewing it on tools like Prometheus and Grafana.