Publish sensitivity labels
Sensitivity labels are published by creating a label policy. By default, tenants don't have any label policies. As such, organizations must create them. Complete the following steps to create a label policy:
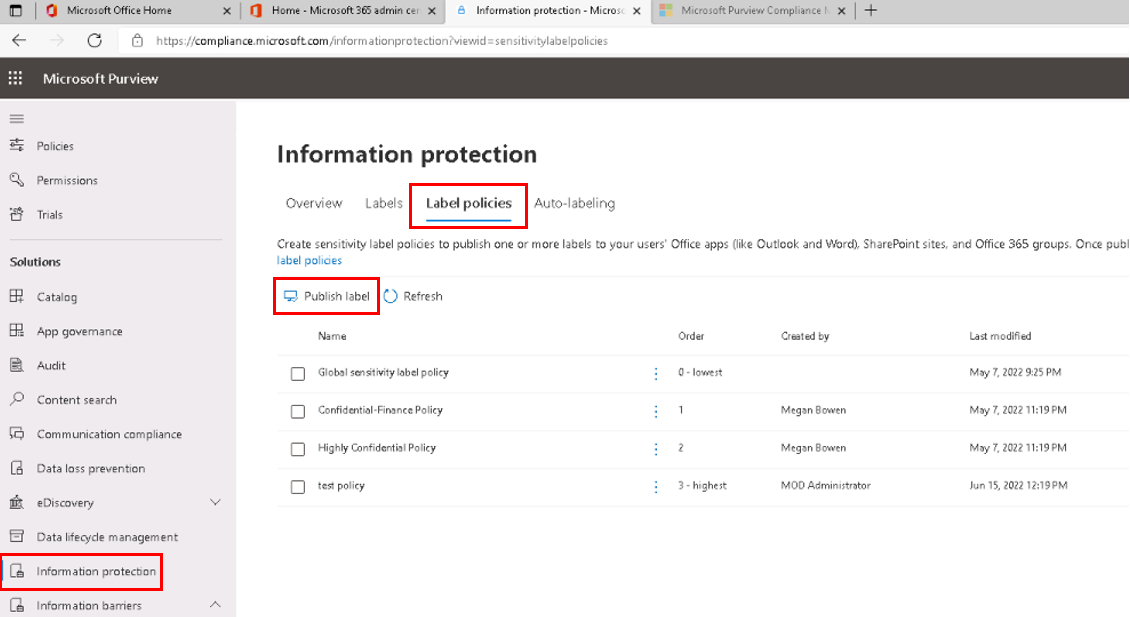
From the Microsoft Purview compliance portal, under the Solutions section in the navigation pane, select Information protection.
On the Information protection page, select the Label policies tab.
On the Label policies tab, select Publish label on the menu bar. Doing so starts the Create policy wizard.
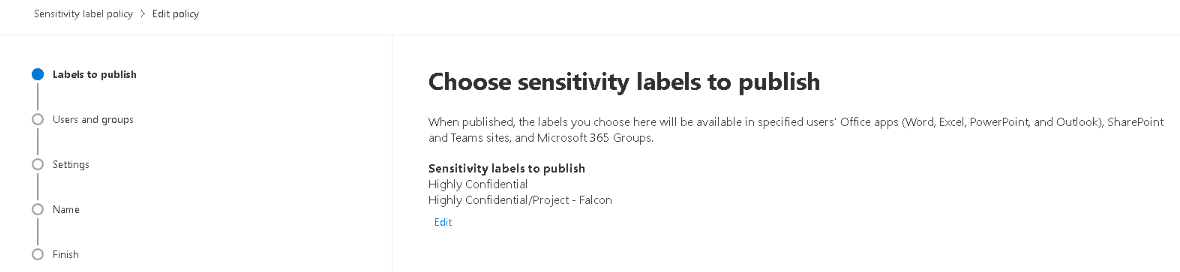
On the Choose sensitivity labels to publish page, select the Choose sensitivity labels to publish link.
On the Sensitivity labels to publish pane that appears, select the labels that you want to make available in apps and to services. Then select Add.
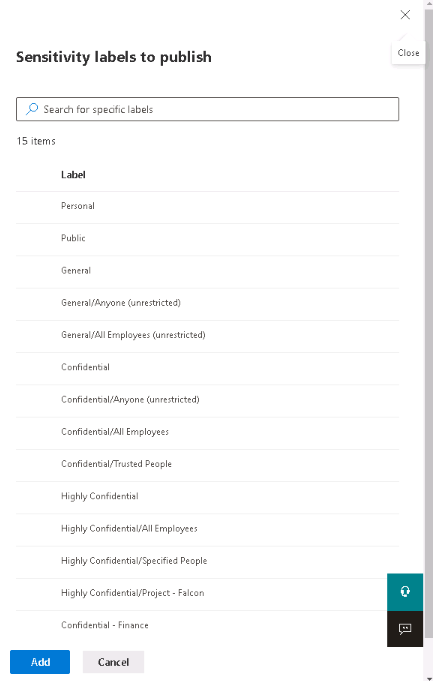
Important
If you select a sublabel, make sure you also select its parent label.
On the Choose sensitivity labels to publish page, review the selected labels. To make any changes, select Edit. When everything appears correct, select Next.
Follow the remaining prompts to configure the policy settings.
The policy settings that you see match the scope of the labels that you selected. For example, if you selected labels that have just the Files & emails scope, you won't see the following policy settings: Apply this label by default to groups and sites and Require users to apply a label to their groups and sites.
For more information about these settings, see What label policies can do. You can also refer to the help in the UI for individual settings.
Repeat these steps if you need different policy settings for different users or scopes. For example, maybe you want other labels for a group of users, or a different default label for a subset of users. Or, if you have configured labels to have different scopes.
If you create more than one label policy that may result in a conflict for a user, review the policy order. If necessary, move policies up or down as needed. To change the order of a label policy, select the vertical ellipsis icon (Actions), and then select Move up or Move down from the menu that appears. For more information, see Label policy priority (order matters) from the overview information.
The label policy is published when you complete the Create policy wizard. To make changes to a published policy, you just need to edit it. There's no specific publish or republish action for you to select.
To edit an existing label policy, select it, and then select the Edit Policy button:
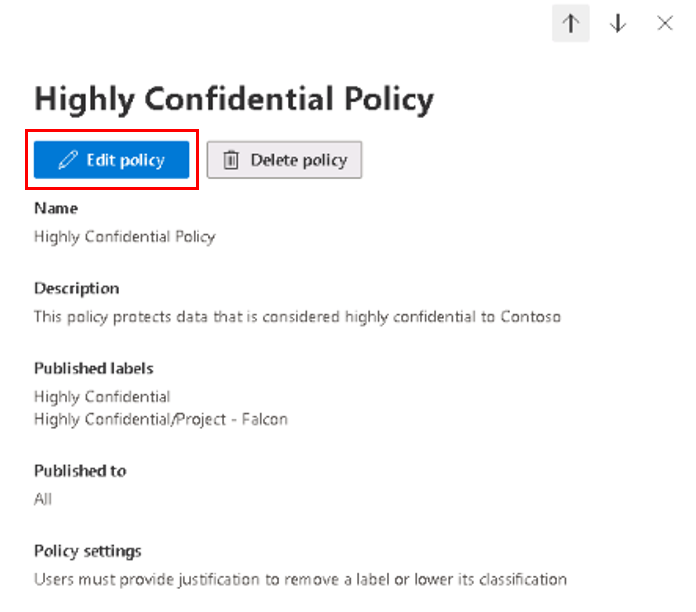
This button starts the Edit policy wizard, which lets you edit which labels are included and the label settings.
When you complete the configuration, any changes are automatically replicated to the selected users and services.
When to expect new labels and changes to take effect
For labels and label policy settings, allow 24 hours for the changes to propagate through the services. There are many external dependencies that each have their own timing cycles. As such, it's a good idea to wait this 24-hour time period before you spend time troubleshooting labels and label policies for recent changes.
However, there are some scenarios where label and label policy changes can take effect much faster or be longer than 24 hours. For example, you may see updates replicate within the hour for new and deleted sensitivity labels for Word, Excel, and PowerPoint on the web. But for configurations that depend on populating a new group and group membership changes, or network replication latency and bandwidth restrictions, these changes can take 24 to 48 hours.