Lab - Set up and use intercompany accounting
Read this first - before you start the lab!
Important
For this lab, you CANNOT sign in with your own credentials. Use the following steps to sign in to your lab environment with the correct credentials.
Ensure that you are signed in to Microsoft Learn.
Select Launch VM mode or Sign in to launch VM mode in this unit.
In the Resources tab on the lab side bar, select the T icon next to Password in the MININT box, to have the administrator password for the Virtual Machine entered for you.
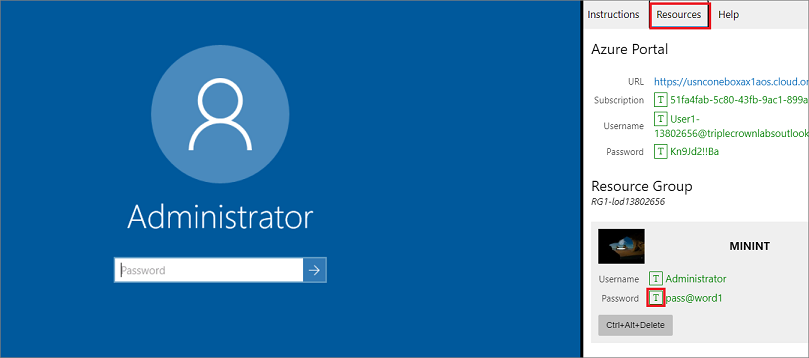
Select Enter.
Microsoft Edge will open. Wait for it to navigate to the Sign in page for finance and operations.
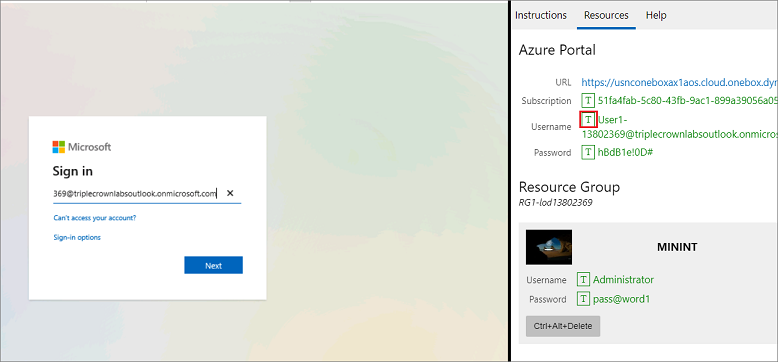
On the Microsoft Sign in page in finance and operations, place your mouse cursor into the Username field.
On the Resources tab of the lab side bar, below the Azure portal heading, select the T icon next to Username, then press Enter.
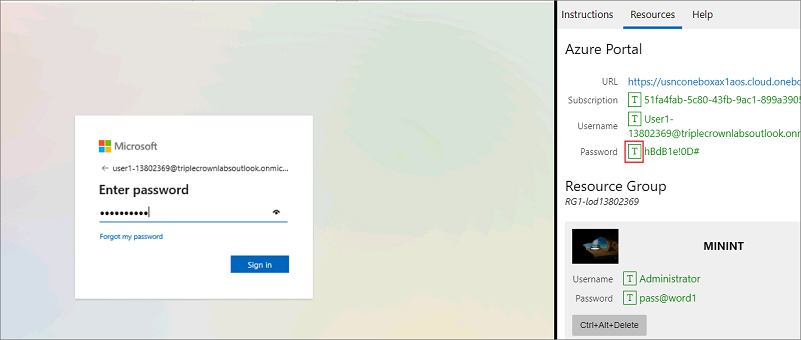
Your mouse cursor will now be in the Password page.
On the Resources tab of the lab side bar, below the Azure portal heading, select the T icon next to select Password, then press Enter.
Don't stay signed in or store the password on the virtual machine.
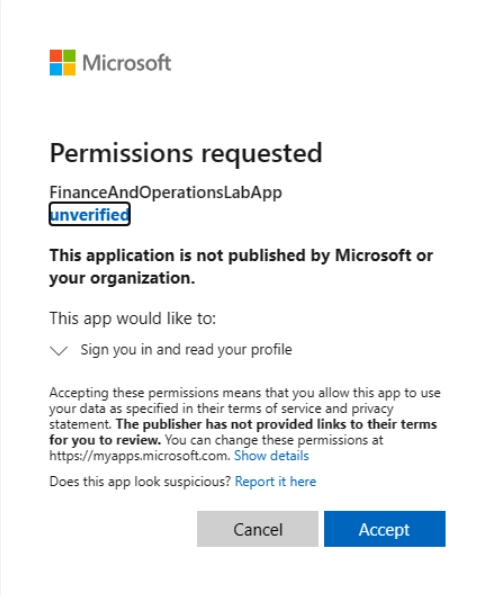
Select Accept in the Permissions requested page.
To see the lab instructions, select the Instructions tab on the lab side bar.
You can now begin your work on this lab.
Scenario
You need to set up and use intercompany accounting between USP2 and USMF. These companies are using the same chart of accounts. You will:
- Configure intercompany accounting.
- Use intercompany accounting with general journals.
- Use audit trails to verify the intercompany accounting posting.
Configure intercompany accounting
- Change company to USP2.
- Go to General ledger > Chart of accounts > Accounts > Main accounts.
- Select New.
- In the Main account field, enter 100100.
- In the Name field, enter Due to USMF.
- In the Main account type field, select Balance sheet.
- Select Save.
- Select New.
- In the Main account field, enter 100101.
- In the Name field, enter Due from USMF.
- In the Main account type field, select Balance sheet.
- Select Save.
- Close the page.
- Change company to USMF.
- Go to General ledger > Chart of accounts > Accounts > Main accounts.
- Verify the two accounts that you created in the steps 4 and 9 are listed considering that the two companies are sharing the same chart of account.
- Select New.
- In the Main account field, enter 100106.
- In the Name field, enter Due to USP2.
- In the Main account type field, select Asset.
- Select Save.
- Select New.
- In the Main account field, enter 100107.
- In the Name field, enter Due from USP2.
- In the Main account type field, select Liability.
- Select Save.
- Close the page.
- Go to General ledger > Posting setup > Intercompany accounting.
- Select New.
- In the Originating company field, select USMF.
- In the Debit account field, select 100106 Due to USP2.
- In the Credit account field, select 100107 Due from USP2.
- In the Destination company field, select USP2.
- In the Debit account field, select 100100 Due to USMF.
- In the Credit account field, select 100101 Due from USMF.
- In the Journal field, select Allocation.
- Select Create reciprocal relationship.
- Select Save.
- Close the page.
Use intercompany accounting with general journals
- Go to General ledger > Journal entries > Global general journals.
- Select New journal to open the drop-down dialog.
- In the Company field, select USMF.
- In the Name field, select GenJrn (General Journal).
- Select OK.
- Select the new journal that you just created (00629), and then select Lines.
- In the Account type column, select Bank.
- In the Account column, specify the values USMF OPER.
- In the Description column, enter Wire.
- Set Credit to 1000000.
- In the Offset company field, select USP2.
- In the Offset account type field, select account Ledger.
- In the Offset account field, select an offset account such as 110110-069-023.
- Select Inquiries in the Action Pane.
- Select Balance control, and then view the results.
- Select Close.
- Select Validate > Validate in the Action Pane.
- In the Action Pane select Post. In the drop-down of the "Operation completed" information bar, you will see that two vouchers have been posted, one per company.
- Close the page.
Use audit trails to verify the intercompany accounting posting
- In company USMF, go to General ledger > Inquiries and reports > Audit trail.
- Select the row with the intercompany transaction you created earlier.
- Select Voucher transactions. Review the intercompany transactions.
- Select Related vouchers to view the intercompany in the destination company. To access this you may need to temporarily reduce the font size in the internet browser: Select the Tools icon and then Zoom(50%).
- Close the Related ledger transaction vouchers page.
- Switch to USP2 company.
- Select Cancel in the Inquiry page that opens.
- Go to General ledger > Inquiries and reports > Audit trail.
- Select the row with the intercompany transaction you created earlier.
- Select Voucher transactions. Review the intercompany transactions.
- Close the Voucher transactions page.
- Close the Audit trail page.
- Go to Cash and bank management > Bank accounts > Bank accounts.
- Select USP2 OPER
- Select Balance.
- Select OK.
- Select Transactions.
- Select Voucher.
- Close all pages.
Close the lab environment
- Select the Next button in the bottom-right corner of the side bar.
- Select Leave in the pop-up window that appears.