Upload images
Images are an important part of marketing page and email designs. The images that you use must be available publicly on the internet so that your emails and pages can access and display them. Though you could host your images anywhere, one convenient place to keep them is in the Dynamics 365 Customer Insights - Journeys image library, which stores the images, hosts them publicly, and provides an image browser that helps you find and place them while working in Dynamics 365 Customer Insights - Journeys.
Whenever you add an image element to a marketing page or email, you have the option to add an image that already exists in your Dynamics 365 database or you can upload a new one. After you've uploaded a file, it will be available for use in other designs. You can also upload images directly to the file library to be used in future marketing activities.
Note
For security purposes, you are only allowed to upload the following supported formats: GIF, BMP, JPEG, PNG. The maximum file size for uploaded images is 5 MB.
Upload images to the file library
To see a list view of all files that are available to your organization, go to Outbound marketing > Marketing content > Files, where you can find and edit existing images. To add a new file, select + Upload.
When you are uploading images files into Dynamics 365 Customer Insights - Journeys, the image file name will take on the same name from where it was exported, so be sure to rename your file to what you want to show in the application before you upload to Dynamics 365 Customer Insights - Journeys.
Important
If you delete an image, you won't get a warning of where that image is being used. This could result in a broken image on a marketing page or email. Use caution as you delete images from the file library.
For more information, see Upload files to Dynamics 365.
Use images in marketing content
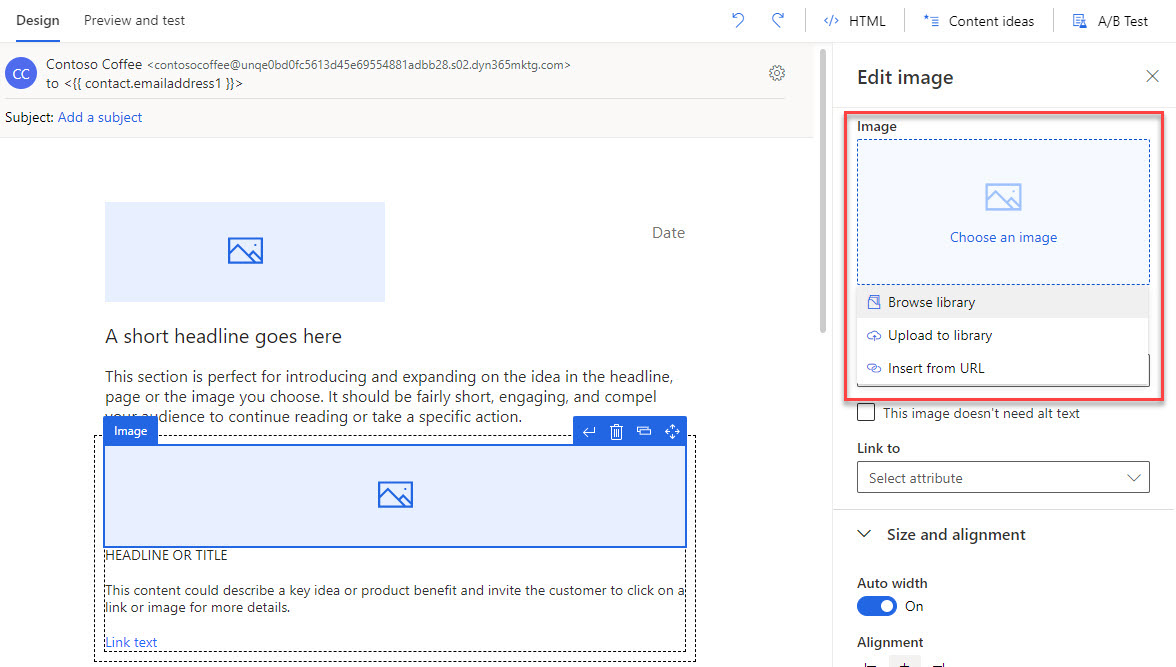
To add an image to a marketing page or email, start by dragging an image element from the Toolbox onto your design, which positions a placeholder. You can select the Image gallery icon from the image placeholder or open the Properties tab, where you can select the Image gallery icon in the Source field. This selection will open the select a file dialog box where you can choose a file that has already been uploaded or you can add a new one. While the image is selected, you can use the Properties tab to make other modifications or additions to the image such as defining alt text, changing the alignment, or adjusting the height or width.
In the Link field, you associate the image to an external webpage or a marketing page created within Dynamics.
To link the image to a page that's not hosted in Dynamics 365 Customer Insights - Journeys, paste the URL into the link field.
To link the image to a marketing page within Dynamics, select the assist-edit button </> in the Link field. From the pop-up menu, select Static Content, then MarketingPage as the entity. Search for the desired page and select it, then select No Relationship in the next field. In the final field, select msdyncrm_full_page_url. Select Insert. The image should be linked to the associated marketing page.
For more information, see Use images in your content.