Join devices to Microsoft Entra ID
Joining a device to Microsoft Entra ID is not a complicated procedure. You can do it right after the Windows OS installation, or you can do it later, at any time. To join a Windows device to Microsoft Entra ID at the end of Windows setup process, follow these steps:
When you turn on your new device and start the setup process, you should see the Getting Ready message. Follow the prompts to set up your device.
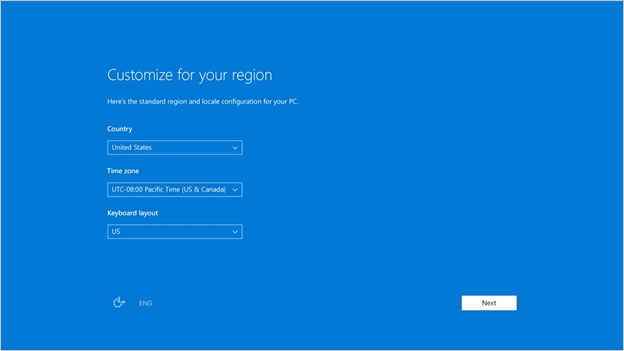
Start by customizing your region and language. Then accept the Microsoft Software License Terms.
Select the network you want to use for connecting to the internet.
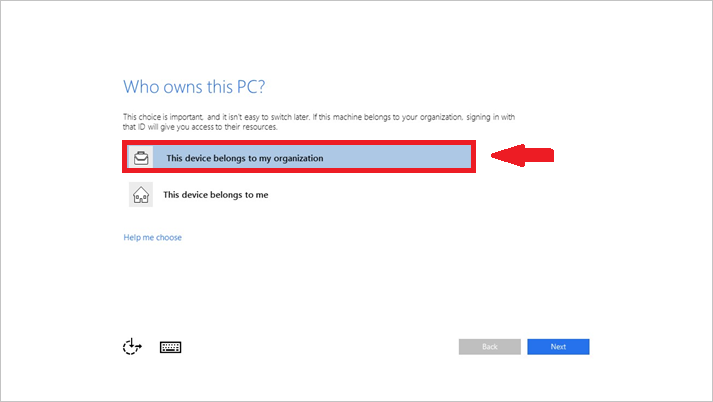
Select This device belongs to my organization.
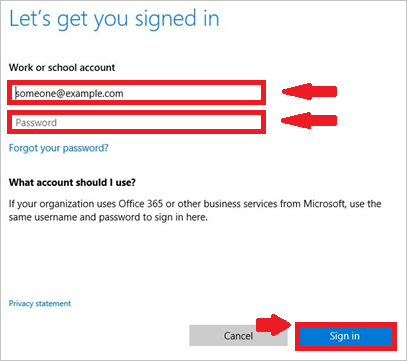
Enter the credentials that were provided to you by your organization, and then select Sign in.
Your device locates a matching tenant in Microsoft Entra ID. If you’re in a federated domain, you’re redirected to your on-premises Secure Token Service (STS) server, for example, Active Directory Federation Services (AD FS).
If you’re a user in a non-federated domain, enter your credentials directly on the Microsoft Entra ID-hosted page.
You’re prompted for a multi-factor authentication challenge.
Microsoft Entra ID checks whether an enrollment in mobile device management is required.
Windows registers the device in the organization’s directory in Microsoft Entra ID and enrolls it in mobile device management, if applicable.
If you are:
- A managed user, Windows takes you to the desktop through the automatic sign-in process.
- A federated user, you’re directed to the Windows sign-in screen to enter your credentials.