Exercise - Create and manage projects in Customer Voice
In this exercise, you'll create a new project in Customer Voice and then make a copy of it to another environment. Finally, you will share your project with another user.
Important
This exercise can be completed in a trial or sandbox environment. You will need at least two environments to complete task 2 and at least one other user in your environment to complete task 3.
Task 1: Create a new project
In this task, you will create a new project by using the Support project template in Dynamics 365 Customer Voice.
Go to Dynamics 365 Customer Voice and sign in with your credentials.
Select Get started.

Select the Support template from the list of available project template options.

Select the Next button in the lower part of the screen.

Select See all environments.

From the list, select an environment that you have access to. When the Permission granted message displays, select the Select and close button in the lower-right corner of the screen.

Select the Create button.

The project is now complete, and your Customer service feedback survey from the Support project template will be displayed.


Task 2: Copy a project to another environment
In this task, you will copy the project that you created in task 1 into a different environment in Dynamics 365 Customer Voice.
From the home screen in Dynamics 365 Customer Voice, select All projects.

Hover your cursor over the Support project that you created in Task 1 and then select the ellipsis (...) that appears.

From the menu, select the Copy option.

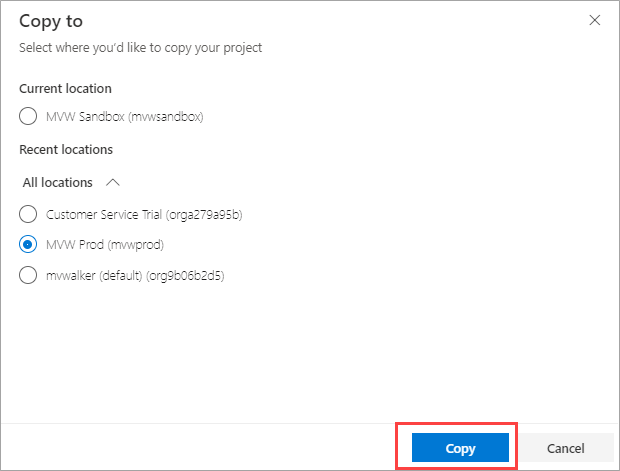
In the Copy to window, select a new location from the All locations list. If you don't have another location, you can use the Current location option, which will make a copy within the same location where the project currently resides. Select the Copy button to continue.
A notification will appear in the upper-right corner in Customer Voice indicating that the project is being copied.

After the copying process is complete, a notification will appear in the upper-right corner in Customer Voice indicating that the copying process is complete.

Your original project and the copied version will now be visible in the list of all projects.

Hover your cursor over the Support - copy project and select the ellipsis to open the menu.

Select Rename.

Rename the project to Premium Support and then select the Rename button.

The project will be renamed and the new name will be visible on the project within the list of All projects.


Task 3: Share a project
In this task, you will share the project that you created in task 1 with another user in your environment.
From the home page in Dynamics 365 Customer Voice, select All projects.

Select the name of the Support project that was created in task 1 of this exercise.

Select the Share option in the upper-right corner of the project.

In the Share with box, start typing the name of another user within your environment. Their name should appear as a suggested user.

Select the user's name.

Add the following text in the message field: I've shared this project with you. Please review and let me know if you have any questions.

Select the Share button to complete the process of sharing the project with a user.

A notification will be displayed when the project has been shared successfully.

If you have access to the email inbox of the user whom you shared the project with, you should see an email that was generated automatically by Customer Voice as a notification that the project was shared with them.

Select the Share option from the upper-right corner of the project.
Select the Access tab from the Share panel.


The name of the user whom you shared the project with should display. This process can take a few minutes to update, so if the user isn't listed, wait and refresh, and then try again.
