Lab - Work with warehouse management in manufacturing
Read this first - before you start the lab!
Important
For this lab, you CANNOT sign in with your own credentials. Use the following steps to sign in to your lab environment with the correct credentials.
Ensure that you are signed in to Microsoft Learn.
Select Launch VM mode or Sign in to launch VM mode in this unit.
In the Resources tab on the lab side bar, select the T icon next to Password in the MININT box, to have the administrator password for the Virtual Machine entered for you.
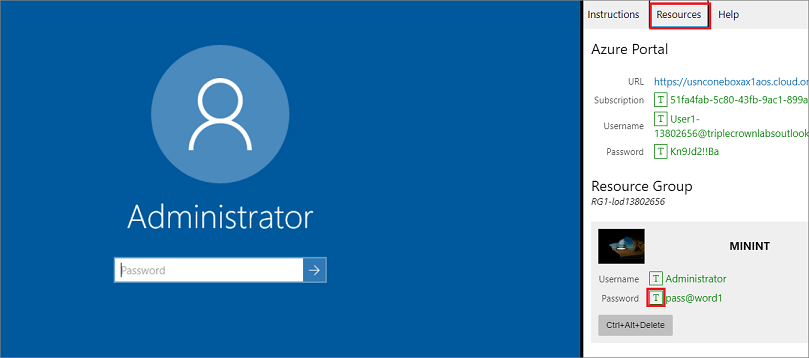
Select Enter.
Microsoft Edge will open. Wait for it to navigate to the Sign in page for finance and operations.
On the Microsoft Sign in page in finance and operations, place your mouse cursor into the Username field.
On the Resources tab of the lab side bar, below the Azure portal heading, select the T icon next to Username, then press Enter.
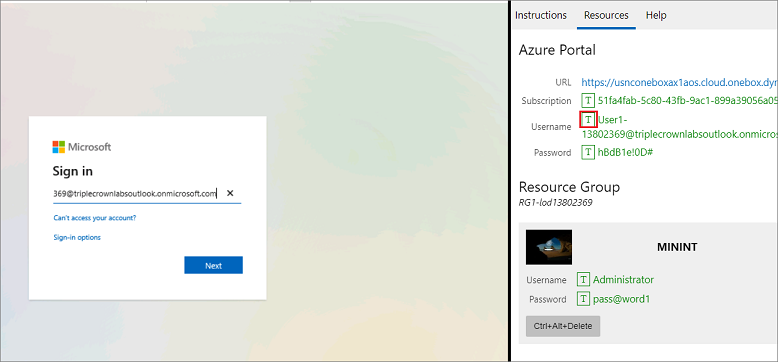
Your mouse cursor will now be in the Password page.
On the Resources tab of the lab side bar, below the Azure portal heading, select the T icon next to select Password, then press Enter.
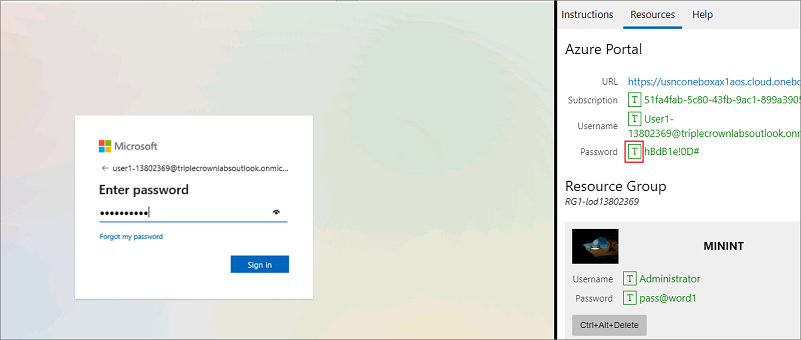
Don't stay signed in or store the password on the virtual machine.
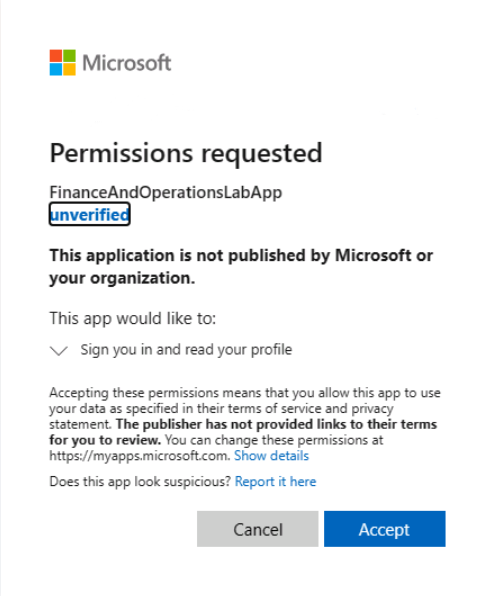
Select Accept in the Permissions requested page.
To see the lab instructions, select the Instructions tab on the lab side bar.
You can now begin your work on this lab.
In this lab, you will create a work class, a work template, and a location directive in the USMF company.
Create a work class
- Go to Warehouse management > Setup > Work > Work classes.
- Select New.
- In the Work class ID field, enter CrossDock.
- In the Description field, enter Cross Docking.
- In the Work order type field, select Cross Docking.
- Select Save.
Create a work template
- Go to Warehouse management > Setup > Work > Work templates.
- In the Work order type field, select Cross docking.
- Select New in the Action Pane
- In the Overview tab, in the Work template field, enter Cross docking.
- In the Work template description field, enter Cross docking.
- Select Save in the Action Pane.
- In the Work Template Details tab, select New.
- In Line number 1, select Pick in the Work type field.
- In the Work class ID field select CrossDock.
- In the Work Template Details tab, select New.
- In Line number 2, select Put in the Work type field.
- In the Work class ID field, select CrossDock.
- Save and Close the page.
Create a location directive
- Go to Warehouse management > Setup > Location directives.
- In the Work order type field, select Cross docking.
- Select New in the Action Pane. Sequence number 1 should pre-populate.
- In the Name field, enter Cross docking WH 51 Put.
- In the Work type field, select Put.
- Expand the Warehouse selection FastTab.
- In the Warehouse selection drop-down list, select Warehouse.
- In the Site field select 5.
- In the Warehouse field select 51.
- Select Save in the Action Pane.
- On the Lines tab, select New.
- In the From quantity and To quantity fields enter 1-100,000.
- Select Save in the Action Pane.
- On the Location directive actions, select New.
- In the Name field, enter Cross Dock 51.
- Select Save in the Action Pane.
- Select Edit query.
- In the Table field, select Items.
- In Field, select Arrival.
- In Criteria, select Yes.
- Select OK and then Save the location directive.
Close the lab environment
- Select Done in the Instructions pane in the lab side bar.
- In the Lab is complete window, select Continue, and then select Leave to return to the next unit in the module.