Exercise - Create an Azure DevOps pipeline to deploy your cloud-native app
Your manager wants you to change the CI/CD for the companies eShop app to use Azure Pipelines. You'll now create an Azure DevOps Pipeline to build and deploy your products service.
Create an Azure DevOps Pipeline
Important
Before you begin you'll need to have an Azure DevOps account. If you don't have one, you can create one for free at dev.azure.com.
- Sign in to dev.azure.com.
- Select + New project.
- For the Project name, enter eShop deployment.
- Leave the Visibility set to Private, select Create.
- On the left, select Pipelines, then select Create Pipeline.
- On the Connect page, for Where is your code?, select GitHub.
- If prompted, sign in to GitHub, and authorize Azure Pipelines to access your GitHub account.
- For Select a repository, select your forked repository.
- On the Configure page, select the Deploy to Azure Kubernetes Service option.
- In the Deploy to Azure Kubernetes Service pane, select your Azure subscription, then select Continue.
- If prompted, log in to your Azure subscription.
- For the Cluster, select the AKS cluster you created in the previous unit aks-eshop.
- For the Namespace, leave Existing selected, then select default.
- For the Container registry, select the Azure Container Registry you created in the previous unit; for example, acseshop186748394.
- For the Image name, enter productservice.
- For the Service Port, enter 8080.
- Select Validate and configure.
Review the pipeline YAML file
Azure Pipelines uses YAML files to define the steps to build and deploy your app. The YAML file is stored in your GitHub repository and was created automatically for you, based on the information you provided.
Let's review the YAML file:
trigger:
- main

resources:
- repo: self

variables:

  # Container registry service connection established during pipeline creation
  dockerRegistryServiceConnection: '3bcbb23c-6fca-4ff0-8719-bfbdb64a89b1'
  imageRepository: 'productservice'
  containerRegistry: 'acseshop186748394.azurecr.io'
  dockerfilePath: '**/Dockerfile'
  tag: '$(Build.BuildId)'
  imagePullSecret: 'acseshop18674839414442d34-auth'

  # Agent VM image name
  vmImageName: 'ubuntu-latest'


stages:
- stage: Build
  displayName: Build stage
  jobs:
  - job: Build
    displayName: Build
    pool:
      vmImage: $(vmImageName)
    steps:
    - task: Docker@2
      displayName: Build and push an image to container registry
      inputs:
        command: buildAndPush
        repository: $(imageRepository)
        dockerfile: $(dockerfilePath)
        containerRegistry: $(dockerRegistryServiceConnection)
        tags: |
          $(tag)

    - upload: manifests
      artifact: manifests

- stage: Deploy
  displayName: Deploy stage
  dependsOn: Build

  jobs:
  - deployment: Deploy
    displayName: Deploy
    pool:
      vmImage: $(vmImageName)
    environment: 'PhilStollerymod9cloudnativeexercisecode-1959.default'
    strategy:
      runOnce:
        deploy:
          steps:
          - task: KubernetesManifest@0
            displayName: Create imagePullSecret
            inputs:
              action: createSecret
              secretName: $(imagePullSecret)
              dockerRegistryEndpoint: $(dockerRegistryServiceConnection)

          - task: KubernetesManifest@0
            displayName: Deploy to Kubernetes cluster
            inputs:
              action: deploy
              manifests: |
                $(Pipeline.Workspace)/manifests/deployment.yml
                $(Pipeline.Workspace)/manifests/service.yml
              imagePullSecrets: |
                $(imagePullSecret)
              containers: |
                $(containerRegistry)/$(imageRepository):$(tag)
The trigger and resources sections define when the pipeline should run. In this case, the pipeline will run when a change is committed to the main branch of your repository.
The variables section defines the variables used in the pipeline. The variables are used to define the Azure Container Registry, and the Dockerfile to use.
The YAML then defines a Build job that uses the ubuntu-latest agent. The job uses the Docker task to build and push the image to the Azure Container Registry.
The last stage is to Deploy the updated product service to AKS. The job uses the KubernetesManifest task to deploy the image to AKS.
Run the pipeline
In the top right of the Review your pipeline YAML page, select Save and run. In the Save and run pane:
- Select Create a new branch for this commit.
- Leave all the other options set to their defaults.
- Select Save and run.
Monitor and troubleshoot the pipeline
Azure Pipelines are monitored and managed from the Azure DevOps portal. Let's look at the output of running the pipeline you created.

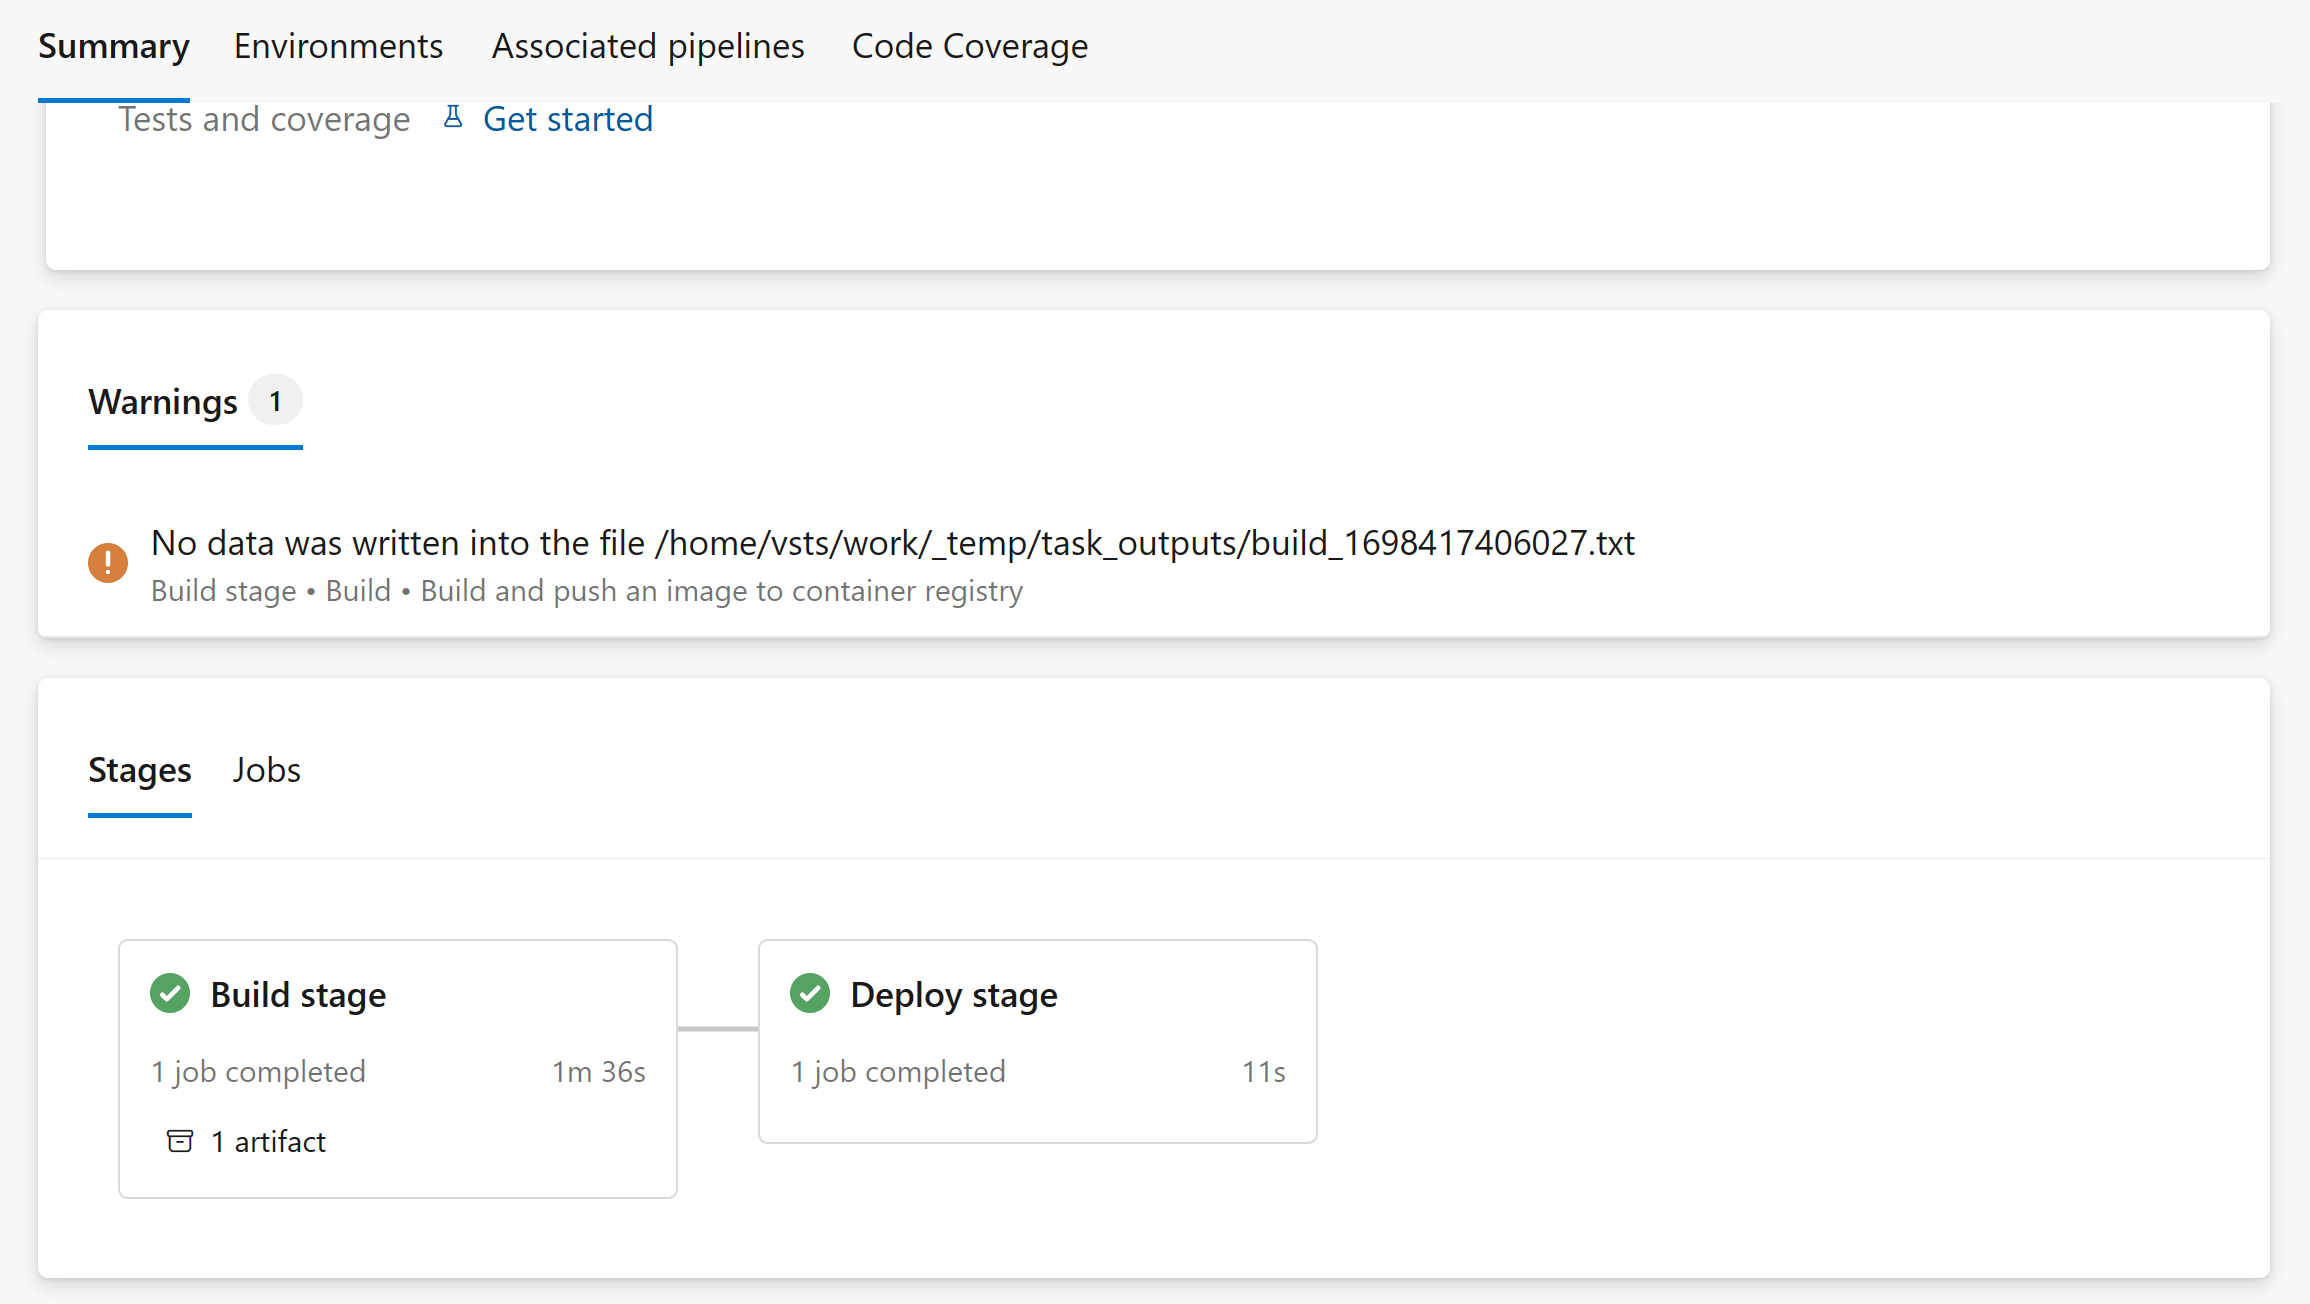
The summary page shows you all the stages of your running pipeline. You can select a stage to view the steps in more detail. In a moment, you'll see that the pipeline has failed. Select the Build stage.

In the build stage, you can see that the build has failed. Select the Build and push an image to Azure Container Registry step. The error in the log file shows:
##[error]Unhandled: No Dockerfile matching /home/vsts/work/1/s/**/Dockerfile was found.
Fix the error
In DevOps, go back to the pipeline summary page. You're going to edit the created pipeline to fix the error.
In the top right, select the More actions menu, then select Edit pipeline.
Line 17 of the YAML file defines the Dockerfile to use, and by default the pipeline expects there to be a file named Dockerfile in the root of the repository.
The eShop uses a different docker file for the product service named DockerfileProducts. Edit Line 17 to be:
dockerfilePath: '**/DockerfileProducts'Select Save.
In the Save pane, select Save.
Select Run then, in the Run pipeline pane, select Run.
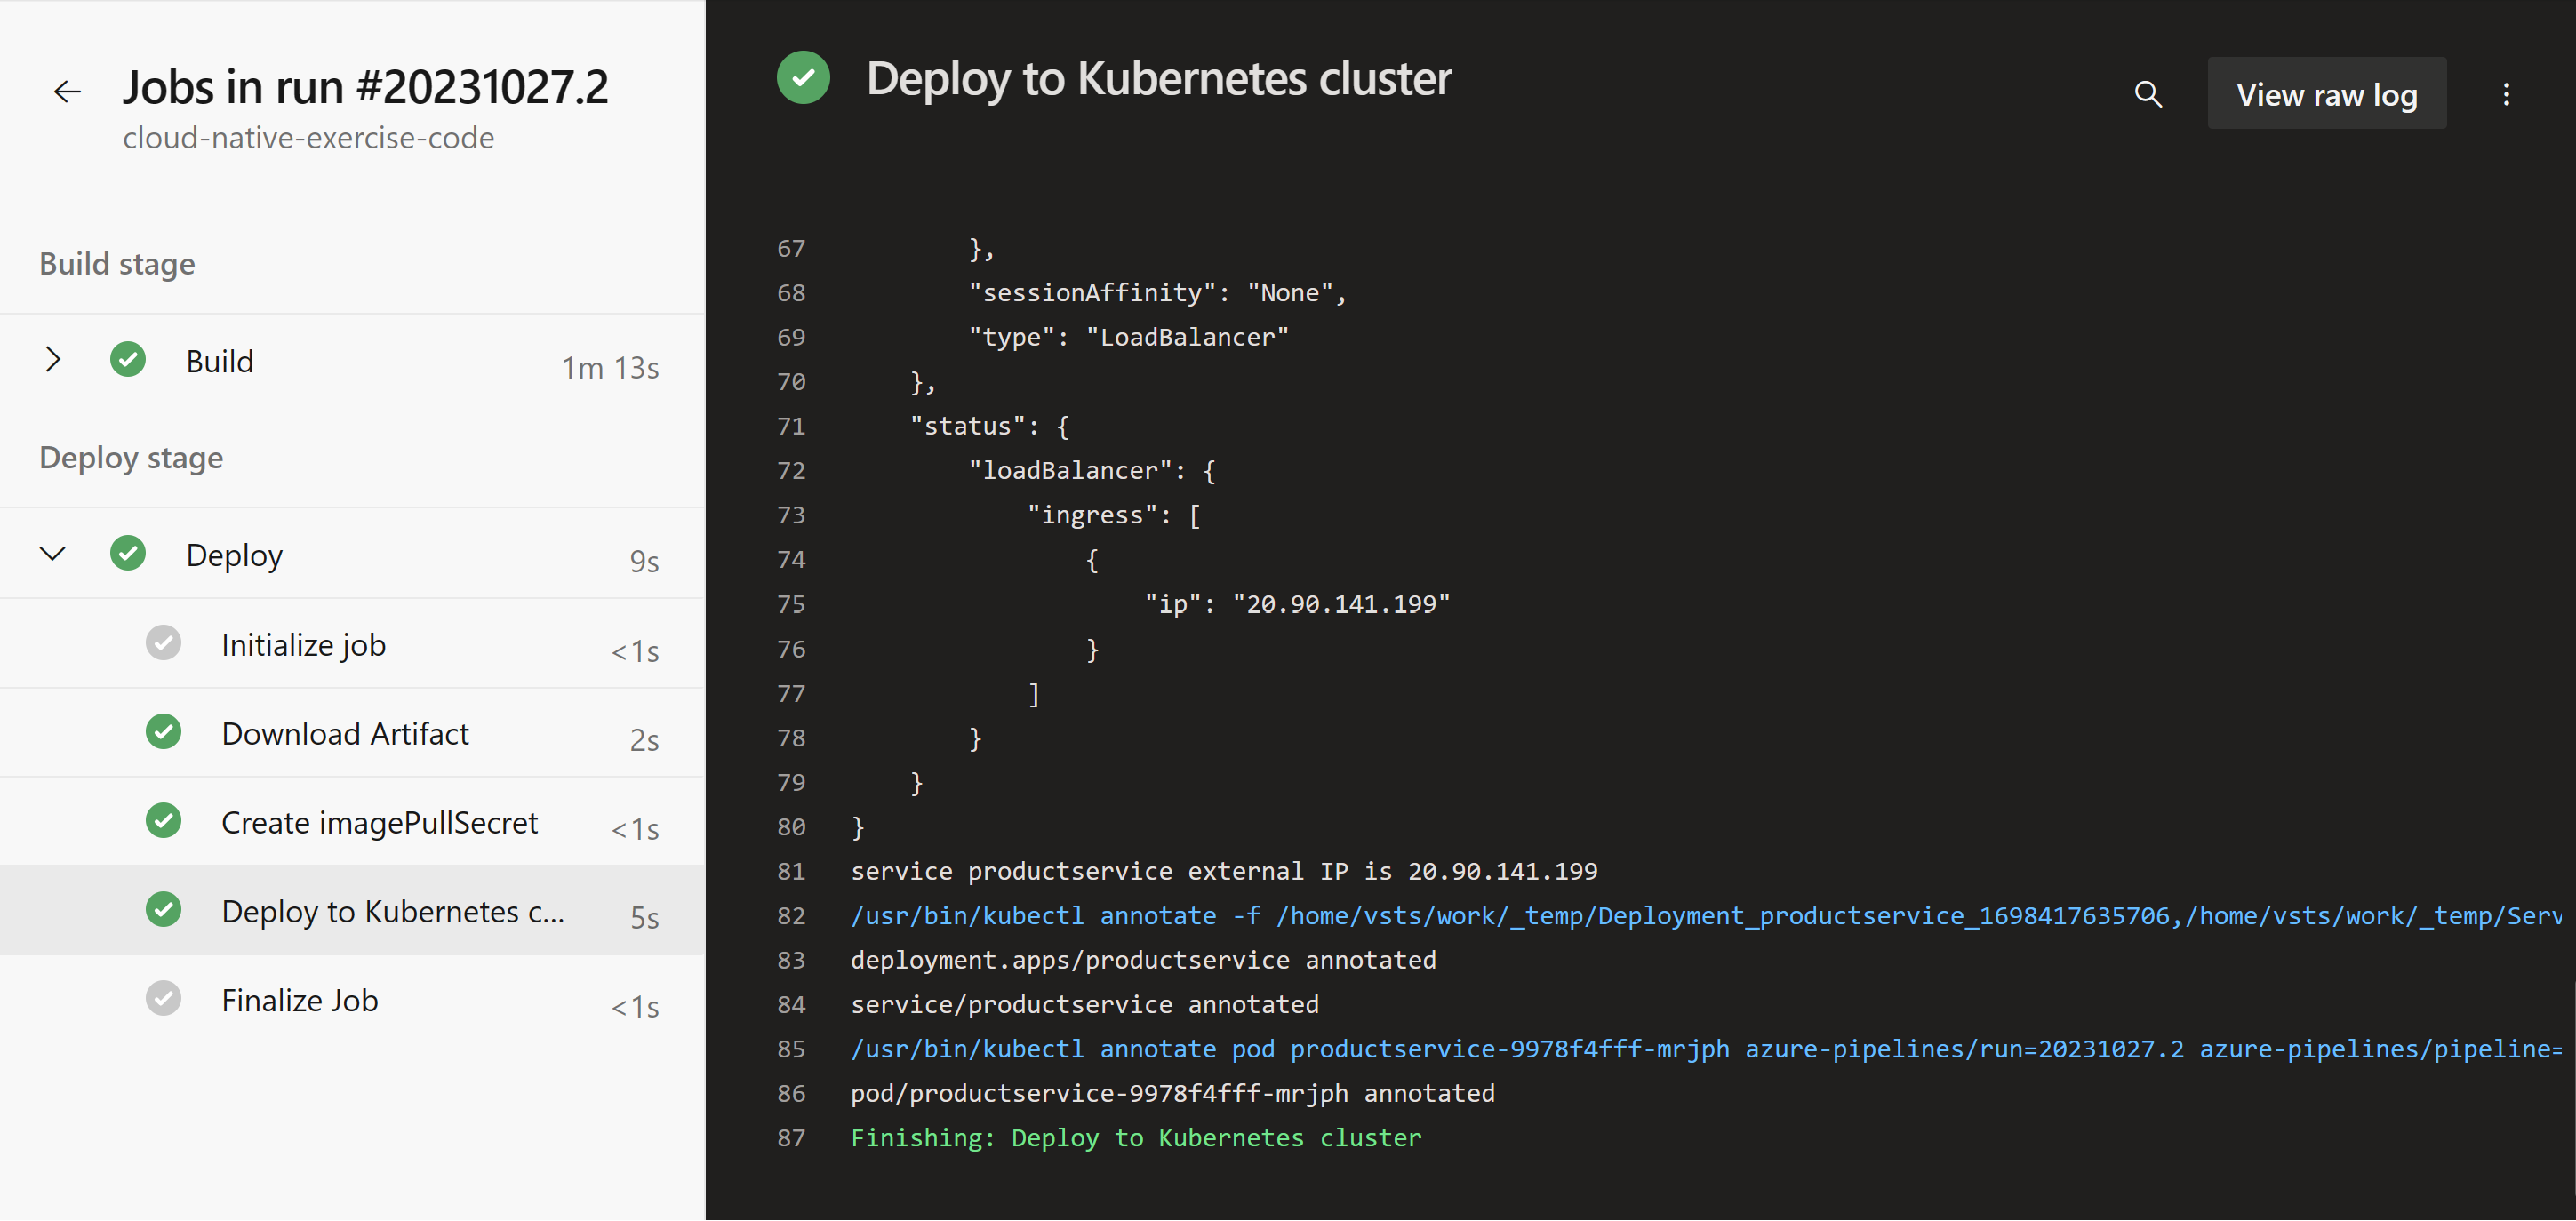
Watch the Build stage complete. The Deploy stage pauses until you select it and permit it to run.
The pipeline completes successfully. Select the Deploy stage to view the steps.