Exercise - Change the presentation of data by using templates
In this exercise, you learn how to customize the Login component template to display a signed-in user's email address.
Before you start
Complete these steps as prerequisites for this exercise.
1. Configure a Microsoft Entra app
For this module, you need an application with the following settings:
- Name: My app
- Platform: Single Page Application (SPA)
- Supported account types: Accounts in any organizational directory (Any Microsoft Entra directory - Multitenant) and personal Microsoft accounts (for example, Skype, Xbox)
- Redirect URIs: http://localhost:3000
To create this application, follow these steps:
In the browser, go to the Microsoft Entra admin center, sign in, and go to Microsoft Entra ID.
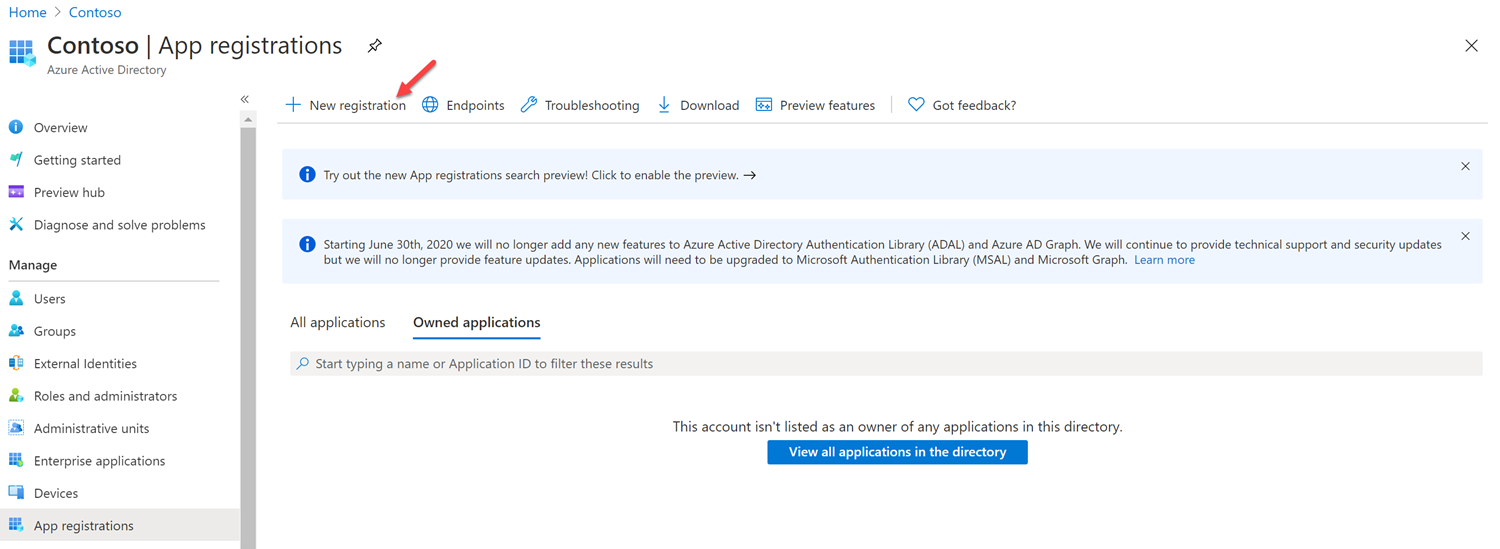
Select App registrations in the left pane, and select New Registration.
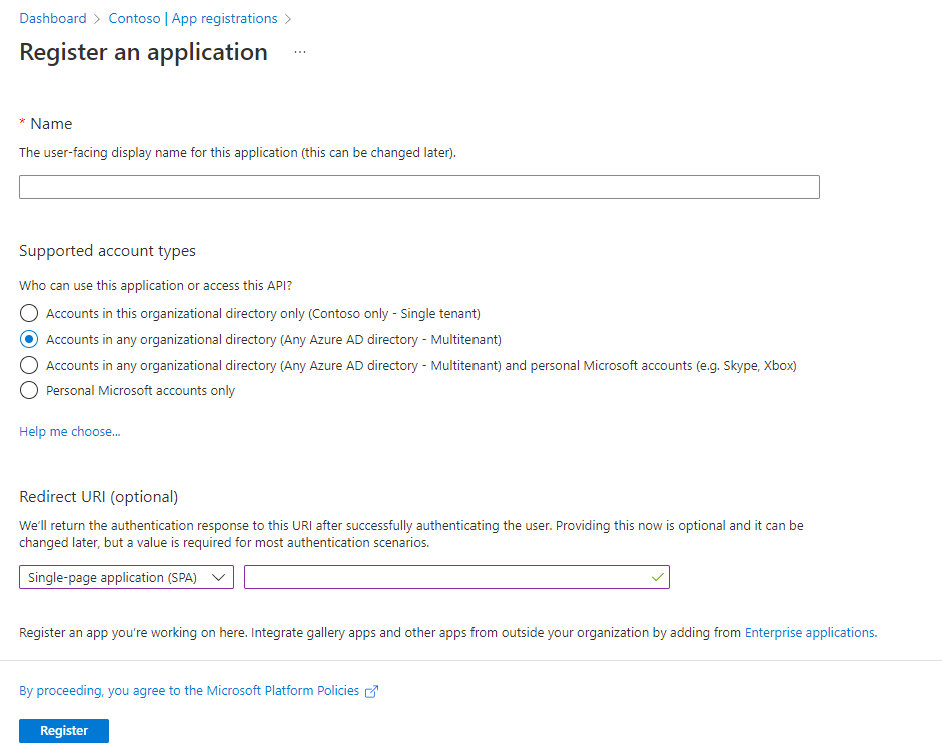
On the Register an application screen, enter the following values:
- Name: enter the name for your application.
- Supported account types: select Accounts in any organizational directory (Any Microsoft Entra directory - Multitenant) and personal Microsoft accounts (e.g. Skype, Xbox).
- Redirect URI (optional): select Single page application (SPA) and enter
http://localhost:3000. - Select Register.
2. Set up your environment
Create a folder on your desktop named customize-mgt.
Open the customize-mgt folder in Visual Studio Code.
In Visual Studio Code, create a file named index.html in the customize-mgt folder.
Copy the following code into index.html, and replace
YOUR-CLIENT-IDwith your copied Application (client) ID from your Microsoft Entra app that was created earlier.<!DOCTYPE html> <html lang="en"> <head> <script src="https://unpkg.com/@microsoft/mgt@3/dist/bundle/mgt-loader.js"></script> </head> <body> <mgt-msal2-provider client-id="YOUR-CLIENT-ID"></mgt-msal2-provider> <mgt-login></mgt-login> <mgt-agenda></mgt-agenda> </body> </html>Add a folder named .vscode into the root of your project folder.
Add a file named settings.json into the .vscode folder. Copy and paste the following code into settings.json, and save the file.
{
  "liveServer.settings.host": "localhost",
  "liveServer.settings.port": 3000
}
Use templates in the Login component
Suppose you want to show a user's email address as the content of a signed-in button in the Login component. You can use the template tag in <mgt-login> and add signed-in-button-content as the data-type value. Inside the template, use {{personDetails.mail}} to access and display the user's email address. The Login component will look like this example:
<mgt-login>
  <template data-type="signed-in-button-content">
    <div>{{personDetails.mail}}</div>
  </template>
</mgt-login>
Tip
If you use Microsoft Graph Toolkit with a JavaScript library that already uses {{ }} itself, you can configure Microsoft Graph Toolkit to use other characters like [[ ]] to denote templates and avoid colliding with your JavaScript framework.
The final version of index.html will look like this example:
<!DOCTYPE html>
<html lang="en">
  <head>
    <script src="https://unpkg.com/@microsoft/mgt@3/dist/bundle/mgt-loader.js"></script>
  </head>
  <body>
    <mgt-msal2-provider client-id="YOUR-CLIENT-ID"></mgt-msal2-provider>

    <mgt-login>
      <template data-type="signed-in-button-content">
        <div>{{personDetails.mail}}</div>
      </template>
    </mgt-login>

    <mgt-agenda
        date="June 28, 2023"
        days="3"
        group-by-day>
    </mgt-agenda>
  </body>
</html>
Test your app in the browser
In Visual Studio Code, select the following key combination in Visual Studio Code and search for Live Server:
- Windows: CTRL+SHIFT+P
- macOS: COMMAND+SHIFT+P
Run Live Server to test your app.
Open your browser, and go to
http://localhost:3000. If you have the file index.html open when you launch the Live Server, the browser will openhttp://localhost:3000/Index.html. Make sure you change the url tohttp://localhost:3000, before you sign in with your Microsoft 365 developer account. If you don't update the URL, you will get the following error.The redirect URI 'http://localhost:3000/Index.html' specified in the request does not match the redirect URIs configured for the application <Your client ID>. Make sure the redirect URI sent in the request matches one added to your application in the Azure portal. Navigate to https://aka.ms/redirectUriMismatchError to learn more about how to fix this.Sign in with your Microsoft 365 developer account. Consent to the required permissions, and select Accept.
Finally, the signed-in button's content shows the user's email address after signing in.
