Exercise - Create a Microsoft 365 environment-specific Data Loss Prevention policy
In this exercise, you'll create an environment specific DLP policy that applies to Microsoft 365 use cases. The driver behind this scenario is an organization that wants to ensure that makers can build automation solutions for the Office 365 platform by using Power Automate.
This exercise will take advantage of the environment that was created in the Introduction to Power Automate security and governance module, which is the first module of this learning path. In addition, you should review the DLP prerequisites that were outlined at the beginning of this module.
Sign in to the Microsoft Power Platform Admin Center as an environment or tenant administrator.
Select Data policies from the left navigation pane.
From the upper-right corner, select + New policy.
Type in a name for your policy Office 365 Connectors, then select Next.
Within the Non-business data group, select the following connectors and then select the Move to business button at the top:
Office 365 Outlook
Office 365 Users
SharePoint
Excel Online (Business)
Microsoft Forms
Office 365 Groups
OneNote (Business)
Word Online (Business)
Viva Engage
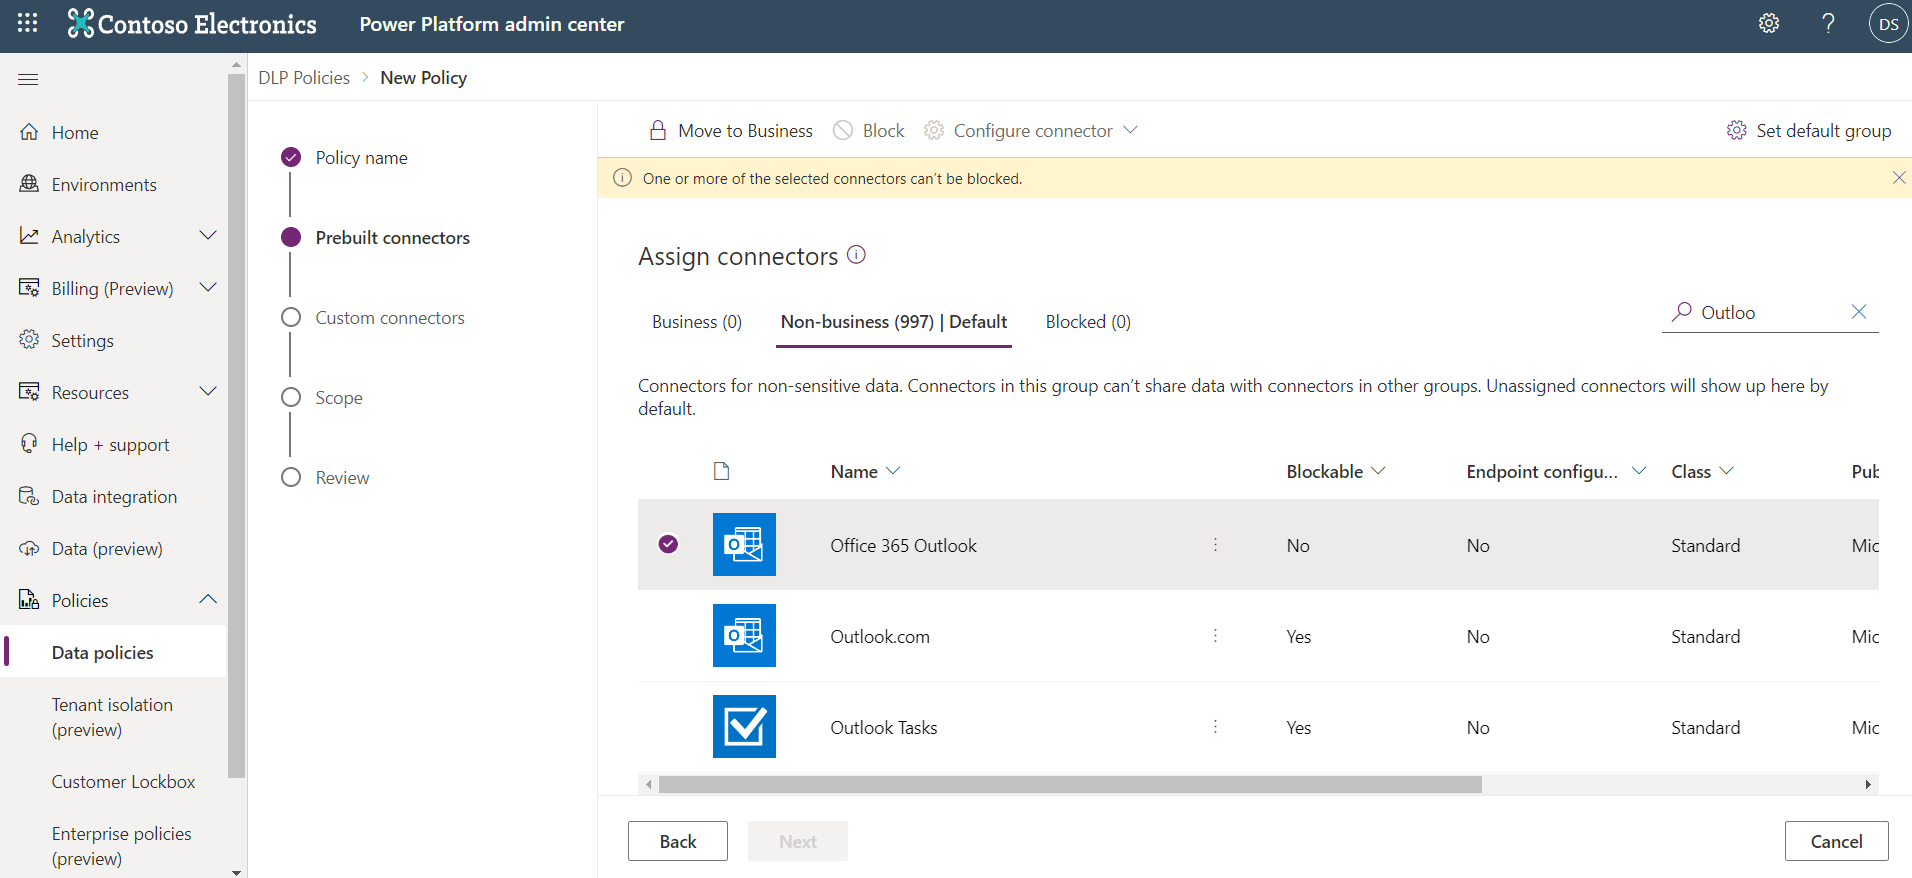
Your Business data group should now resemble the following image.

Select the Next button.
For Define Scope, select Add multiple environments and then select Next.
Select the environment you want to add to the policy and then select the + Add to policy button at the top.
Review the policy settings and then select Create Policy.
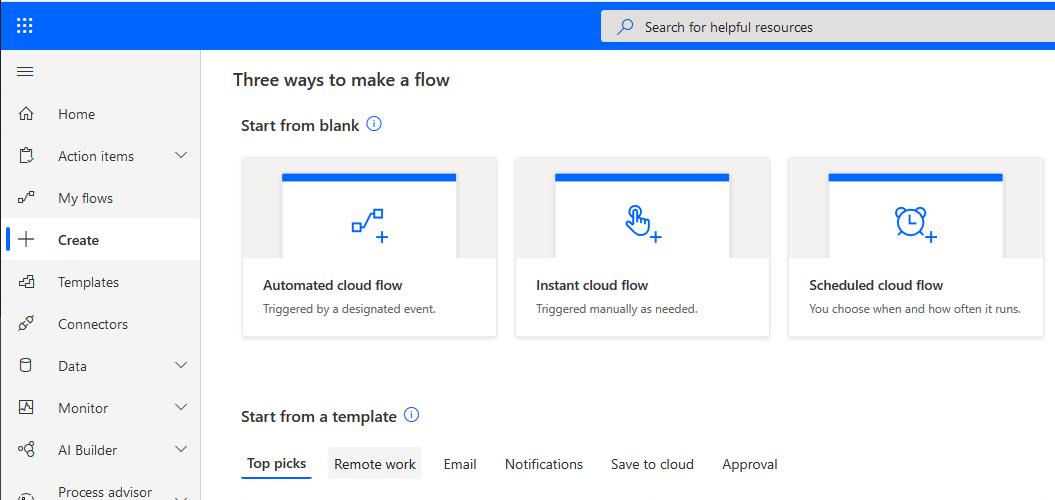
With your DLP policy in place, you can now create a flow that will validate that your DLP policy is working. To create this flow, go to the Power Automate maker portal.
Ensure that you are in the environment that you created previously. You can switch environments by selecting the environment picker in the upper-right corner.
Select Create from the left navigation pane.
Select the Instant cloud flow link.
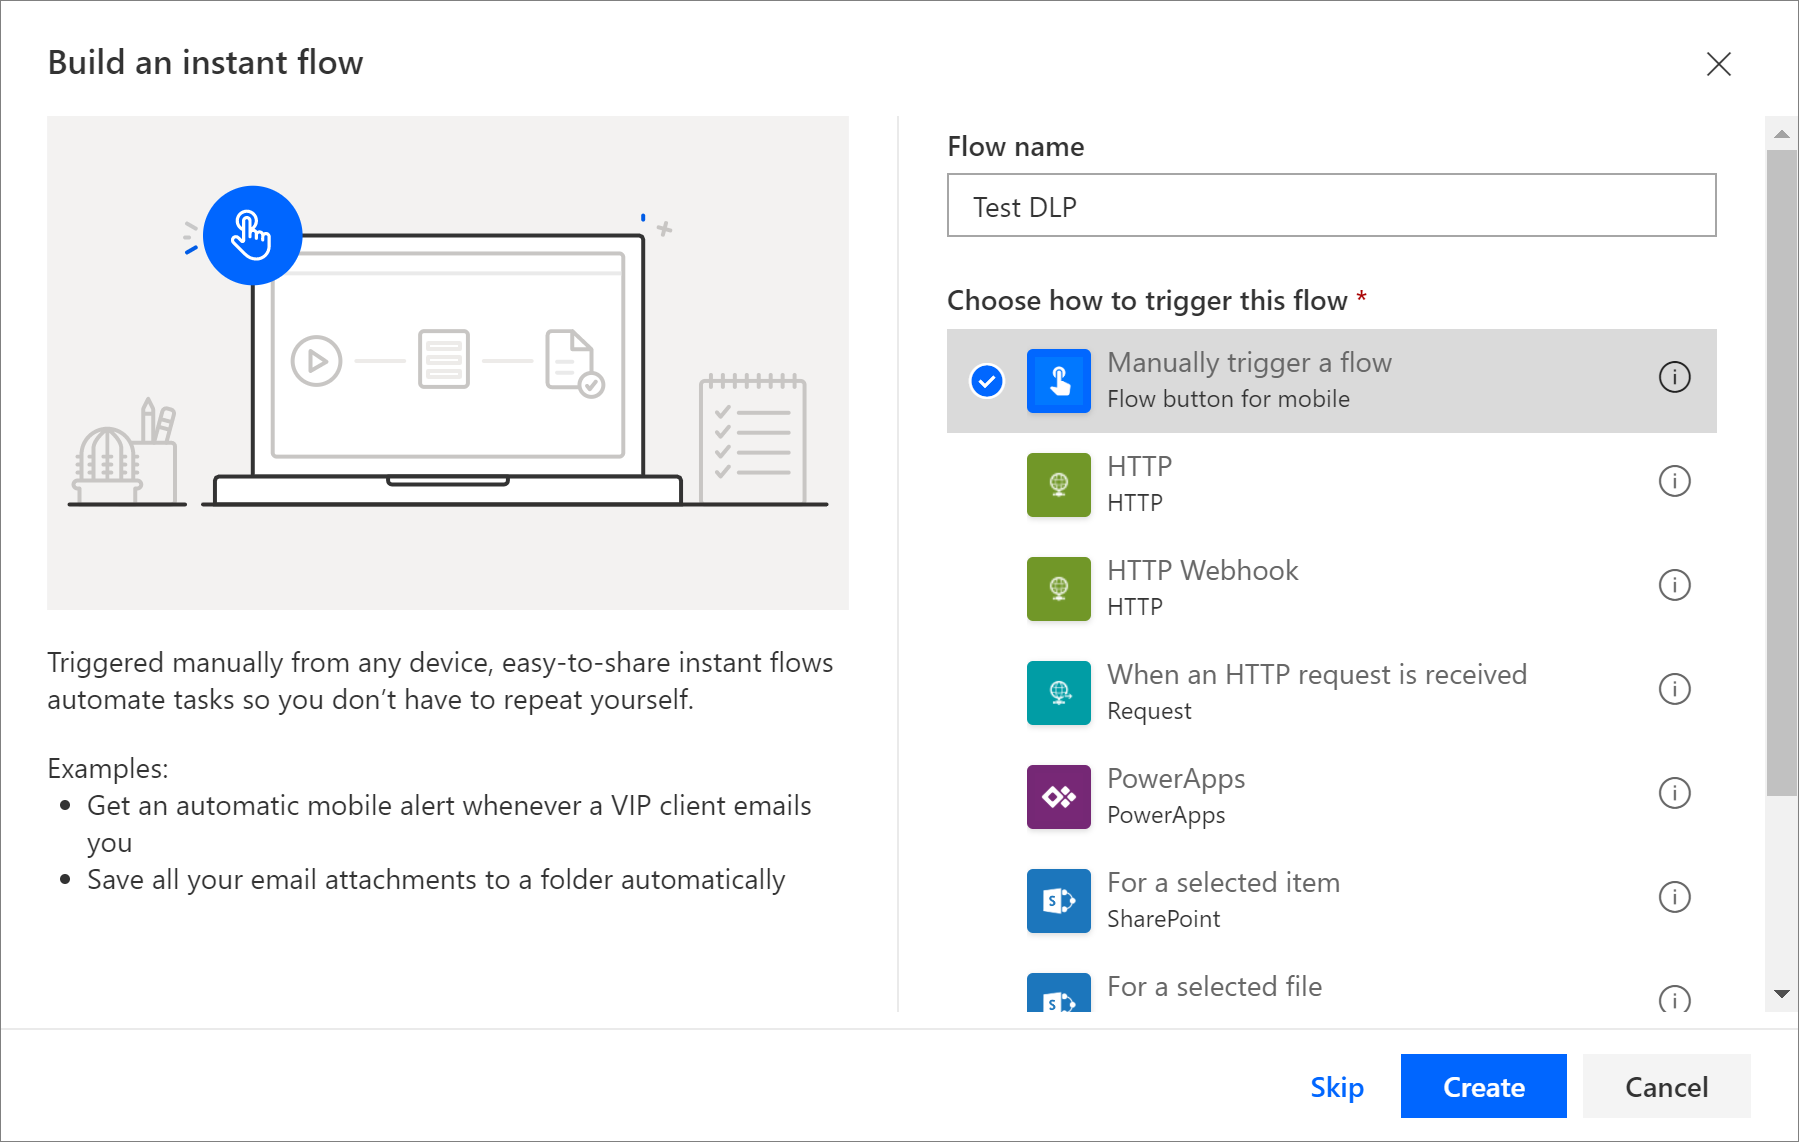
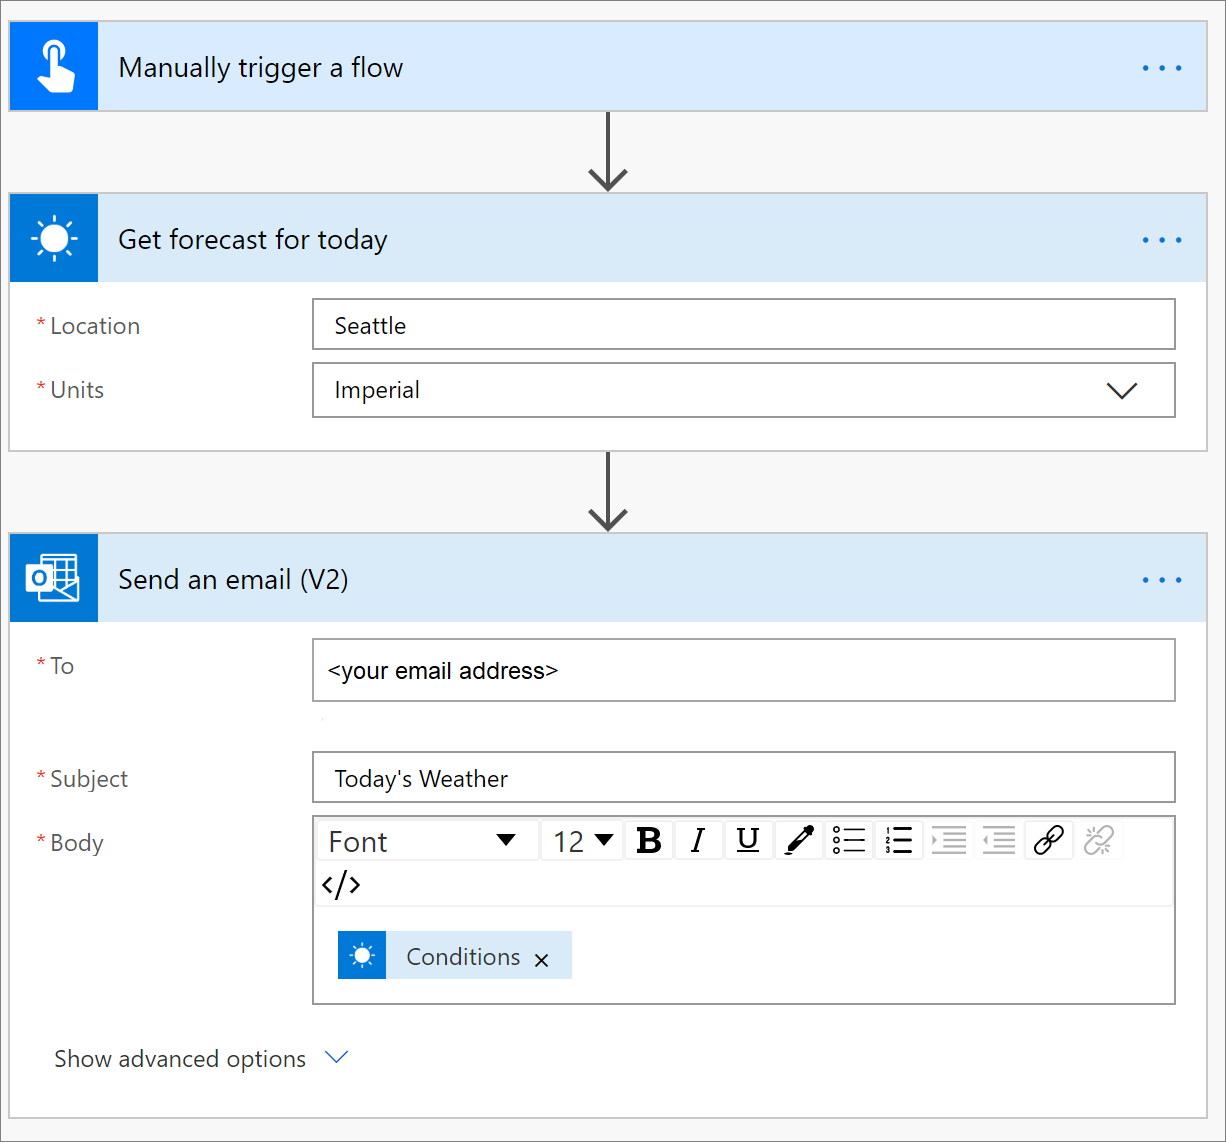
Provide a Flow name of Test DLP, select Manually trigger a flow as your trigger, and then select the Create button.
From within the flow designer, select + New Step.
Search for MSN Weather in the Search connectors and actions text box.
Select the Get forecast for today action.
Enter Seattle for the Location and select Imperial for the Units.
Select the + New Step to add an Office 365 Outlook action.
Search for Office 365 Outlook in the Search connectors and actions text box.
Select the Send an email (V2) action.
Provide values for the To:, Subject, and Body fields.
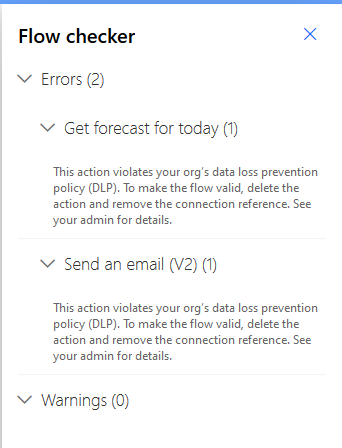
Select the Save button to save the flow. The DLP enforcement job will run.
You should get an error as a result of violating your DLP policy that you created. As a result, your flow will be disabled, and it can't be enabled while it conflicts with any DLP policies. In this specific example, it's disabled because you have included an MSN Weather connector in a flow that also contains an Office 365 Outlook connector. If you want this flow to run, you can either add the MSN Weather connector to the Business data only data group in your Office 365 DLP policy that you previously created, or you can remove the Office 365 Outlook connector from the Business data only data group.