Exercise - Design additional pages and email in Power Apps
In this unit, you'll design some additional pages to support your mixed reality features. These pages carry out some specific functions that are required in order for the application to behave appropriately. You'll also be using the emailing functionality of Power Apps to send the order details to the customers.
Create notes page
The user can take pictures during the View in MR session and display them through a gallery. On the Notes page, you can store textual notes and images captured during View in MR session.
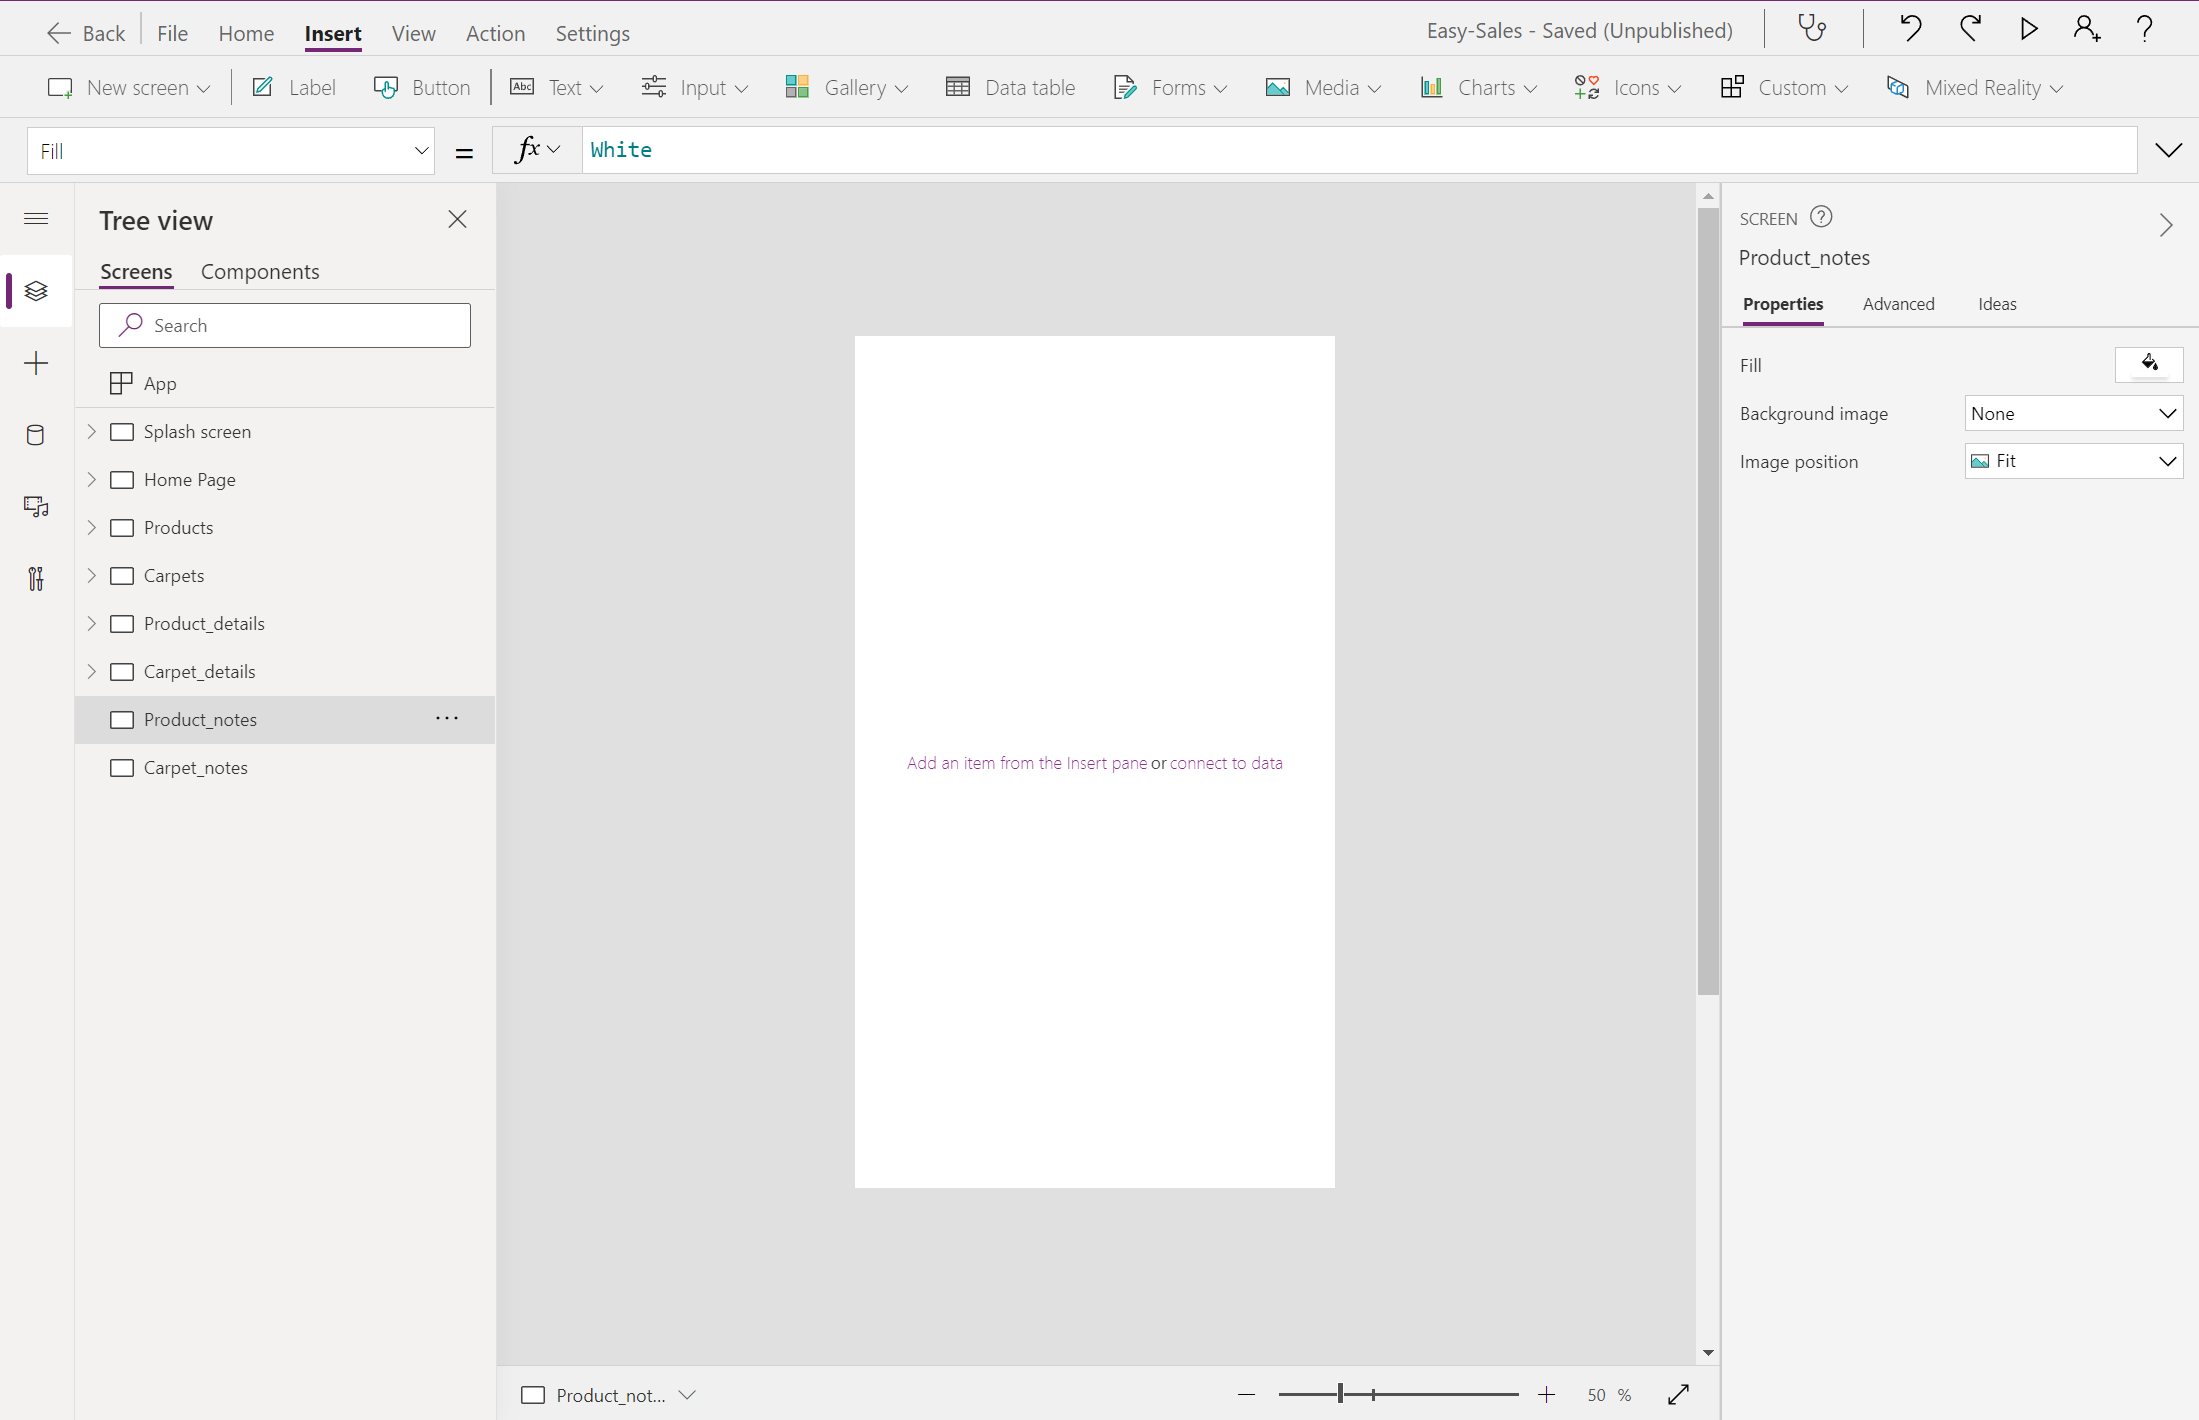
Create two new Blank screens and rename them Product_notes and Carpet_notes.
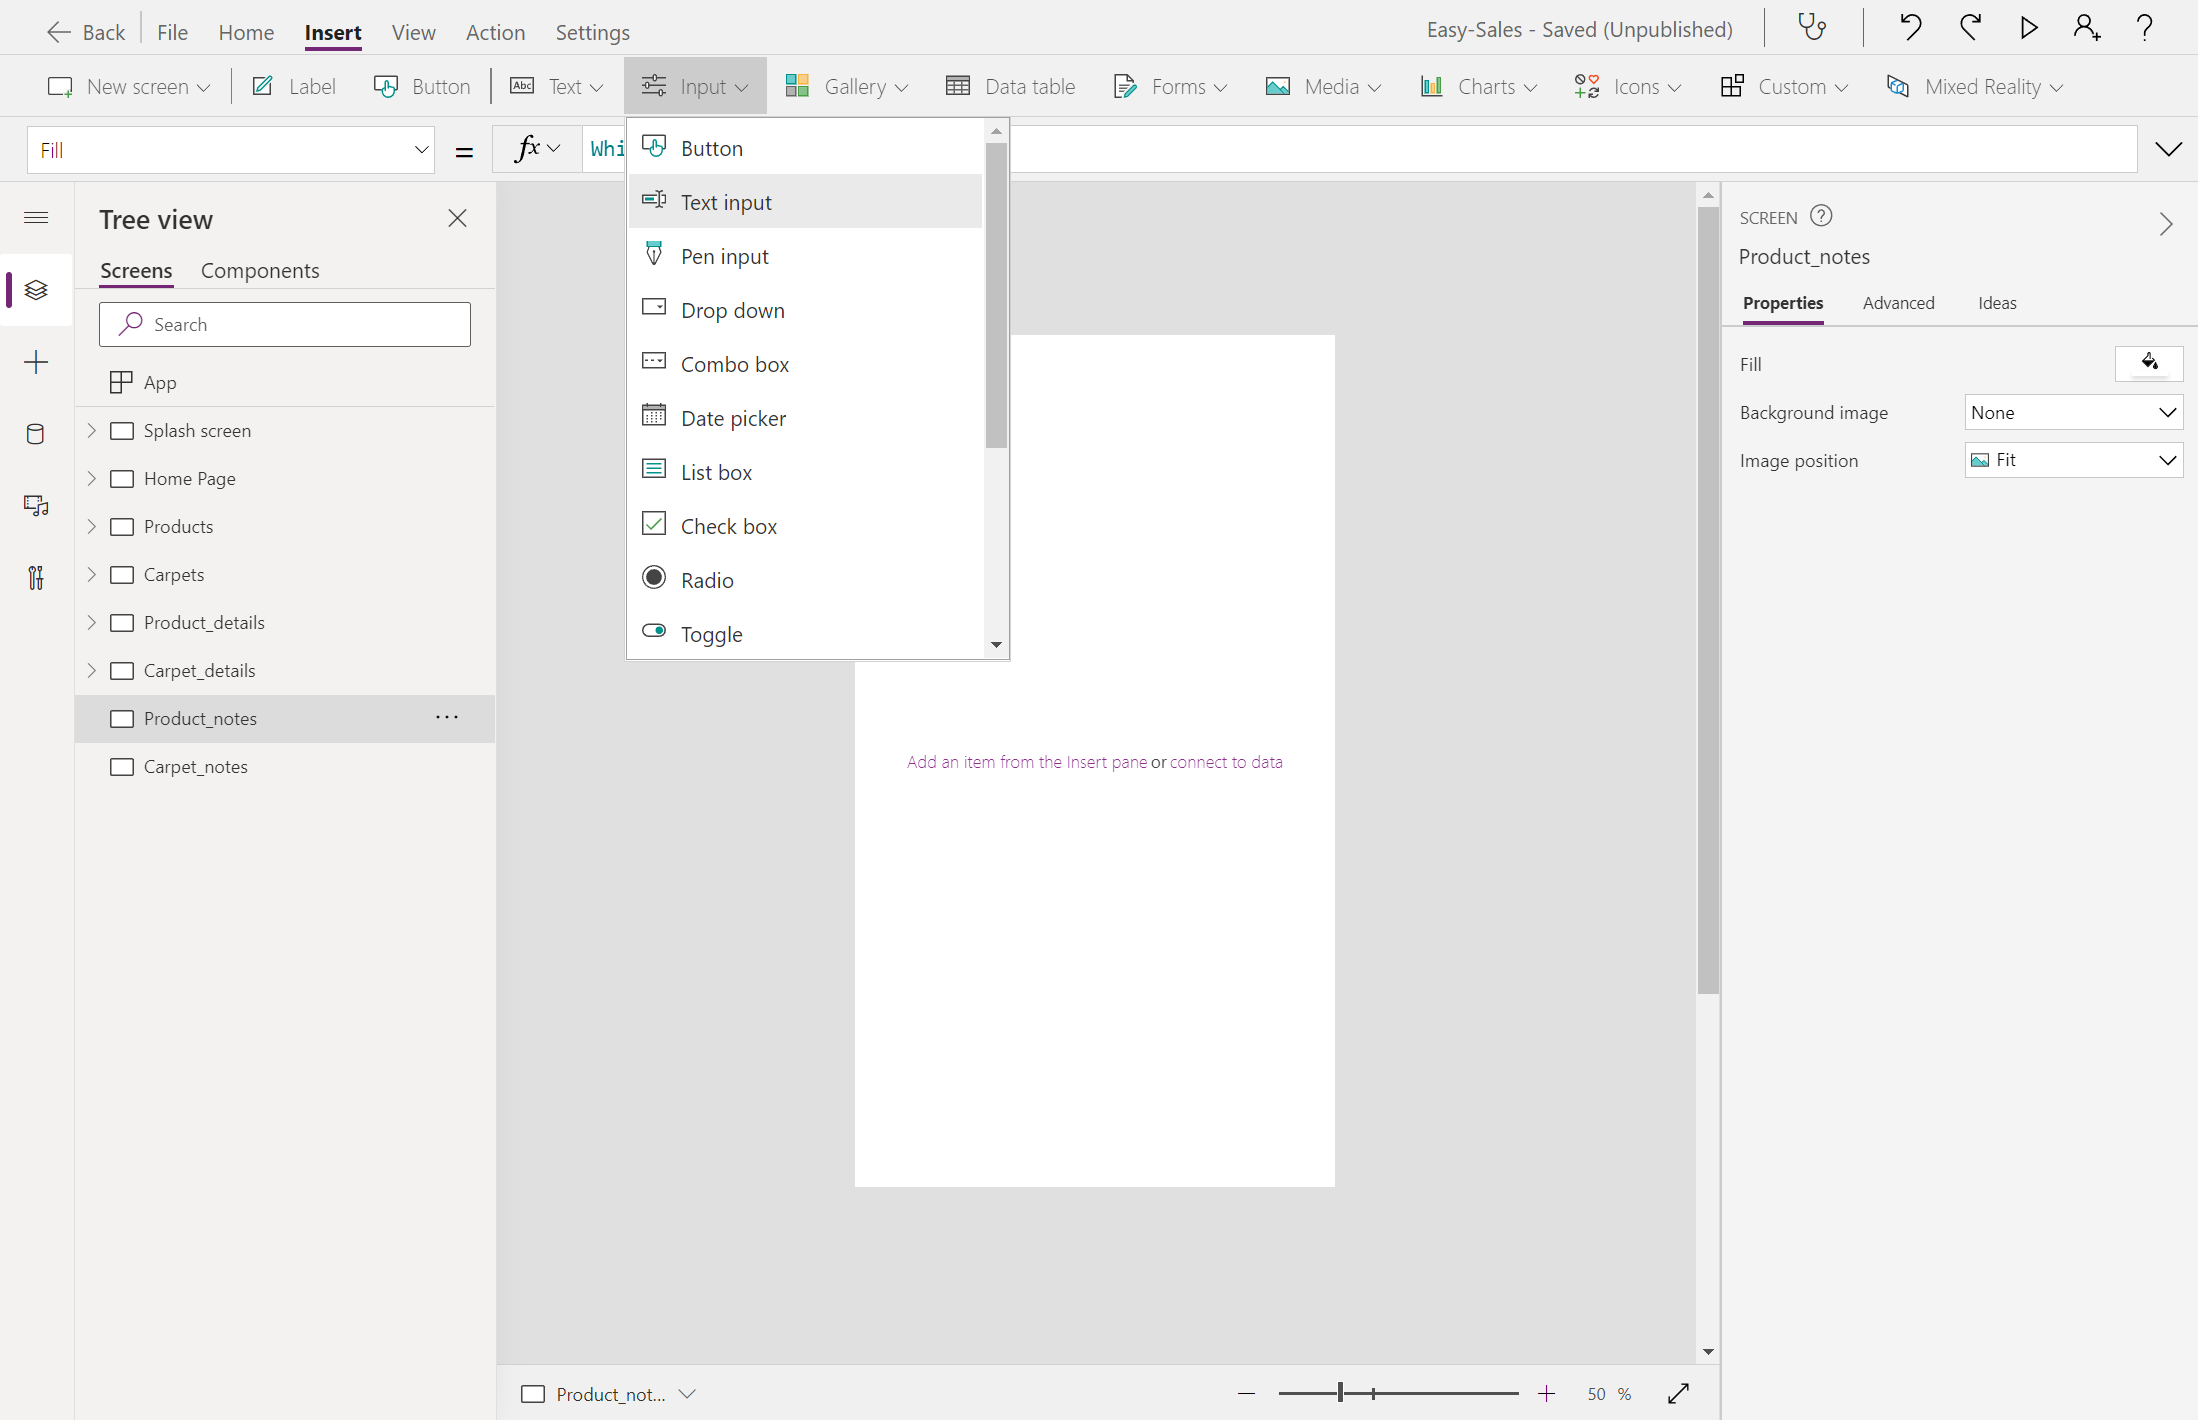
Design the Product_notes page: Select the Input dropdown, and then select Text input. Rename it TextInput_products.
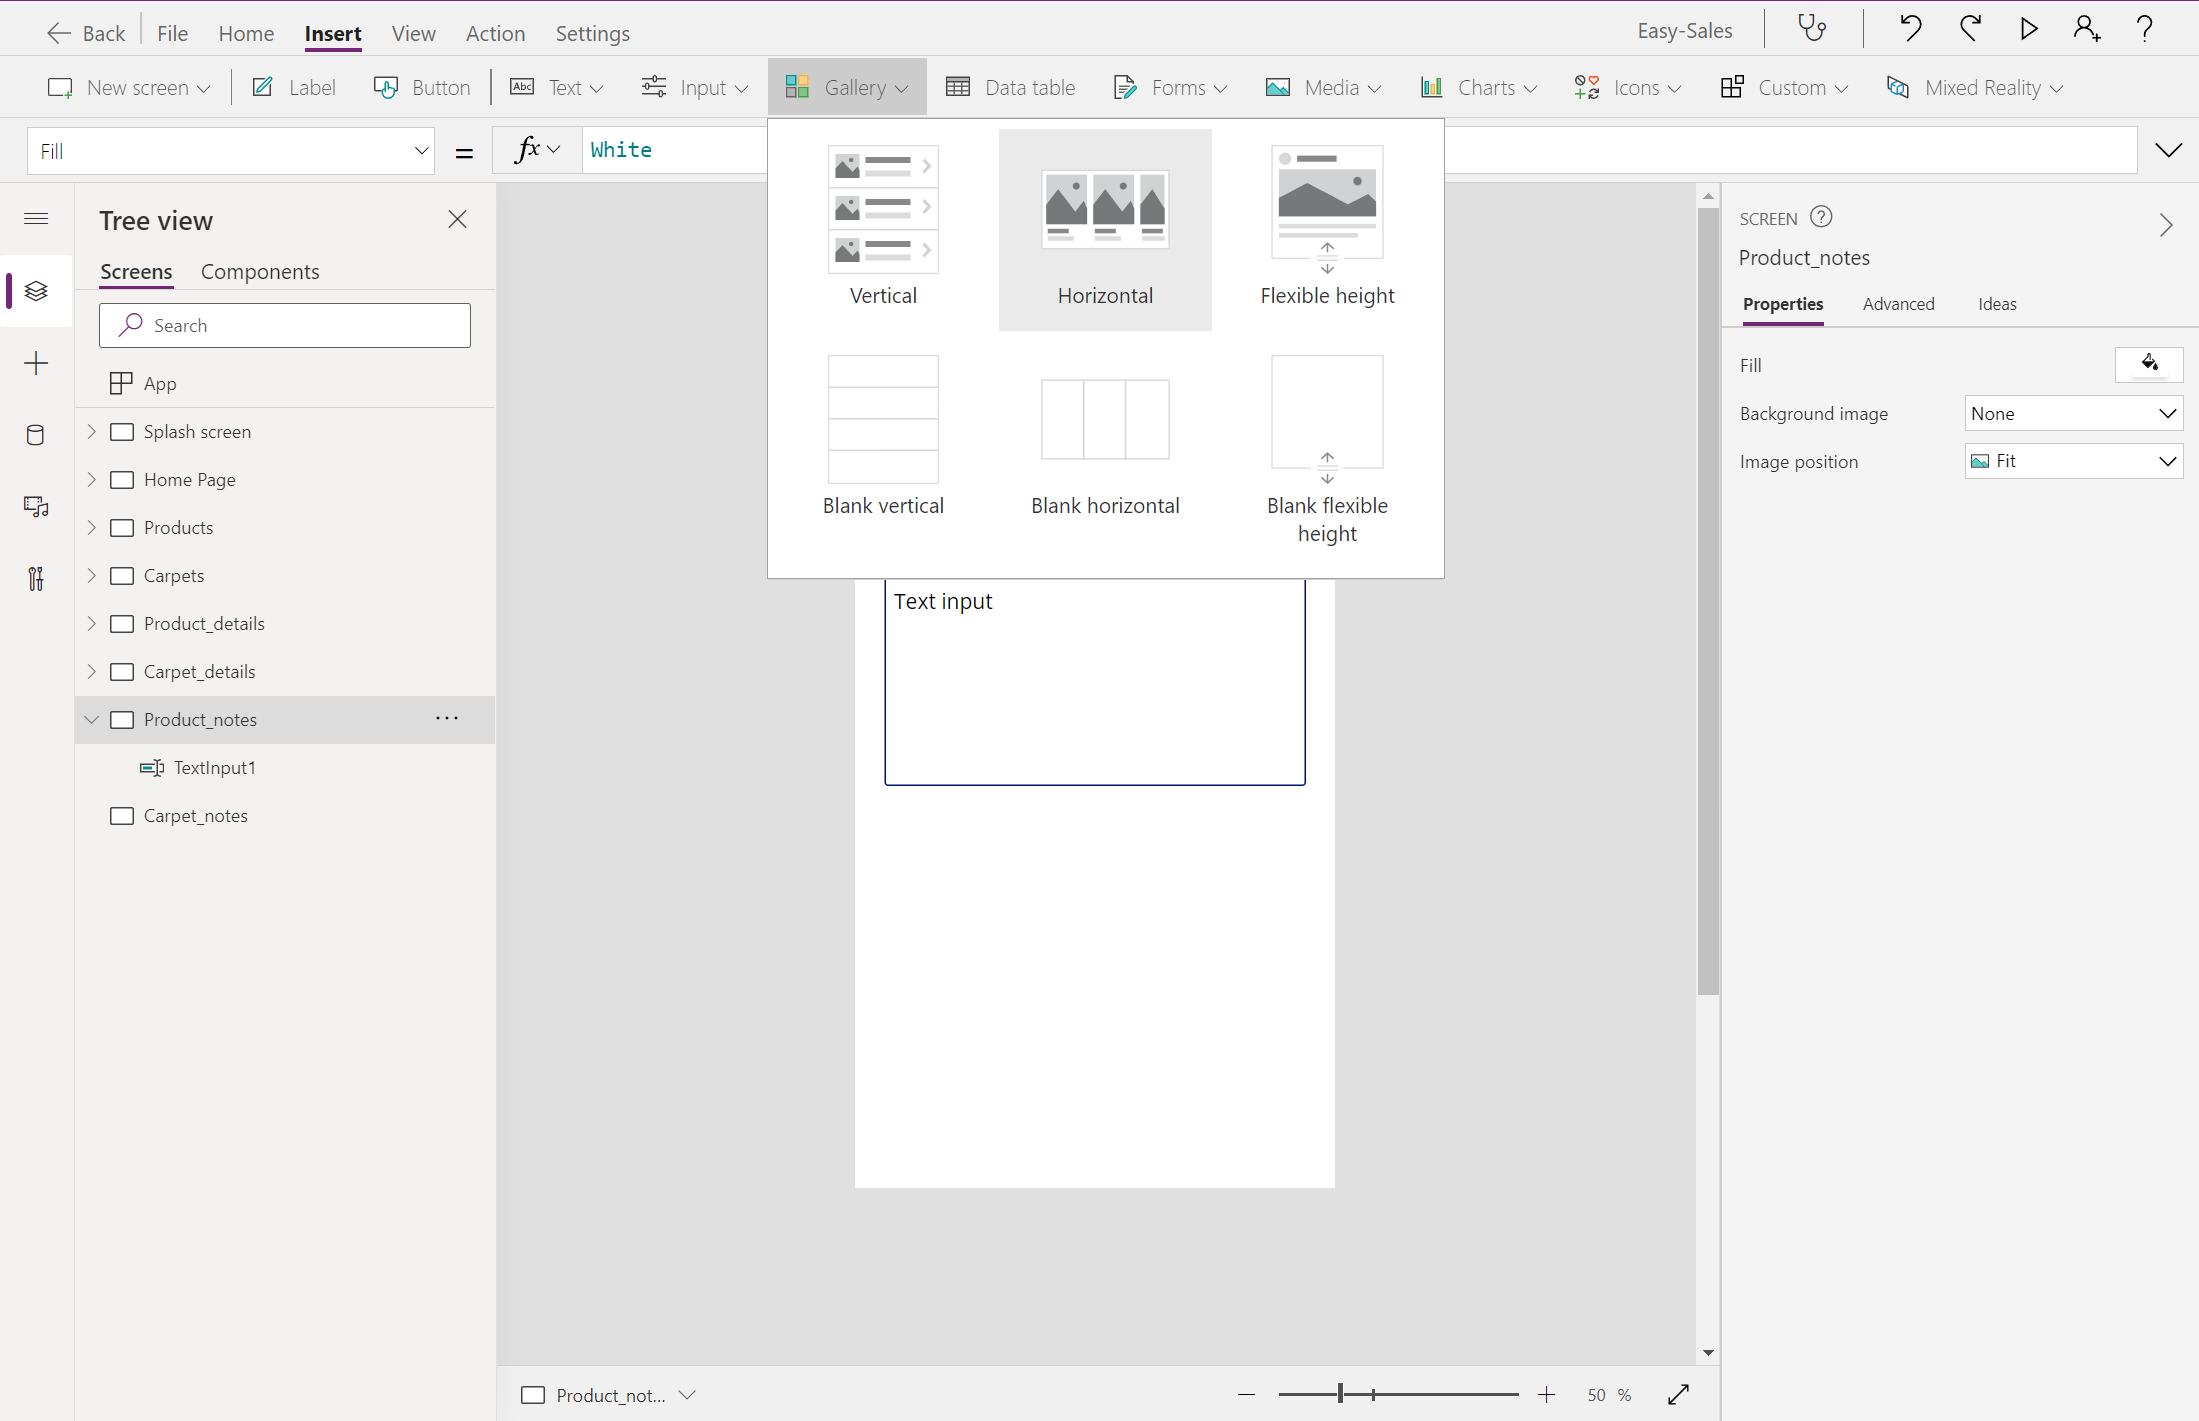
Select Gallery > Horizontal to include a horizontal type of gallery. You'll be storing photos taken during the View in MR session in this gallery. Rename the gallery View_products.
Position the gallery at the other part of the screen. Retain only the image by deleting the Subtitle and Title. Enlarge the image.

Select the gallery and configure the Items property by adding the following line:
ViewInMR1.Photos
All the pictures taken in the View in MR session are stored in this gallery for future reference.
Let's insert a label at the top of the screen. Select the Label option and then Center align it. Customize the position, color, and text display according to your needs. Rename it Notes_label.

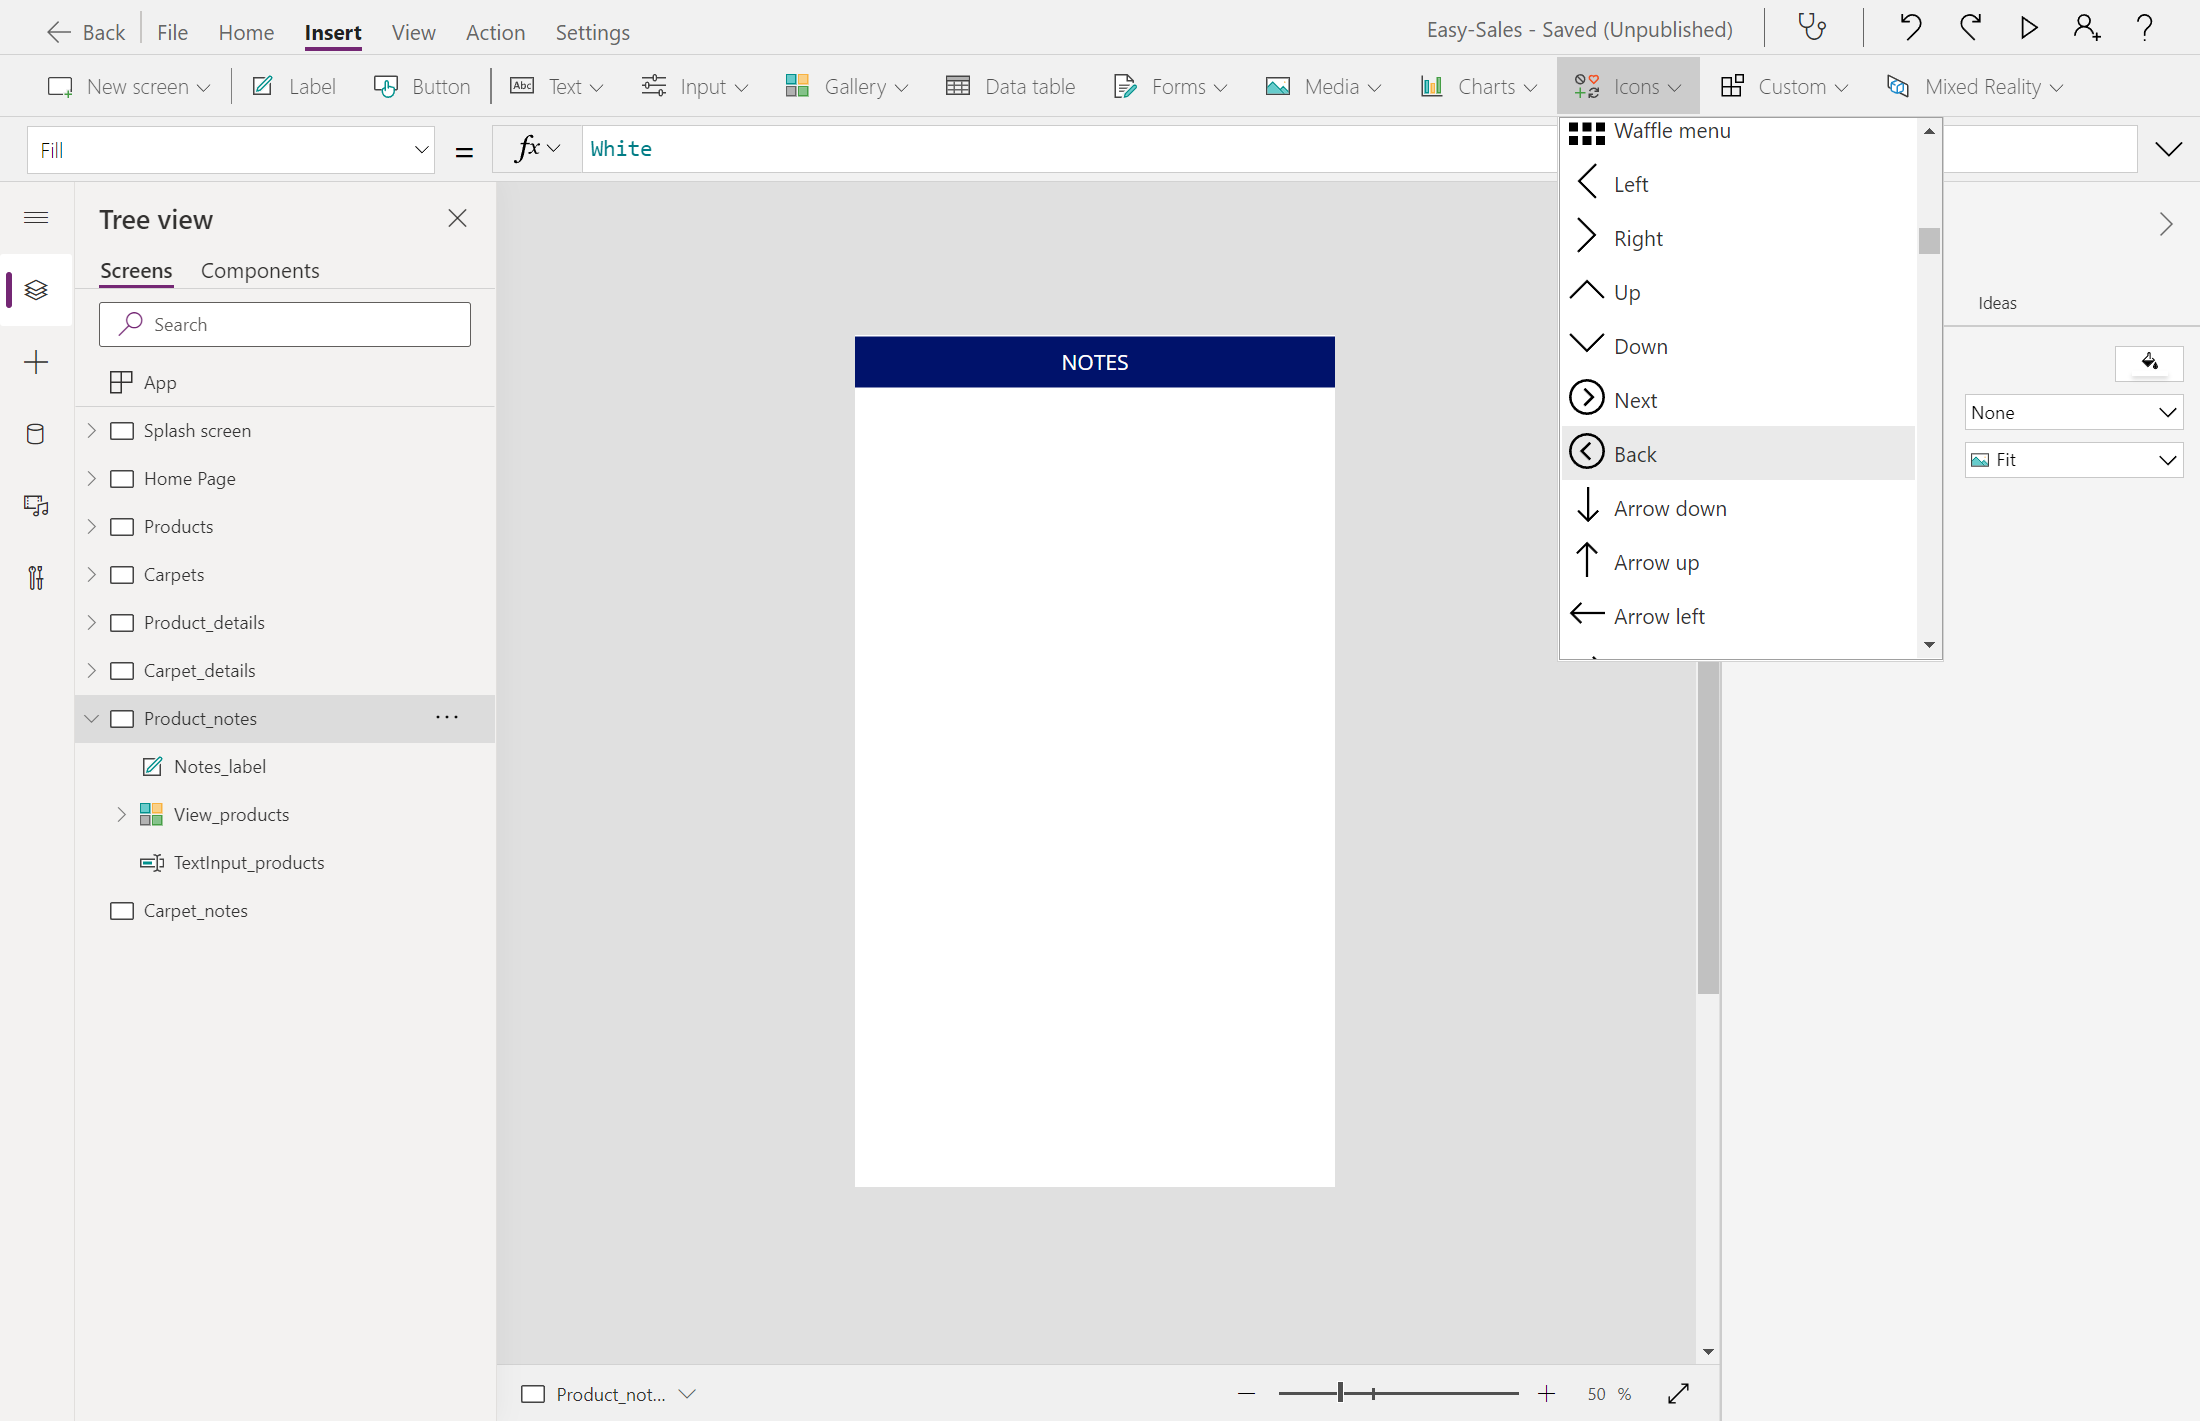
We'll place a Back icon over the previously added Label to help the user navigate to the Home Page when required. To add the Back icon, on the Insert tab, expand the Icons dropdown and then select the Back icon.
Position the Back icon correctly and configure the OnSelect property by adding the following:
Navigate(Product_details,ScreenTransition.Cover)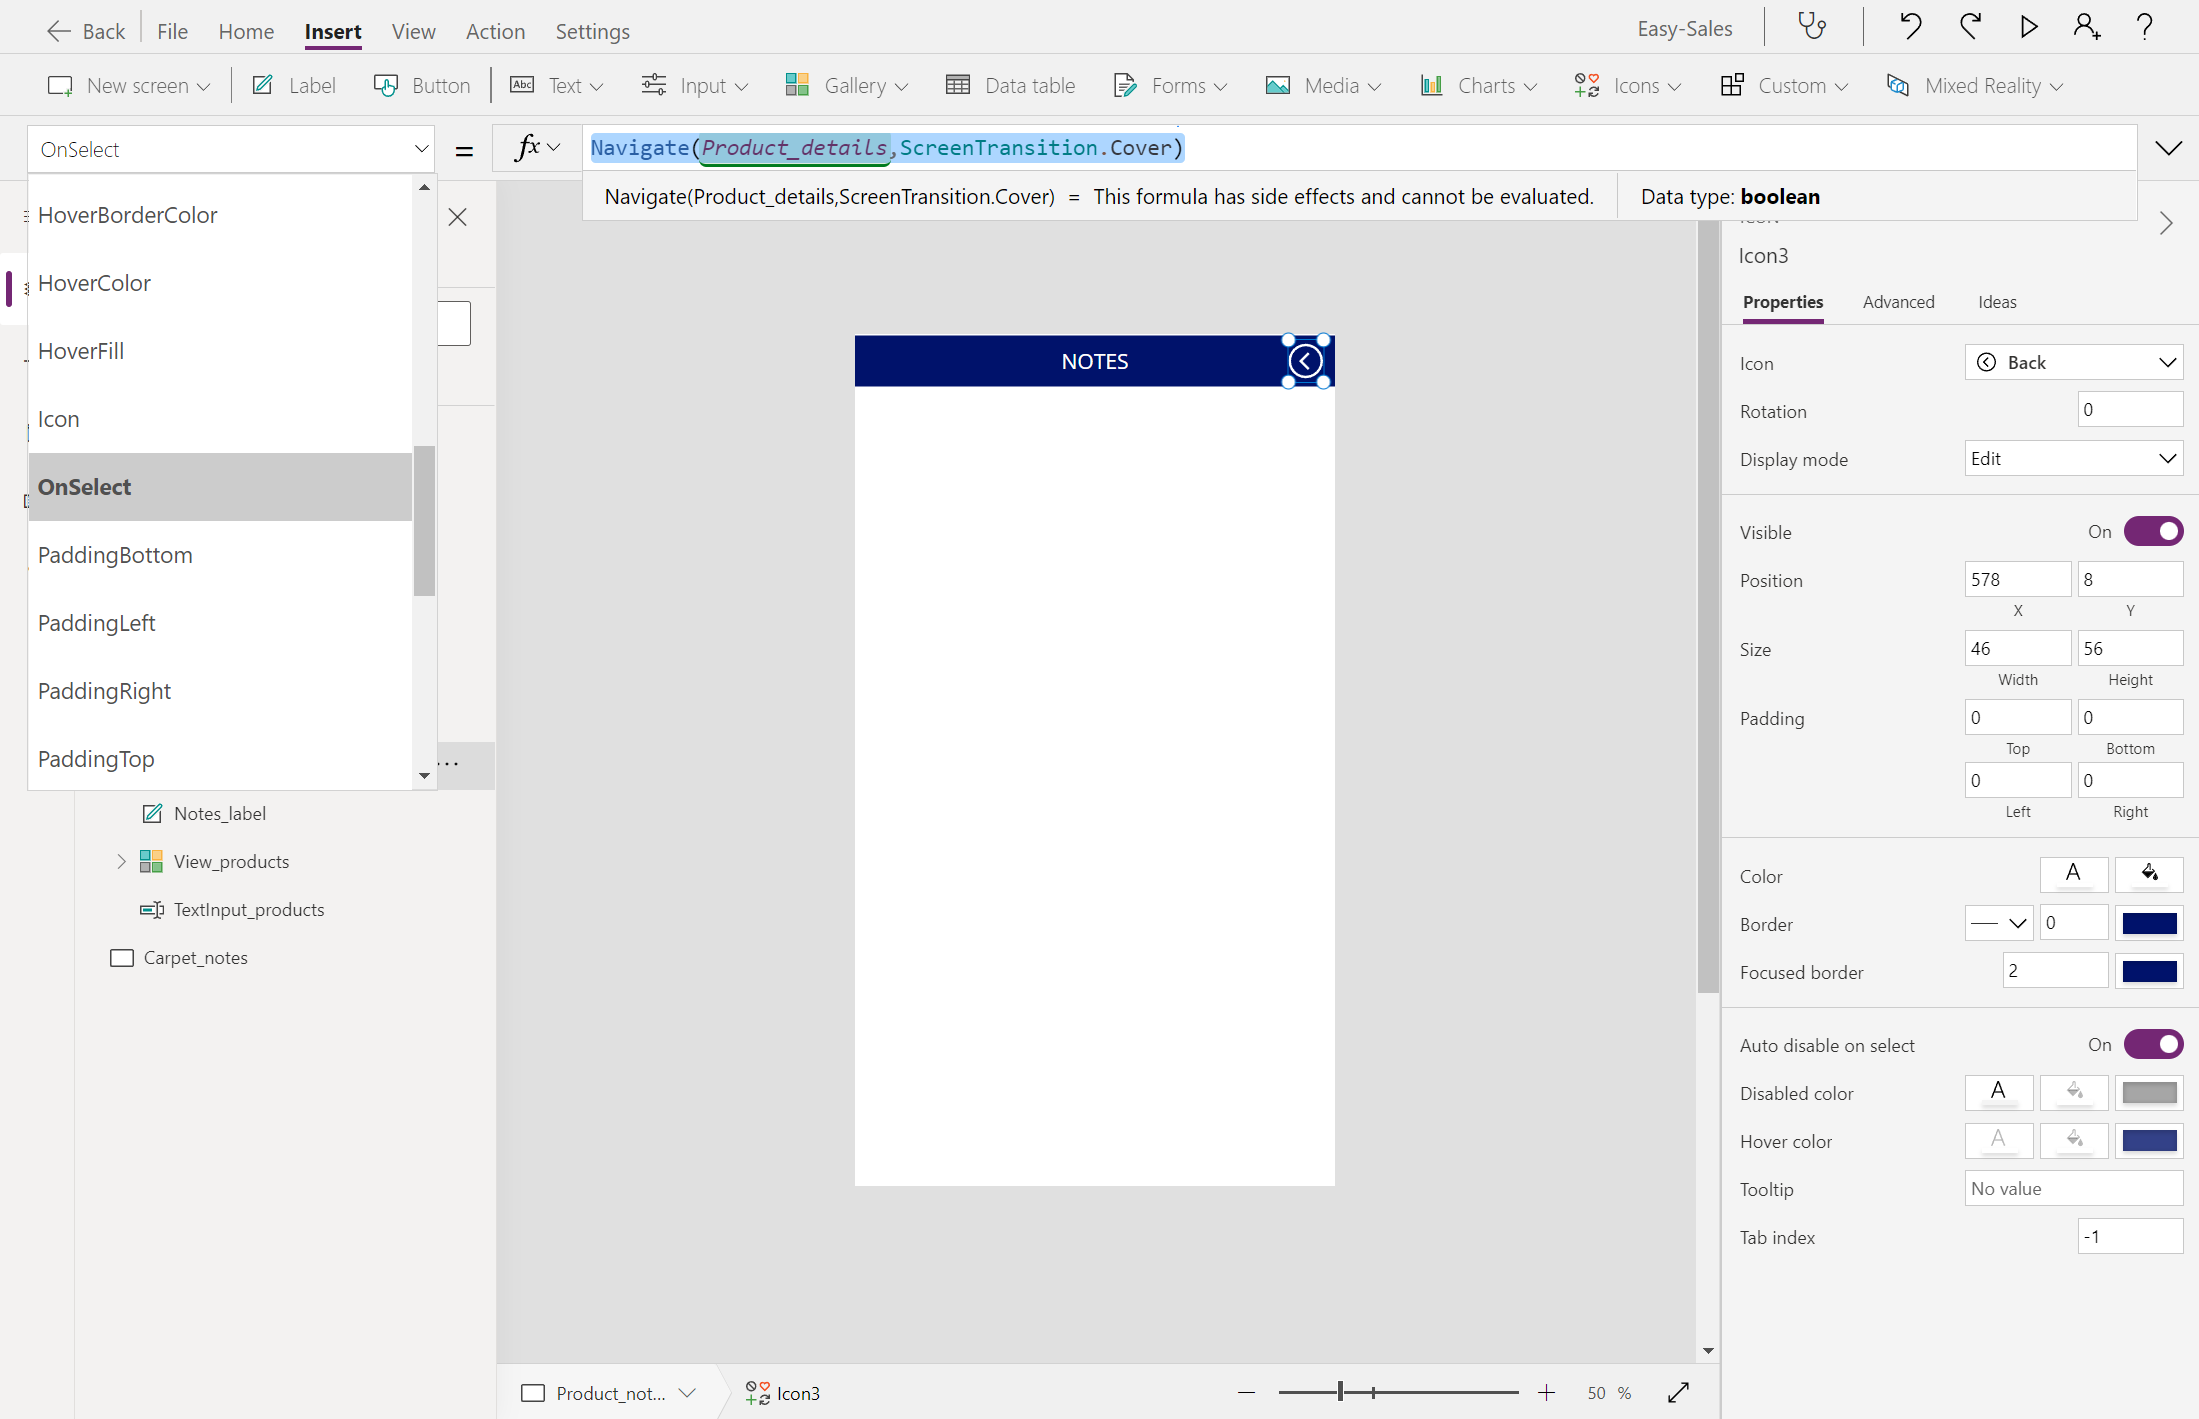
Switch to the Product_details screen and add a Note icon from the Icons dropdown on the Insert tab.

Configure the OnSelect property of the Note icon by adding the following line:
Navigate(Product_notes,ScreenTransition.CoverRight)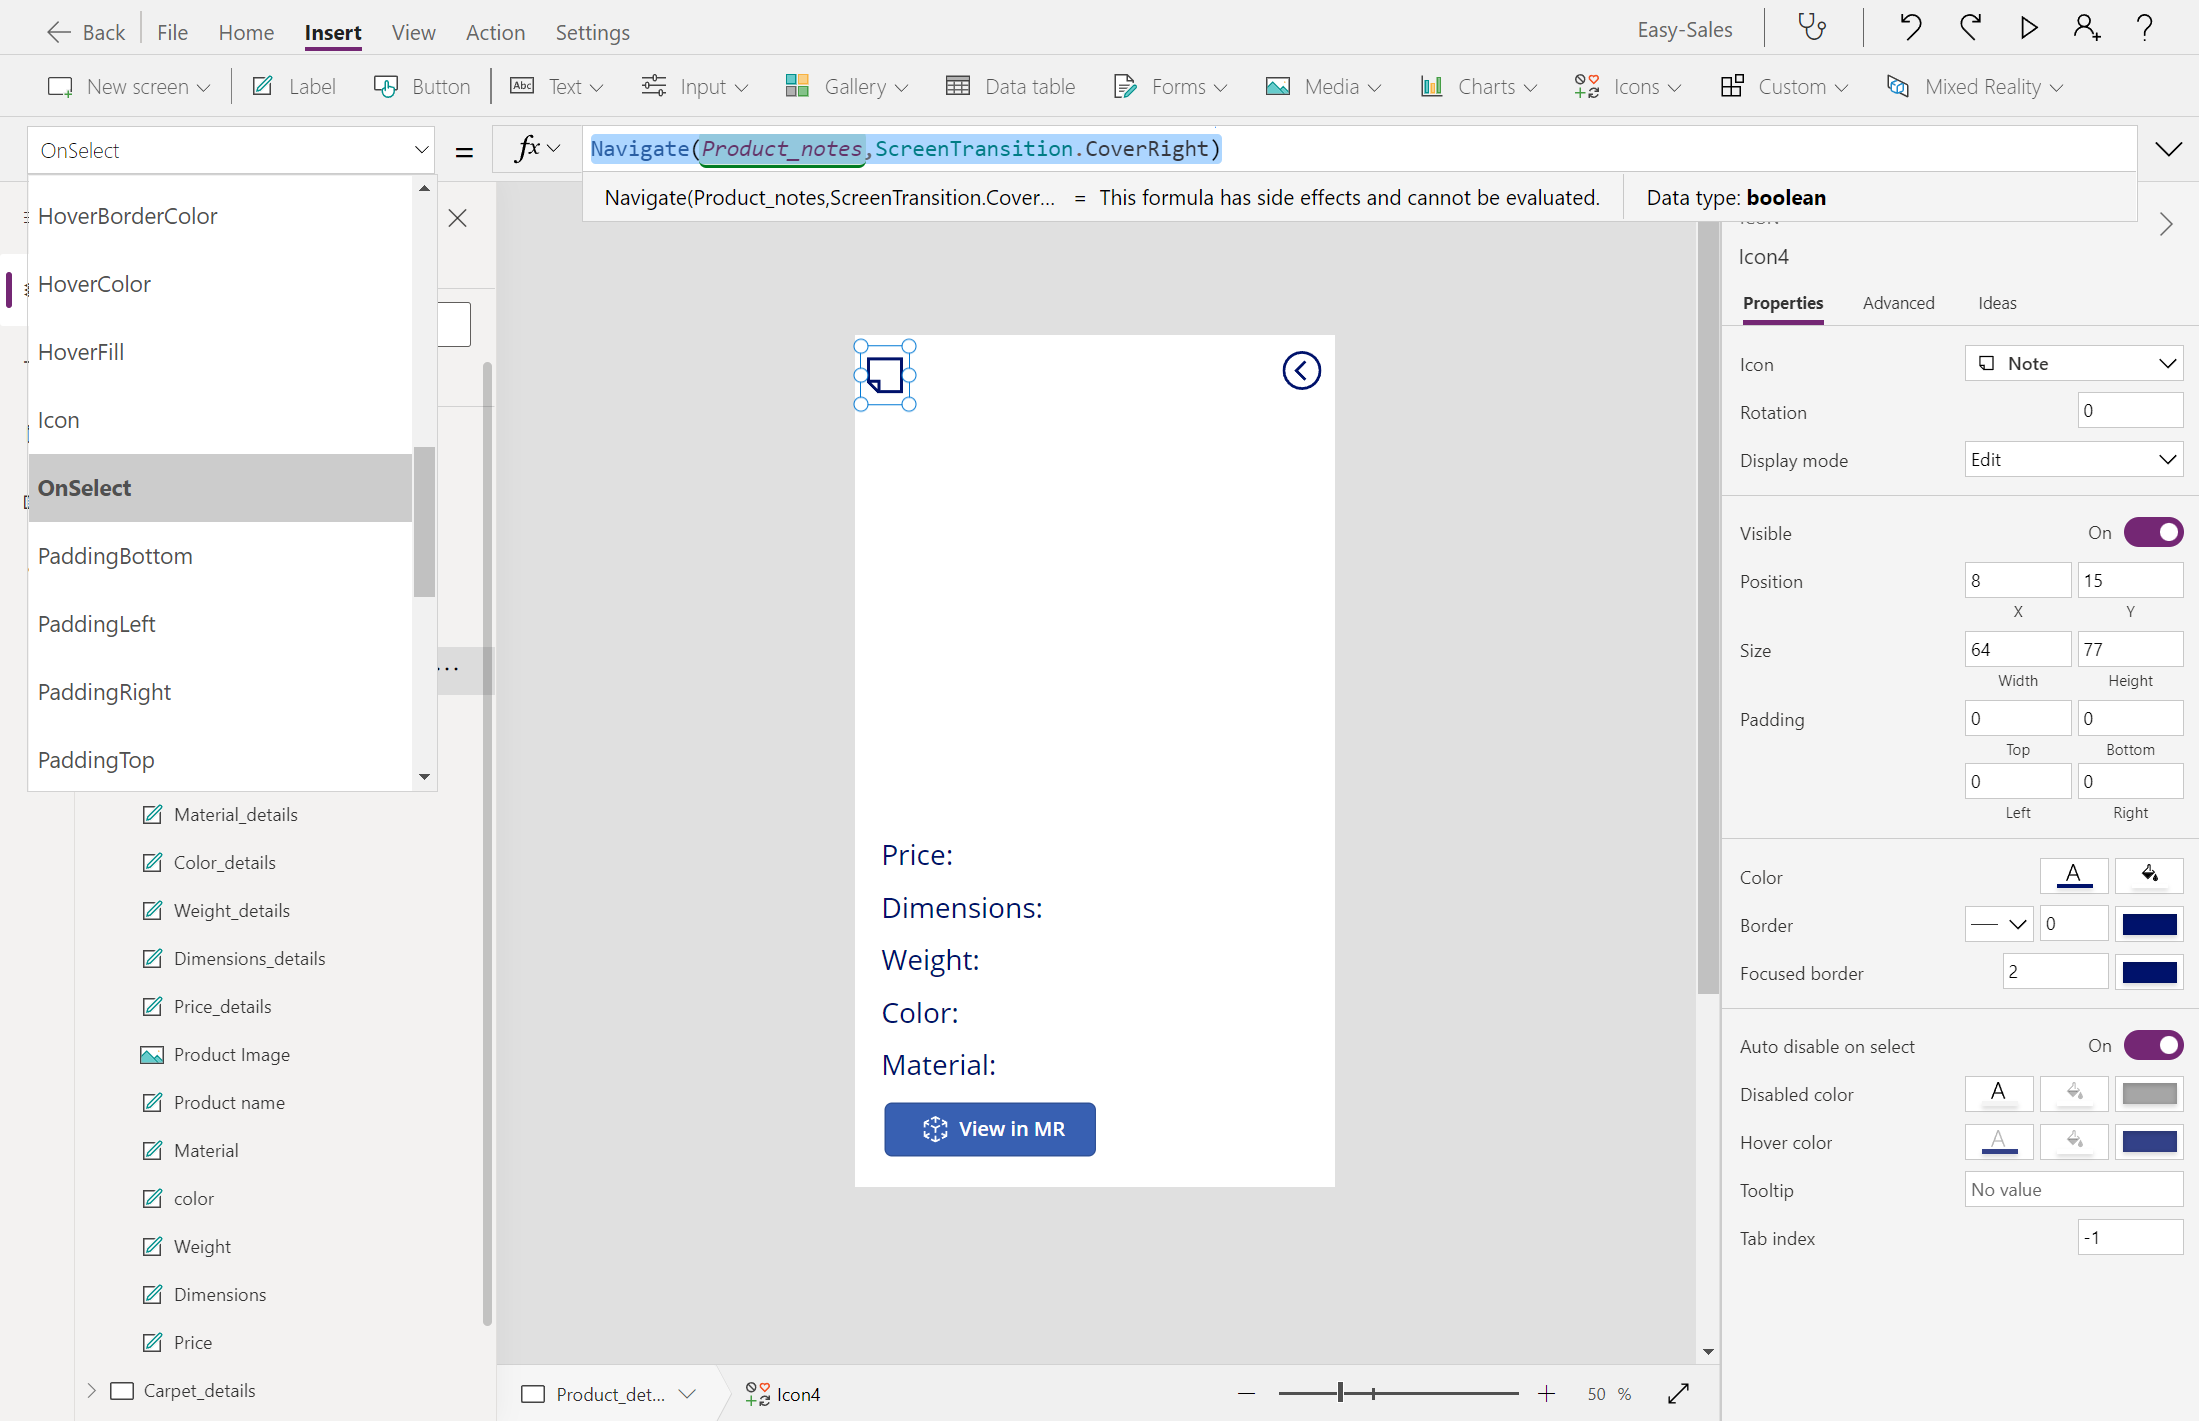
Replicate the same procedure for Notes_carpets.
Note
We won't include the View in MR feature for the Carpets category. For the Notes_carpets page, exclude adding the Gallery control to store photos taken during the View in MR session.
Tip
You can test your application by pressing the F5 key on the keyboard or selecting the Play button at the top-right corner of Power Apps Studio.


Create order summary page
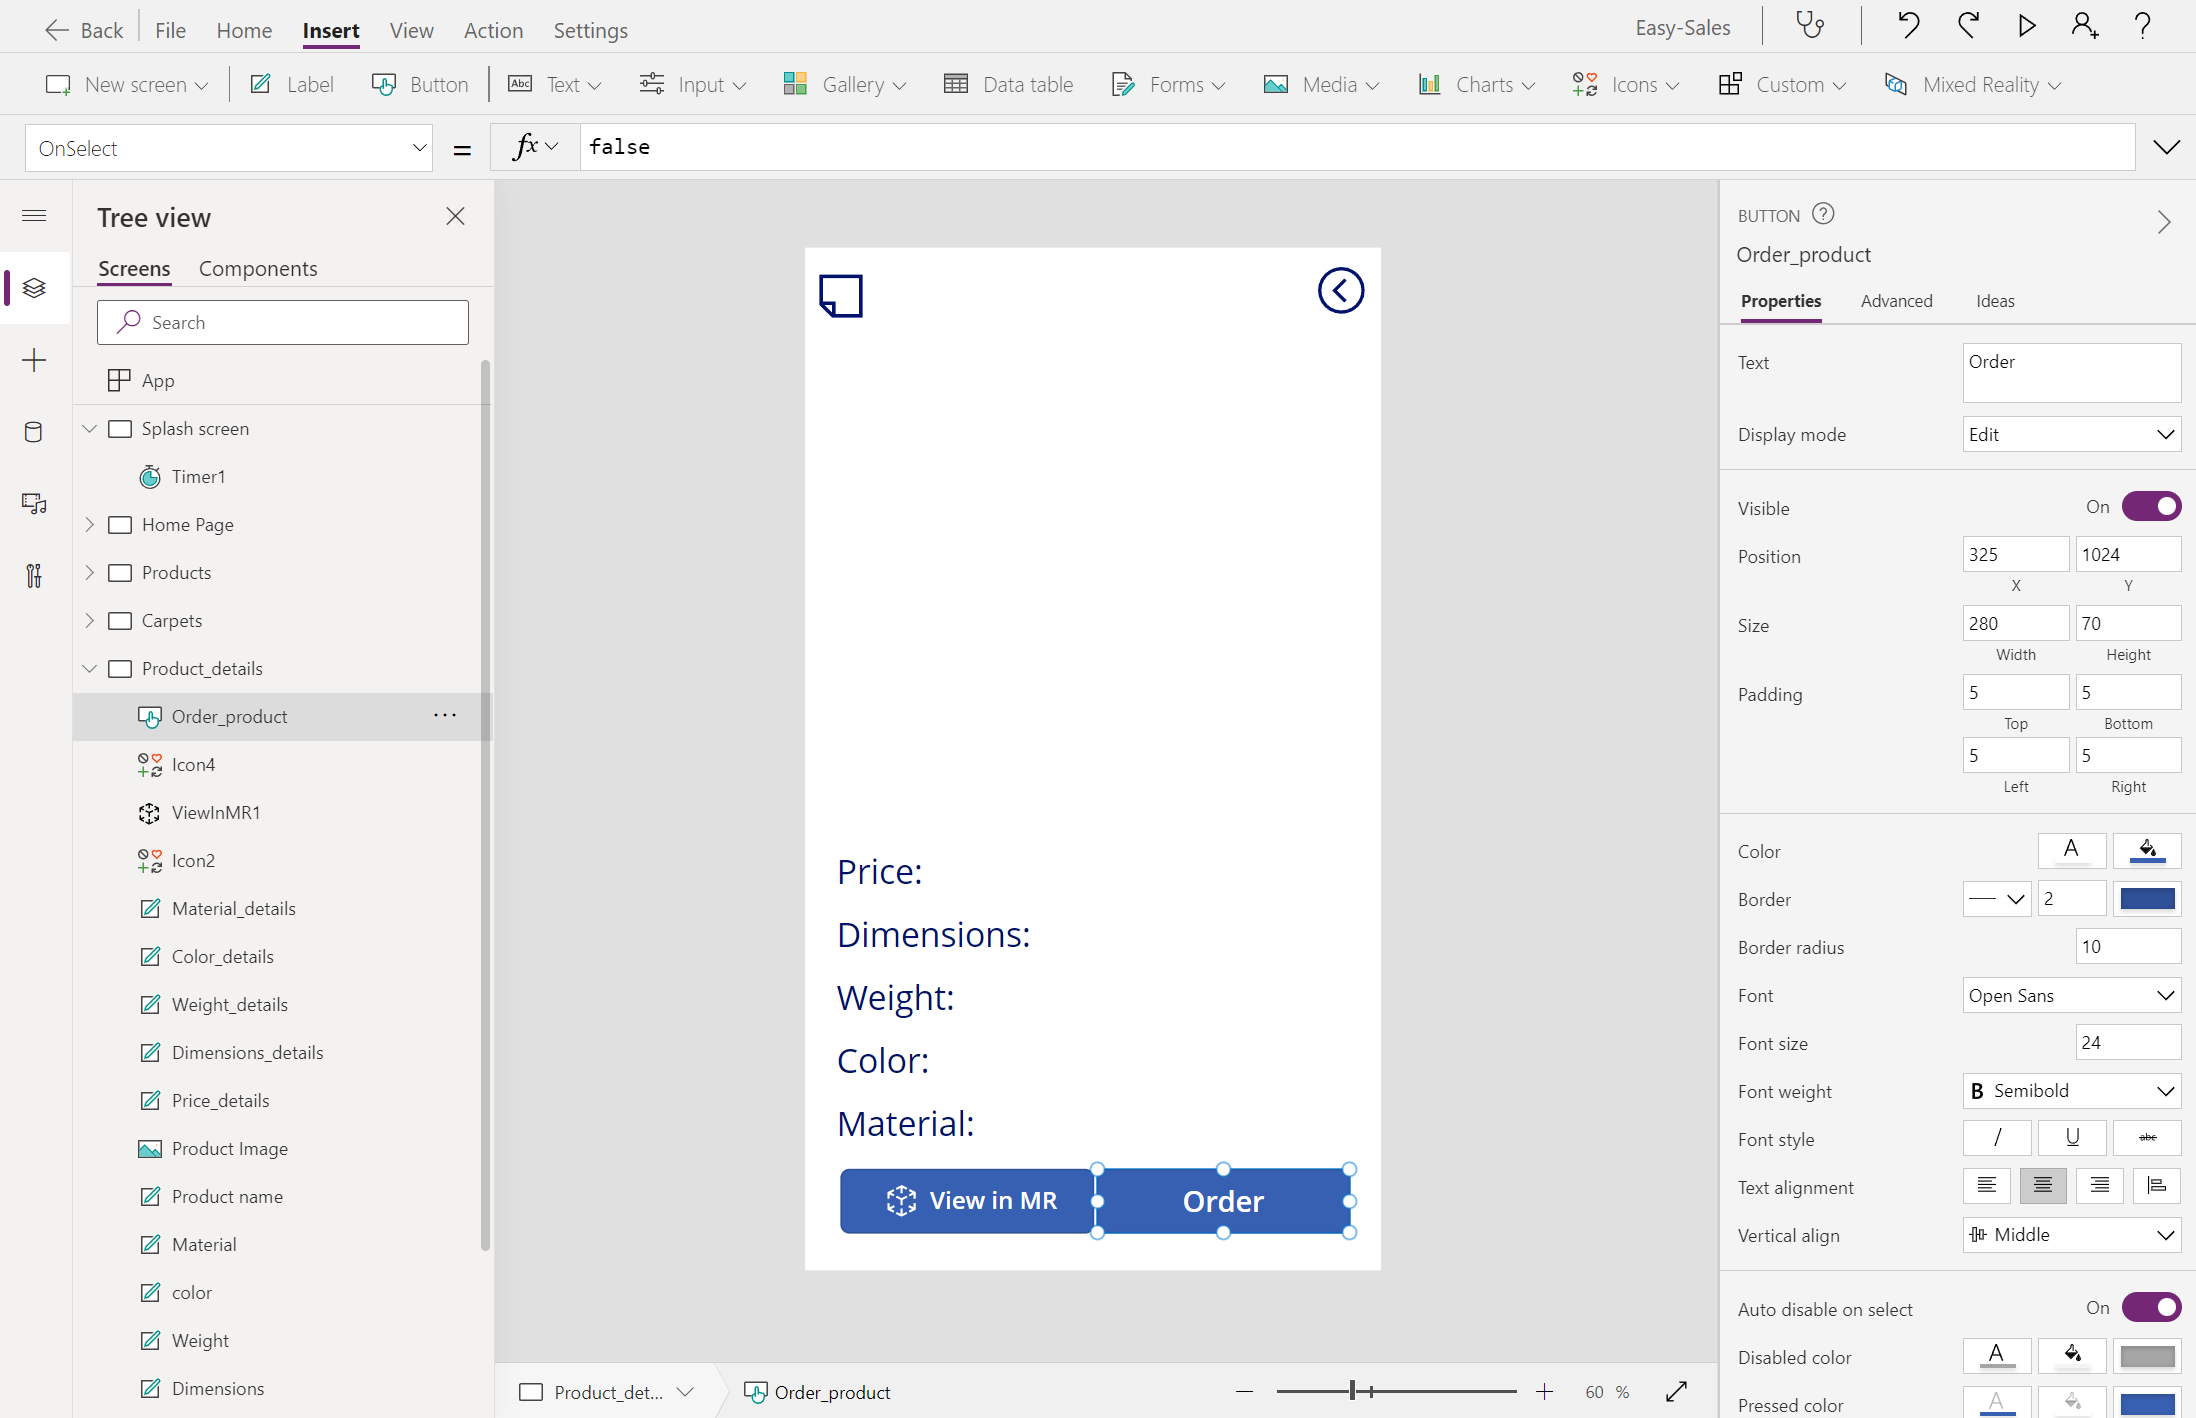
Add buttons to the Product_details and Carpet_details screens. Rename the buttons Order_product and Order_carpet. Change the display text of the buttons to Order.
Create two new Blank screens and rename them Order_products and Order_carpets.

Select the Product_details screen and then configure the OnSelect property of the Order button as follows:
Navigate('Order_products',ScreenTransition.Cover)
Follow the same procedure for the Carpet_details screen.
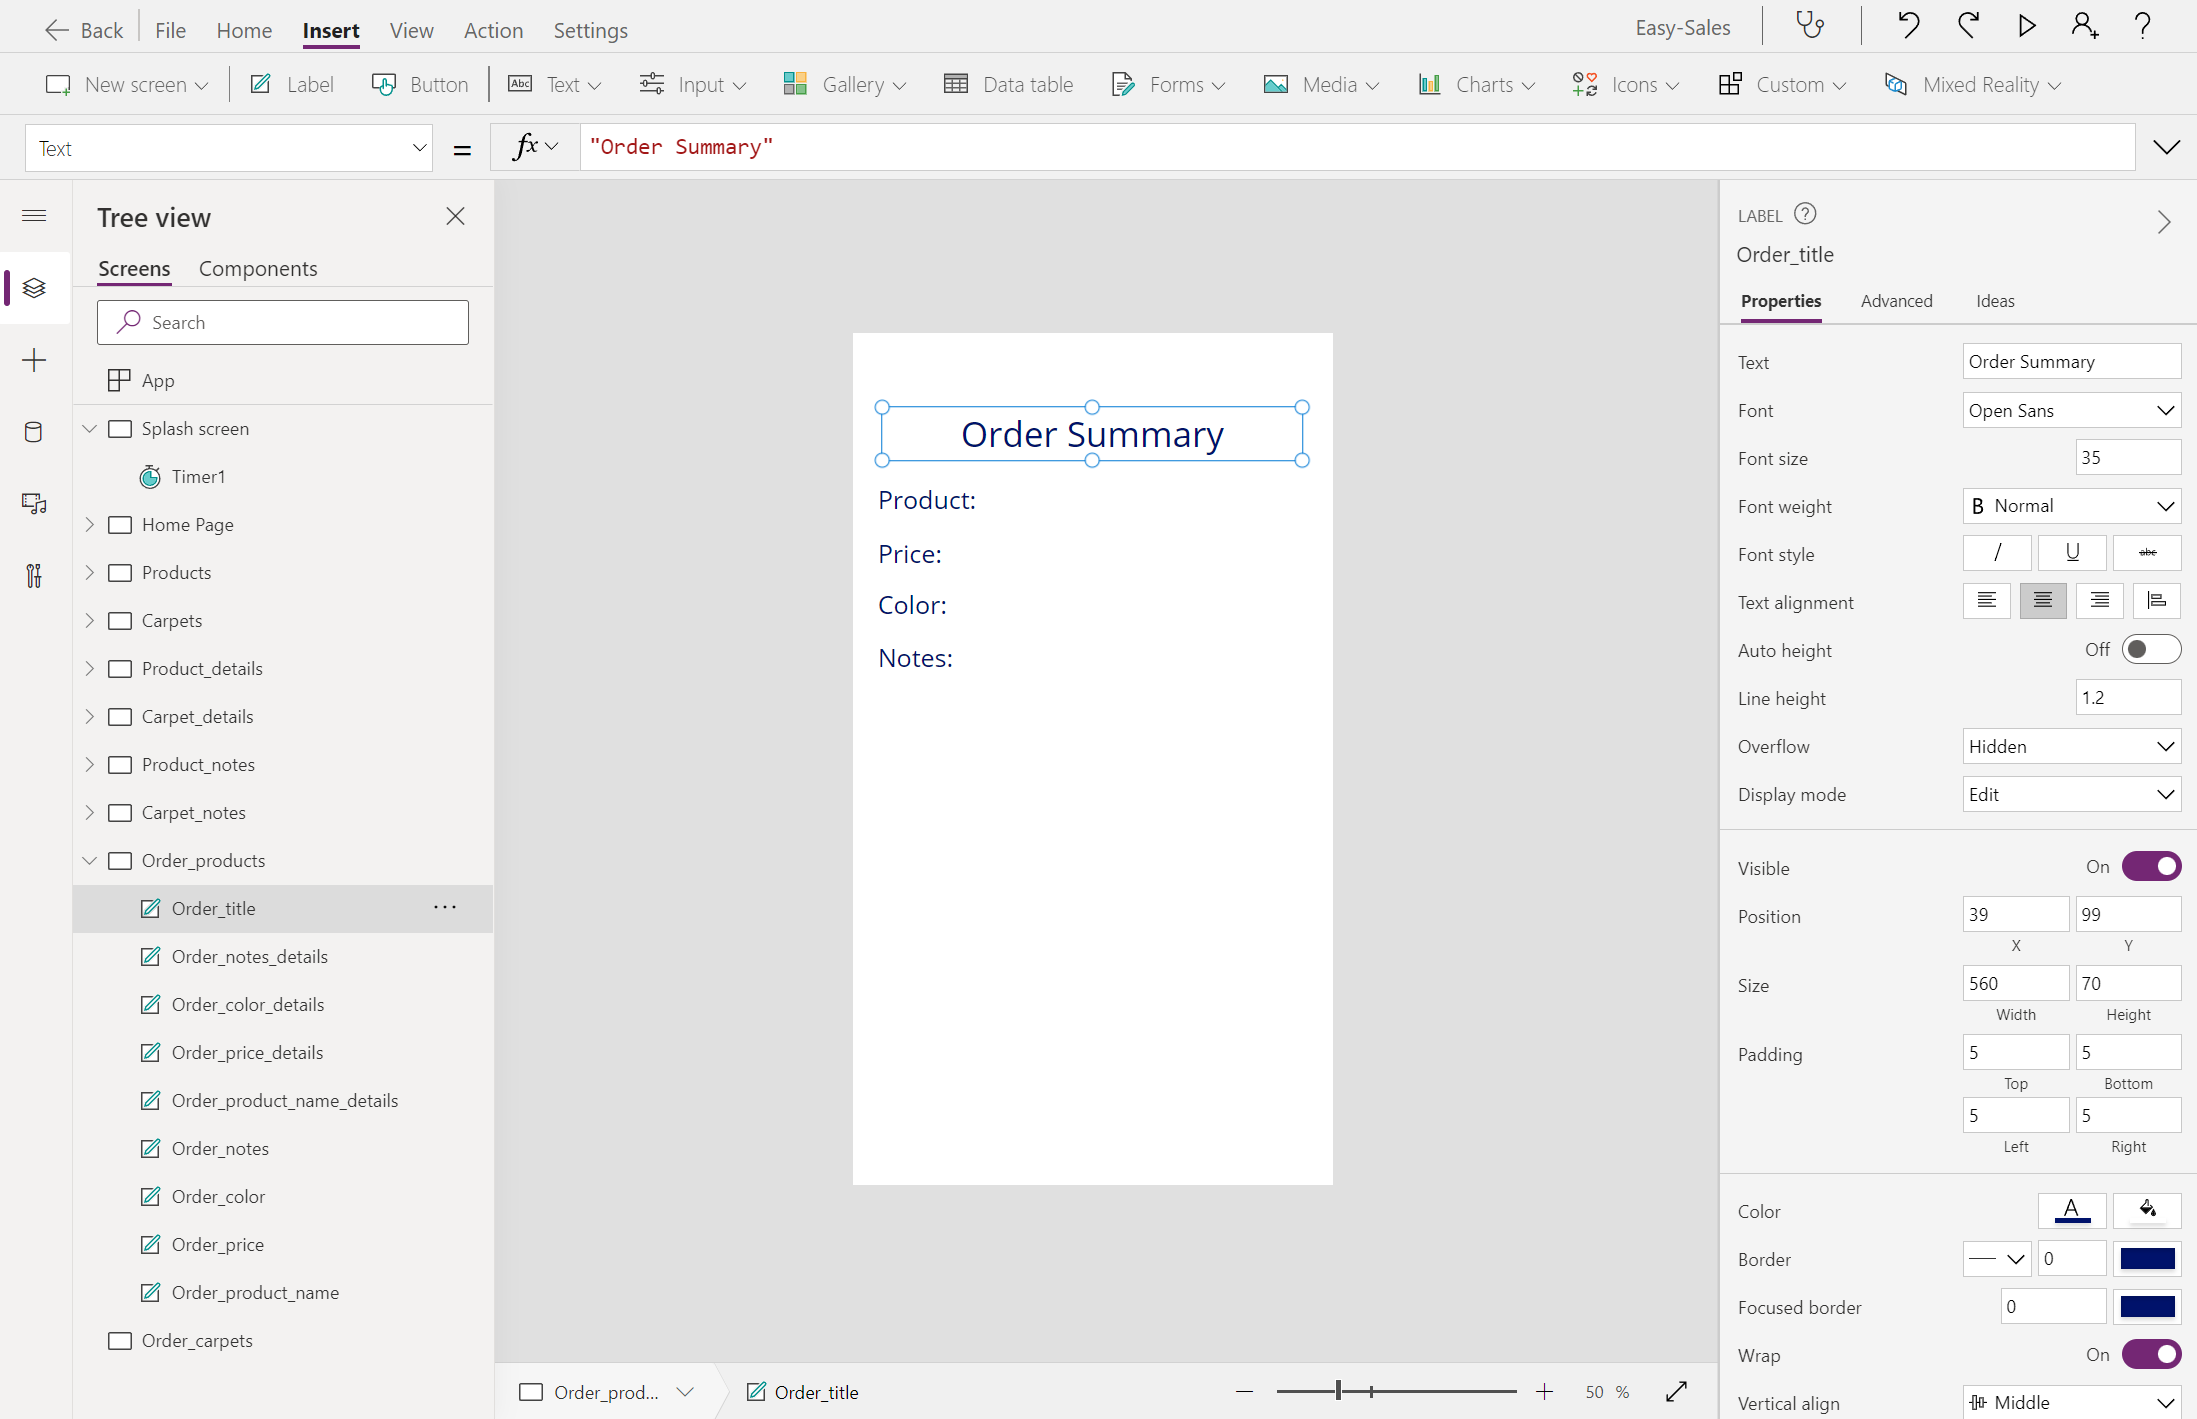
In the Order_products page, insert Product, Price, Color, and Notes labels and rename them accordingly.
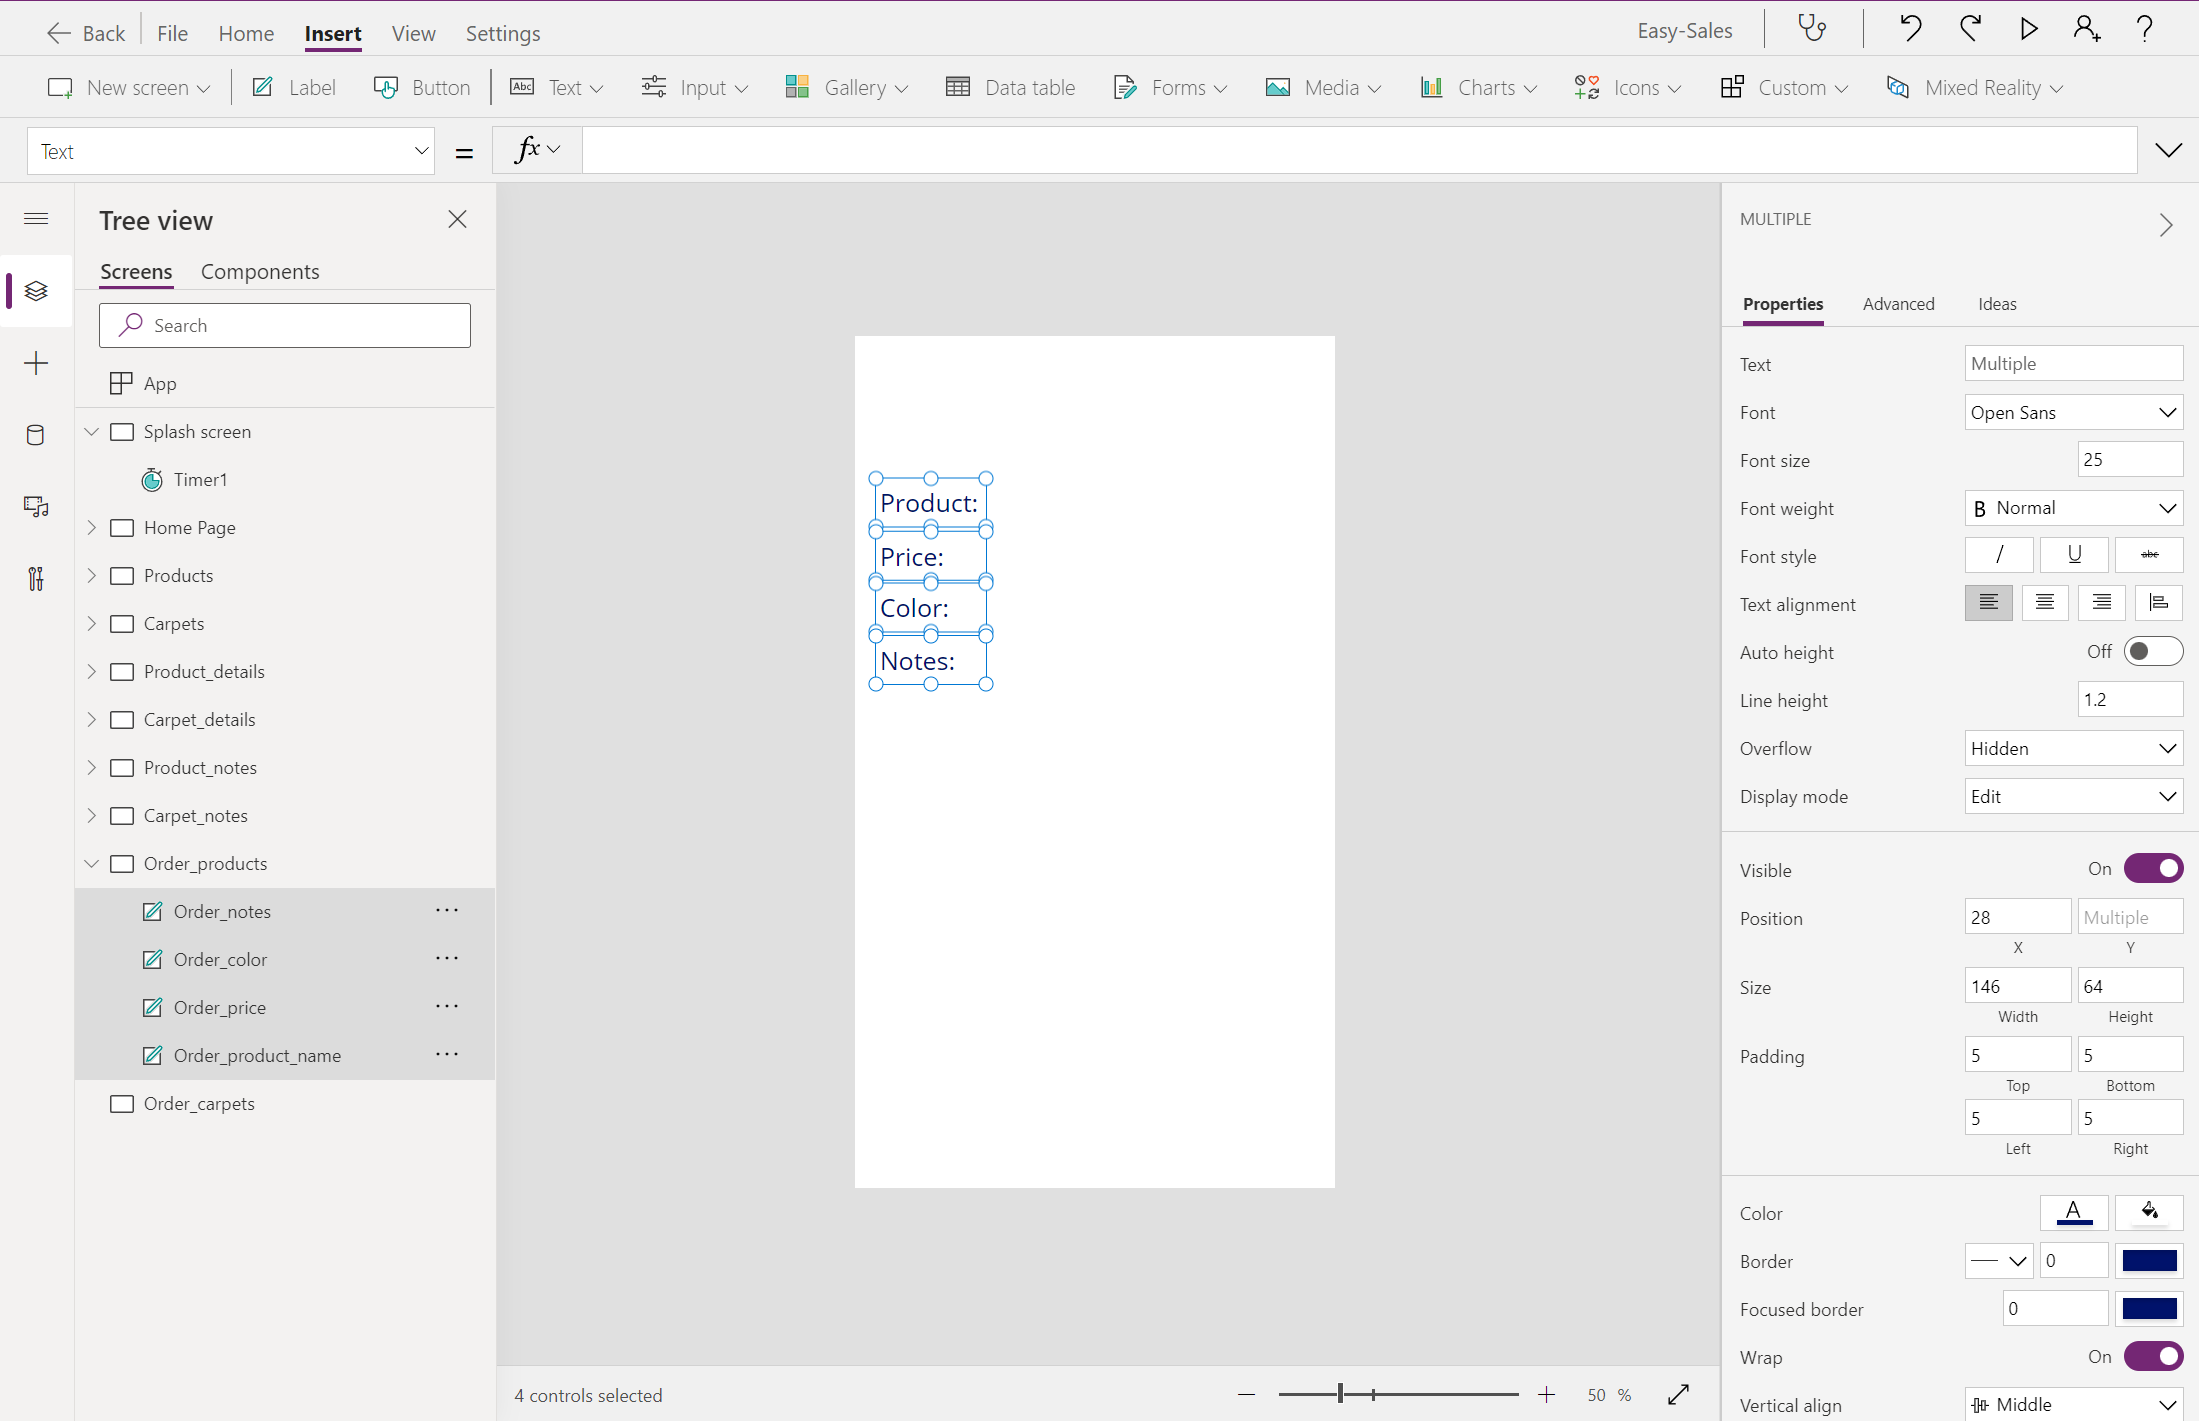
Insert empty labels next to the Product, Price, Color, and Notes as shown in the figure.

Configure the Text property of these empty labels as follows:
Product:
Gallery_products.Selected.Name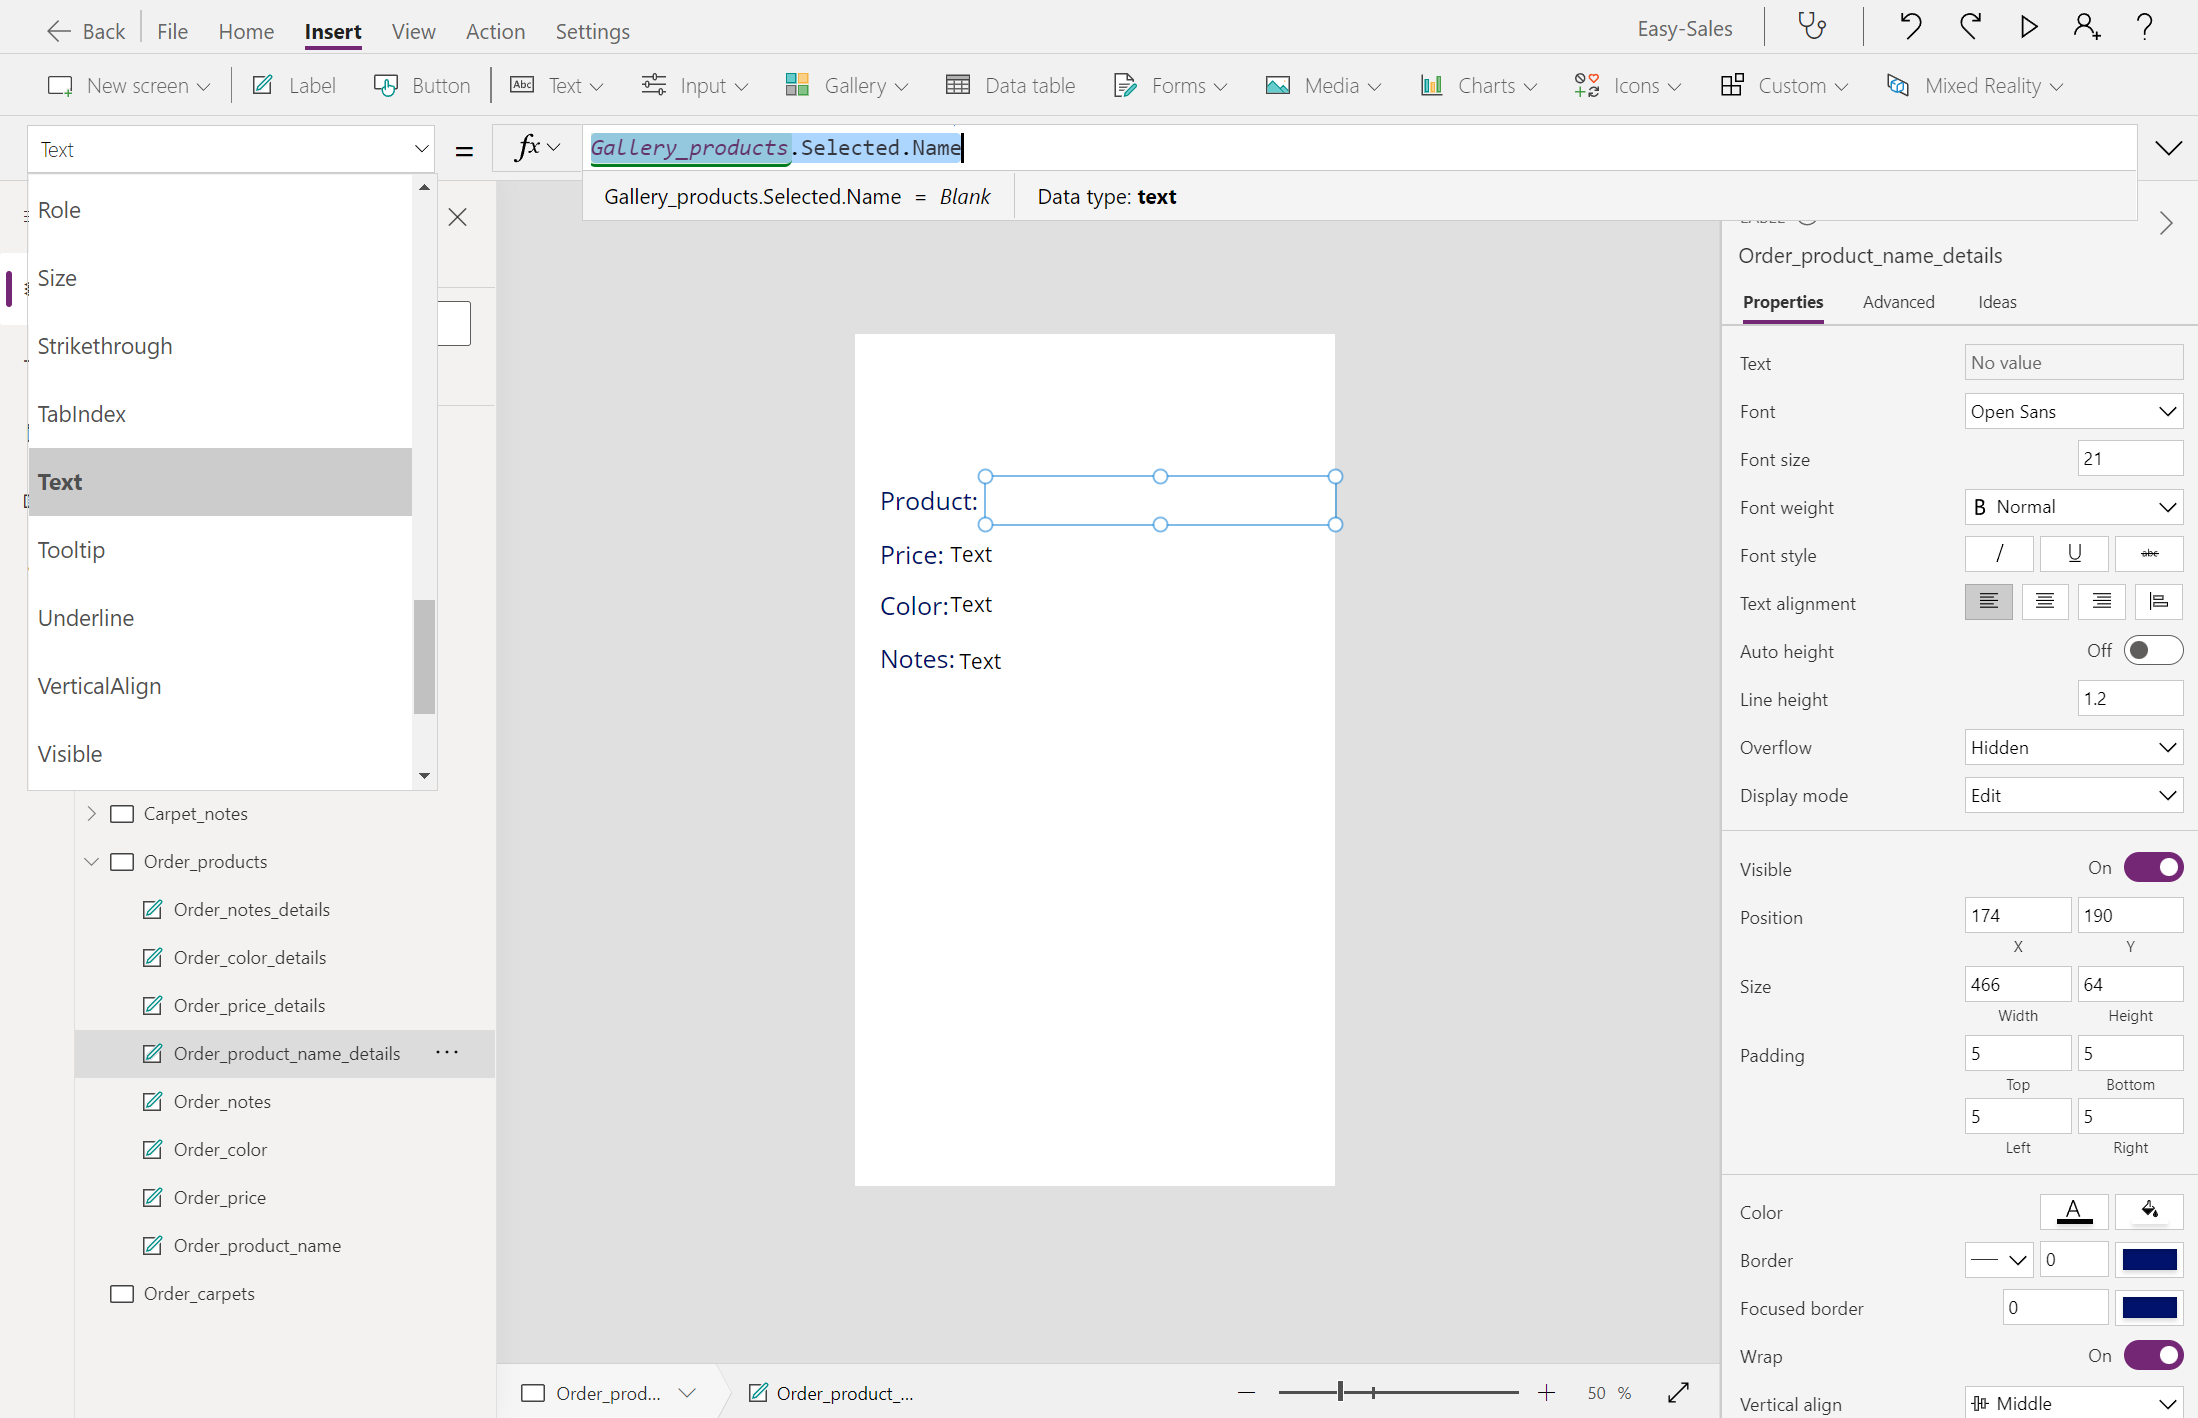
Price:
Gallery_products.Selected.Price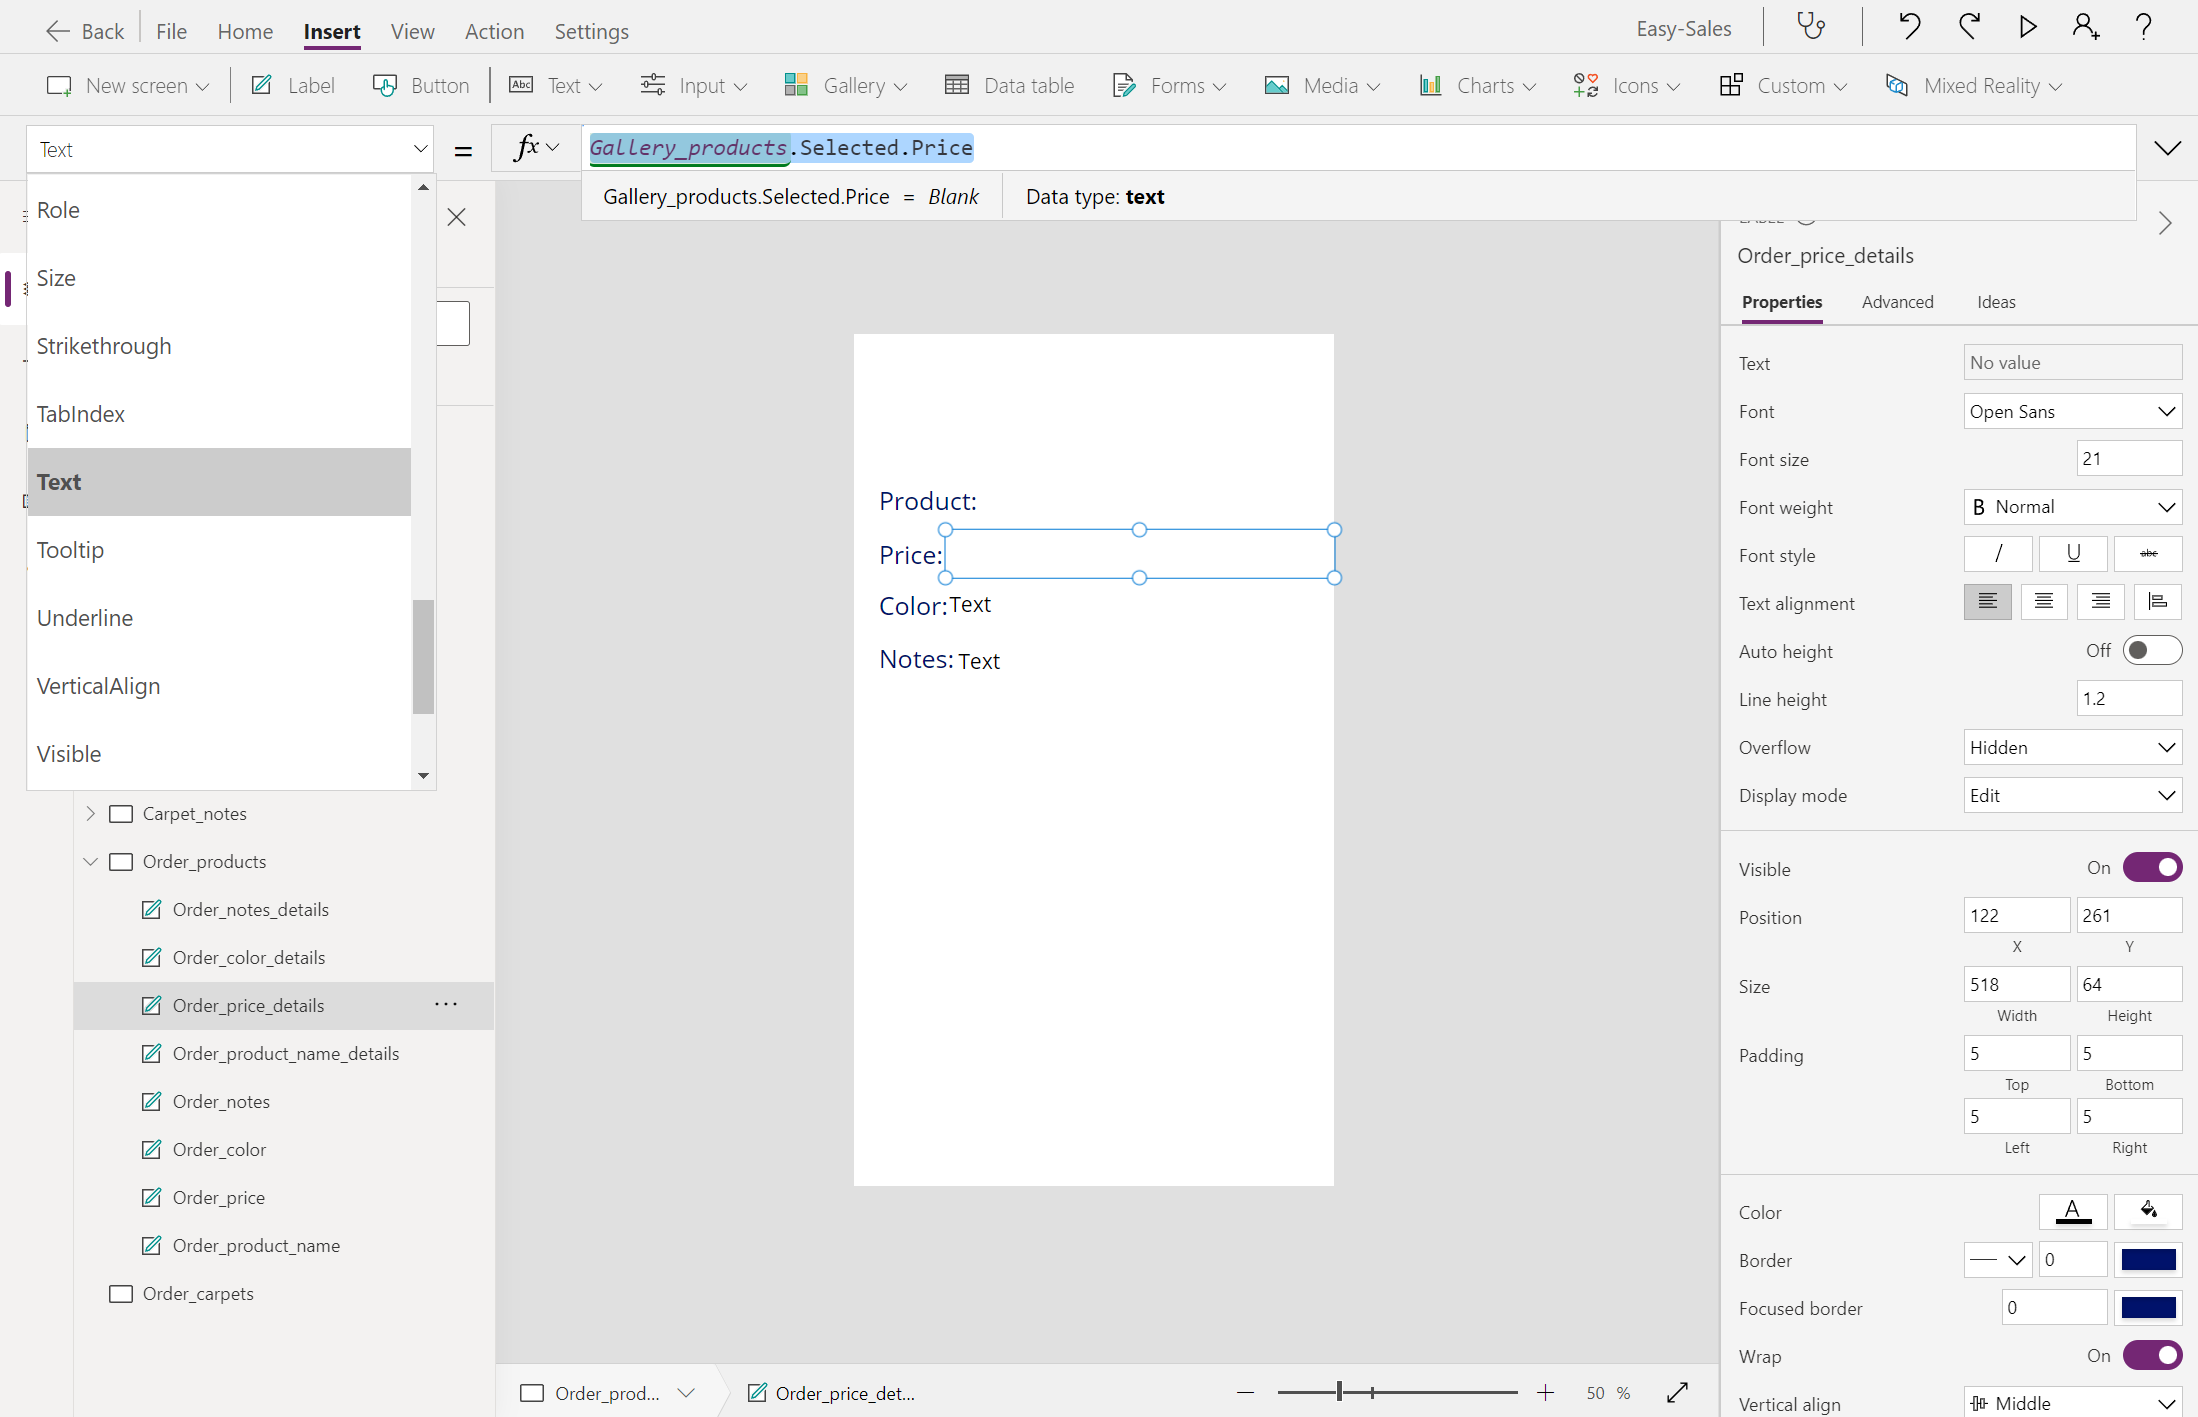
Color:
Gallery_products.Selected.Color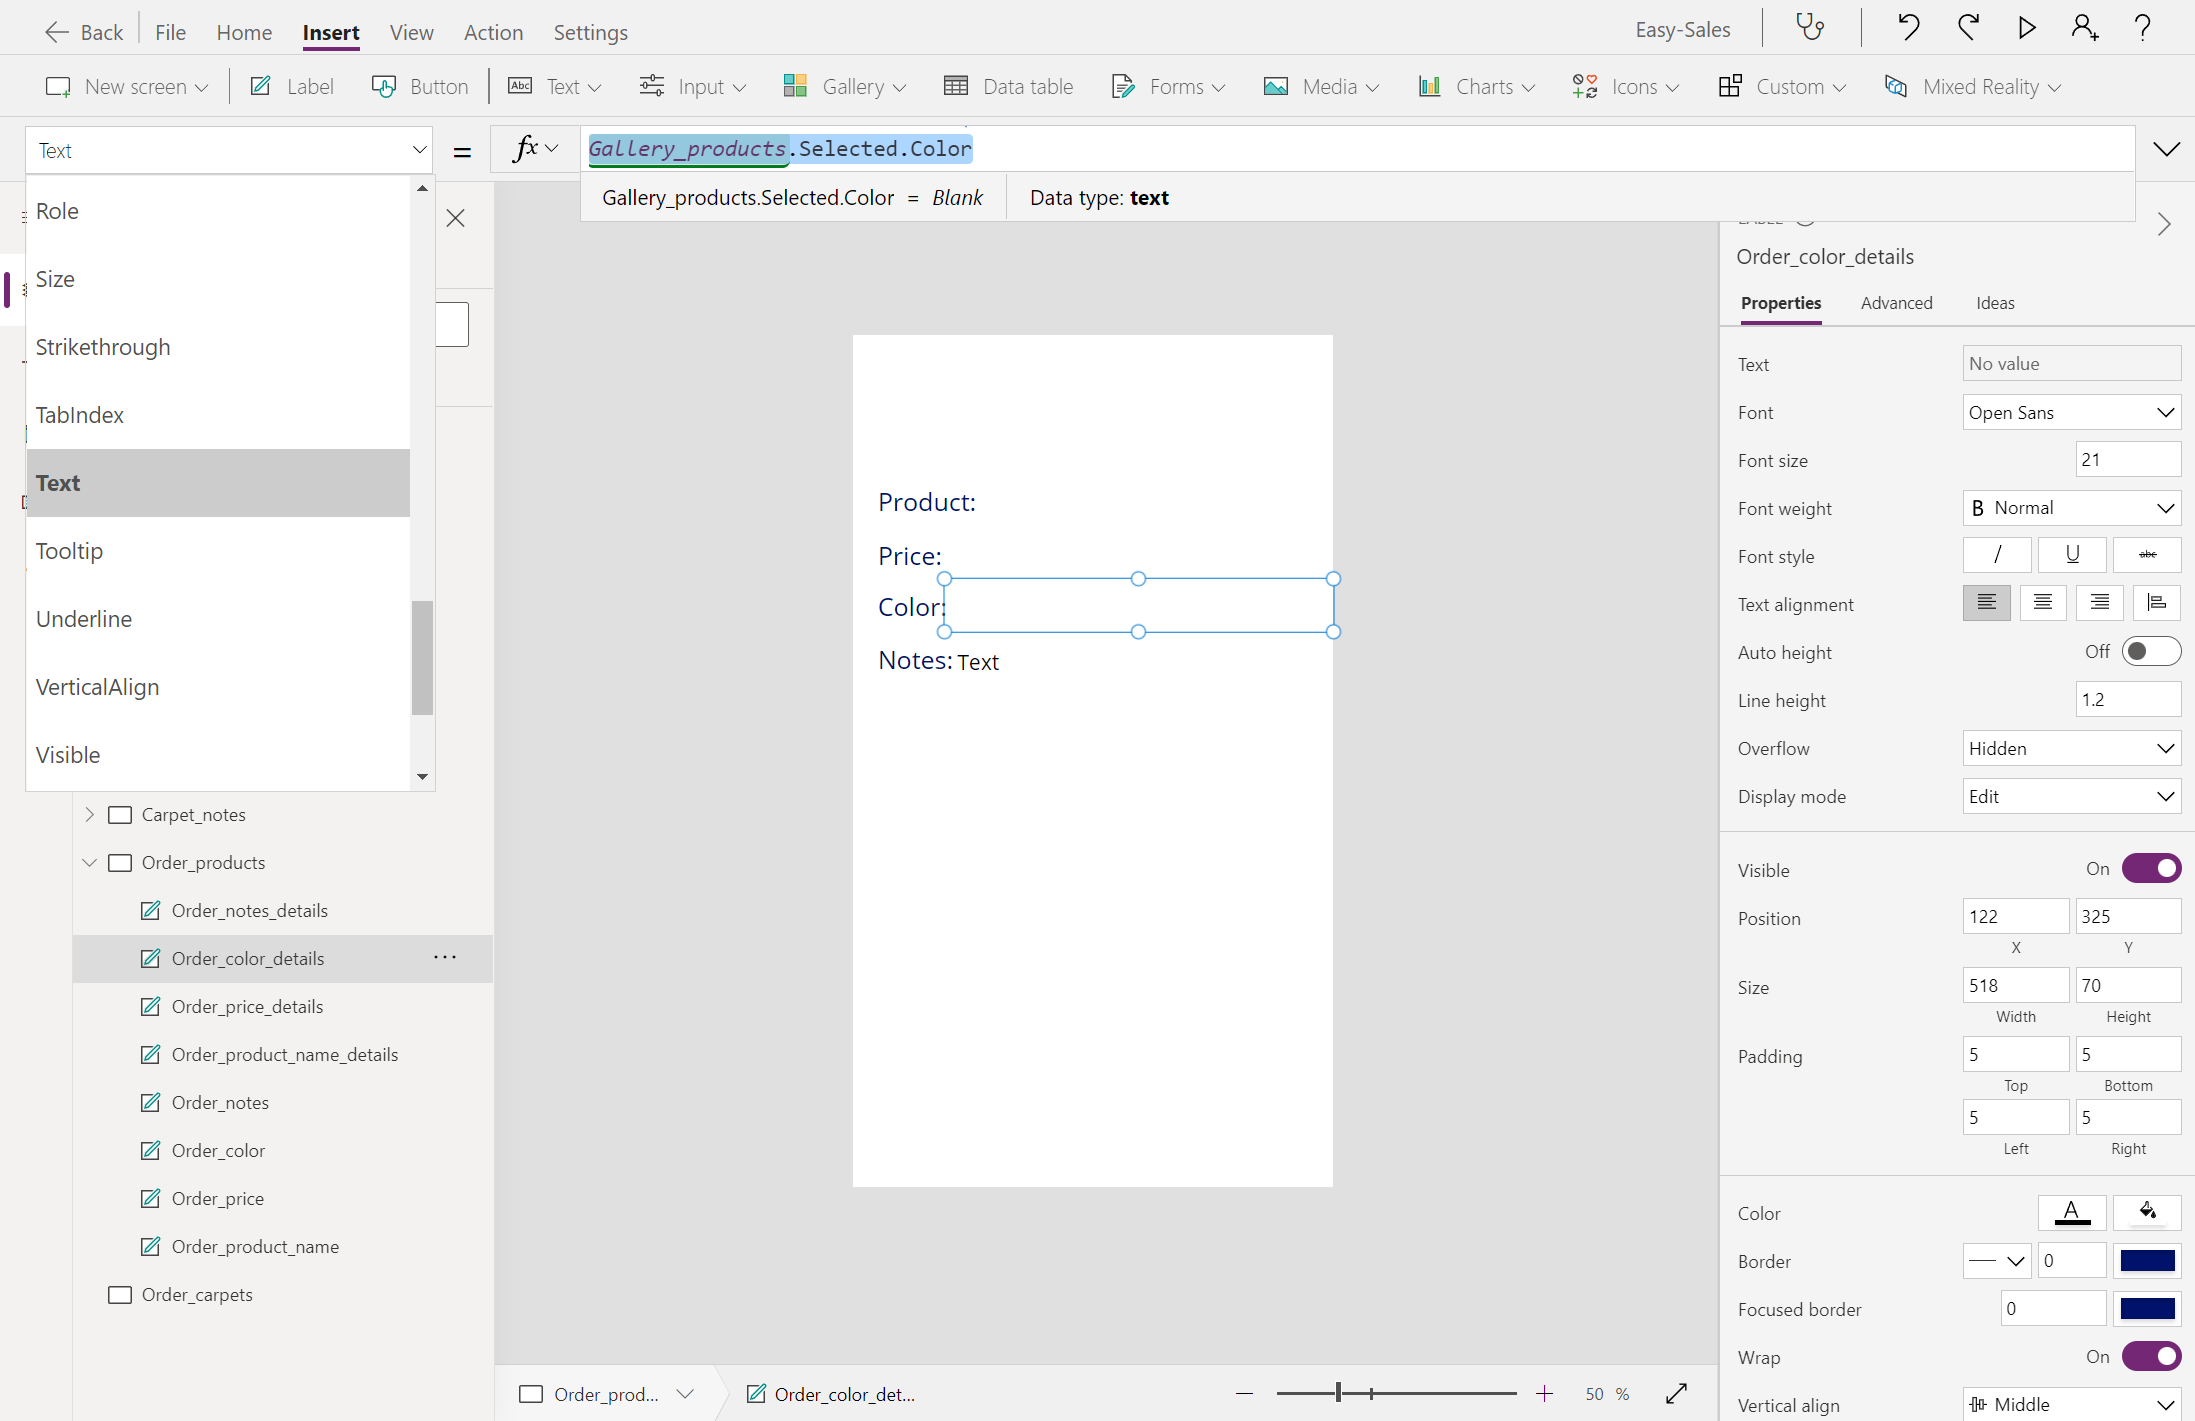
Notes:
TextInput_products.Text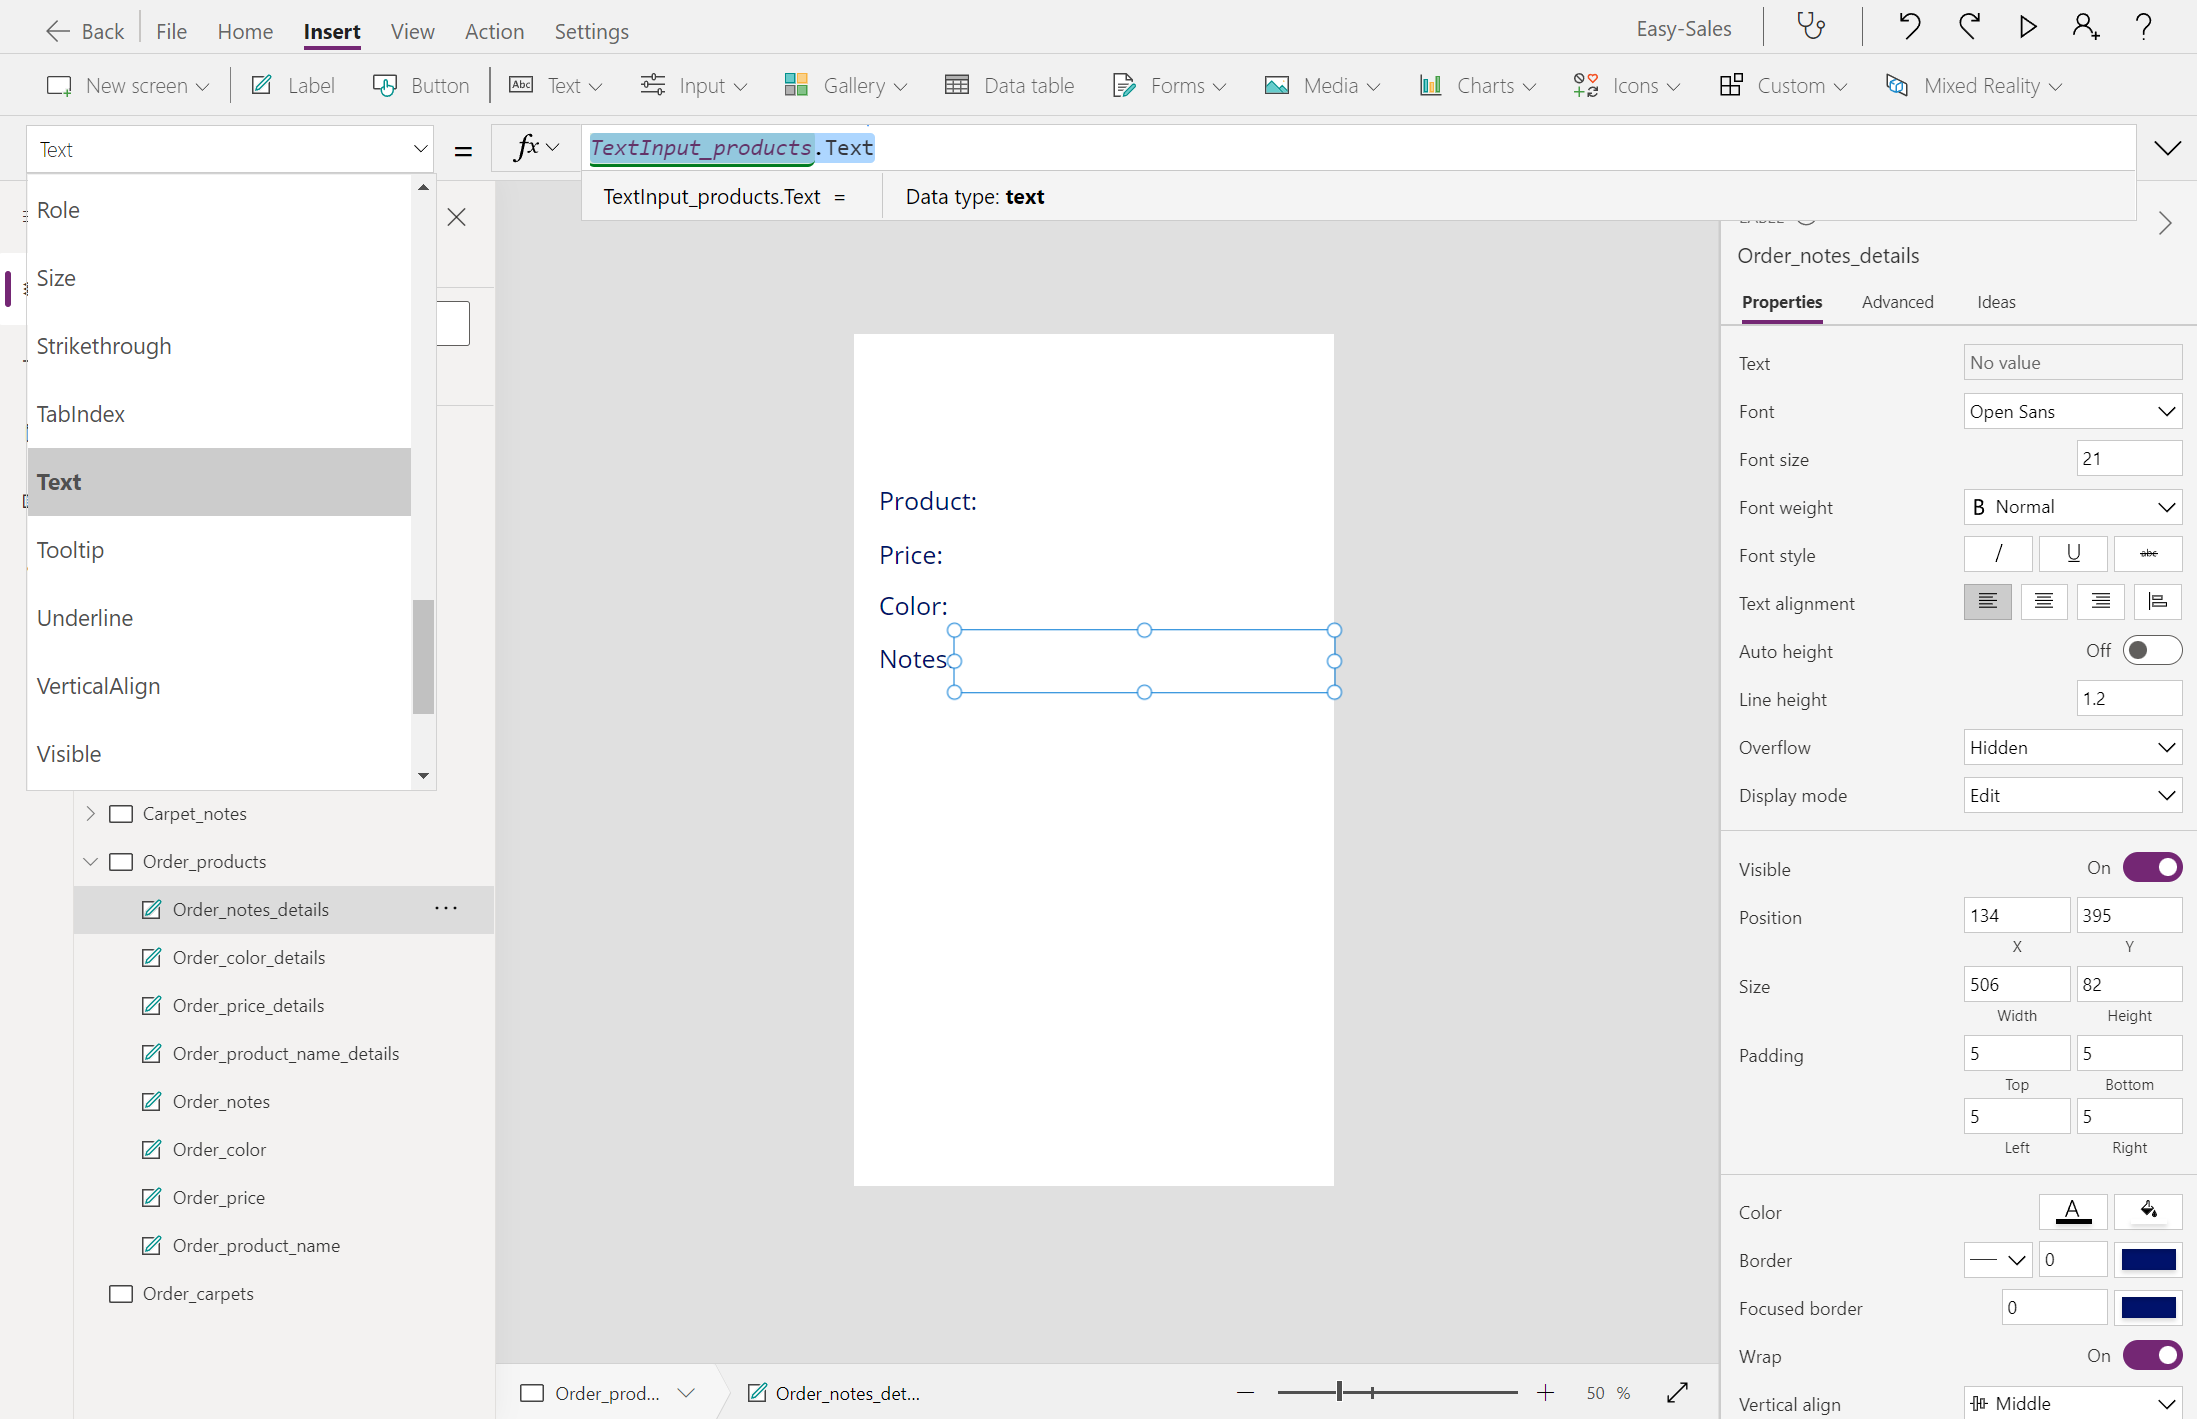
Add another label at the top and change its display text to Order Summary. Change the font size and font according to your needs.
Expand the Gallery dropdown and select Horizontal. Retain only the image; delete other components of the Gallery. Rename it Order_gallery_products

Configure the Items property of this gallery by adding the following line:
ViewInMR1.Photos
Add three Labels and change the display text to Enter your email to get an order confirmation mail!, Organization mail ID:, and Customer mail ID:, respectively.

Expand the Input dropdown and select Text input. Add two Text input components to the screen and position them as shown in the image. Rename them Input1_products and Input2_products.
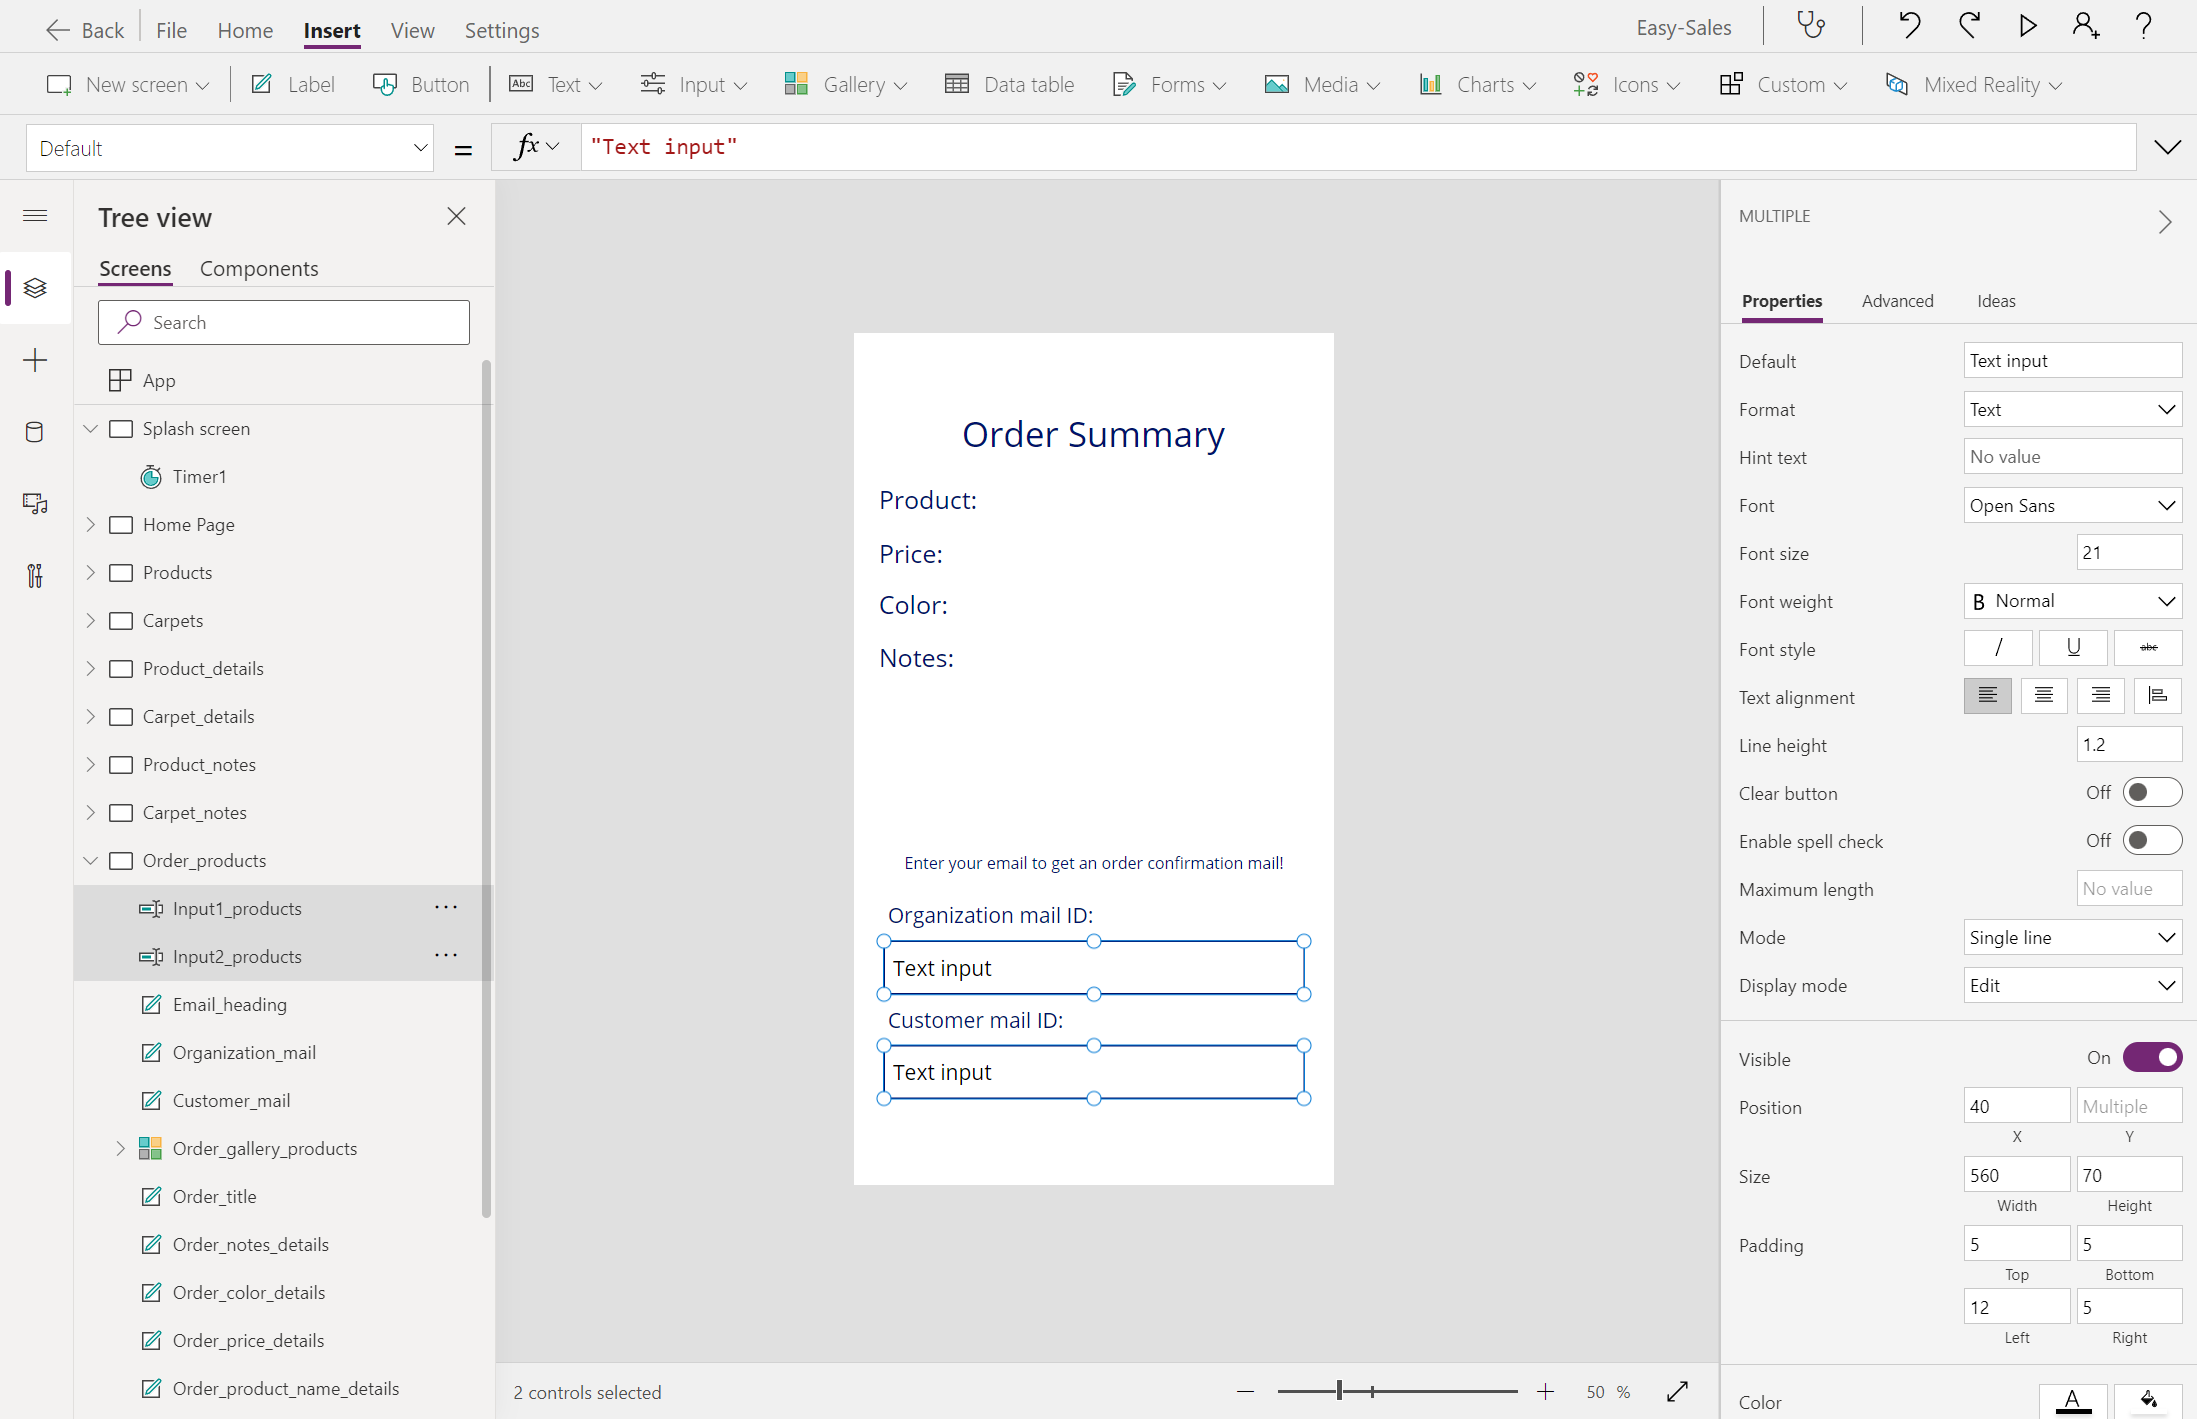
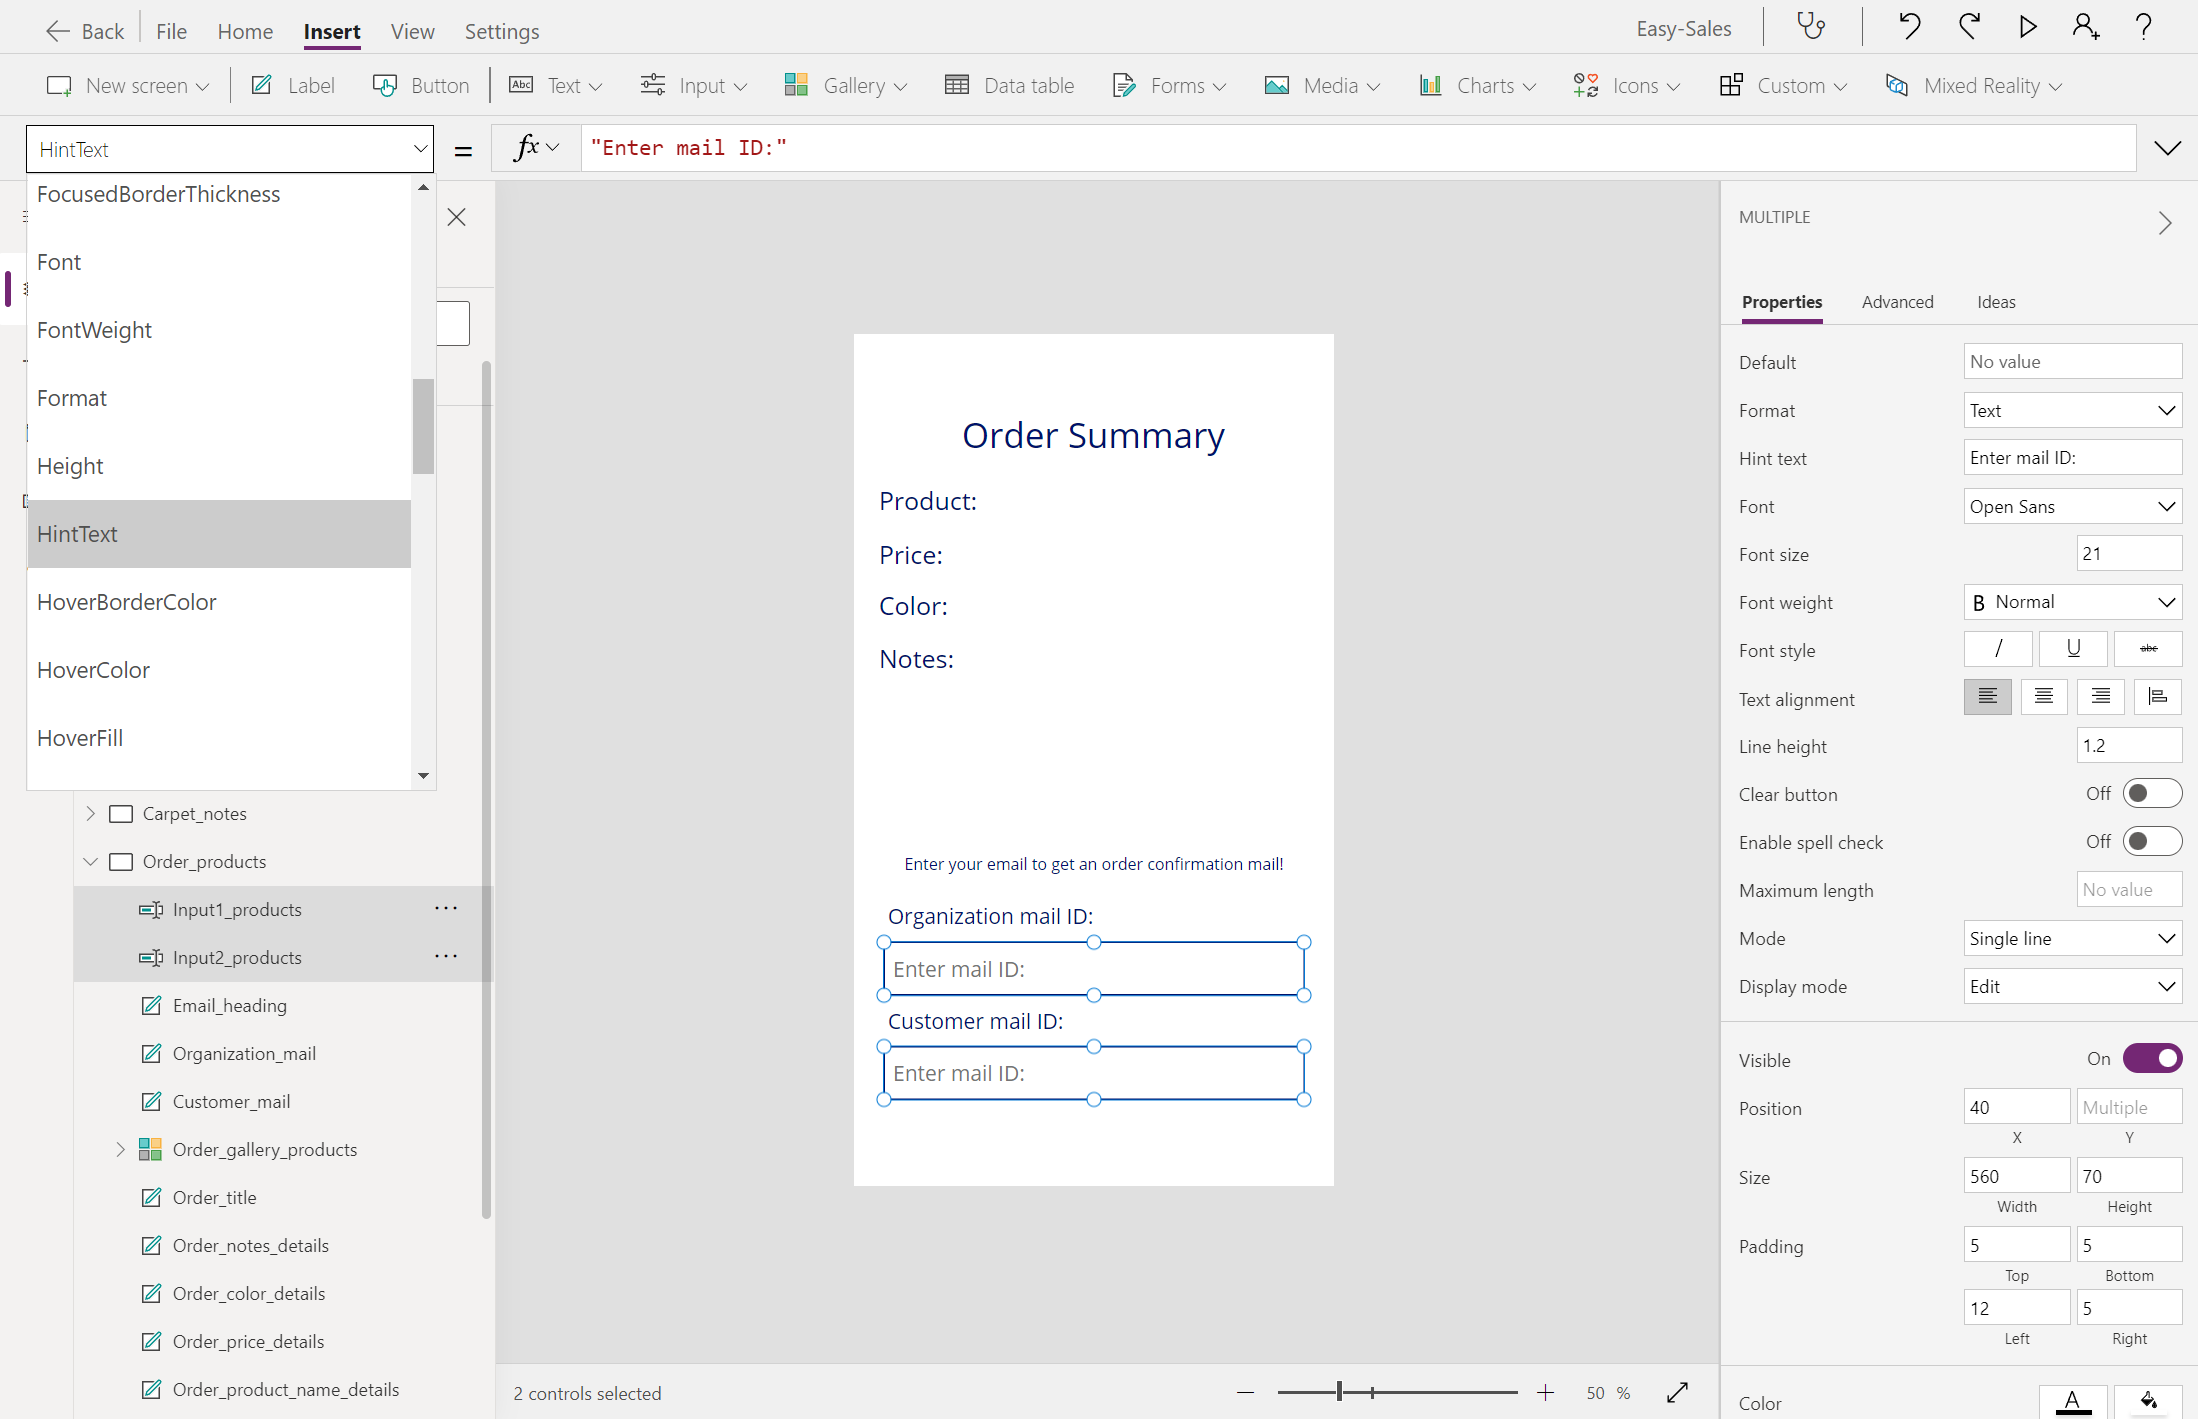
Configure the Hint text property by adding Enter mail ID:; store no value in the Default property. Adjust the font size and color according to your need.
Add a button from the Insert tab and configure its Text property by adding Confirm.

Expand the Icons dropdown and select Back and Home icon. Position them correctly, as shown in the image.

Configure the OnSelect property of these two icons as follows:
Back:
Navigate(Product_details,ScreenTransition.CoverRight)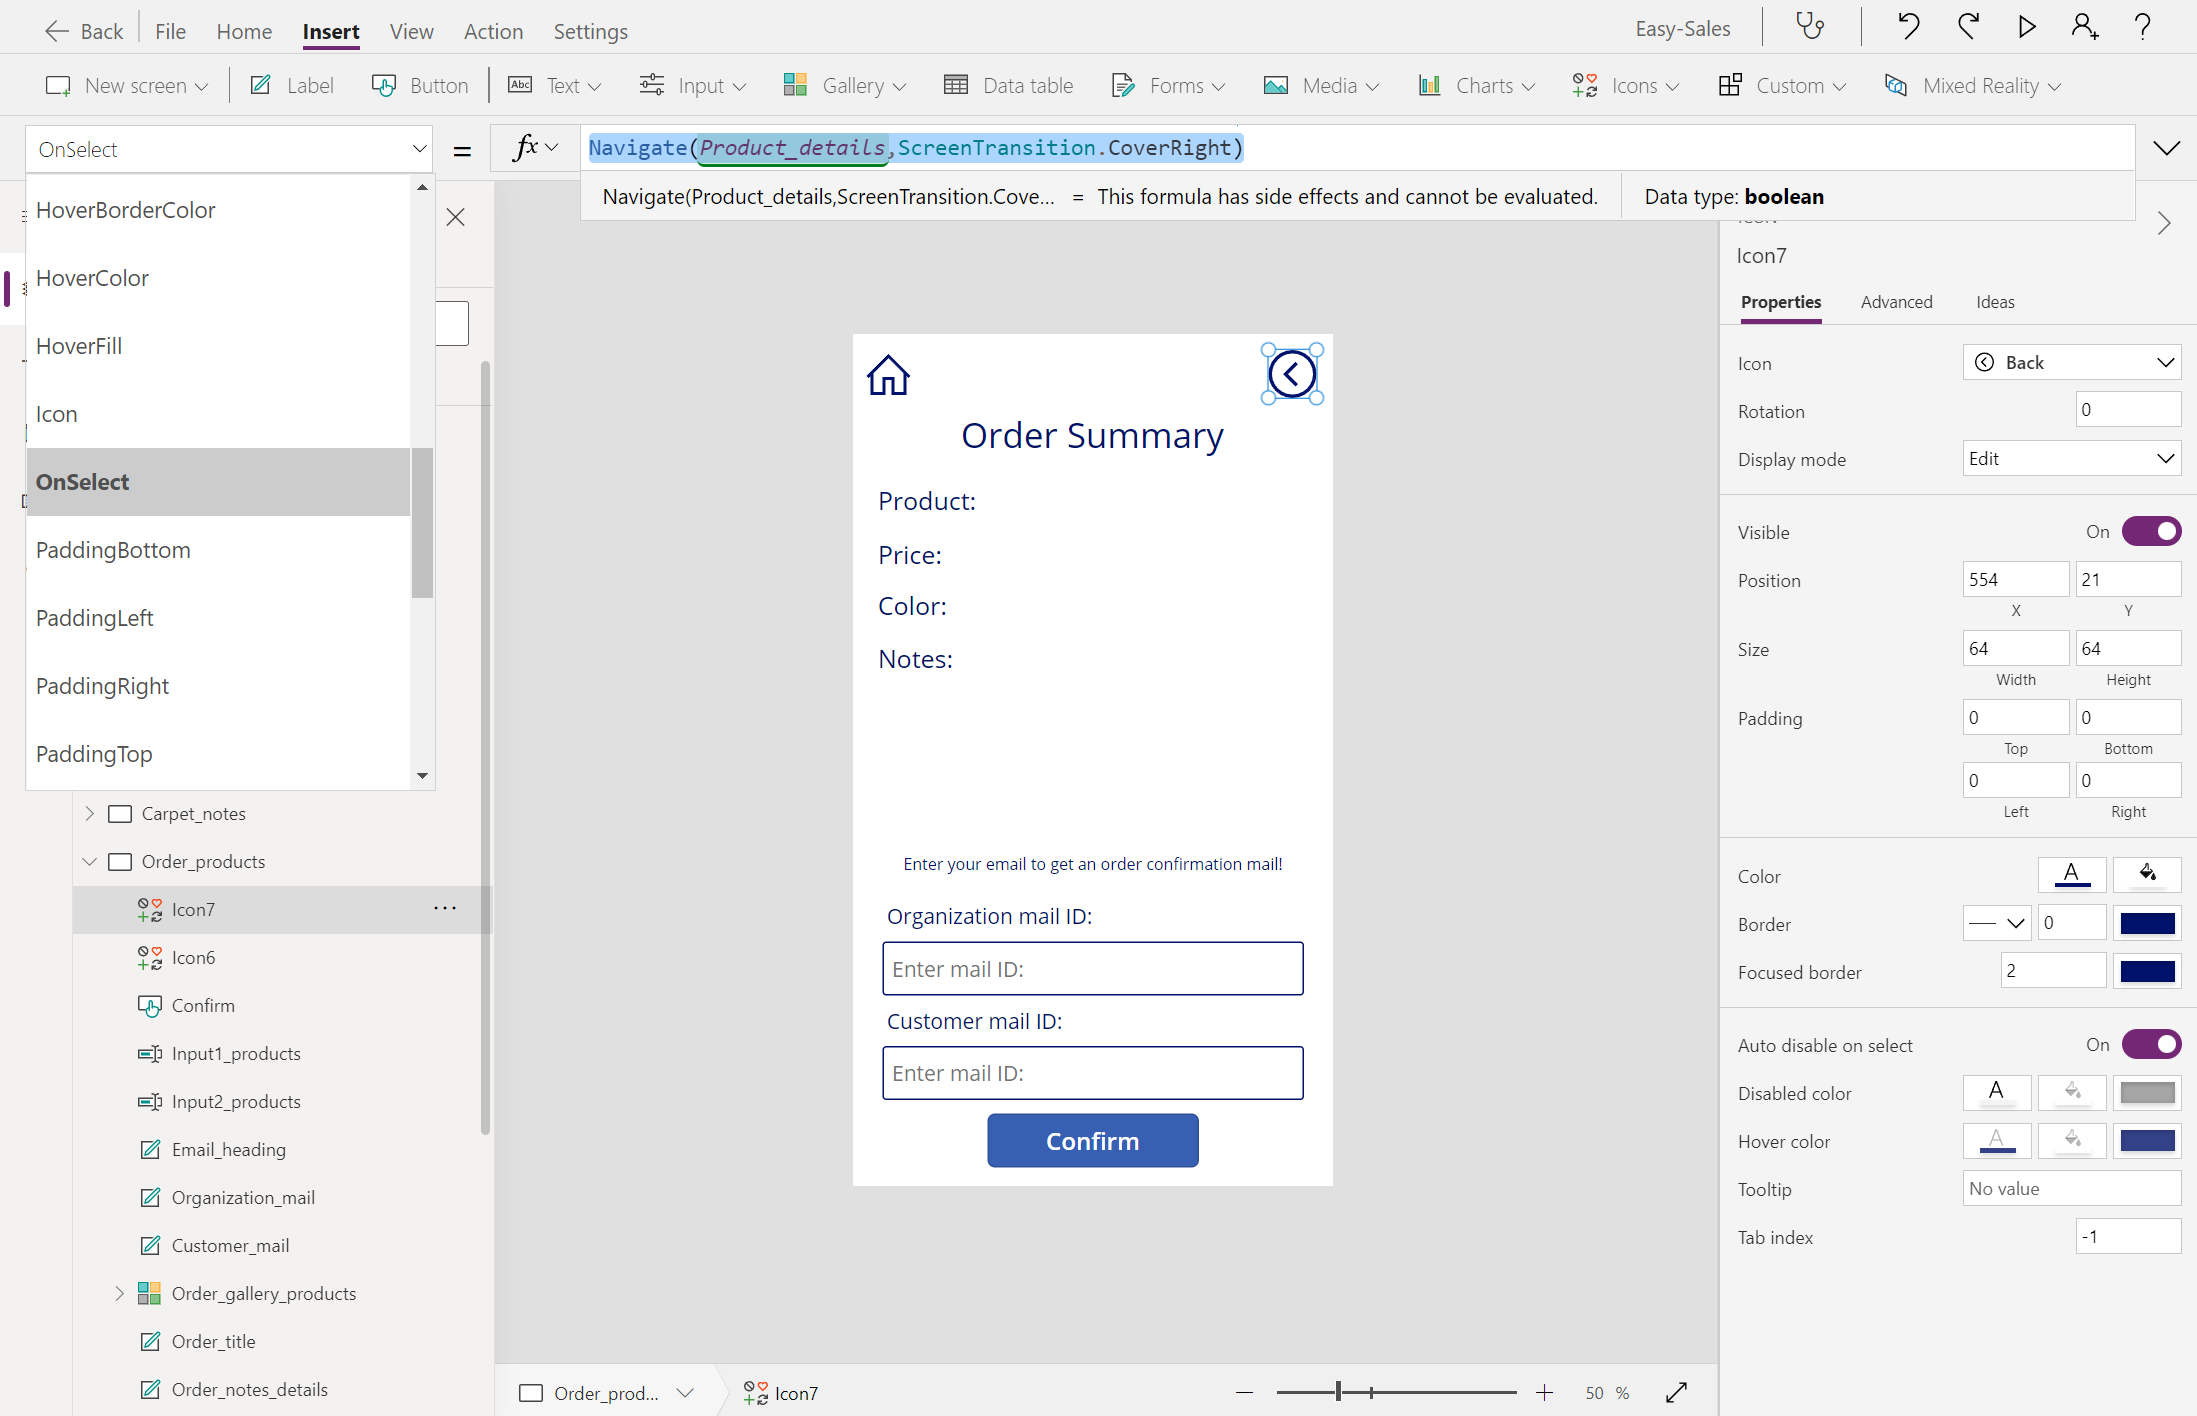
Home:
Navigate('Home Page',ScreenTransition.CoverRight)
Follow the same procedure for Order_carpets.


Create end page
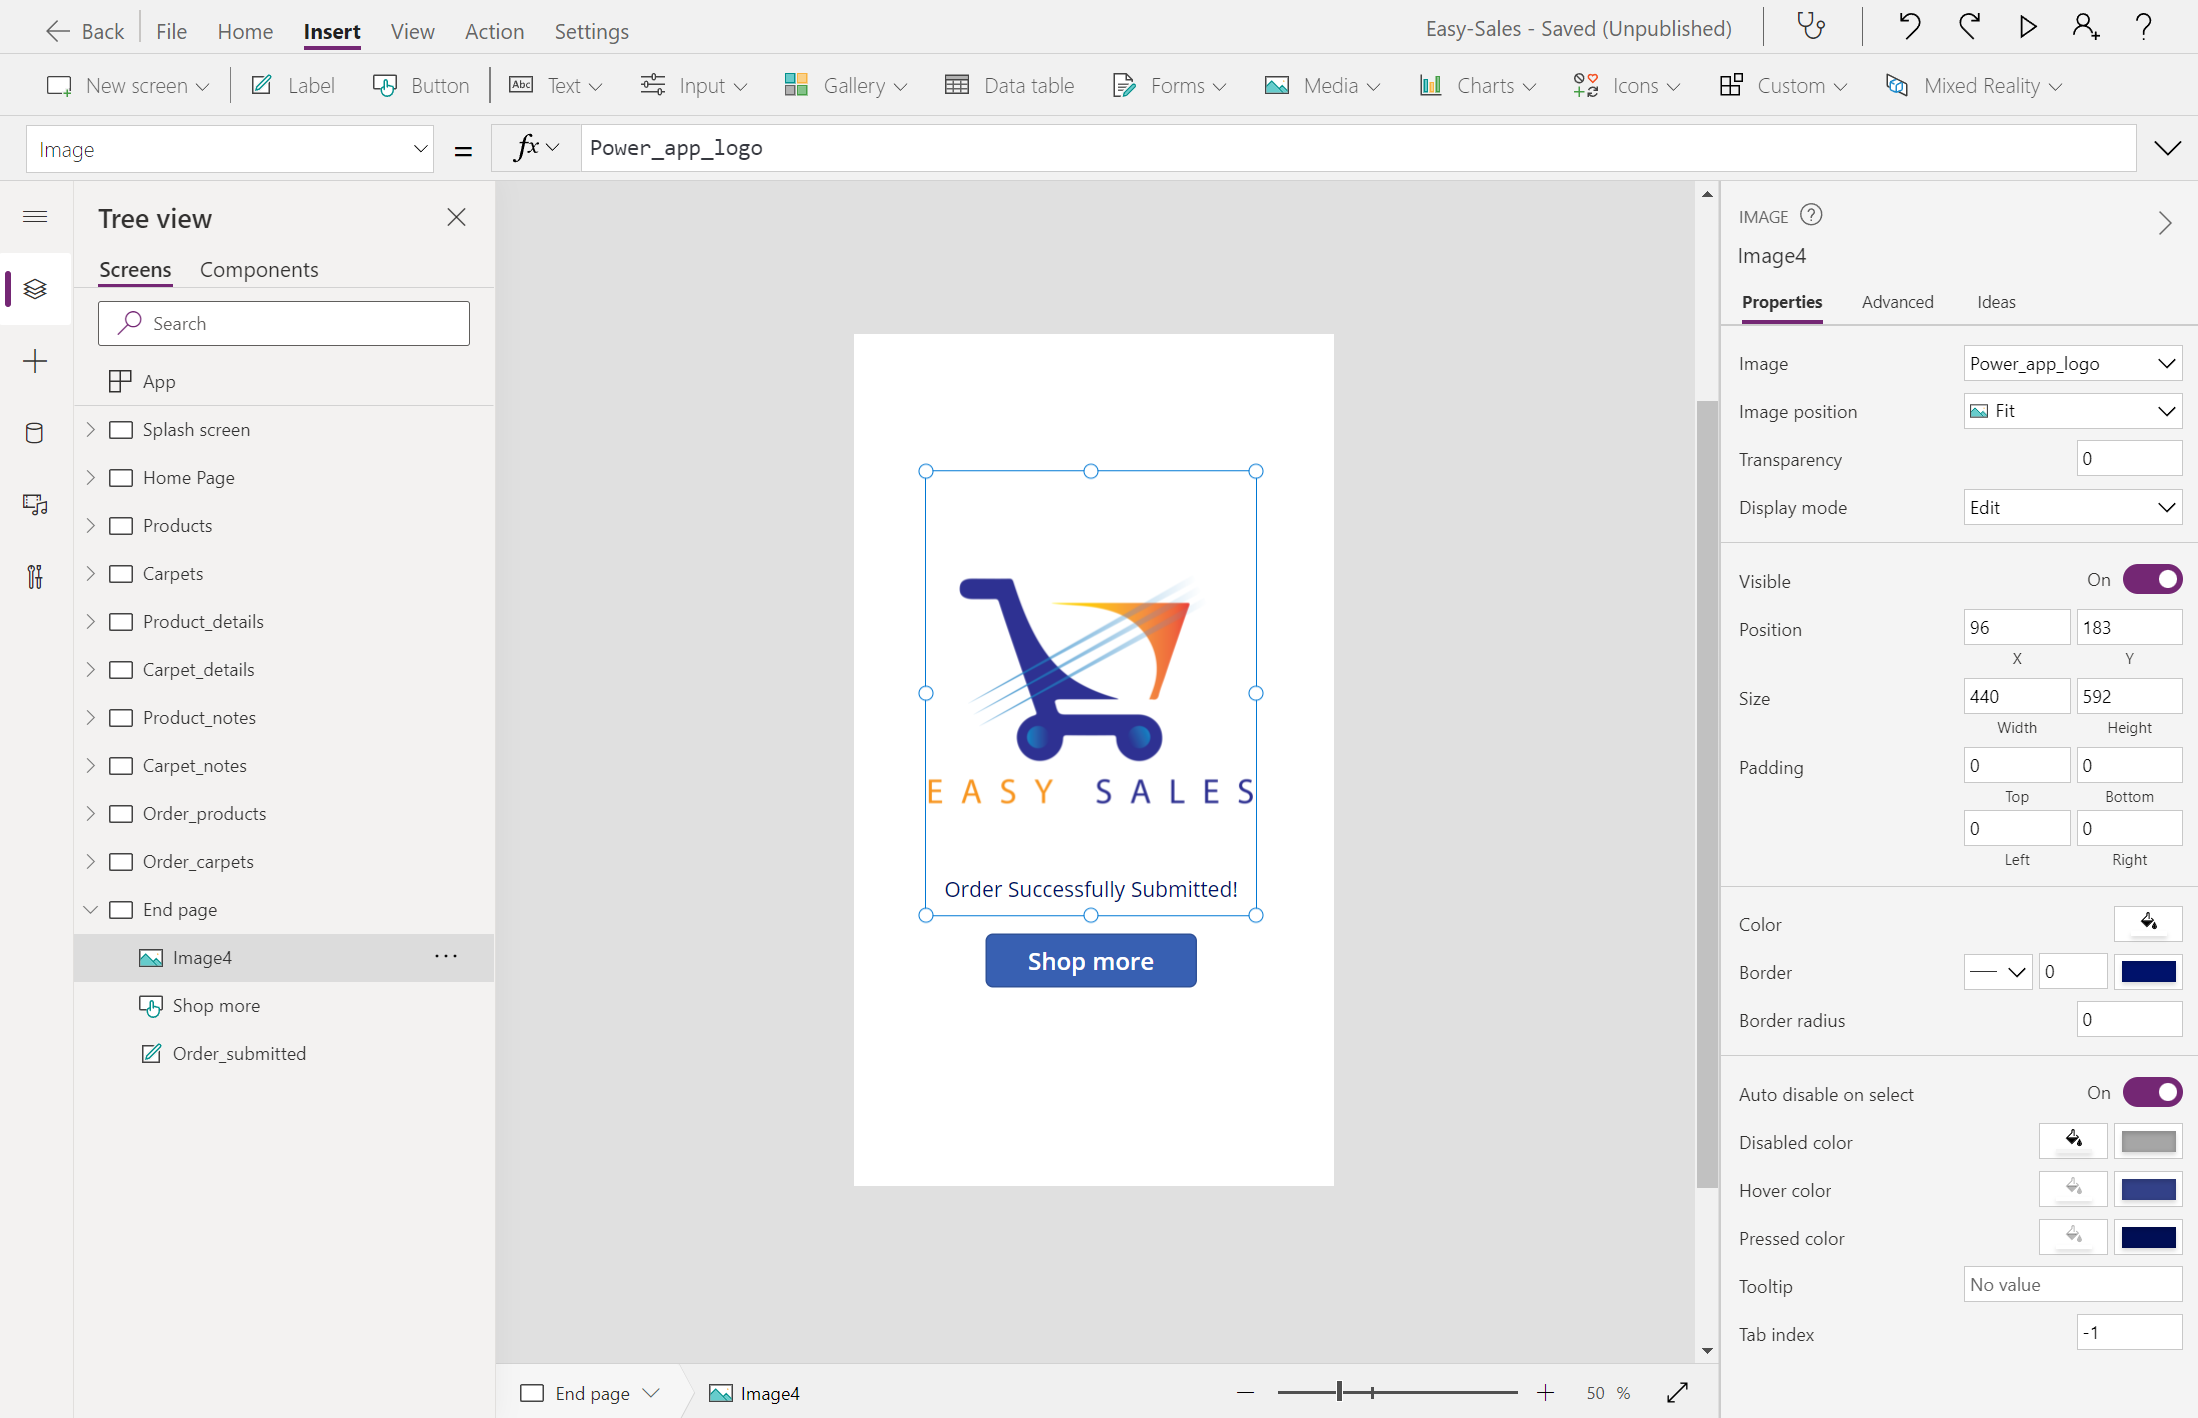
Create a Blank screen and rename it End page.

Add a Label and change its display text to Order Successfully Submitted!. Position the label as required on the screen.

Add a Button at the bottom of the screen. Configure the Text property of the button by adding Shop more. Let's direct the user to the home page: select the Shop more button, then add the following line in the OnSelect property.
Navigate('Home Page',ScreenTransition.Cover)
Expand the Media dropdown and select Image to add an image component to the End page.
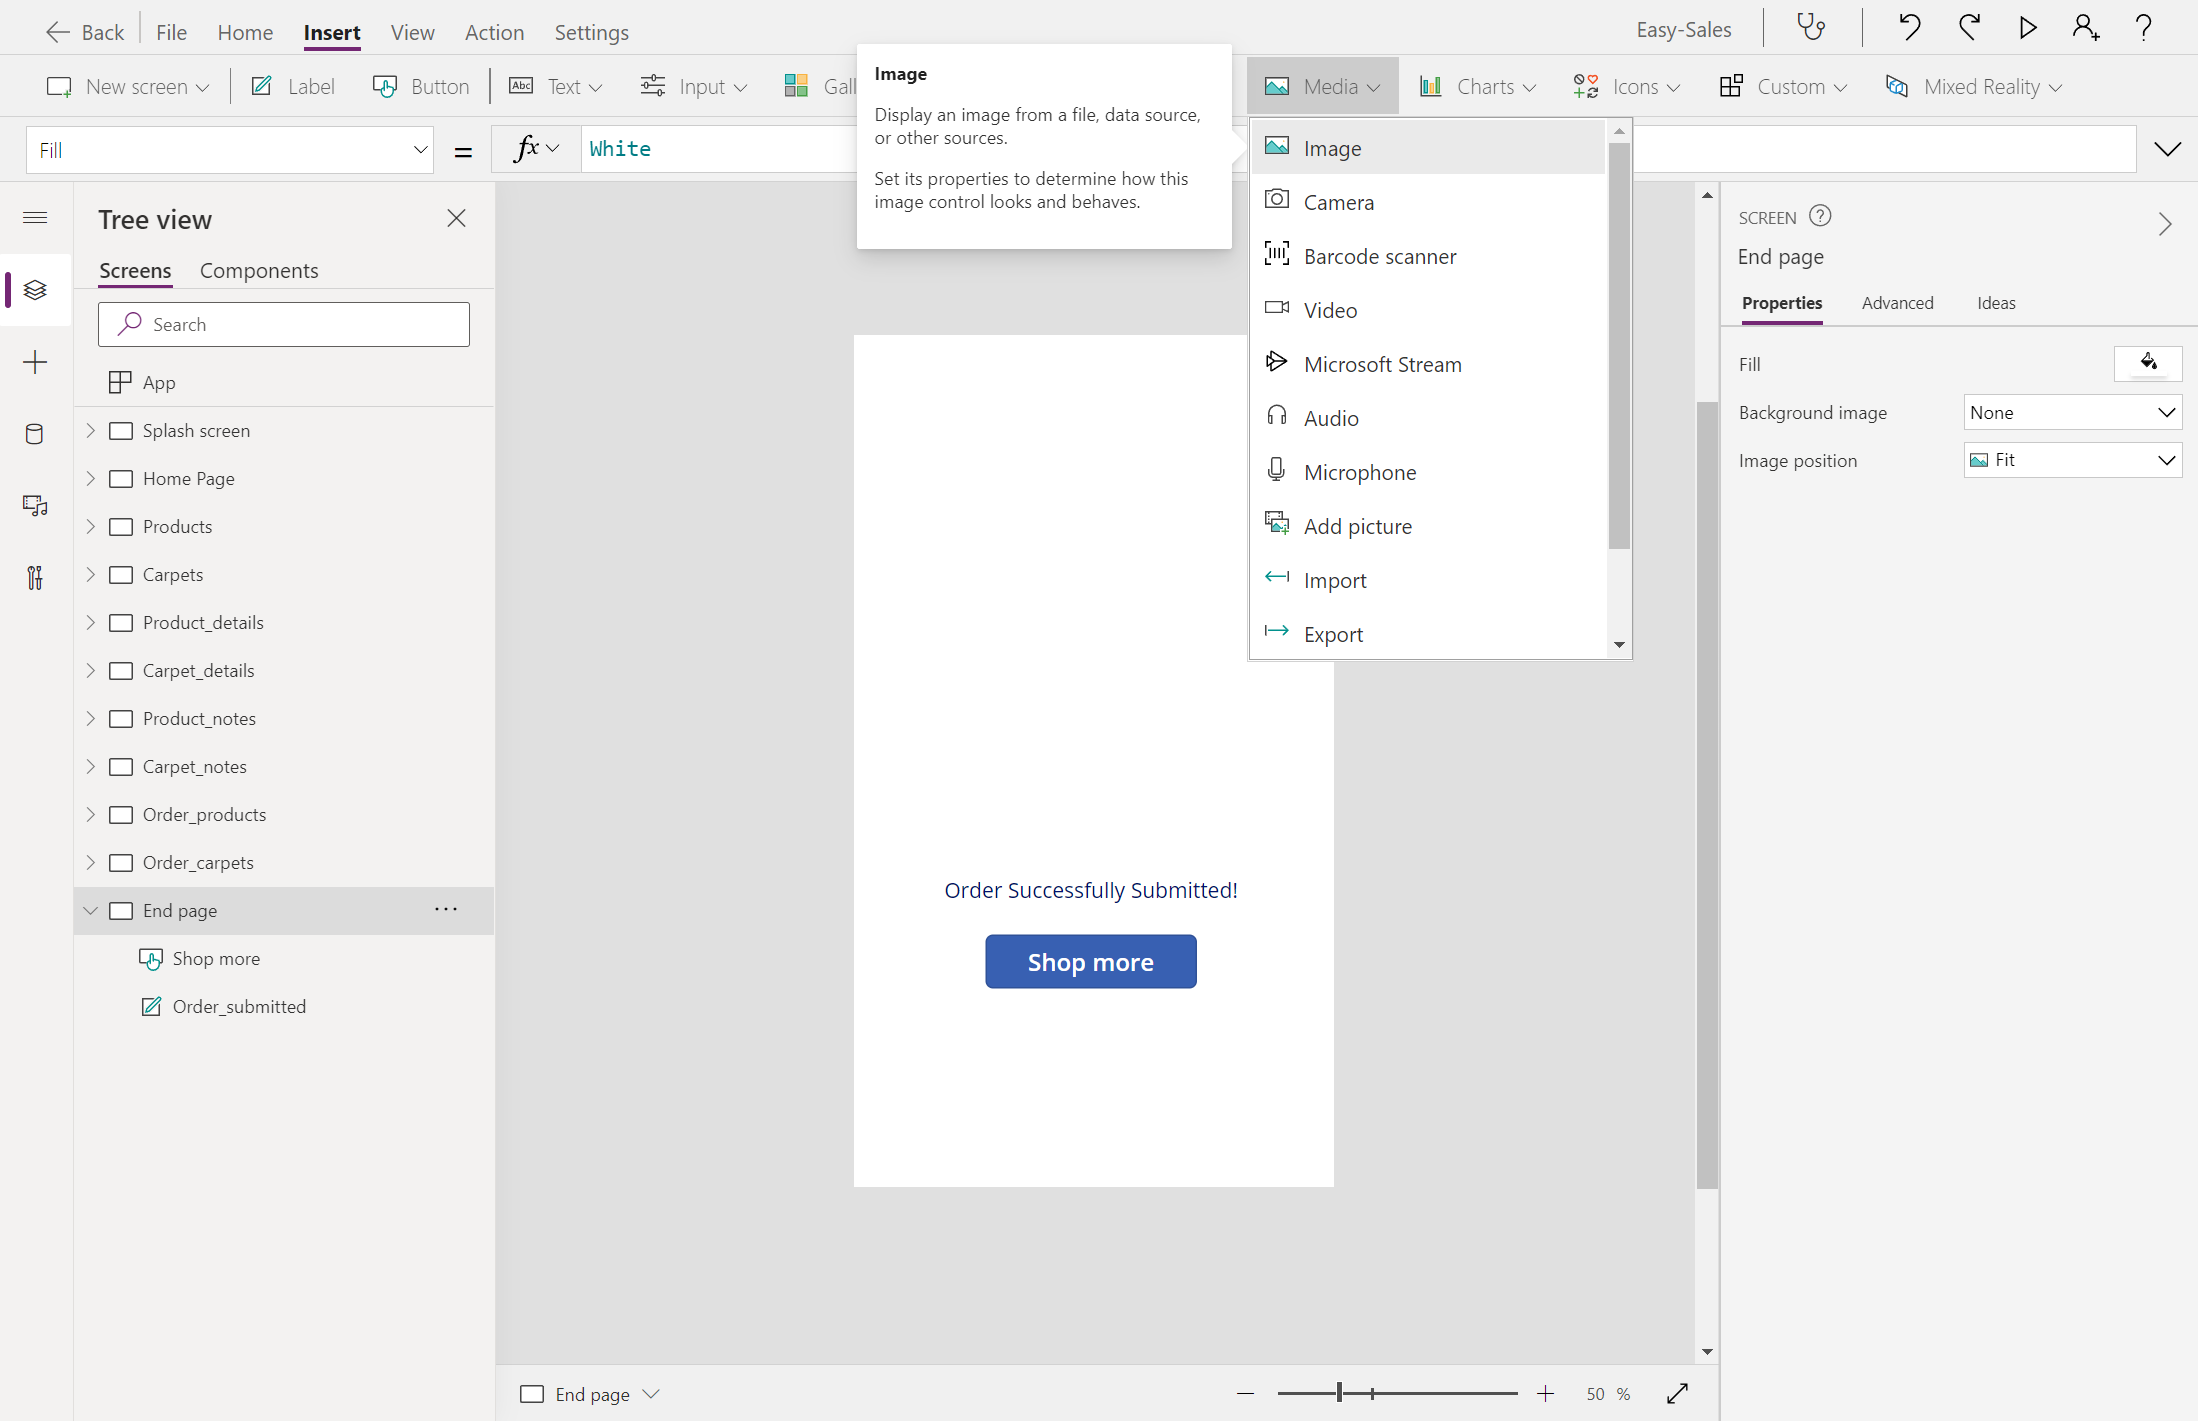
Position the image as shown in the image. Select the logo file to display.
Tip
Save your application frequently by selecting the File tab at the top and selecting the Save option. If prompted, select the The cloud option and then select Save.


Send emails via Power Apps
Select the Data tab and select + Add data. Expand the Connectors, then select Office 365 Outlook to add it as one of the connectors for this application.

Open Order_products and then configure the OnSelect property of the Confirm button by adding the following lines:
Office365Outlook.SendEmailV2(Input1_products & ";"& Input2_products,"Order Summary","<b> Your order is successfully submitted! </b> <br> Order details are as follows: <ul> <li> Product: " & Order_product_name_details & "</li> <li> Price: " & Order_price_details & "</li> <li> Color: " & Order_color_details & "</li> </ul>Notes: " & TextInput_products & "<br><b> Thank you for shopping with us! </b>");
Navigate('End page',ScreenTransition.Cover)
Note
The names used in the preceding function follow the naming conventions used in this application at the time of development. You can customize the function according to your application.


Implementing the preceding steps must make your application work in the following way: your application will include a Notes page to store all the session notes, an Order summary page to review your order and send mails, and an End page to provide an excellent closure to the application.

Test your application on a mobile device
Choose the download link for your device:
- For iOS (iPad or iPhone), go to the App Store.
- For Android, go to Google Play.
Open Power Apps on your mobile device and sign in with your Microsoft account credentials.
The apps that you used recently will appear on the default screen when you sign in to Power Apps mobile.
The Home is the default screen when you sign in. It displays the apps you used recently and the apps that you've marked as favorites.
To run an app on a mobile device, select the app tile. If this is the first time you're running a canvas app by using Power Apps mobile, a screen shows the swipe gestures.
To close an app, use your finger to swipe from the left edge of the app to the right. On Android devices, you can also select the Back button and confirm that you intended to close the app.
Note
If an app requires a connection to a data source or permission to use the device's capabilities (such as the camera or location services), you must give consent before you can use the app. Typically, you're prompted only the first time you run the app.