Enter lines manually in the requisition worksheet
In the Requisition worksheet, you list all the items that you want to order. You can enter items in the Requisition worksheet in the following ways:
Manually
By using the Calculate Plan batch job
By using the Carry out Action Message function from the planning worksheet
By using the Drop Shipment function to fill worksheet lines
By using the Special Order function to fill worksheet lines
You can use the requisition worksheet to process inventory items, non-inventory items, and service items. The Calculate Plan batch job is only available for inventory items. If you want to process non-inventory items and service items, you must enter lines manually in the requisition worksheet. Besides items, you can also enter G/L accounts in the requisition worksheet.
In this unit, we'll discuss how to manually enter lines in the requisition worksheet.
To open the requisition worksheet, choose the search for page icon in the top-right corner of the page, enter requisition worksheet, and then choose the related link.
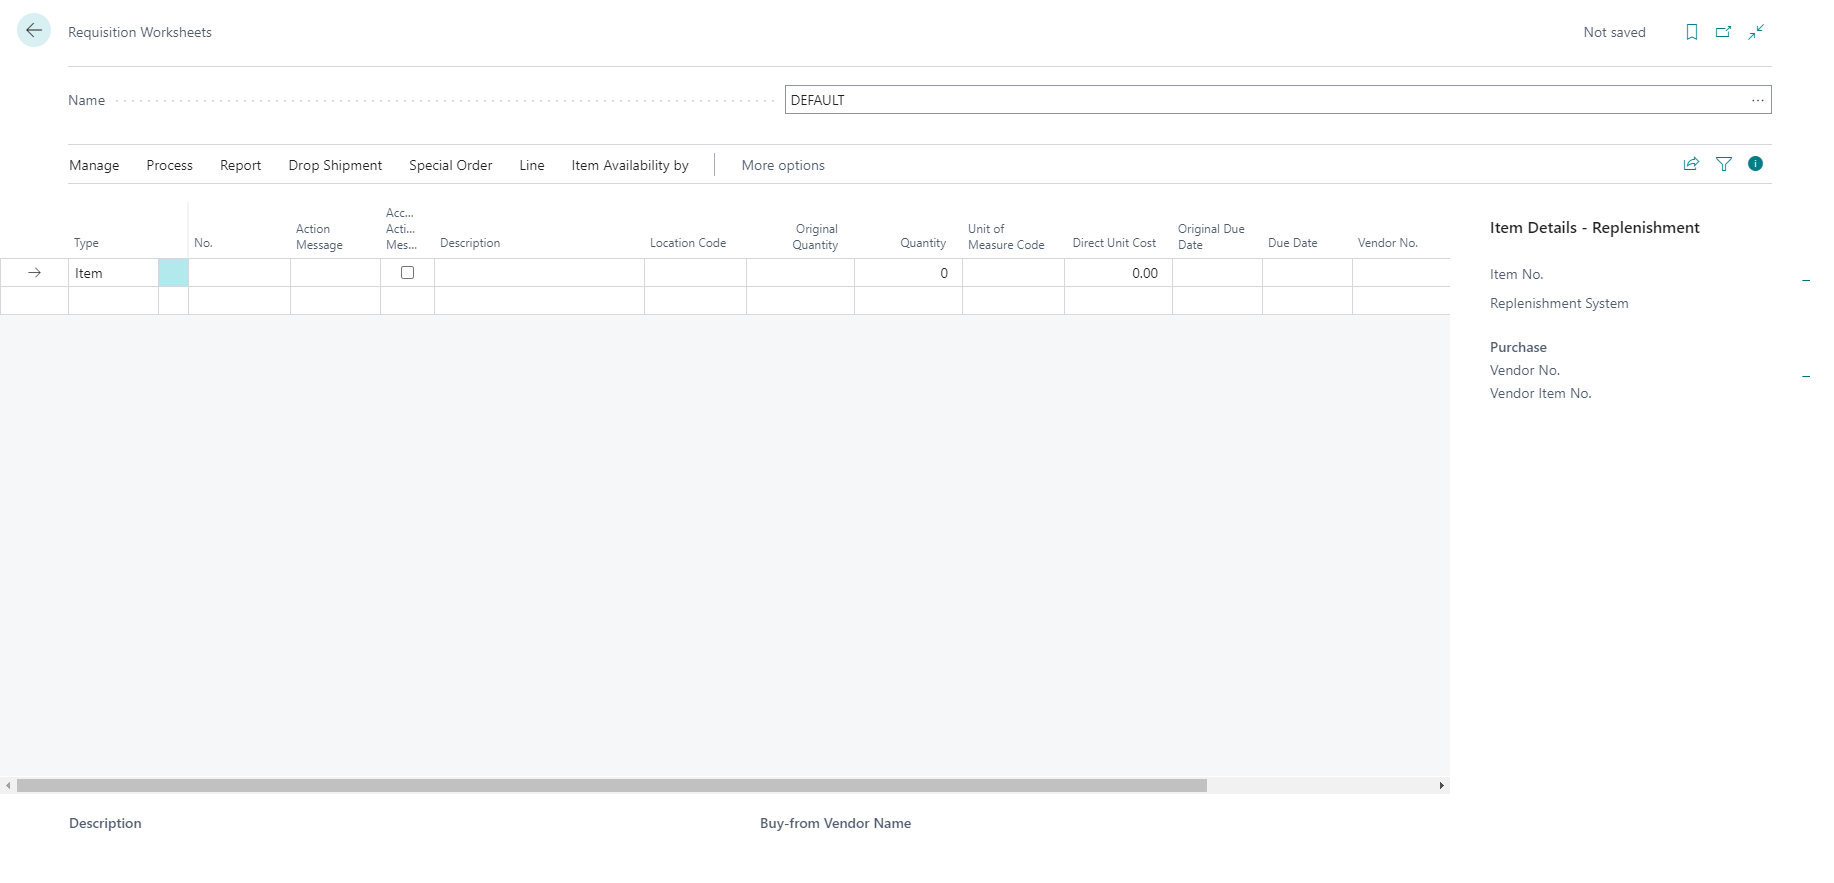
You can find the following fields on a requisition worksheet line:
Type: You can specify which master data you want to use by selecting an option in the Type field. Although in the most cases you will use items in a requisition worksheet, you also can use G/L accounts.
No.: After choosing the type, you can enter the item or the G/L account number.
Action Message: Specifies an action to take to rebalance the demand-supply situation. The following options are available: New, Change Qty., Reschedule, Reschedule & Change Qty., Cancel.
For example, if you use the replenishment system Purchase and in the Action Message field you select New, and then select Carry Out Action Message, the system will create a new purchase order. If you manually enter lines in the Requisition worksheet, then you can only choose blank or the New option in the Action message.
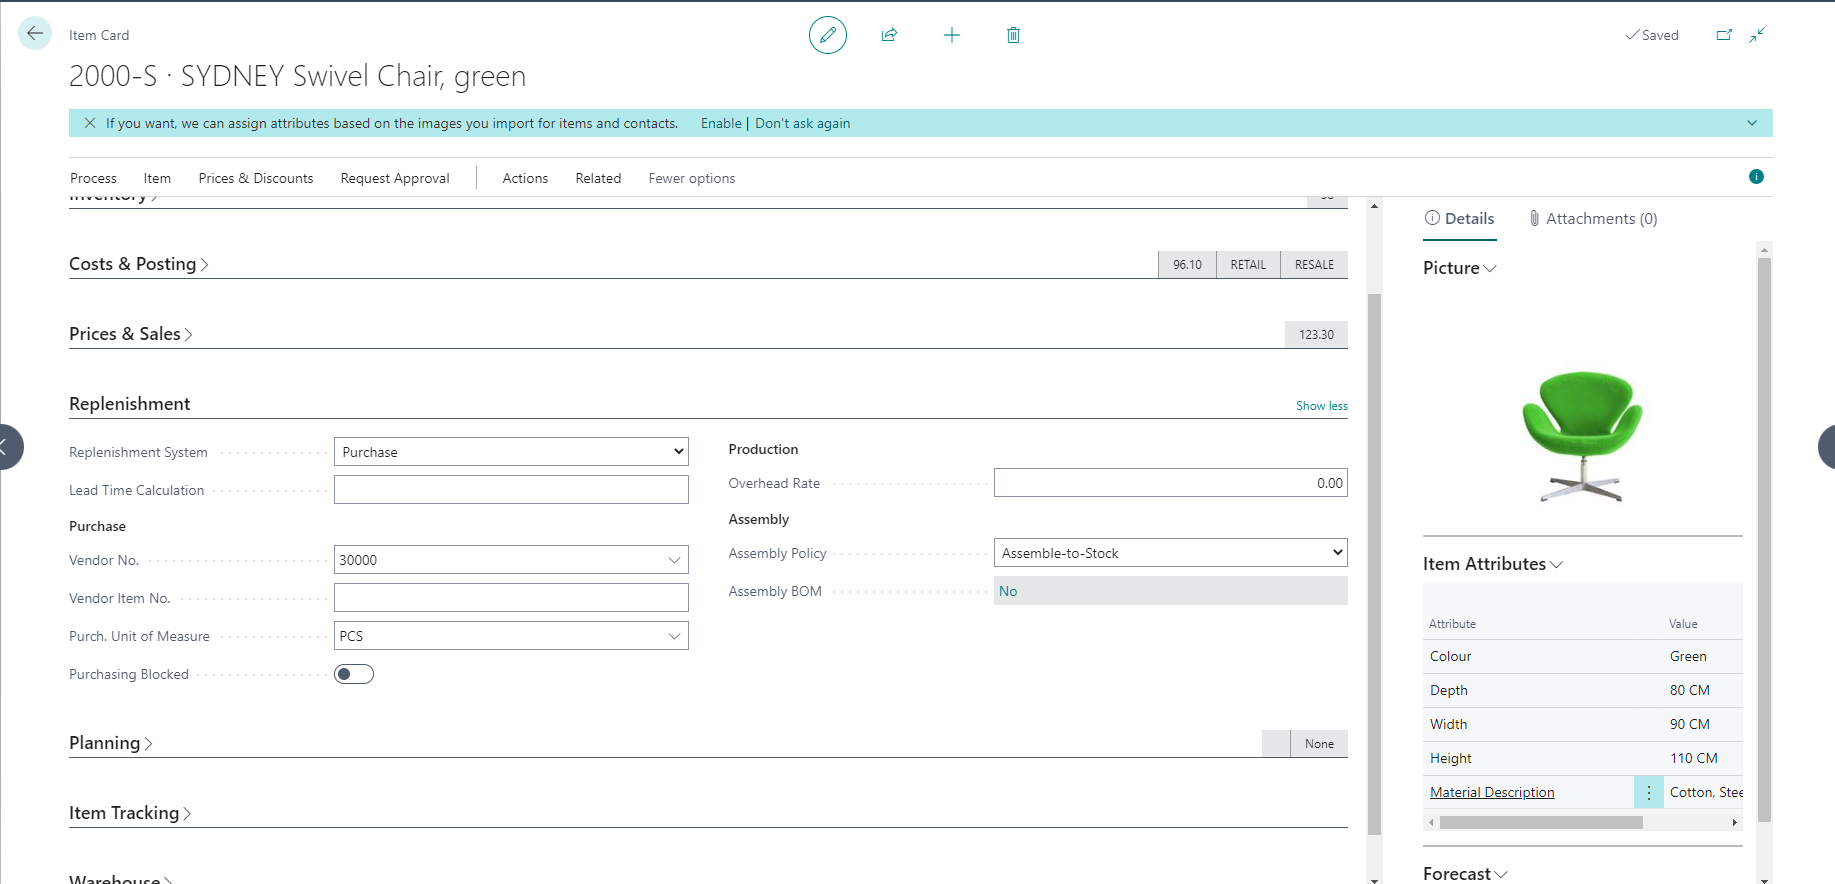
Vendor No.: When you enter an item on the requisition worksheet line, Business Central automatically suggests the vendor number from the item card.
Vendor Item No.: Specifies the vendor item number from the item card.
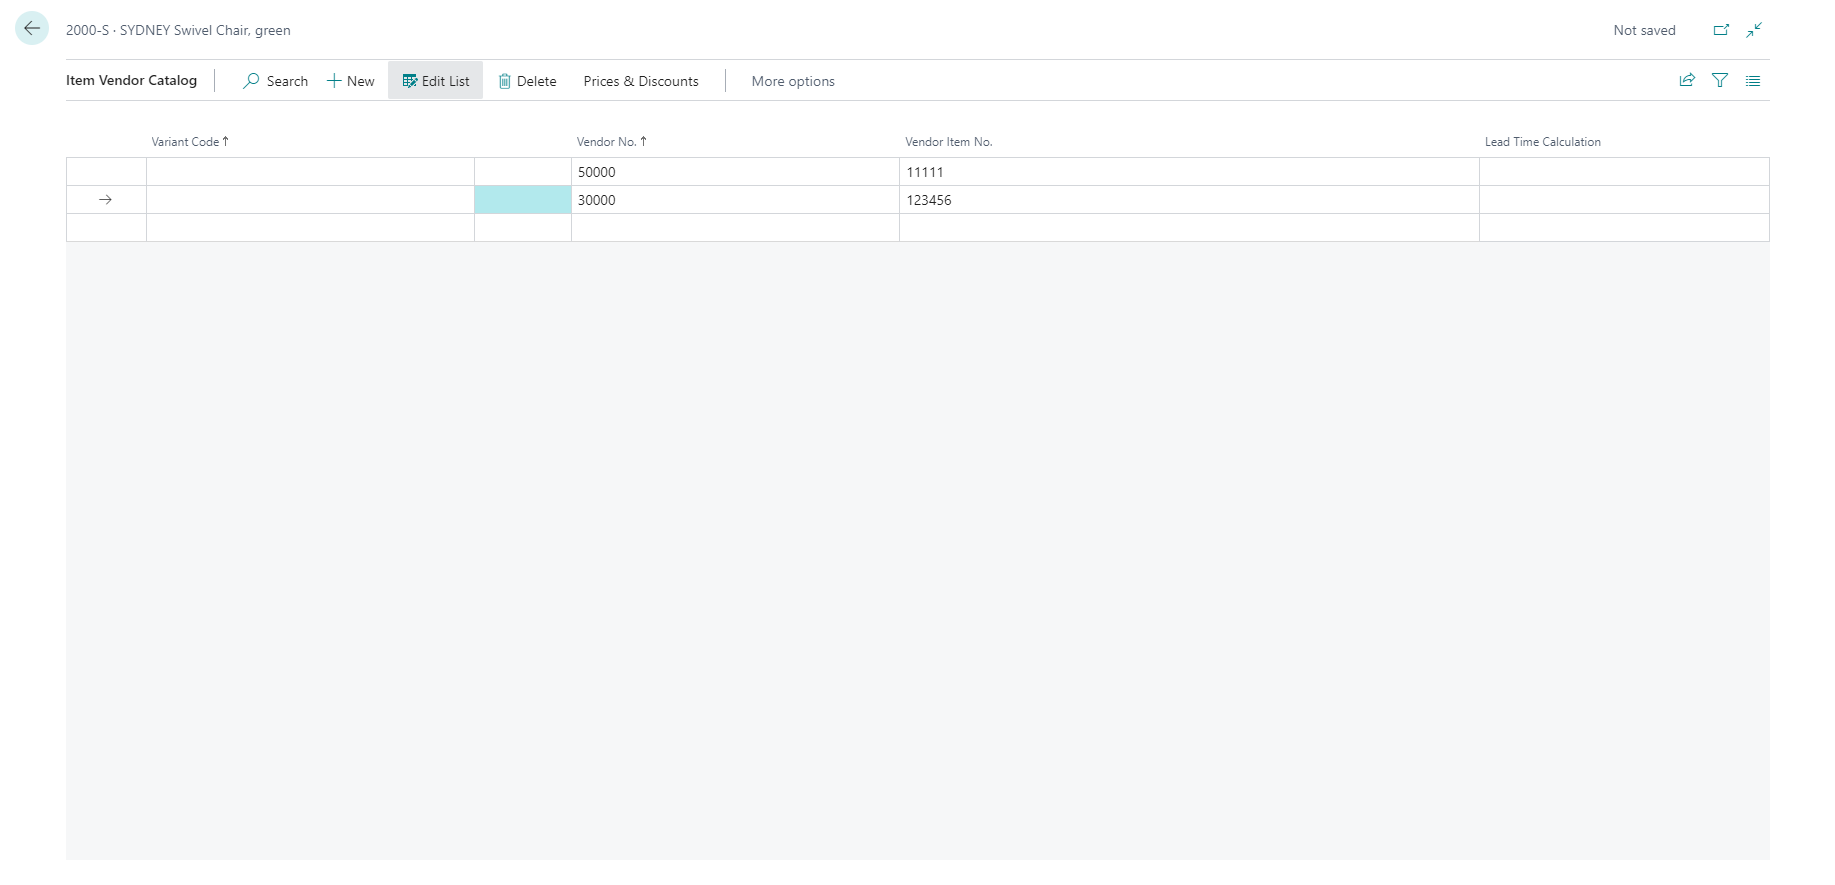
Item vendor catalog
You can specify multiple vendors for each item by following these steps:
Select the search for page icon in the top-right corner of the page, enter items, and then choose the related link.
On the action menu, select Related, then Purchases, and then Vendors.
Enter the fields as required.
If you enter a requisition worksheet line, by default the vendor from the item card is entered. However, if you select the Look up value button, you can select any of the available vendors from the item vendor catalog.
Carry out action message
When you're satisfied with the lines and are ready to create the orders, you can run the Carry out Action Message batch job. If you select OK, Dynamics 365 Business Central will process the lines in the requisition worksheet and create the orders.