Diagnose memory problems
Each device that runs Windows has memory, in which Windows stores parts of the operating system, apps, and data. If parts of the memory experience failure, you can expect various issues that seem random and that can be challenging to diagnose. For example, memory problems can prevent Windows from starting, cause unpredictable Stop errors that appear on blue screens, and cause apps to close randomly. However, it isn't necessarily easy to reproduce these issues, because the operating system and apps aren't loaded into the same area of memory each on each start-up. Therefore, memory problems can be difficult to identify.
Diagnose memory problems
The Windows Memory Diagnostics tool works with Microsoft Online Crash Analysis to monitor computers for defective memory. It also determines whether defective physical memory is causing program crashes.

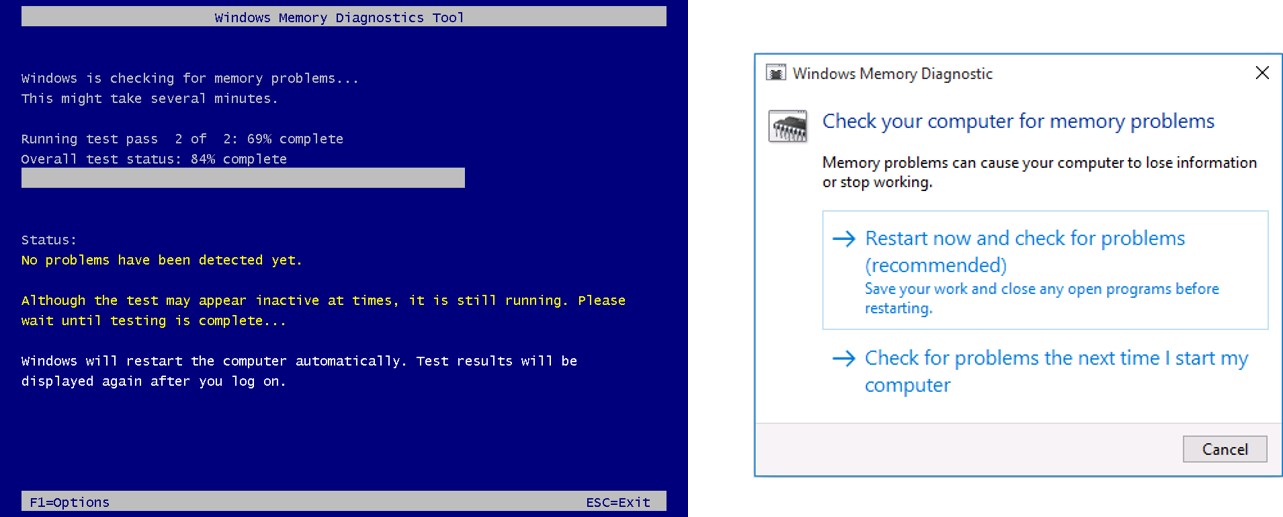
If the Windows Memory Diagnostics tool identifies a memory problem, Windows avoids using the affected part of the physical memory, so that the operating system can start successfully and avoid app failures. In most cases, Windows automatically detects possible problems with a computer’s memory and displays a notification that asks whether to run the Windows Memory Diagnostics tool. You also can start the Windows Memory Diagnostics tool from Windows, from the Windows Recovery Environment, or from Windows installation media. Windows prevents direct access to computer memory, so the Windows Memory Diagnostics tool can test the memory only if Windows is not running. If you start the tool from Windows, you can restart the computer and check for memory problems immediately, or you can schedule the tool to run when the computer next restarts.
Running the Windows Memory Diagnostics tool
When the computer restarts, the Windows Memory Diagnostics tool tests the computer’s memory by sequentially writing values to the memory. It then reads those values and compares them to see if the read operation returns the same value as it was written originally to memory. To identify the widest range of memory failures, the Windows Memory Diagnostic tool includes three different testing levels: Basic, Standard, and Extended. Press F1 while a test is running to access the Windows Memory Diagnostics tool options, which include:
- Test mix. Select which type of test to run.
- Cache. Select the cache setting for each test.
- Pass count. Set the number of times that the test mix will repeat the tests.
You can press the Tab key to move between the Windows Memory Diagnostics options. When you finish selecting your options, press F10 to apply the selection and return to the test.
When the Windows Memory Diagnostics tool runs, it shows a progress bar that indicates the status of the test. Based on the amount of memory, it can take considerable time for the tool to finish checking a computer's memory. When the test finishes, the Windows operating system restarts automatically, and the tool provides a report that details any issues that it encounters. It also adds information to the System log in Event Viewer, so you can analyze it later.