Exercise: Resolve site-to-site VPN gateway connection
Important
You need your own Azure subscription to complete the exercises in this module. If you don't have an Azure subscription, you can still view the demonstration video in the preceding unit.
You've explored the possible reasons why your two machines can't connect to each other. You found that the shared key for the two connections is different.
In this exercise, you'll see how to change the shared key on a VPN gateway connection, and then test that this has resolved the issue. If you have not already run the script in unit 2, please do so now so you can follow the exercise below.
Change a gateway connection's shared key
Follow these steps to check the shared key for both the VPN gateways connections:
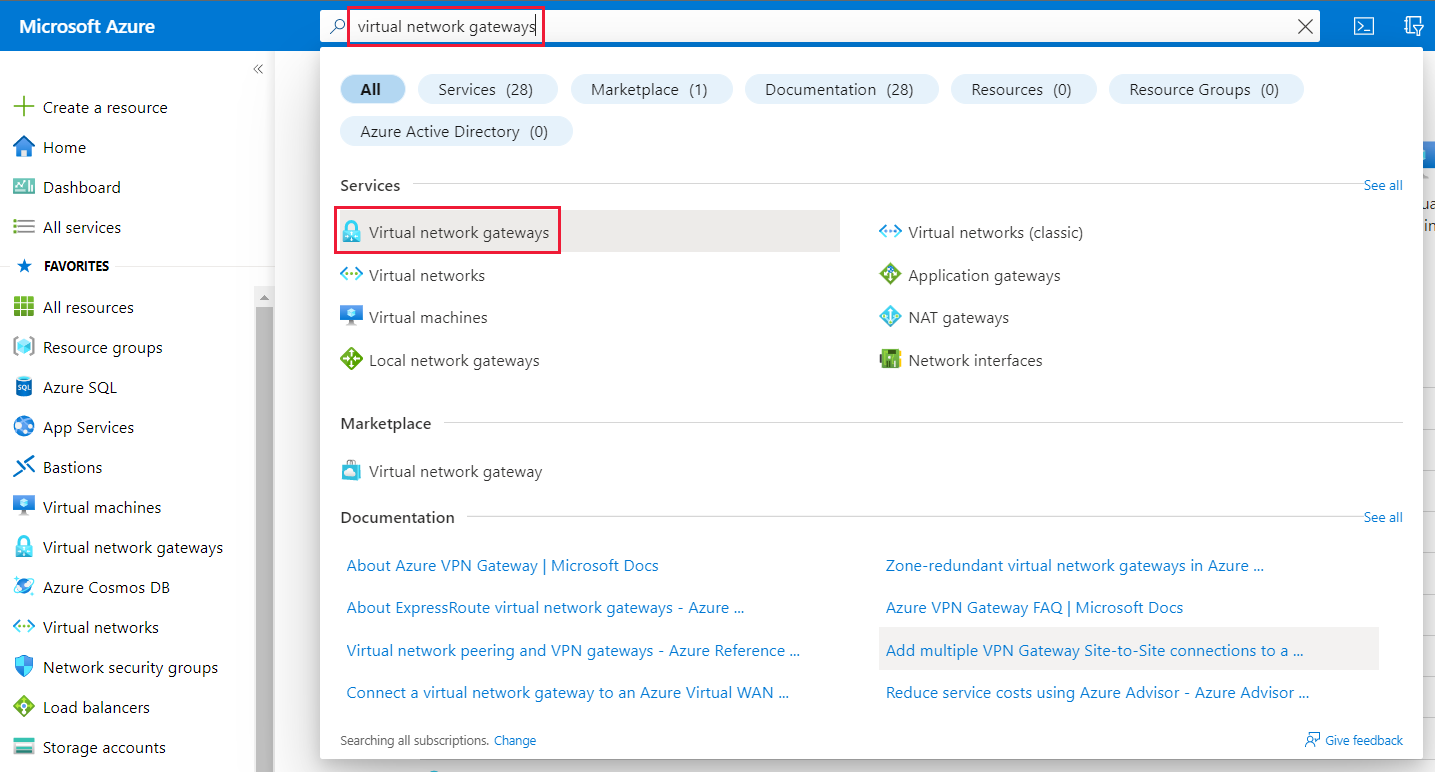
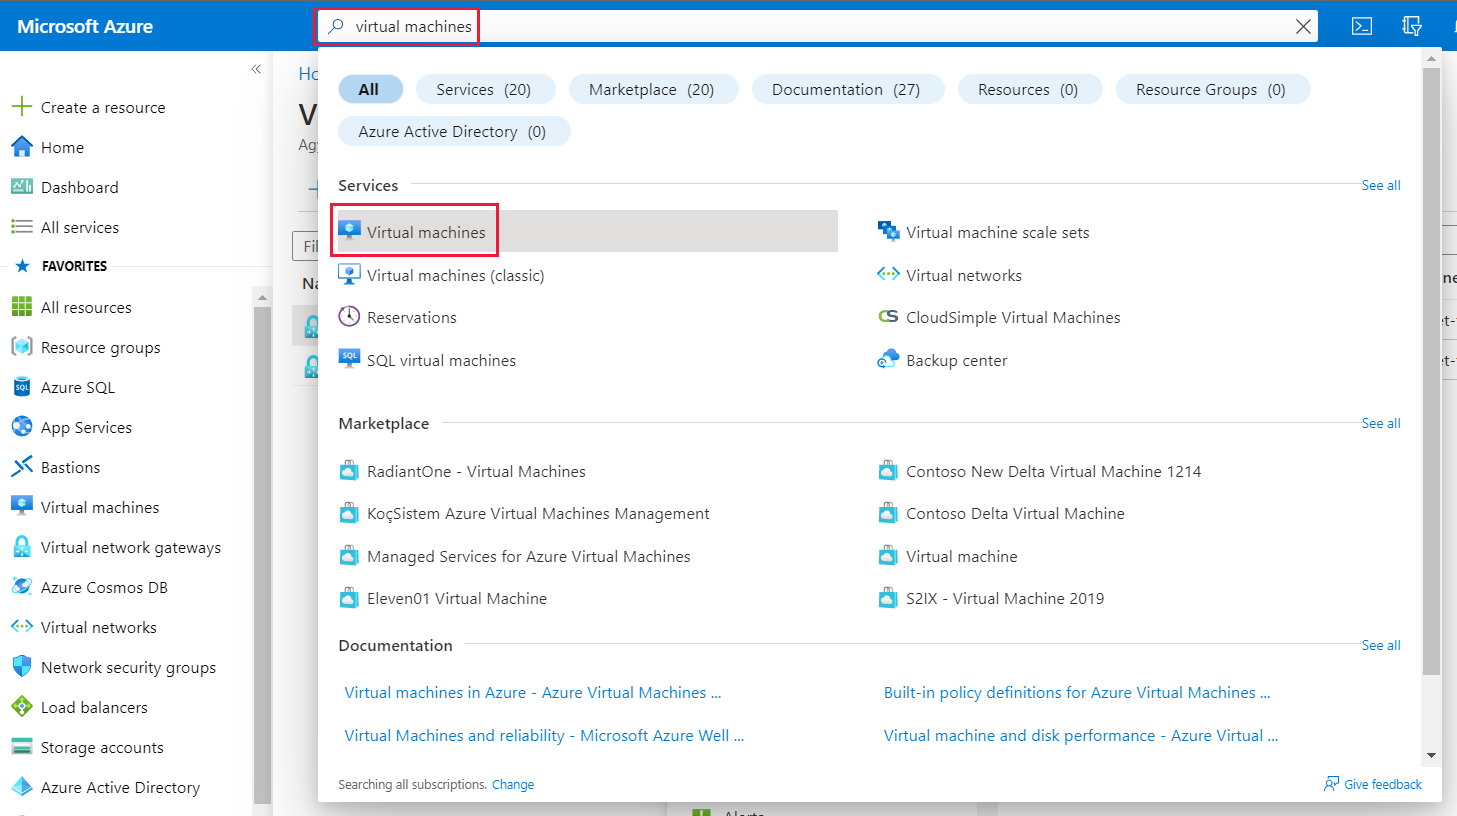
In the Azure portal, search for virtual network gateways, then under Services, select Virtual network gateways.
Select the first VPN gateway, Vnet1GW.
Under Settings, select Connections.
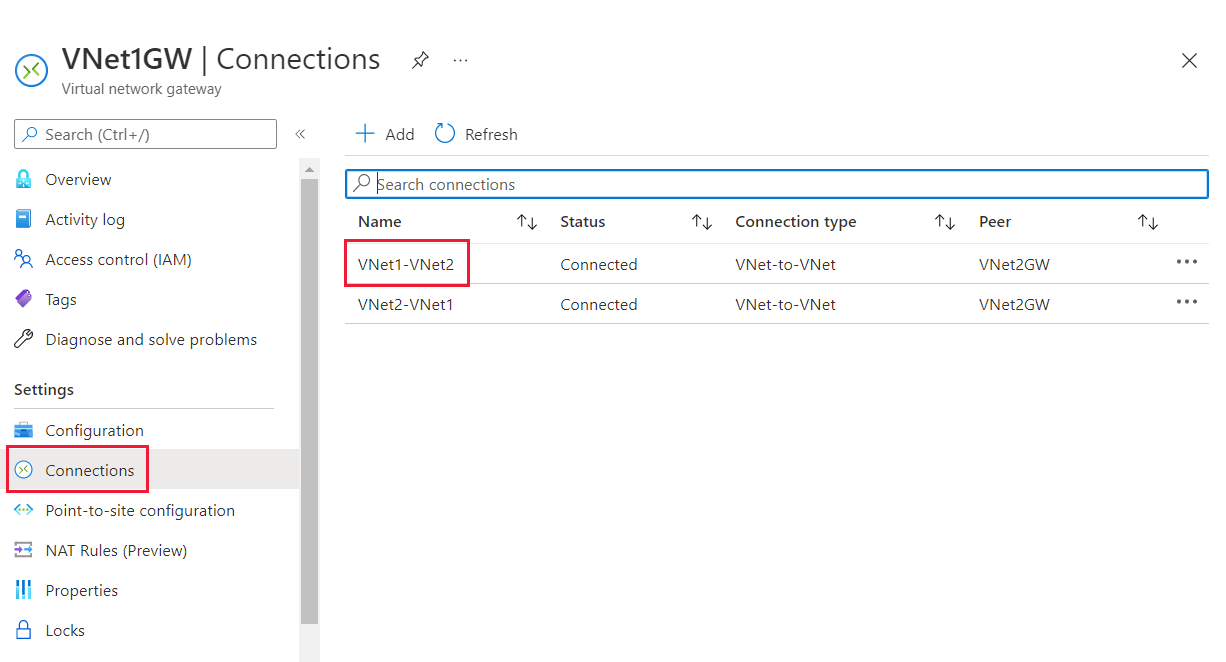
Select the first connection, VNet1-VNet2.
Under Settings, select Shared key.
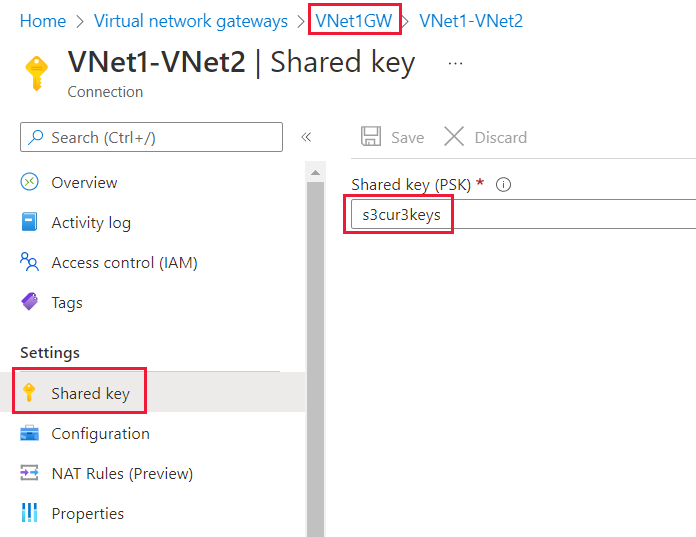
Copy the text in the Shared key (PSK).
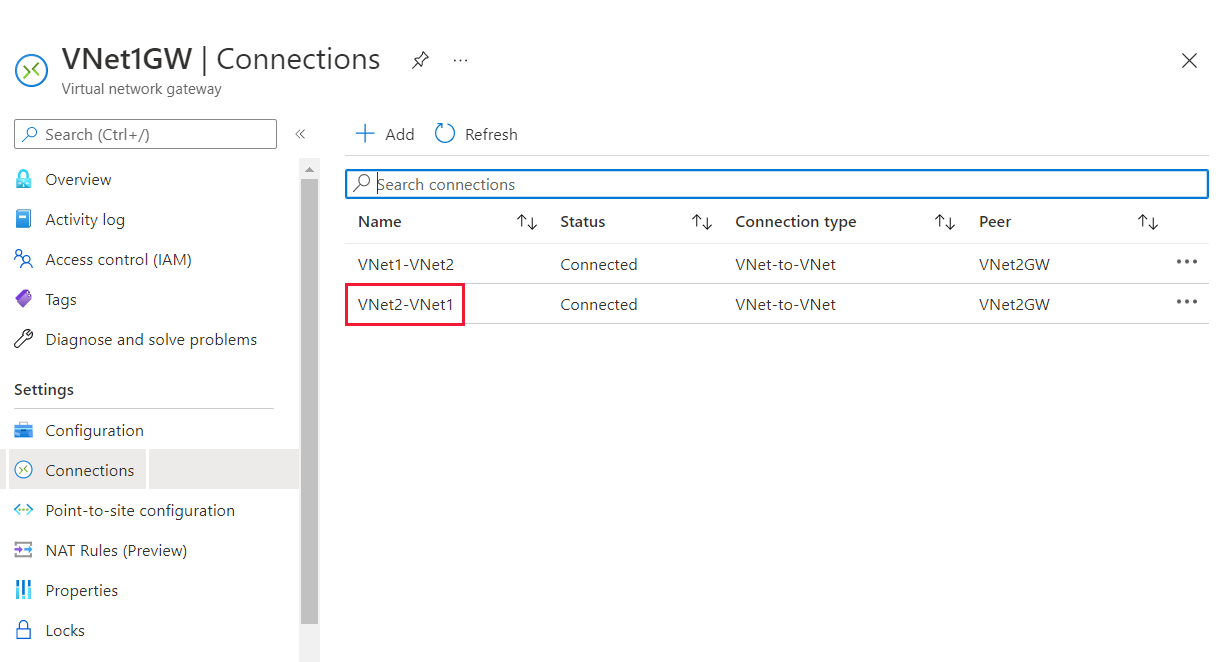
In the breadcrumb, select VNet1GW to return the VPN gateway pane.
Select the second connection, VNet2-VNet1.
Under Settings, select Shared key.
Paste the value you copied into the Shared key (PSK). This is to make sure that the values match.
Test the issue is resolved
Repeat the steps you did in the previous exercise to see if the two VMs can connect to each other. Using the Cloud Shell on the right and the Azure portal, follow these steps:
Open the Azure portal in a new tab.
Search for virtual machines then, under Services, select Virtual machines.
From the list of VMs, select VM1.
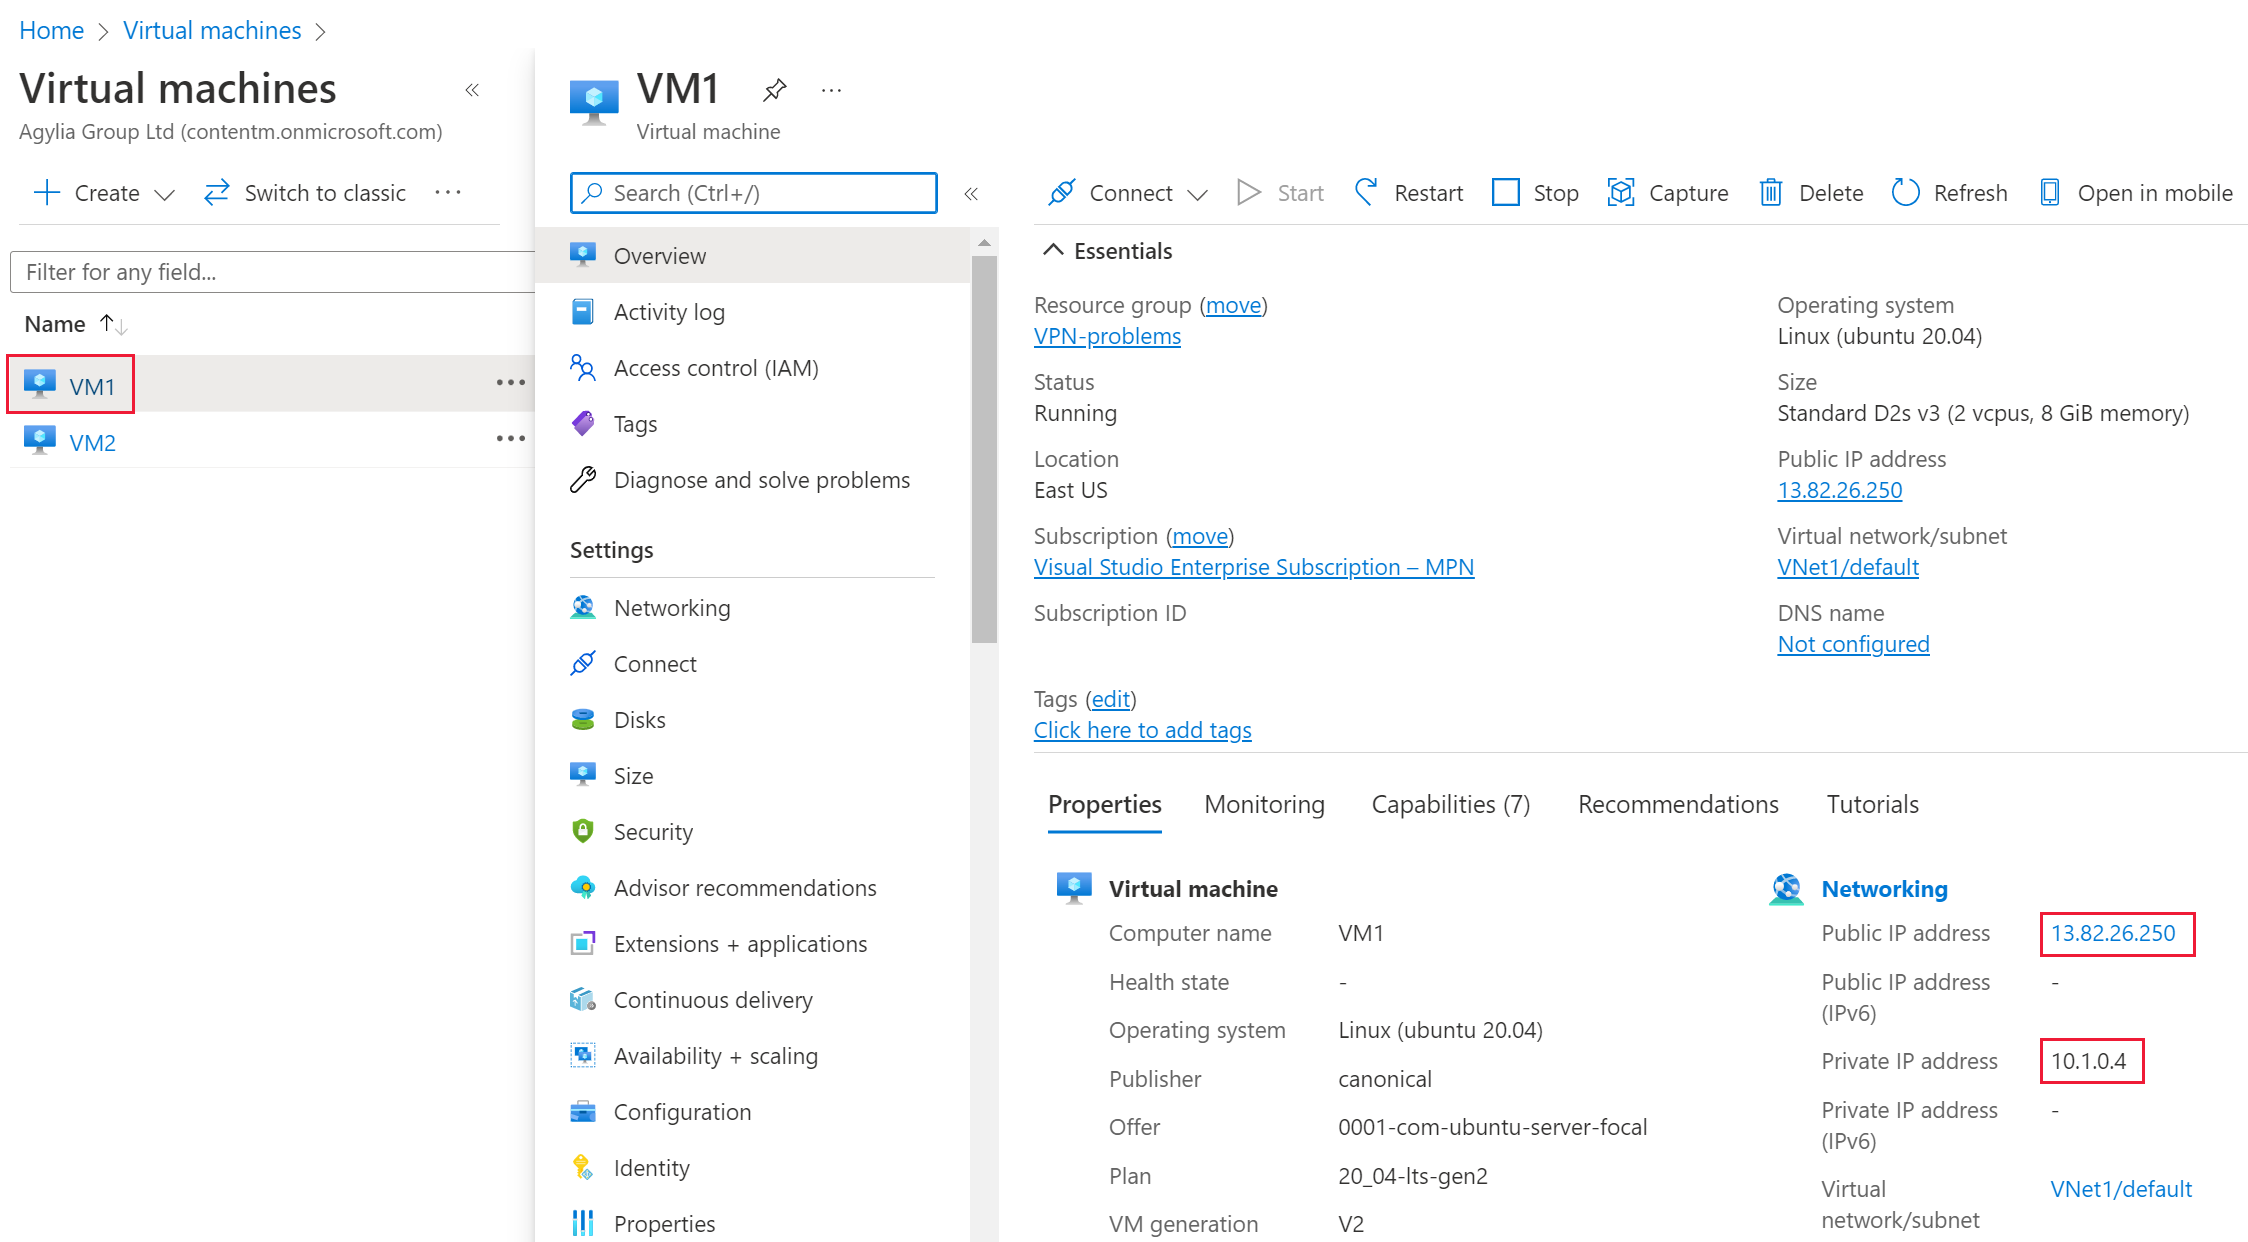
Make a note of the Public IP address and Private IP address.
Repeat the last two steps for VM2 and note the Public IP address and Private IP address.
On the right, in the Cloud Shell, connect to VM1 with SSH to the public IP address:
ssh azureuser@<VM1 public IP address>Note
Replace <VM1 public IP address> with the public IP address you noted for VM1.
At the prompt,
Are you sure you want to continue connecting (yes/no)?type yes.At the prompt for a password, type azur3Pa55w.rd.
Your prompt should now be
azureuser@VM1:~$.This means you have successfully connected to VM1.
Ping the private IP address of VM2.
ping <private IP address VM2>Note
Replace <private IP address VM2> with the private IP address you noted for VM2.
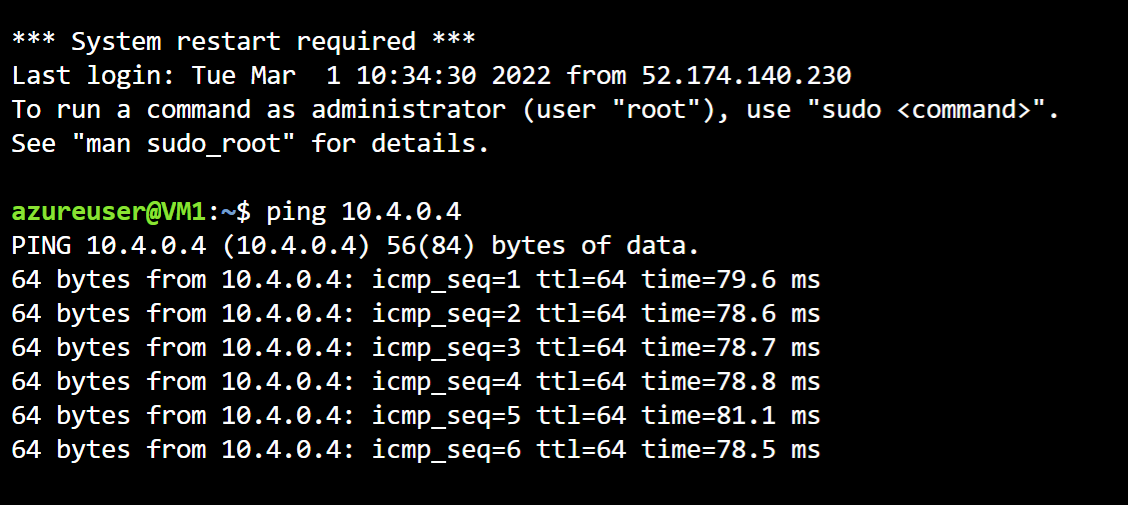
If you have resolved the connection issue, you should see a response from VM2.