Create user groups
You can set up user groups to help you manage permission sets for sets of users within your company.
Choose the search for page icon in the top-right corner of the page, enter User Groups, and then choose the related link. Alternatively, if you are on the Users page already, you can choose the User Groups action.
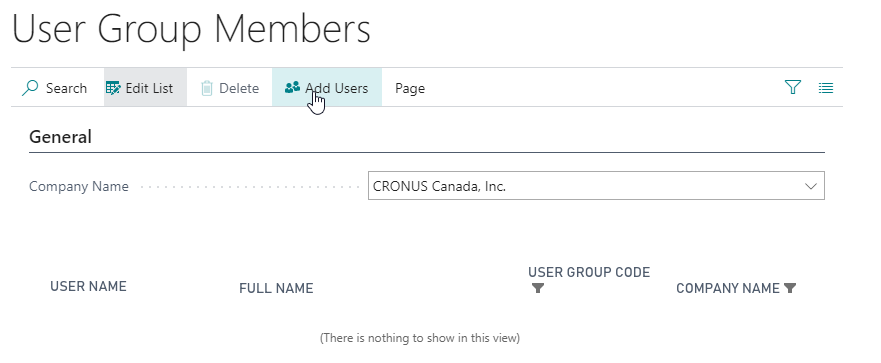
On the User Groups page, choose the User Group Members action.

On the User Group Members page, choose the Add Users action.
When users or user groups are created, you must assign permission sets to each to define which objects a user can access. First, you must organize the relevant permissions in permission sets.
To quickly define a new user group, you can copy the permission sets from an existing user group to your new user group. The user group members are not copied to the new user group. You must add them manually afterwards.
Choose the search for page icon in the top-right corner of the page, enter User Groups, and then choose the related link.
Select the user group that you want to copy, and then choose the Copy User Group action.

In the New User Group Code field, enter a name for the group, and then choose the OK button.
The new user group will be added to the User Groups page. You can now add users to the new user group.
Control Access to Business Central Using Security Groups
Security groups are new to Business Central. They make it easier for administrators to manage user permissions by allowing them to group users by department, job function, and so on. Administrators assign the permissions to the group that its members need to do their jobs.
Security groups are similar to the user groups that were previously available. However, user groups are only relevant for Business Central. Security groups are based on groups in the Microsoft 365 admin center or Azure portal. This benefits administrators because they can use their security groups with other Dynamics 365 apps. For example, if salespeople use Business Central and SharePoint, administrators don't have to recreate the group and its members.
Security groups will eventually fully replace user groups. Currently, you can continue using user groups to manage permissions until that happens. To start using security groups now, your administrator can turn on the feature Convert user group permissions on the Business Central Feature Management page.
Security groups make it easier for administrators to manage user permissions in their Dynamics 365 applications, such as SharePoint Online, CRM apps, and the online version of Business Central. Administrators add permissions to their security groups, and when they add users to the group, the permissions apply to all members. For example, an administrator can create a security group that gives salespeople the ability to create and post sales orders. Or, they can create a group that lets purchasers do the same for purchase orders.
Create your security groups in your Microsoft 365 admin center or Azure Active Directory. This unit describes the steps in Microsoft 365 admin center, but the steps are similar in both.
To add a security group in the Microsoft 365 admin center, follow these steps:
In the Microsoft 365 admin center, go to the Active teams & groups page.
Select Add a group.
Select the Security type of group, and then select Next.
Specify the basics for your group.
Open the group, and then use the Add members tab to include people in the group.
To add a security group in Business Central, follow these steps:
In Business Central, create a security group and then link it to the security group in the Microsoft 365 admin center. Your new group contains the members you added in the Microsoft 365 admin center.
Select the Search for Page icon, enter Security Groups, and then choose the related link.
Select New to create a group.
In the Name field, enter a name for the group.
In the Microsoft Entra ID security group name field, enter the name of the security group exactly as it appears in the Microsoft 365 admin center. Business Central will find that group and link it to this group.
The users that show in the Members card on the FactBox pane or the Security Group Members page only if they've been added as users in Business Central.
To assign permissions to the group, follow these steps:
On the Security Groups page, select the group, and then choose the Permissions action.
You can assign permissions in the following ways:
To assign permission sets individually, in the Permission Set field, choose the permissions to assign.
To assign multiple permission sets, choose the Select Permission Set action, and then choose the sets to assign.
On the Security Groups page, the FactBox pane shows the Permission Sets that are assigned to the group. Each user listed in the Members card has those permissions. The Permission Set by Security Group action provides a more detailed view. There you can also explore the individual permissions in each security group.
Permissions are also available on the Users page. The FactBox pane shows the Permission Sets from Security Group and Security Group Memberships cards for the selected user.
If you have user groups, you can convert the groups to permission sets in your tenant by using the User Group Migration assisted setup guide. To start the guide, on the Feature Management page, and then find the feature, Convert user group permissions, and then choose All Users in the Enabled For field. The assisted setup guide offers the following options for the conversion.
Assign to user - Assign the permissions in user groups directly to the users who were assigned to the group, and remove their user group assignments.
Convert to a permission set - Create a new permission for the permissions in each user group. The new permission set is assigned to all members of each user group.